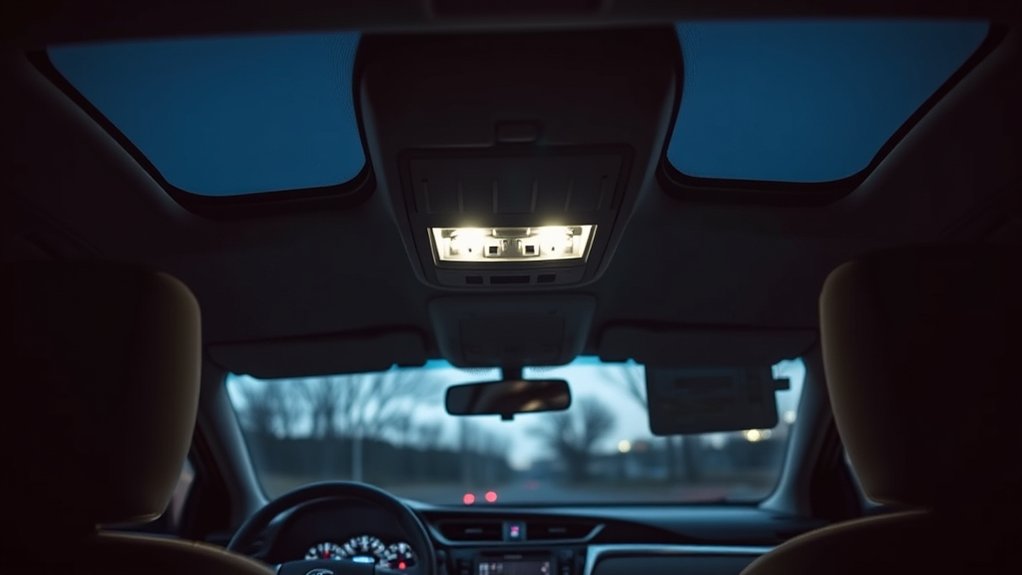
If your Toyota Camry interior lights are not working, identify the failure pattern before buying parts. If every cabin light is dark, check the overhead-light setting and the exact interior-light fuse for your model year. If only one map, dome, vanity, or courtesy light fails, inspect that lamp’s bulb or LED assembly, socket, connector, and local switch. If the lights work manually but not when a door opens, check the door-control setting and the door or latch signal. Stop testing if a fuse blows again, wiring gets hot, or you smell burning.
Quick Answer
For Toyota Camry interior lights that will not turn on, first confirm whether one light or every light has failed. Check the overhead or door-linked light setting, then use the owner’s manual or fuse-box diagram for your exact model year to identify the correct fuse. If the fuse is good, inspect the affected bulb or LED assembly, door or latch signal, connectors, wiring, and finally the body-control circuit.
Last updated: September 19, 2026 · Author: [VERIFY: add the real author name and relevant automotive credentials]
Key Takeaways
- Start by deciding whether one lamp, one door-trigger function, or the entire interior-light system has failed.
- Camry fuse labels, lamp designs, and control layouts vary by model year, trim, and market, so verify them before buying parts.
- Replace a fuse only with the same amperage rating specified for your vehicle.
- If a replacement fuse blows again, a lamp or wire becomes hot, or you smell burning, stop testing and get professional help.
At a Glance
| Time Required | 10 to 30 minutes for basic checks |
| Difficulty | Easy for control, bulb, and fuse checks; moderate for wiring tests |
| Tools Needed | Owner’s manual, fuse puller or needle-nose pliers, correct replacement fuse if needed, trim-safe tool, flashlight, and multimeter if available |
| First Question | Does one light fail, do all lights fail, or do the lights work manually but not when a door opens? |
| Cost | Usually low for a fuse or serviceable bulb; potentially higher for an LED lamp assembly, door/latch sensor, wiring repair, or body-control diagnosis |
Why Are Toyota Camry Interior Lights Not Working?
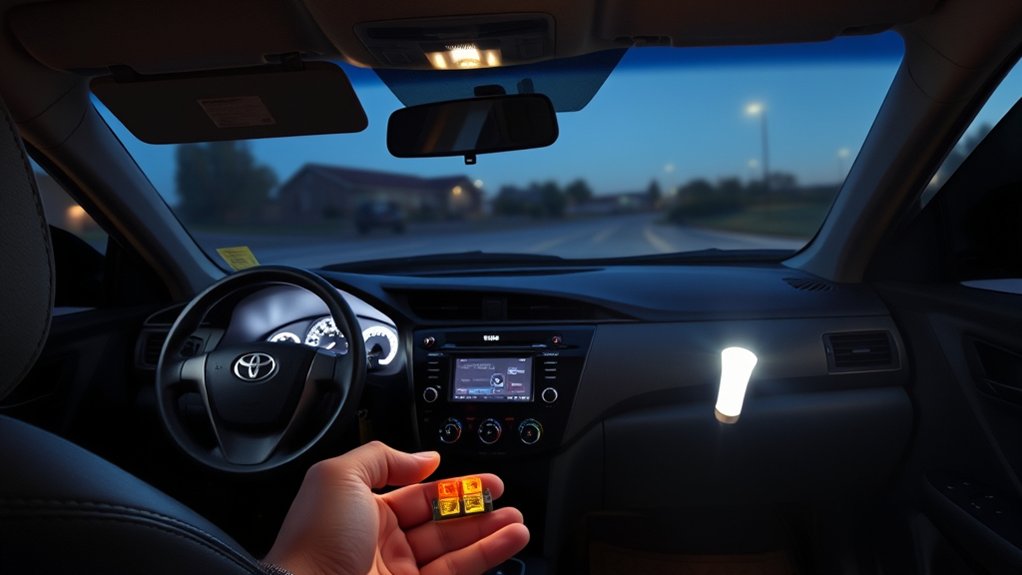
Common causes include the interior-light control setting, a failed bulb or LED lamp assembly, the model-year-specific fuse, a door or latch signal problem, or a wiring or connector fault. The failure pattern helps narrow the diagnosis. A completely dark cabin points toward a shared setting, fuse, power feed, ground, or control problem, while one dead map light usually points toward that lamp, socket, connector, or local switch.
Camry interior-light controls vary by generation. Some models use an ON/OFF/DOOR-style control, while others use different personal-light and door-linked controls. Before removing trim, move the available light controls through their normal positions and note whether the light works manually.
Next, confirm the fuse using the diagram for your exact Camry rather than relying on a fuse number from another model year. Toyota provides model-specific manuals through its Owners Manuals and Warranties portal. Depending on generation, an interior-light circuit may use a DOME, ROOM, ECU-related, or differently labeled fuse or shared body circuit.
A door or latch signal can also cause trouble. If the light works manually but does not respond when one particular door opens, watch the dashboard door-ajar indication for that door. Depending on model year, the door-open signal may come from a visible switch or a sensor associated with the latch system.
Wiring and control faults become more likely after the simple checks pass. Loose connectors, corrosion, damaged insulation, weak grounds, water intrusion, and previous accessory wiring can interrupt the circuit. On some model years, the body ECU, integration circuitry, or another body-control circuit may also be involved, but diagnosis should follow the wiring diagram for that exact Camry.
Before You Start: Safety and Basic Checks
Park your Camry on a flat surface, turn the vehicle fully off, and keep the smart key away from the vehicle if needed to prevent unintended wake-up. Let hot bulbs cool before touching them. If you plan to inspect wiring or remove interior trim, avoid pulling on harnesses or forcing plastic panels.
Warning: Stop troubleshooting if you smell burning, see melted plastic, feel unusual heat near a light, or replace a fuse and it blows again. Never install a higher-amperage fuse in place of the specified fuse. Doing so can damage wiring and increase fire risk.
Before buying anything, note your Camry’s model year, trim, which lamp locations fail, whether the lights work when switched on manually, whether the door-ajar indicator responds to every door, and whether the problem started after an LED conversion, dashcam, alarm, remote starter, headliner repair, or other electrical work. Those details can eliminate several wrong diagnoses immediately.
Open each door separately, try the dome or interior light manually, test the map or personal lights individually, and move the available overhead controls through each position. This tells you whether the problem affects one lamp, one door-trigger function, or a shared circuit.
Step-by-Step Troubleshooting for Your Camry’s Interior Lights
Use the easiest, lowest-risk checks first. Start with the controls and affected lamp, then move to the correct fuse, door signals, visible wiring, and finally module-level diagnosis. This order reduces unnecessary parts replacement.
Step 1: Check the Overhead Light Switch
Move the dome, interior, or overhead-console control through the positions provided on your Camry. If the light turns on manually but does not illuminate when a door opens, the lamp itself probably has power and the door-linked setting or door-signal circuit deserves attention before you replace the lamp.
If the light will not illuminate manually either, continue with the lamp and fuse checks instead of assuming the door switch is the cause.
Step 2: Test Individual Bulbs and Map Lights
If only one light fails, inspect that lamp first. On a serviceable incandescent lamp, remove the lens carefully and inspect the bulb and socket. A broken filament can indicate a failed bulb, but a visual check is not always conclusive.
If your Camry uses an LED lamp assembly at that location, there may be no conventional bulb to replace. The fault can instead be in the LED assembly, its connector, its local switch, or its control circuit. Confirm the lamp type for your model year, trim, and position before ordering a replacement bulb or LED part.
Use the correct lamp or assembly for the vehicle. Check the owner’s manual, the original lamp markings where applicable, or a VIN-matched Toyota parts source before purchasing.
Step 3: Inspect the Correct Fuse
Use your exact model-year owner’s manual or fuse-box diagram to identify the fuse associated with the interior-light or body circuit. Do not copy a fuse number, location, or amperage from a different Camry generation. Some vehicles have more than one fuse box, so follow the diagram for your specific car.
Pull the suspected fuse with the proper fuse puller and inspect it. A broken internal element indicates a blown fuse. If you are comfortable using a multimeter or test light correctly, electrical testing can confirm a failure that is not visually obvious. Replace the fuse only with the same type and amperage specified for your vehicle.
Pro Tip: If the replacement fuse blows again, stop replacing fuses. A repeated failure points to an unresolved electrical fault such as a shorted wire, damaged socket, failed component, or accessory-wiring problem.
Step 4: Test the Door Jamb Switches
Open each door one at a time and watch both the cabin light and the dashboard door-ajar indication. If several doors trigger the light normally but one door does not, focus on that door’s open/closed signal, switch or latch mechanism, connector, and related wiring.
If the dashboard also fails to recognize the same open door, that is a stronger clue that the problem is in the door-signal path rather than the lamp itself. Do not assume every Camry uses the same visible plunger-style door switch; designs vary by model year.
Step 5: Check Wiring Connections and Grounds
If the controls, affected lamp, fuse, and door signals pass their basic checks, inspect accessible connectors and wiring near the failed lamp and any area recently worked on. Look for loose plugs, bent or corroded terminals, pinched wires, damaged insulation, moisture, or signs of an aftermarket splice.
Pay special attention if the failure began immediately after a dashcam, alarm, remote starter, interior LED conversion, headliner repair, audio installation, or other accessory work. The timing does not prove the modification caused the fault, but it identifies the first area worth inspecting.
A poor connection or ground can make lights flicker, dim, or work only when a door or lamp housing moves. Use a multimeter only if you are comfortable testing low-voltage automotive circuits without shorting terminals. Otherwise, this is a sensible point to use a qualified technician.
Step 6: Consider the Body-Control Circuit
If the manual controls, lamp or LED assembly, correct fuse, door signals, and accessible wiring all check out, the fault may be farther upstream in the body-control system or a related connector. The component name, location, inputs, and wiring path vary by Camry generation.
Do not replace a body ECU, integration relay, or control module based only on symptoms. Use Toyota service information and the correct wiring diagram, or have a technician test the circuit and scan applicable body-control modules first.
After a repair, retest the lamp manually, open each door separately, check the door-ajar indicator, close and lock the vehicle, and confirm that the lights shut off normally. If you replaced a fuse, verify that it remains intact through repeated operation.
Common Causes Explained
The table below uses the failure pattern to decide where to look first. It is a diagnostic starting point rather than a universal Camry wiring diagram because interior-light circuits differ across generations.
| Symptom | Likely Area | What to Check First |
|---|---|---|
| No interior lights work | Shared setting, fuse, power, ground, or body-control circuit | Overhead control and exact model-year fuse diagram |
| Only one light fails | Bulb or LED assembly, socket, connector, or local switch | Affected lamp and its connector |
| Light works manually but not with the door | Door-linked setting, door/latch signal, or related wiring | Door-control setting and door-ajar indication |
| Lights flicker or work intermittently | Loose connector, damaged wiring, poor connection, failing switch | Connectors, recent accessory work, and door signals |
| Lights stay on longer than expected | Control left ON, door/latch signal, lamp switch, or body-control issue | Overhead control, door-ajar indication, and normal shutoff behavior for your model year |
| Replacement fuse blows again | Short circuit, damaged socket/wiring, or failed component | Stop replacing fuses and diagnose the affected circuit |
Effective Testing Methods
For the first checks, you may need only a flashlight, the owner’s manual, and access to the lamp and fuse diagram. Electrical testing becomes useful after those basics fail to identify the problem.
When checking a fuse electrically, follow the correct procedure for the circuit and meter or test light you are using. A fuse can look intact yet fail electrically, while no power at either side may indicate an upstream power or control issue rather than a bad fuse. Do not repeatedly replace a fuse without finding why it failed.
For the door-linked function, open one door at a time and compare the dome or interior light with the dashboard door-ajar indication. A single door that behaves differently from the others gives you a much more useful diagnostic clue than testing all doors at once.
Note: Body-controlled interior lighting can involve electronic inputs and timed operation. If manual operation, the lamp, fuse, door signals, and accessible wiring all test normally, deeper diagnosis may require a scan tool and the model-year wiring diagram.
Fuses and Relays: What You Need to Know
A fuse protects a circuit by opening when current exceeds its designed limit. A blown fuse therefore tells you that the circuit lost protection continuity, but it does not automatically identify the underlying cause.
The safest fuse rule is simple: use the exact fuse type and amperage specified for your Camry and never install a higher-rated substitute.
If a correctly rated replacement fuse blows again, stop. Continued fuse replacement can hide an unresolved short or failed component. Check any lamp, connector, wiring, or accessory work on the affected circuit before moving farther upstream.
Relays and body-control electronics may affect interior lighting on some generations, but they should not be the first parts replaced. Their names, locations, and wiring paths vary by model year. Use Toyota service information or have a technician trace the circuit before replacing an expensive electronic component.
Signs You Need Professional Help for Interior Lighting Problems
Many Camry interior-light faults can be narrowed down at home, but stop DIY testing when the symptoms suggest overheating, a repeated short, extensive wiring damage, or a body-control problem.
- Interior lights continue to flicker after the lamp, fuse, and obvious connectors have been checked.
- A correctly rated replacement fuse blows again.
- The lights remain on abnormally after the doors are closed and the vehicle has had time to complete its normal shutoff behavior.
- You smell burning plastic or feel unusual heat near a lamp, fuse box, connector, or wiring harness.
- The door-ajar indication is inconsistent or changes when you move a door or wiring harness.
- You see corrosion, water damage, melted plastic, damaged insulation, or previous wiring modifications.
- The basic checks pass but the circuit appears to require body-ECU or module-level diagnosis.
If several unrelated electrical symptoms appeared together, also check for open safety recalls or service campaigns by VIN. NHTSA and Toyota both provide VIN-based recall lookup tools. A recall lookup does not replace electrical diagnosis, but it can identify an applicable manufacturer campaign before you pay for repairs.
How to Maintain Your Toyota Camry’s Interior Lighting
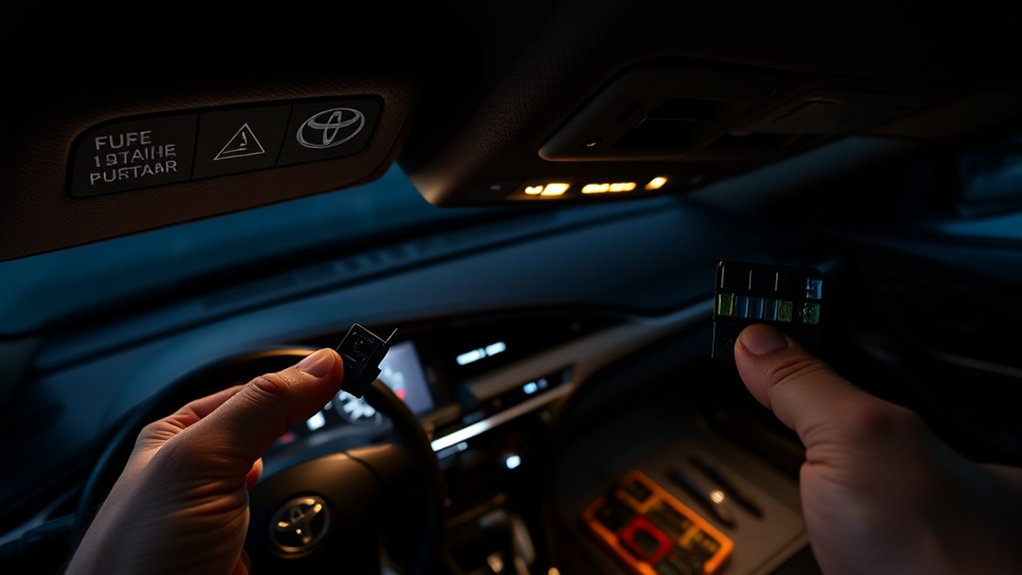
Use the interior-light controls as intended for your Camry and avoid leaving manually switched map or personal lights on while the vehicle is parked. A cabin lamp left on long enough can discharge the 12-volt battery.
Keep door and latch areas clean and watch for moisture around lamp housings. A loose or cracked lens can allow contamination around contacts, while water intrusion can create corrosion and intermittent electrical behavior.
Use model-year- or VIN-matched lamps and electrical parts. Interior lamps can look similar across Camry generations even when the bulb, LED assembly, connector, or trim design differs. Toyota’s official parts catalog lets you identify parts for a specific vehicle before purchasing.
What the Failure Pattern Tells You
The fastest diagnosis usually comes from comparing what still works with what does not. Do not start by replacing every bulb or guessing at a control module. Use the pattern below to decide which part of the circuit deserves attention.
- One lamp is dead but the others work: Start at that lamp, its socket or LED assembly, connector, and local switch.
- Every cabin light is dead: Check the shared setting, exact fuse diagram, power feed, ground, and body-control path before replacing individual lamps.
- The lamp works manually but not with a door: Check the door-linked setting and compare the door-ajar indication for each door.
- The light flickers when a door, headliner, or lamp housing moves: Inspect connectors and wiring for an intermittent connection.
- The problem began immediately after electrical or trim work: Inspect the modified or disturbed area before assuming an unrelated component failed.
- A new fuse immediately fails: Stop replacing fuses and find the short or failed load on the circuit.
Checks That Narrow the Fault Fast
- Move the available overhead light controls through every normal position before removing trim.
- Check whether the dashboard door-ajar indication responds correctly to each door.
- Test map or personal lights separately from the main dome or interior light.
- Confirm the exact fuse from the model-year diagram instead of relying on a generic online fuse number.
- Note whether the failure began after rain, cleaning, headliner work, an LED conversion, or installation of another electrical accessory.
Common Wiring Issues
Wiring problems often appear as intermittent lights, repeated fuse failure, or lamps that change when you move a door, connector, headliner, or lamp housing. Inspect accessible connectors first and look closely at any area that was recently modified or disassembled.
If a harness passes through a door or tight trim area, avoid pulling on it. If you find a damaged wire, melted connector, or corroded terminal, do not twist wires together as a permanent repair. Use the correct wiring diagram and automotive repair method, or have the circuit repaired professionally.
Related Guides
Frequently Asked Questions
Why did all my Toyota Camry interior lights stop working?
If every interior light stopped working at once, start with the shared light setting and the correct model-year fuse diagram. A shared fuse, power feed, ground, connector, or body-control problem is more likely than several unrelated lamps failing simultaneously.
How do I reset the interior lights on a Toyota Camry?
There is not one universal interior-light reset procedure for every Camry. First return the interior-light controls to their normal setting, close the doors fully, confirm the door-ajar indication, and check the correct fuse. If the basic circuit works but a body-control fault remains, diagnosis may require model-specific service information and a scan tool.
Why won’t my interior lights come on when I open the car door?
The door-linked light setting may be disabled, or the car may not be receiving the correct door-open signal. Test each door separately and watch the dashboard door-ajar indication. If only one door fails to trigger the light, focus on that door’s switch or latch signal, connector, and wiring.
How do I turn on the interior lights in my Toyota Camry?
Use the interior, dome, personal-light, or overhead controls provided on your Camry. Control layouts vary by model year, so use the owner’s manual if the labels or door-linked setting are unclear.
Which fuse controls the Toyota Camry interior lights?
There is no universal fuse label, amperage, or location that applies to every Camry generation. Depending on model year, the relevant circuit may use a DOME, ROOM, ECU-related, or other body-circuit fuse. Use the fuse-box diagram and owner’s manual for your exact vehicle, and install only the specified fuse type and amperage.
Why does my Camry interior-light fuse keep blowing?
A fuse that blows again indicates that the underlying electrical fault is still present. Possible areas include a shorted wire, damaged lamp socket or assembly, failed component, water-damaged connector, or accessory wiring on the circuit. Stop replacing fuses and have the circuit tested rather than installing a higher-rated fuse.
Can interior lights drain my Camry’s battery?
Yes. A dome, map, vanity, or courtesy light that remains on while the vehicle is parked can discharge the 12-volt battery. Check the manual light controls, confirm all doors and the trunk are fully closed, and investigate an abnormal door-ajar signal or lamp that does not shut off normally.
Conclusion
When your Toyota Camry’s interior lights stop working, diagnose the pattern before replacing parts. One failed lamp usually points toward that lamp or its local circuit; every light failing shifts attention toward the shared setting, fuse, power, ground, or body-control path; and a lamp that works manually but not with a door points toward the door-linked control or door signal. Confirm every fuse and replacement part for your exact model year. If a fuse blows again, wiring gets hot, you smell burning, or basic checks lead to a body-control fault, stop DIY testing and have the circuit diagnosed properly.
Sources
- Toyota Owners Manuals and Warranties — supports checking the exact owner’s manual for model-year fuse, lighting-control, and vehicle information.
- Toyota Technical Information System — supports using official repair manuals and wiring diagrams for body-control and circuit diagnosis.
- Genuine Toyota Parts — supports using VIN-matched or vehicle-specific Toyota replacement parts.
- NHTSA Recalls — supports checking for open safety recalls and manufacturer communications by vehicle or VIN.