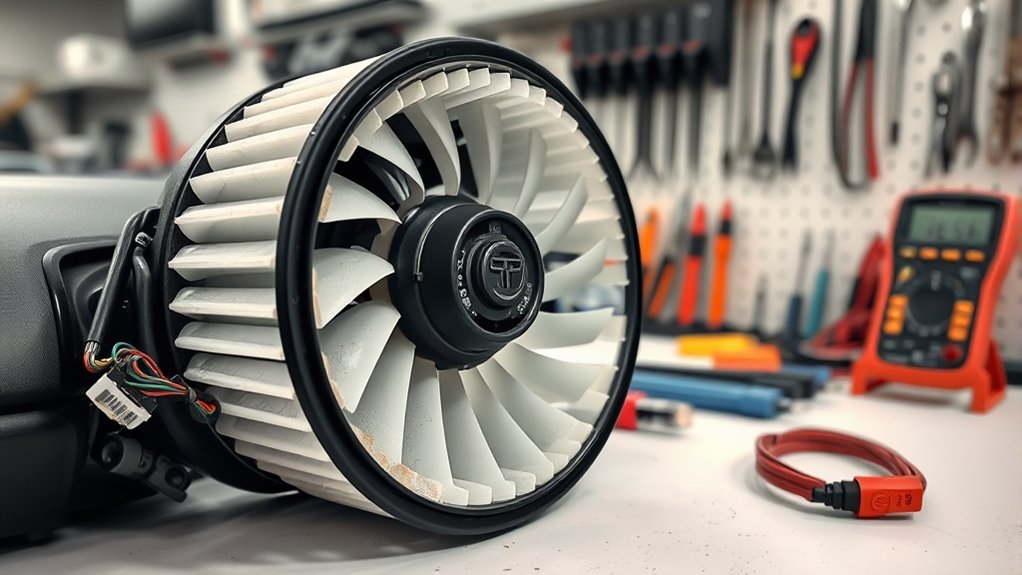
If your Toyota Camry blower fan stays on after shutdown, the problem usually involves the fan’s electrical power or control circuit. Possible causes include a stuck relay, faulty electronic blower controller, HVAC switch problem, or damaged wiring. The correct diagnosis depends on your Camry’s model year and climate control system.
Quick Answer
A Camry cabin blower that continues running with the ignition fully off needs an electrical diagnosis. Check whether the HVAC controls respond, then inspect the blower relay if equipped. On electronically controlled systems, test the blower speed controller, control signals, wiring, and grounds before replacing the motor or HVAC module.
Last checked: October 23, 2026. Camry HVAC guidance was checked against Toyota documentation, and replacement cost estimates were checked against RepairPal.
Why the Camry Blower Fan Stays On
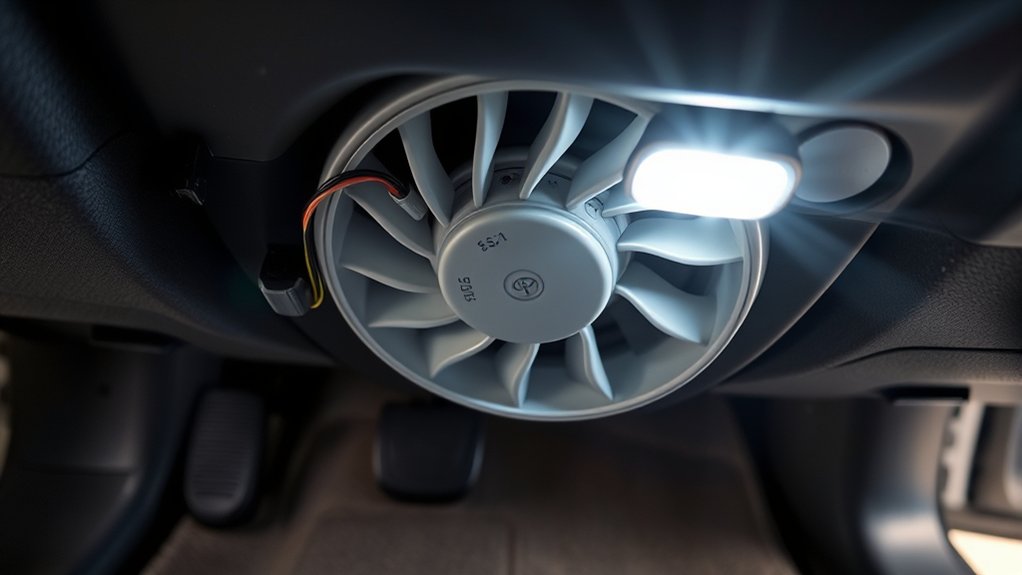
A Toyota Camry blower fan stays on when electrical power or an unintended control command continues to operate the motor. Normally, the cabin blower responds to the vehicle’s ignition state and climate control settings.
The blower is located inside the HVAC housing, generally below the passenger-side dashboard. It pushes air through the heating and air conditioning system.
Do not confuse it with the engine cooling fan, which sits near the radiator under the hood. These fans serve different purposes and have different electrical controls.
The main possible causes of unwanted cabin blower operation are:
- Stuck blower relay: Relay contacts may remain closed, keeping the motor supplied with power on systems that use a separate relay.
- Faulty blower speed controller: A failed electronic controller may keep the blower operating or prevent normal speed changes.
- Blower resistor failure: On systems with a traditional resistor, damage can disrupt speed selection, although it does not automatically explain operation after ignition shutdown.
- Faulty HVAC switch or module: The control panel or air conditioning amplifier may send an incorrect command or fail to shut down properly.
- Wiring or connector damage: Short circuits, corrosion, overheated terminals, or incorrect electrical connections may interfere with normal blower operation.
Camry blower systems are not identical across generations. Toyota’s Air Conditioning and Climate Control technical training explains both traditional resistor-controlled blowers and electronically controlled motor designs.
A blower that keeps running after ignition shutdown needs a power and control-circuit diagnosis. Replacing the motor without testing the circuit may not fix the problem.
A motor with worn bearings, debris, or an obstruction can make abnormal noises or cause poor airflow. However, mechanical overheating alone cannot keep an electric motor powered after its electrical supply is removed.
A fan may coast briefly after losing power. Continuous powered operation is a different condition and can eventually drain the 12-volt battery.
Confirm When the Fan Runs Constantly
Before replacing parts, determine whether the blower runs only while the vehicle is on or continues after complete shutdown. This distinction helps separate normal climate control behavior from an electrical fault.
Automatic climate control can adjust fan speed without driver input. However, normal automatic speed changes do not, by themselves, explain a blower that runs continuously after the vehicle has been fully turned off.
Verify Constant Operation
Start with the Camry parked safely and the ignition on. Use the climate control panel to compare the blower’s response in different operating modes.
- Set the climate control system to OFF and listen for the blower to stop.
- Turn the blower on manually and select a low speed.
- Increase fan speed and confirm that airflow changes.
- Select AUTO mode if equipped and observe whether automatic speed control works.
- Switch the vehicle completely off, not merely into accessory mode.
- Listen for continued airflow from the dashboard vents and note whether the motor eventually stops.
Use the Toyota owner’s manual for your specific Camry to identify the correct HVAC OFF control and expected vehicle shutdown behavior.
| Condition | Meaning | Action |
|---|---|---|
| Auto mode only | May be normal automatic fan control while the vehicle is on | Compare with manual mode |
| On mode always | Continuous operation may be driver-commanded while ignition is on | Select OFF and compare |
| After key-off | Possible unwanted power supply or control command | Inspect the appropriate electrical circuit |
| OFF setting ignored | Possible switch, controller, module, or wiring fault | Test control response |
| Only certain speeds work | Possible resistor or electronic speed-control failure | Test the speed-control circuit |
If the blower does not respond to OFF, record whether the problem occurs with the ignition on, off, or both. These observations help identify which circuit requires testing.
Check All Fan Speeds
Next, test the blower from its lowest setting to its highest. Perform this check with the ignition on and the vehicle safely parked.
Listen for changes in motor sound and feel the airflow coming from the dashboard vents.
Watch for these symptoms:
- Only the highest speed works: A resistor or speed-control circuit problem is possible, depending on the system design.
- The fan runs at one speed only: The electronic controller, HVAC panel, or control signal may be faulty.
- Airflow surges or stops intermittently: Inspect the connector, wiring, motor, and controller.
- The motor runs but airflow is weak: Check the cabin air filter, air passages, and blower housing for restrictions.
- The blower makes grinding or rattling noises: Inspect for debris, worn bearings, or loose mounting hardware.
A motor that operates at every speed while the vehicle is on can still have a separate shutdown fault. Test both functions rather than assuming the motor is healthy.
Check the Camry Blower Relay if Equipped
On a Camry with a separate blower relay, checking it is a useful early troubleshooting step. A relay is an electrically operated switch that opens or closes the blower’s power circuit.
Older Camry electrical systems may use a heater or blower relay, while newer designs can control the blower electronically. Confirm the actual circuit before assuming that a removable relay is responsible.
Relay Location Check
The blower or heater relay may be located in an engine compartment fuse box or an under-dash electrical panel, depending on the Camry generation.
Look for the appropriate identification in the fuse box diagram, such as a heater or blower-related circuit. The exact label and location vary.
Follow these steps:
- Turn the ignition completely off.
- Identify the correct fuse box using the owner’s manual.
- Find the blower or heater relay location, if a separate relay is listed.
- Check the surrounding relay socket for signs of overheating, moisture, or corrosion.
- Confirm that the relay matches the part specification shown in the vehicle’s electrical documentation.
If the circuit has no separately serviceable relay, move to the electronic blower controller and HVAC module checks.
Warning: Turn the ignition off before removing a relay or disconnecting a component. Never substitute a relay with different electrical specifications. Disconnect the negative 12-volt battery cable before disassembling wiring or components, following the model-specific service procedure. Do not perform resistance tests on energized circuits.
Relay Swap Test
A relay swap can identify a defective relay when the Camry uses a removable relay of the correct type.
The replacement must have the same terminal arrangement, electrical rating, and operating characteristics.
- Switch the ignition off and locate the confirmed blower relay.
- Remove the relay carefully from its socket.
- Inspect the terminals for burning, corrosion, or looseness.
- Install a known-good relay with identical specifications.
- Check whether the blower now responds correctly to the ignition and HVAC controls.
If the original relay was sticking closed, a known-good replacement may restore normal shutdown.
However, if the fan continues running with the replacement relay, the relay may be receiving an unwanted command. Inspect its control circuit instead of repeatedly replacing relays.
Do not interpret the fan starting normally with ignition on as proof that the original relay caused unwanted operation after shutdown.
Relay Power Verification
A multimeter can help identify an electrical problem after the correct blower circuit has been confirmed.
Relay diagnosis requires checking both the switched contacts and the circuit that activates the relay.
For an experienced technician, the process includes:
- Identify the relay’s power, output, and control terminals from the correct wiring diagram.
- Check the relay contacts against the specified open and closed conditions.
- Measure the control-side voltage with the ignition and HVAC settings in the required positions.
- Check whether the relay output remains powered when it should be switched off.
- Inspect the socket and related wiring if the relay itself tests correctly.
A stuck contact and a relay that is continually commanded on can produce similar symptoms. Checking only output voltage does not distinguish between them.
Also, some electronically controlled blower motors have a battery feed even when the ignition is off. Voltage at the motor connector is therefore not always evidence of a failed relay.
Toyota’s Technical Information System provides model-specific wiring diagrams, repair procedures, and diagnostic information.
Continuity and resistance tests should be performed only with the relevant circuit safely de-energized and isolated.
Test the Blower Resistor or Control Module
The blower resistor or electronic controller regulates the motor’s operating speed. A fault can cause missing speeds, fixed-speed operation, intermittent airflow, or unwanted blower activity on certain designs.
Identify which type your Camry uses before testing or buying a replacement.
Traditional manual HVAC systems may use a resistor pack. Other systems use an electronic blower motor controller, sometimes integrated into the motor assembly.
Toyota’s Camry factory diagnostic information for 2018–2020 automatic HVAC systems lists the blower motor assembly, air conditioning amplifier, control panel, and electrical communication as possible areas to investigate when blower control fails.
How to Check a Traditional Blower Resistor
On a Camry with a separate resistor pack, testing resistance can reveal an open or damaged circuit.
- Turn off the vehicle and disconnect the negative battery cable as directed by the repair procedure.
- Locate the resistor near the blower motor housing, usually on the passenger side.
- Disconnect its electrical connector.
- Inspect the resistor and terminals for overheating, corrosion, or visible damage.
- Measure resistance between the specified terminals with a multimeter.
- Compare the results against the correct Camry service specifications.
An open circuit where the manual specifies continuity can indicate a defective resistor.
A burned connector may also require repair. Replacing the resistor without correcting an overheated connection can leave the underlying problem unresolved.
How to Check an Electronic Blower Controller
Electronic blower systems require a different approach. Their controller responds to signals from the HVAC control unit or air conditioning amplifier.
These signals may regulate blower speed electronically rather than through a traditional resistor pack.
A technician should check:
- Whether the controller receives the required power and ground.
- Whether the HVAC module changes its blower command when fan speed is adjusted.
- Whether the controller continues operating the motor after the OFF command.
- Whether wiring damage interferes with the control signal.
- Whether the motor assembly itself contains a failed electronic control circuit.
Advanced testing may require an automotive scan tool with HVAC active tests or an oscilloscope to inspect the blower control signal.
If the motor receives the correct OFF command but continues running, its controller becomes a stronger suspect.
If the OFF command is missing, diagnosis should move upstream toward the HVAC control module, switches, and wiring.
A traditional resistor failure typically explains lost fan speeds better than continuous operation after ignition shutdown. Avoid replacing the resistor solely because the fan remains on.
Check the HVAC Switch, Connector, and Ground
The HVAC control panel tells the blower system when to operate and how fast to run. A defective switch, control module, connector, or ground connection can interfere with those commands.
Inspect the controls and wiring after completing the simpler operating checks.
Check the HVAC Switch and Control Commands
Switch between OFF, manual fan speeds, and AUTO if equipped.
Look for a control that does not respond, a fan speed that remains unchanged, or an HVAC panel that behaves unexpectedly.
On older switch-based systems, test switch continuity according to the applicable circuit diagram.
On electronically controlled systems, a suitable scan tool can help determine whether the HVAC module recognizes the driver’s commands.
If the panel correctly recognizes OFF but the blower continues to run, inspect the downstream controller and wiring.
If the panel does not recognize the request, the control panel, module, or associated communication circuit requires further diagnosis.
Inspect the Blower Motor Connector
A loose or overheated electrical connector can disrupt blower power and control signals.
With the circuit safely isolated, inspect the connector for:
- Melted plastic or discolored terminals.
- Burned electrical insulation.
- Corrosion or moisture.
- Bent or recessed connector pins.
- Loose connections or damaged retaining clips.
Inspect the blower motor connector for heat damage, corrosion, and loose terminals. Verify power and control signals against the correct wiring diagram before replacing components.
Repair damaged wiring or connectors using the appropriate service procedure. Avoid temporary twisted-wire connections or unsuitable terminals in a high-current blower circuit.
Inspect Grounds, Fuses, and Wiring
Ground connections complete the motor’s electrical circuit. Corrosion or excessive resistance can weaken blower performance or create intermittent faults.
Check the ground points for secure attachment, rust, and damaged wiring.
Also inspect the related fuse and wiring harness for open circuits, chafed insulation, or evidence of previous electrical repairs.
A blown fuse more commonly explains a blower that will not operate. It is not normally the cause of a motor continuing to run.
Never install a fuse with a higher rating to bypass a recurring electrical problem.
If power, ground, and wiring test correctly but the blower ignores valid control commands, the electronic blower assembly or HVAC module may need professional testing.
Test the Repair on Every Fan Speed
After completing the repair, verify that the blower works correctly at every speed and stops when commanded off. Testing only one fan speed can miss a remaining controller or wiring problem.
Restore the electrical connections, reinstall removed components, and confirm that all terminals and covers are secure.
- Test the lowest speed: Start the vehicle or switch the ignition on as required. Select the lowest fan setting and confirm steady airflow.
- Increase fan speed: Move through every available setting and listen for smooth changes without hesitation or surging.
- Check for unusual sounds: Listen for grinding, rubbing, rattling, or excessive vibration.
- Test OFF and AUTO: Confirm that OFF stops the blower and that AUTO responds normally, if equipped.
- Shut down the vehicle: Turn the ignition fully off and confirm the blower no longer operates continuously.
Airflow should generally increase as fan speed rises. Abnormal noise can indicate loose installation hardware, debris, or a worn blower motor.
If the problem returns, inspect connector seating, ground connections, relay operation, and electronic control signals before replacing more parts.
A successful repair restores both normal fan speed control and proper HVAC shutdown.
When to Seek Professional Repair
A qualified automotive technician should inspect the Camry if the blower continues running after basic control and relay checks. Professional diagnosis is also appropriate if the electrical connector shows burning, the fuse repeatedly fails, or the HVAC module does not respond correctly.
Persistent operation can drain the 12-volt battery. Do not leave a continuously running blower unattended for long periods.
If the motor will not stop, a technician can isolate the appropriate circuit using the correct wiring diagram.
Removing a correctly identified blower fuse may stop the motor temporarily on some systems. However, this should only be done with the ignition off, following the applicable procedure. The vehicle may lose heating, air conditioning, and windshield defogging until the circuit is restored.
Note: If you cannot identify the correct electrical circuit, have a qualified technician isolate the fault. Do not probe unidentified terminals, bypass electrical protection, or disconnect high-voltage hybrid components. Restore proper windshield defogging before driving.
Frequently Asked Questions
How to Reset Car AC Blower Motor?
There is no universal Toyota Camry blower motor reset. Disconnecting the negative 12-volt battery cable for 30–60 seconds may reset some electrical controls, but this is not a confirmed repair for a stuck relay or faulty controller. Follow the model-specific battery procedure because disconnecting power can affect stored settings and system initialization.
How Much Does It Cost to Replace the Blower Motor on a Toyota Camry?
Toyota Camry blower motor replacement costs average about $315 to $346 in the United States, according to RepairPal’s September 2026 estimate. Actual prices vary by model year, location, parts, labor, taxes, and additional repairs. Confirm that the motor is defective before paying for replacement because a relay or HVAC control fault can cause similar symptoms.
How Can I Tell if My Blower Resistor Is Bad?
A faulty blower resistor commonly causes missing fan speeds, high-speed-only operation, or intermittent airflow. Visible overheating and incorrect resistance readings also indicate possible failure. Check the specified resistor terminals with a multimeter. On electronically controlled Camrys, the equivalent problem may involve the blower controller or motor assembly rather than a traditional resistor.
Where Is the Blower Motor Resistor Located in a Toyota Camry?
On Camrys equipped with a separate blower resistor, it is typically mounted near the blower motor on the HVAC housing beneath the passenger-side dashboard or behind the glove box. Exact placement depends on the model year and climate control design. Some versions use an electronic controller or an integrated motor assembly instead.
Can a Toyota Camry Blower Fan Drain the Battery?
Yes. A cabin blower that continues drawing electrical power after shutdown can discharge the Camry’s 12-volt battery. The risk increases the longer the motor operates while the vehicle is parked. Identify the faulty circuit promptly rather than relying on repeated jump-starts or battery replacement.
Is the Blower Fan the Same as the Engine Cooling Fan?
No. The cabin blower pushes air through the dashboard vents, while the engine cooling fan moves air through the radiator and condenser under the hood. Their controls and operating conditions differ. If the noise comes from the engine compartment rather than the dashboard, diagnose the cooling fan circuit instead.
Conclusion
A Toyota Camry blower fan that stays on after shutdown usually needs electrical troubleshooting rather than immediate motor replacement. Confirm the shutdown behavior, inspect the appropriate relay or electronic blower controller, and test the HVAC commands, connectors, and wiring.
After repair, verify every fan speed and confirm that the motor stops when the vehicle is turned off. If the problem persists, use model-specific factory diagnostics to identify the fault and prevent further battery drain.
Sources
- Toyota Technical Training — Air Conditioning and Climate Control, Course 752: Explains blower resistors, relays, and electronic motor control systems.
- Toyota Owner’s Manuals and Warranties: Provides model-specific owner information and operating instructions.
- Toyota Technical Information System: Official source for factory repair manuals, wiring diagrams, and diagnostic procedures.
- Toyota Camry Factory Repair Manual — HVAC Problem Symptoms Table: Documents blower motor, air conditioning amplifier, control, and wiring diagnostic areas for specified Camry models.
- RepairPal — Toyota Camry Blower Motor Replacement Cost: Provides the September 2026 US replacement cost estimate and associated repair information.