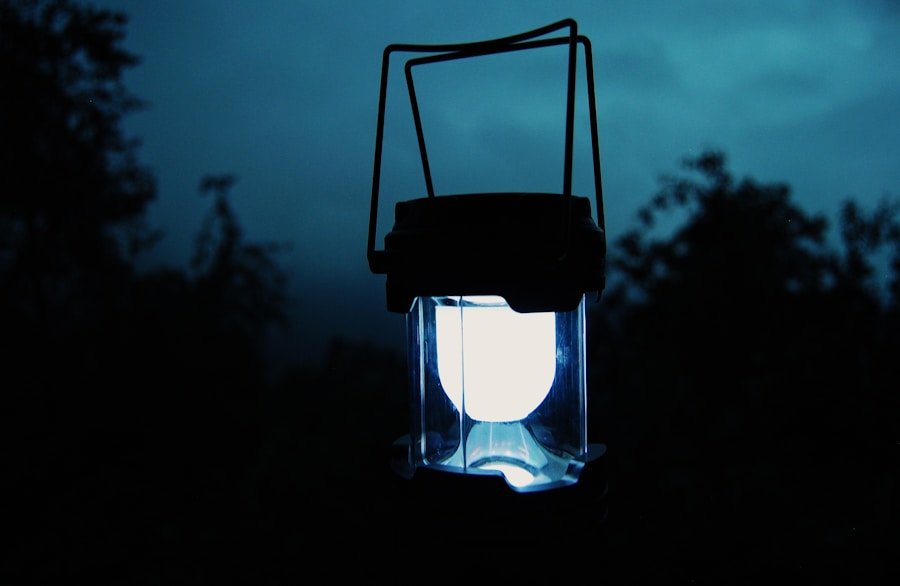
Tin can lanterns turn an empty food can into a patterned light for a patio, table, walkway, or seasonal display. The project is simple, but the cut rim, punctured metal, wire, batteries, and possible flame require careful handling. With a stable work surface and a battery-operated LED light, you can create a safer lantern in one afternoon after the water freezes.
Quick Answer
To make a tin can lantern, clean an undamaged food can, fill it partly with water, freeze it, and trace a simple pattern. Keep the ice inside while an adult punches the holes. Thaw and dry the can, smooth sharp burrs, add a wire handle, and use a battery-operated LED tea light.
Key Takeaways
- Choose a clean, sturdy can without heavy rust, deep dents, cracks, or a dangerously jagged rim.
- Wear safety glasses and work gloves, and let an adult handle the hammer, nail, wire cutters, and sharp metal.
- Leave expansion space when freezing the water, and keep the frozen water inside while punching the pattern.
- File or flatten every sharp burr before painting, carrying, hanging, or displaying the lantern.
- Use a battery-operated LED tea light as the default light source, especially indoors or in a hanging lantern.
- Never hang a lantern that contains a real candle or leave any open flame unattended.
At a Glance
| Time Required | 45 to 75 minutes of hands-on work, plus 6 to 8 hours for freezing and additional drying time |
| Difficulty | Easy to moderate; adult tool use and supervision are required |
| Tools Needed | Hammer, nail or awl, marker, tape, pliers, wire cutters, small metal file, safety glasses, and work gloves |
| Cost | Low; the final cost depends on the wire, paint, decorations, and light source you choose |
Choose the Right Tin Can
Start with a medium or large food can that gives you enough room for the pattern. A smooth-sided can is easier to mark than a deeply ribbed one, but either style can work. Taller cans create a stronger vertical pattern, while shorter cans are usually more stable on a table.
Inspect the can before using it. Skip cans with heavy rust, split seams, deep creases, or damaged metal around the base. Check the cut rim carefully. If it feels sharp, cover it temporarily with strong tape while you work and finish it properly before using the lantern.
A side-cutting can opener may leave a smoother edge than a traditional opener, but you should still inspect the rim by sight instead of running an unprotected finger along it. Wash the can with warm soapy water, remove food residue and adhesive, rinse it, and let it dry.
Warning: Cut metal and newly punched holes can cause serious cuts. Wear safety glasses and work gloves. Children may help choose or draw a pattern, but an adult should punch the metal, cut wire, file burrs, and handle any hot lantern.
Materials and Tools You Will Need
- One clean, empty food can
- Water and freezer space
- Paper for a pattern or a reusable stencil
- Permanent marker or washable craft marker
- Painter’s tape or masking tape
- Hammer
- Large nail, metal awl, or pointed punch
- Safety glasses
- Work gloves
- Wooden board, folded towel, or nonslip mat for the work surface
- Small metal file or deburring tool
- Pliers and wire cutters
- Craft wire, light chain, or another suitable handle material
- Metal-compatible primer and paint, if decorating
- Battery-operated LED tea light or battery-operated string lights
Do not use a powered drill unless you already know how to secure thin sheet metal and control the tool safely. A hand punch, nail, or awl is easier to control for most small lantern patterns.
[Amazon Products Picked for You]

Long Battery Life: Each LED tea light uses a CR2032 button cell which is very efficient and easy to buy online or from local stores. Lasts approximately 200 hours with a new battery. Batteries included

100 Hours Battery Included: Beichi chose the AG10 coin battery to power the LED tea lights and the candle life is 20 times that of the traditional wax tea lights; Flameless tealights are now available in 12/24/50/100 and 150 sizes to suit your needs

1.LONG BATTERY LIFE: Each LED tea lights use a CR2032 button cell which is very efficient and easy to buy online or from local store. Last about 200+ hours with a new battery. Batteries Included
How to Make a Tin Can Lantern
[Amazon Products Picked for You]

Traditional design Easily punches pouring holes into the lids of cans Square end for opening bottles Nickel Plated Measures 10cm long, 2cm wide
Step 1: Clean and Inspect the Can
Remove the label and wash away food, oil, and adhesive. Soaking the can in warm water can loosen paper labels. Use an adhesive remover only if its instructions allow use on metal, then wash the can again.
Dry the can and inspect the rim, side seam, and base. Temporarily cover a sharp rim with tape. Do not continue if the can has a split seam or weakened metal that could tear while you punch it.
Step 2: Fill the Can With Water and Freeze It
Fill the can with water, but stop about 1 inch below the top. Water expands as it freezes, so the empty space helps reduce pressure on the can. Place the can upright in the freezer until the water is solid, usually overnight or for at least 6 to 8 hours.
The frozen water supports the thin wall while you punch the design. Keep the ice inside the can until all pattern and handle holes are complete.
Pro Tip: Place the water-filled can inside a shallow bowl before freezing. The bowl helps keep it upright and catches water if the can has an unnoticed leak.
Step 3: Plan and Transfer the Pattern
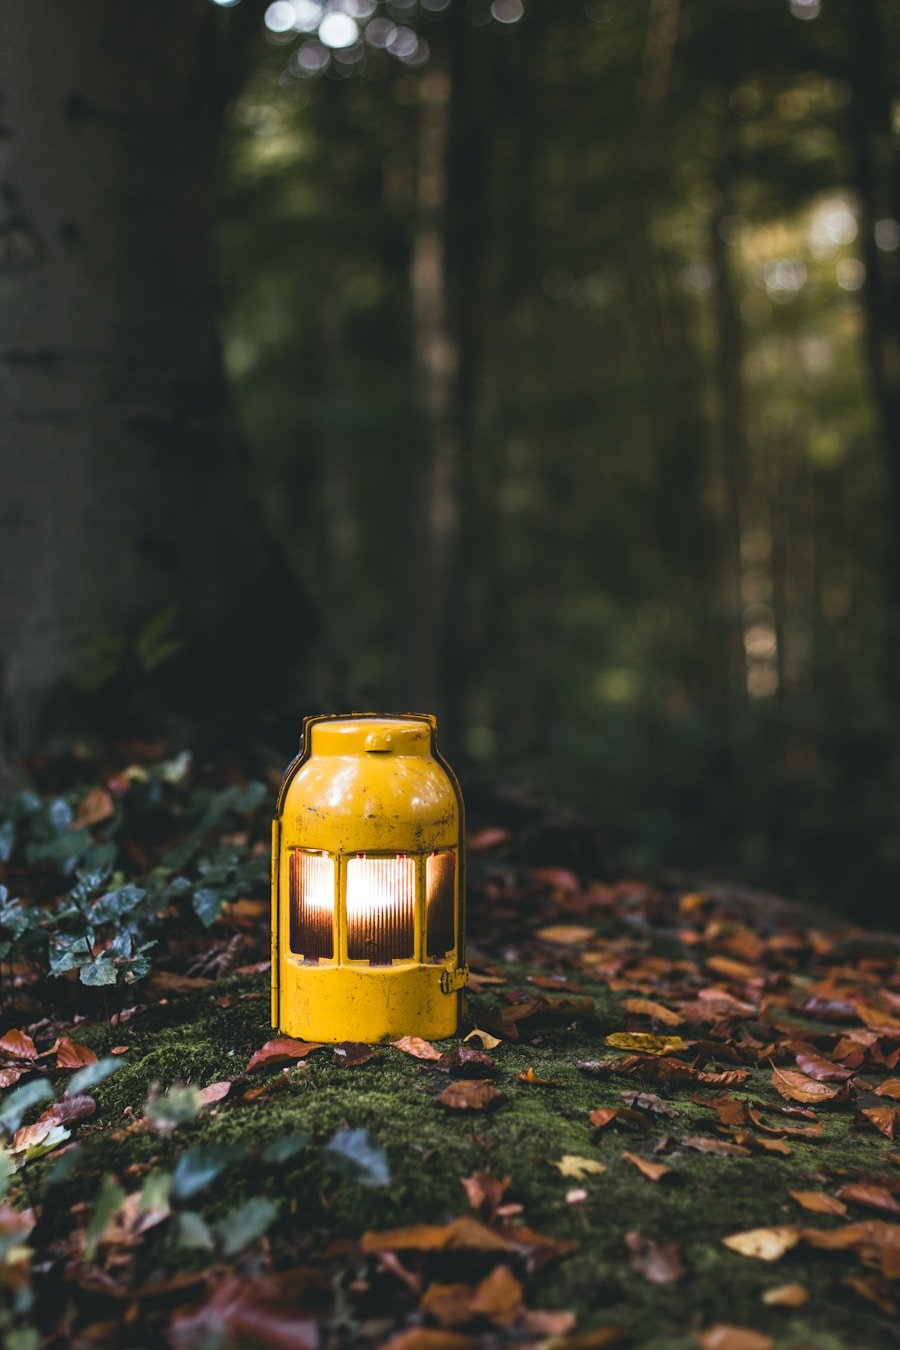
Sketch the design on paper before marking the can. Simple shapes such as stars, hearts, leaves, initials, dots, waves, and geometric lines are easier to punch cleanly than highly detailed pictures.
Wrap the paper pattern around the frozen can and hold it with tape. You can also draw directly on the metal with a marker. Mark each hole as a separate dot so you know exactly where to place the nail.
Leave enough metal between the dots. Closely spaced holes can join together and tear the can. Begin with wider spacing because you can always add more holes after testing the light.
Step 4: Punch the Pattern
Place the frozen can on its side over a folded towel, nonslip mat, or wooden board. The support should prevent rolling without allowing your hand to sit behind the area being punched.
- Put on safety glasses and gloves.
- Place the nail or awl on the first marked dot.
- Tap lightly with the hammer until the point passes through the metal.
- Remove the tool without twisting it aggressively.
- Continue one hole at a time while keeping fingers away from the striking area.
Use a larger nail for brighter accent holes and a smaller nail for fine details. Avoid heavy blows. Excessive force can dent the wall, enlarge the opening unevenly, or split nearby holes.
Step 5: Add Holes for a Handle
If you plan to hang or carry the lantern, punch two handle holes near the top on opposite sides. Keep them level and leave enough metal between each hole and the upper rim. Holes placed too close to the rim may tear under the lantern’s weight.
| Handle Material | Best Use | Important Check |
|---|---|---|
| Craft wire | Light LED lanterns and adjustable handles | Fold cut ends inward so they cannot scratch hands |
| Light metal chain | Long-term outdoor-style displays | Use closed connectors that cannot slip through the holes |
| Decorative cord | Indoor LED-only decorations | Keep it away from heat, rain, and open flames |
For a wire handle, cut a length that forms a comfortable arch. Feed one end through a handle hole, bend it inward with pliers, and form a closed loop. Repeat on the opposite side. Fold both wire ends toward the can wall so no sharp point remains exposed.
Lift the empty lantern a few inches above a soft surface to test the handle. If either hole stretches, the loop opens, or the can tilts sharply, correct the problem before adding the light.
Step 6: Thaw, Dry, and Smooth the Metal
Place the can in a sink or bowl and let the ice thaw. Do not pour boiling water into the frozen can because rapid temperature change may distort the metal or create unnecessary splashing around sharp edges.
After the ice melts, empty the water and dry the can completely. Inspect every hole from the inside and outside. Use a small metal file or deburring tool to flatten rough edges. Pliers can gently press stubborn burrs toward the inside, but avoid squeezing hard enough to deform the pattern.
Remove the temporary rim tape only after you are ready to finish the edge. Smooth the rim where possible, then cover it with metal edge trim or another secure protective finish if any sharpness remains.
Step 7: Decorate and Cure the Finish
You can leave the metal unfinished for a simple look or apply a metal-compatible primer and paint. Follow the coating manufacturer’s preparation, ventilation, drying, and curing instructions. Paint that feels dry on the surface may not be fully cured.
For an outdoor lantern, choose coatings labeled for exterior metal and keep the lantern out of standing water. Even protected metal can rust where it has been punctured, scratched, or left wet.
Ribbons, beads, paper, dried plants, and fabric can add color, but attach combustible decorations only when using an LED light. Keep decorations away from the opening so you can remove the light and inspect the inside.
Select a Safe Light Source
A battery-operated LED tea light is the best choice for most tin can lanterns. It provides a soft glow without an exposed flame and produces much less heat than a candle. Warm-white LEDs create a candle-like appearance, while colored LEDs suit parties and seasonal displays.
Short battery-operated string lights can fill a larger can with more even light. If you use them outdoors, confirm that the product is labeled for the location and conditions where you plan to display it. Keep the battery pack dry and accessible.
Note: Some LED tea lights use button or coin batteries. Choose lights with secure battery compartments, and keep the lights and spare batteries away from children and pets. A swallowed button battery requires immediate emergency medical attention.
A real candle creates an open flame and heats the can. If you choose to use one, keep the lantern upright on a stable, noncombustible, heat-resistant surface. Do not hang it, carry it while lit, place it near decorations or plants, or touch the metal until it has cooled completely. Never leave the flame unattended.
[Amazon Products Picked for You]

7 Color Changing Flame Effect: BEICHI upgraded pure white flameless tealight candles feature realistic colorful LED flames that slowly transition through 7 vibrant colors. Each flameless candle cycles through colors at different times, creating a more natural and dynamic glow with a unique lighting effect. Enjoy a soft, relaxing ambiance without harsh flickering or distracting flashes

✅REALISTIC FLICKERING DANCING FLAME | Flameless Tealight Candles-Our flickering LED tea lights cast natural warm light, just like real wax tealights. Classic smooth tealight shape matches all decor styles. Build a warm, romantic atmosphere with zero smoke, no soot and no messy melted wax for indoor use.

PACKAGE INCLUDE – 100PCS LED Flameless tea lights(Size: W 1.5'' x H 1.5''). Batteries are included and installed. On/Off sliding switch makes it easy to use.
Safety Precautions for Tin Can Lanterns
- Protect your eyes and hands: Wear safety glasses and work gloves while punching, filing, or cutting metal. OSHA lists gloves and safety glasses among common forms of protection from physical and mechanical hazards.
- Control the can: Prevent it from rolling, and never hold your hand behind the point you are punching.
- Supervise children: Let children draw patterns or paint only when the material and activity are age-appropriate. An adult should perform every sharp-tool step.
- Remove burrs: Do not rely on paint to cover a sharp projection.
- Test the handle: Check both attachment points before hanging the lantern.
- Use LEDs when hanging: Never suspend a lantern containing a burning candle.
- Keep batteries secure: Store spare and used batteries away from children and pets.
- Protect outdoor displays: Take lanterns inside during strong wind, heavy rain, or severe weather.
- Allow hot metal to cool: A candle can heat the sides, rim, base, and handle.
- Keep escape routes clear: Do not place lanterns where people may trip over them or where they block stairs and walkways.
Tips for Maximizing the Glow
Test the lantern in a dark room before adding more holes. This makes it easier to see where the design needs extra light without weakening the metal unnecessarily.
- Mix hole sizes: Use larger openings as focal points and smaller openings for outlines.
- Keep spacing consistent: Even spacing makes simple patterns appear cleaner.
- Use a brighter LED: A stronger light often improves the result more safely than adding dozens of closely spaced holes.
- Raise the light slightly: A small metal or heat-resistant platform can position an LED closer to the center of a tall can.
- Use a light interior with LEDs: Light-colored, fully cured paint or securely fitted foil may reflect more LED light inside the can.
- Keep the inside uncluttered: Loose decorative material can block holes and interfere with the light.
Do not line a candle lantern with ordinary paper, plastic, fabric, adhesive film, or paint that is not suitable for heat. Use reflective additions only with an LED unless the material’s manufacturer clearly permits the intended heat exposure.
Creative Ways to Display Tin Can Lanterns
Hang LED lanterns from sturdy hooks, shepherd’s hooks, or tree branches that can support their weight. Use different hanging heights, but keep each lantern above head level or away from normal walking paths.
For a table display, group several cans of different heights on a stable tray. Leave enough space to reach every switch and battery compartment. Seasonal flowers, pinecones, stones, or painted wood can complete the display, provided all decorations remain clear of any open flame.
Lanterns can also mark the edge of a patio or walkway. Set them where they cannot be kicked or tipped, and use LEDs rather than candles. Do not rely on decorative lanterns as primary safety lighting for stairs, entrances, or emergency routes.
For indoor decor, place an LED lantern on a mantel, shelf, or windowsill. Protect the surface from scratches and check for condensation or rust before each use. A coordinated paint color can help the lantern match other room decorations.
If you want to explore other home projects after finishing your lantern, you may also be interested in smart security cameras for indoor monitoring, air purifiers for allergy management, or outdoor kitchen storage ideas.
Careful preparation makes the biggest difference. Choose sound metal, support the can while punching, smooth every edge, secure the handle, and use an LED light whenever possible. These checks produce a cleaner pattern and a lantern that is safer to carry, display, and reuse.
Troubleshooting Common Tin Can Lantern Problems
The Can Dents While You Punch It
Confirm that the water is completely frozen and that the can is supported on a folded towel or nonslip surface. Use lighter hammer taps. A nail that is too blunt may require excessive force, while one that is too large may distort the wall.
Two Holes Tear Into One Opening
Stop punching in that area. The dots were probably too close together or the blows were too heavy. Adjust the design around the opening instead of trying to split it back into separate holes.
The Pattern Looks Dim
Test a brighter LED, clean paint or debris from the openings, and position the light closer to the center. Add a few larger accent holes only after checking that enough metal remains between them.
The Handle Feels Loose
Remove the light before making adjustments. Tighten the inner loops with pliers and close any open wire ends. If a handle hole has stretched or torn, do not hang the lantern from that hole.
Rust Appears Around the Holes
Dry the lantern after every outdoor use. Remove loose rust carefully, clean the area, and apply a metal-compatible protective coating according to its instructions. Retire the lantern if rust has weakened the rim, base, seam, or handle holes.
The LED Tea Light Stops Working
Check the switch, battery orientation, compartment cover, and battery condition. Replace the battery only with the type specified by the manufacturer. Recycle or dispose of used batteries according to local requirements.
Frequently Asked Questions
What is a tin can lantern?
A tin can lantern is a decorative light made by punching a pattern into a clean metal food can. A battery-operated LED inside the can shines through the holes to create dots, shapes, and shadows.
How do you make a tin can lantern?
Clean and inspect the can, fill it partly with water, and freeze it. Tape a pattern around the frozen can, punch the marked holes, add handle holes, thaw the ice, dry the can, remove sharp burrs, attach the handle, decorate the metal, and insert an LED tea light.
Do you have to freeze the can before punching holes?
Freezing water inside the can is a practical way to support the thin metal and reduce denting. Leave expansion space at the top, freeze the water completely, and keep the ice inside until you finish punching all pattern and handle holes.
How do you use a tin can lantern effectively?
Place a bright LED tea light near the center of the can, switch off nearby lights, and adjust the lantern until the pattern faces the viewing area. Keep the lantern stable and make sure its handle, rim, and punctures have no exposed sharp edges.
What safety precautions should you follow?
Wear eye protection and gloves, secure the can before striking it, keep hands behind neither the tool nor the target area, remove sharp burrs, supervise children, secure small batteries, test the handle, and use an LED instead of an open flame whenever possible.
Can a tin can lantern be used indoors?
Yes. Use a battery-operated LED indoors and place the lantern on a stable surface where children and pets cannot pull it down. Avoid an open flame because the metal can become hot and nearby furnishings may ignite.
How can you help prevent a tin can lantern from rusting?
Dry the lantern thoroughly, apply a metal-compatible primer and exterior coating, and store it indoors when it is not in use. Inspect punctures and scratches regularly because exposed metal can begin rusting at those points.
Sources
- Occupational Safety and Health Administration: Personal Protective Equipment – supports the use of gloves and safety glasses where physical and mechanical hazards are present.
- U.S. Environmental Protection Agency: How Do I Recycle Common Recyclables? – provides guidance on recycling aluminum cans, metal, and household batteries.
- National Fire Protection Association: Candle Safety – supports supervision, stable placement, and separation of flames from combustible materials.
- Pediatric Button Battery Injuries: 2013 Task Force Update – explains the serious ingestion risks associated with button and coin batteries.
