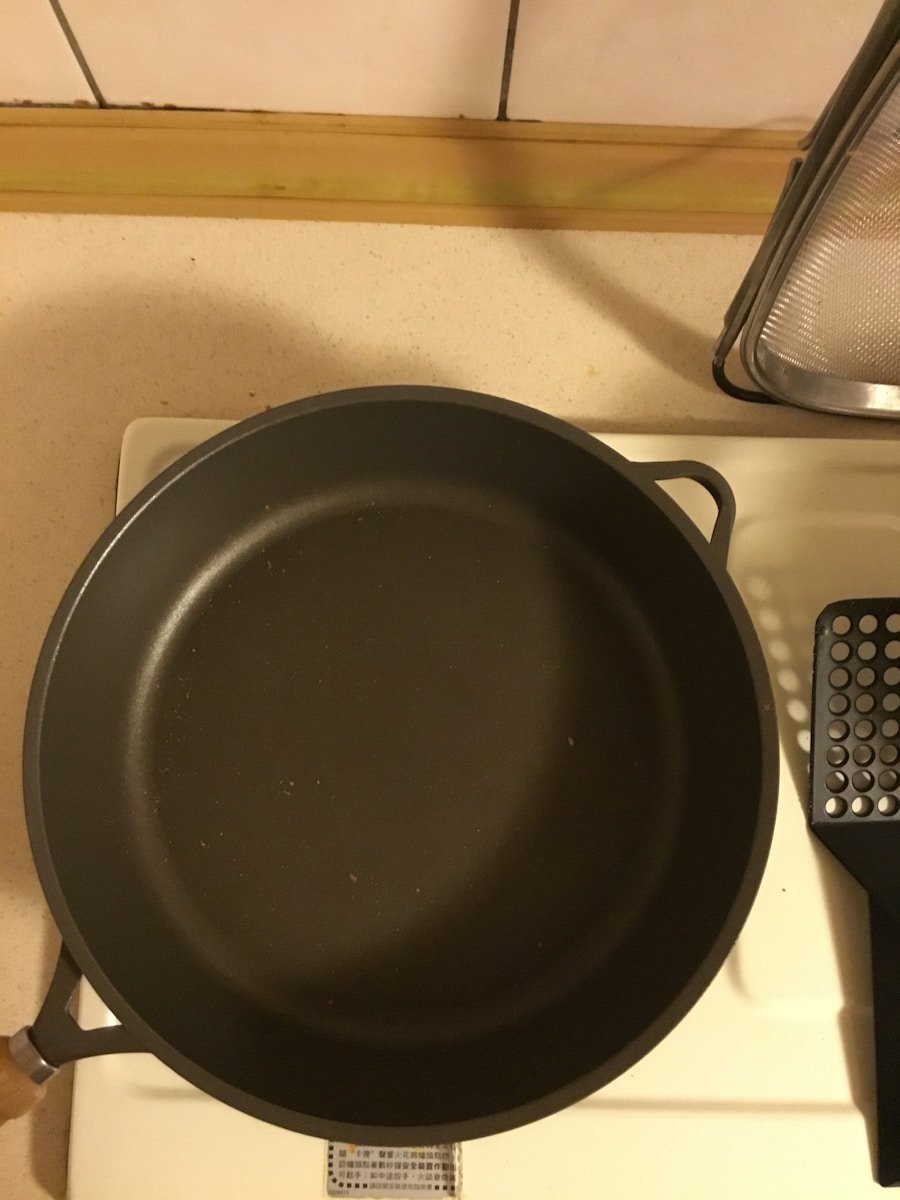
Selecting the right pan is one of the easiest ways to stop pancakes from sticking, tearing, or browning unevenly. Pancake batter is delicate, so the surface, heat level, grease, and timing all work together. When you match the pan to the job and prepare it correctly, your pancakes release more easily and cook with a softer center and golden surface.
A non-stick skillet is often the simplest choice for pancakes because it helps the batter release with less oil or butter. A well-seasoned cast iron skillet can also work beautifully, especially if you want deeper browning and steady heat. Stainless steel can make good pancakes, but it needs better heat control and enough fat because batter can grip the surface quickly.
Quick Answer
To keep pancakes from sticking, use a clean non-stick or well-seasoned cast iron pan, preheat it over medium heat, grease it lightly, and wait until bubbles form and the edges look set before flipping. If the pan is too cold, too hot, dry, scratched, or dirty, pancakes are more likely to stick.
Key Takeaways
- Choosing the right pan is crucial for successful pancake making. Use a non-stick pan or a well-seasoned cast iron pan for the best results.
- Preparing the pan by cleaning, preheating, and adding a small amount of oil or butter helps ensure even cooking and prevents sticking.
- Using the right heat matters. Start with medium heat, then adjust as needed to avoid burning the outside or undercooking the center.
- Greasing the pan lightly with oil, butter, or cooking spray before pouring the batter helps pancakes release cleanly and cook evenly.
- Using the right batter consistency is key. Aim for a smooth, pourable batter that spreads gently without running like water.
- Flip only when bubbles appear, the edges look slightly dry, and the underside has set enough to lift without tearing.
At a Glance
| Time Required | About 5 minutes to prepare the pan and 2 to 3 minutes per pancake batch. |
| Difficulty | Easy, but heat control and flipping timing make the biggest difference. |
| Tools Needed | Non-stick skillet or seasoned cast iron pan, wide spatula, oil or butter, paper towel, and pancake batter. |
| Cost | Low. Most fixes use tools and ingredients you already have in the kitchen. |
Choosing the Right Pan
The type of pan you choose can significantly influence the outcome of your dish. For pancakes, omelets, and other delicate foods, a non-stick skillet is often the best choice because the smooth coating helps food release without tearing. This matters when you want pancakes that lift cleanly, stay round, and keep a soft texture.
Non-stick surfaces allow for easy food release, minimizing the risk of sticking or ripping. That makes them useful for beginners and busy mornings when you want reliable results. However, the pan still needs light grease and moderate heat. A dry or overheated non-stick pan can still cause pancakes to cling, brown too fast, or cook unevenly.
If you want a crispier edge or stronger browning, a cast iron skillet may be more suitable. Cast iron retains heat exceptionally well and can create beautiful caramelization on the surface of your food. A well-seasoned cast iron pan can make excellent pancakes, but it needs proper cleaning, drying, and oiling so the seasoning stays smooth and protective.
The size and shape of the pan also play a critical role in cooking. A larger pan gives you more surface area, which helps when cooking several pancakes for a family breakfast. A smaller pan may be ideal for single servings because it is easier to control and heats quickly.
Material matters too. Stainless steel pans are excellent for browning and deglazing, while ceramic-coated pans often offer even heat distribution and an attractive surface for serving. For pancakes, though, stainless steel needs more attention because wet batter can bond to the metal if the pan is not hot enough or greased well enough. Understanding the specific needs of your recipe and matching them with the right pan sets the stage for successful cooking.
Note: If your non-stick pan is scratched, peeling, or no longer releasing food well, it may not be the best pan for pancakes. A damaged cooking surface can make sticking worse.
[Amazon Products Picked for You]

Pancake Bonanza: The revolutionary double pan Pancake Bonanza by Gotham Steel is designed to create fluffy and perfectly cooked omelets, pancakes, quesadillas, tortillas and more, day in and day out. The unique double dome design allows for an effective yet effortless cooking experience.

Swiss Non-Stick Coating - Swiss ILAG nonstick granite coating. Free of Intentionally Added PFOA. Smokeless, safe & healthy. Cooking with little oil for healthy diet.

Non-Toxic Granite Coating: ESLITE LIFE nonstick crepe pan free of PTFE & PFOA, lead, cadmium and other toxic materials that can leach into your food, making them safe for you, your family and the environment
Preparing the Pan
Once you have selected the right pan, preparing it properly is essential for optimal cooking results. The preparation process begins with cleaning the pan thoroughly to remove crumbs, grease buildup, or residue from previous use. Even a thin layer of old oil can create sticky spots and uneven browning.
This step is especially important for cast iron skillets, which require special care to maintain their seasoning. A well-seasoned cast iron pan not only helps prevent sticking but can also improve flavor over time. To clean it, avoid harsh scrubbing that strips the seasoning. Instead, scrub it with coarse salt and a small amount of water when needed, then dry it completely to help prevent rust.
After cleaning, preheating the pan is another crucial step that should not be overlooked. Preheating allows the pan to reach an even temperature before you add batter, which is vital for consistent cooking. If the pan is too cool, the batter can spread and stick before the surface sets. If the pan is too hot, the outside can burn before the center cooks through.
For non-stick pans, medium heat is usually enough. Cast iron pans can handle higher temperatures, but pancakes still cook best when the heat is controlled. Gradual heating helps the whole pan warm evenly, which reduces hot spots. To test whether your pan is ready, sprinkle a few drops of water onto the surface. If they sizzle and evaporate quickly, the pan is close to ready. If they vanish instantly with smoke, lower the heat and let the pan settle.
Pro Tip: After greasing the pan, wipe away extra oil with a folded paper towel. A thin, even film works better than a puddle of fat.
Using the Right Heat
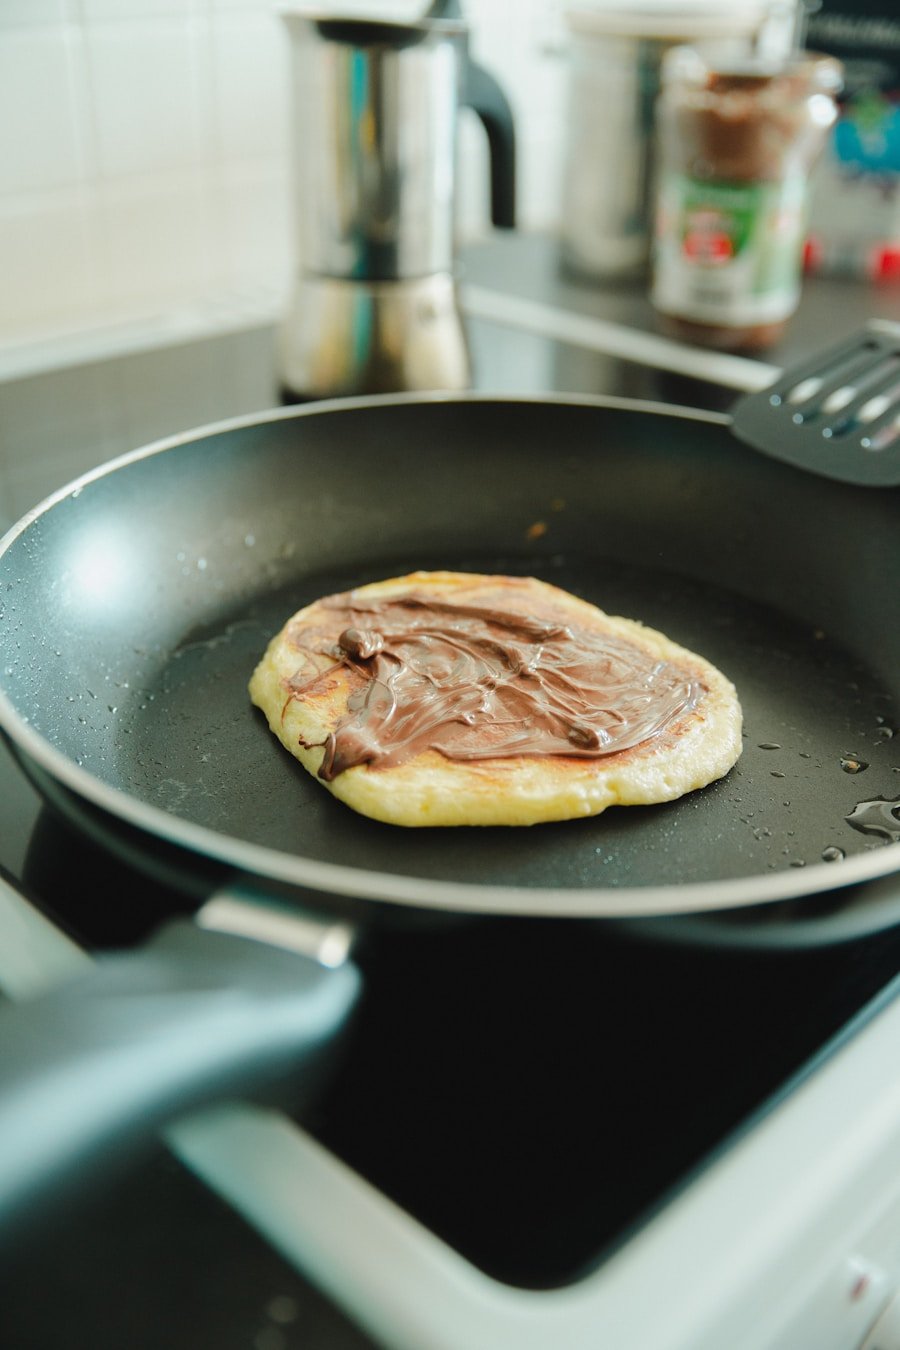
Understanding how to control heat is paramount in cooking because it directly affects how food cooks and develops flavor. Pancakes usually do best over medium heat. That level gives the batter enough time to set, rise, and brown without scorching the bottom. If the heat is too high, the first side may darken before bubbles form across the top.
Different cooking methods require different heat levels. Sautéing vegetables often requires medium to medium-high heat to create a light sear without burning them. Simmering sauces or soups calls for low heat so flavors can meld without boiling over. Pancakes sit between those methods. They need steady heat, not aggressive heat.
Knowing when to adjust the heat during cooking can make all the difference in texture and taste. If the first pancake turns very dark before the top sets, lower the heat slightly. If the pancake stays pale and flat after a few minutes, raise the heat a little. The first pancake often acts as a test pancake, so use it to fine-tune the pan temperature.
The type of pan also changes how heat behaves. Non-stick pans are generally more forgiving at lower temperatures. Stainless steel pans usually need proper preheating and enough fat to prevent sticking. Cast iron skillets hold heat very well, so once they get hot, they stay hot. When using cast iron, gradually increase the temperature instead of starting too high. By mastering heat control and understanding how different pans respond, you can produce consistently better pancakes and other dishes.
Warning: Avoid cooking pancakes over high heat. High heat can burn butter, scorch the pancake surface, and make the batter stick before the center has time to cook.
Greasing the Pan
| Greasing the Pan Metrics | Value |
|---|---|
| Number of Pans Greased | 500 |
| Types of Grease Used | Butter, Oil, Cooking Spray |
| Time Taken to Grease Each Pan | 10 seconds |
| Frequency of Pan Greasing | Every 20 uses |
Greasing the pan is an essential step that can significantly affect food release and the overall cooking experience. The type of fat you use can vary based on taste, convenience, and dietary needs. Common options include butter, oil, and non-stick cooking spray.
Butter adds rich flavor and can enhance browning because of its milk solids. However, butter can burn if the pan gets too hot, so it works best over moderate heat. Oils such as vegetable oil or canola oil provide a more neutral taste and usually tolerate heat better. For convenience, non-stick sprays offer easy application and even coverage, especially when you are making several batches.
When greasing a pan, apply an adequate amount without overdoing it. Too much grease can make pancakes heavy or oily, while too little can cause sticking and patchy browning. For pancakes, add a small amount of fat, spread it across the pan, and wipe away excess if needed. You want a thin coating, not a pool.
For baking purposes, especially with cakes or muffins, it is advisable to grease both the bottom and sides of the pan to help baked goods release cleanly. Dusting floured surfaces after greasing can further prevent sticking and create a more defined crust on baked goods. Pancakes do not need flour in the pan, but they do need consistent contact with a lightly greased surface. Understanding how to grease your pan properly will improve both cooking and presentation.
[Amazon Products Picked for You]

One 5 oz can of PAM Non Stick Olive Oil Cooking Spray

One - 8 ounce aerosol of Happy Belly Non-Stick Canola Oil cooking spray

From America's #1 Avocado Oil Brand — A oil sprayer for cooking with the same purity standard you already trust, now in a fast, clean, propellant-free cooking spray format. Pair with Chosen Foods Avocado Oil pourable bottles, Avocado Mayo, Salad Dressings, and Dipping Sauces for a complete clean-label kitchen built on real ingredients and real avocados. From a Certified B Corporation on a mission to do good in the world by being good for the world.
Using the Right Batter
The choice of batter is crucial in determining the texture and flavor of your final dish. Different recipes call for various types of batters. Some are thick and rich, while others are light, thin, and airy. Pancake batter should usually be pourable but not watery. It should spread gently when it hits the pan while still holding enough structure to rise.
When making pancakes or waffles, a batter that includes baking powder or baking soda can create a fluffy texture as the leavening agents produce gas bubbles during cooking. Those bubbles help the pancake lift and soften. If the batter is too thick, it may sit in a mound and cook unevenly. If it is too thin, it may spread too much and become fragile when you flip it.
For crepes or thin pancakes, a more liquid batter is required to achieve a delicate consistency. That thinner batter is meant to spread quickly across the pan. Regular breakfast pancakes need a thicker balance so they stay tender but still turn easily.
Flavor also plays an important role in batter selection. Ingredients such as vanilla extract, cinnamon, nutmeg, or citrus zest can elevate the taste of your dish. Dietary restrictions matter as well. Gluten-free batters made with almond flour, rice flour, or a gluten-free flour blend can work for people avoiding wheat, though they may brown and flip differently. By understanding how different batters behave, you can create dishes that are delicious, reliable, and better suited to your needs.
Note: Letting pancake batter rest for a few minutes can help hydrate the flour and relax the mixture. Avoid overmixing, since too much mixing can make pancakes tougher.
Flipping Techniques
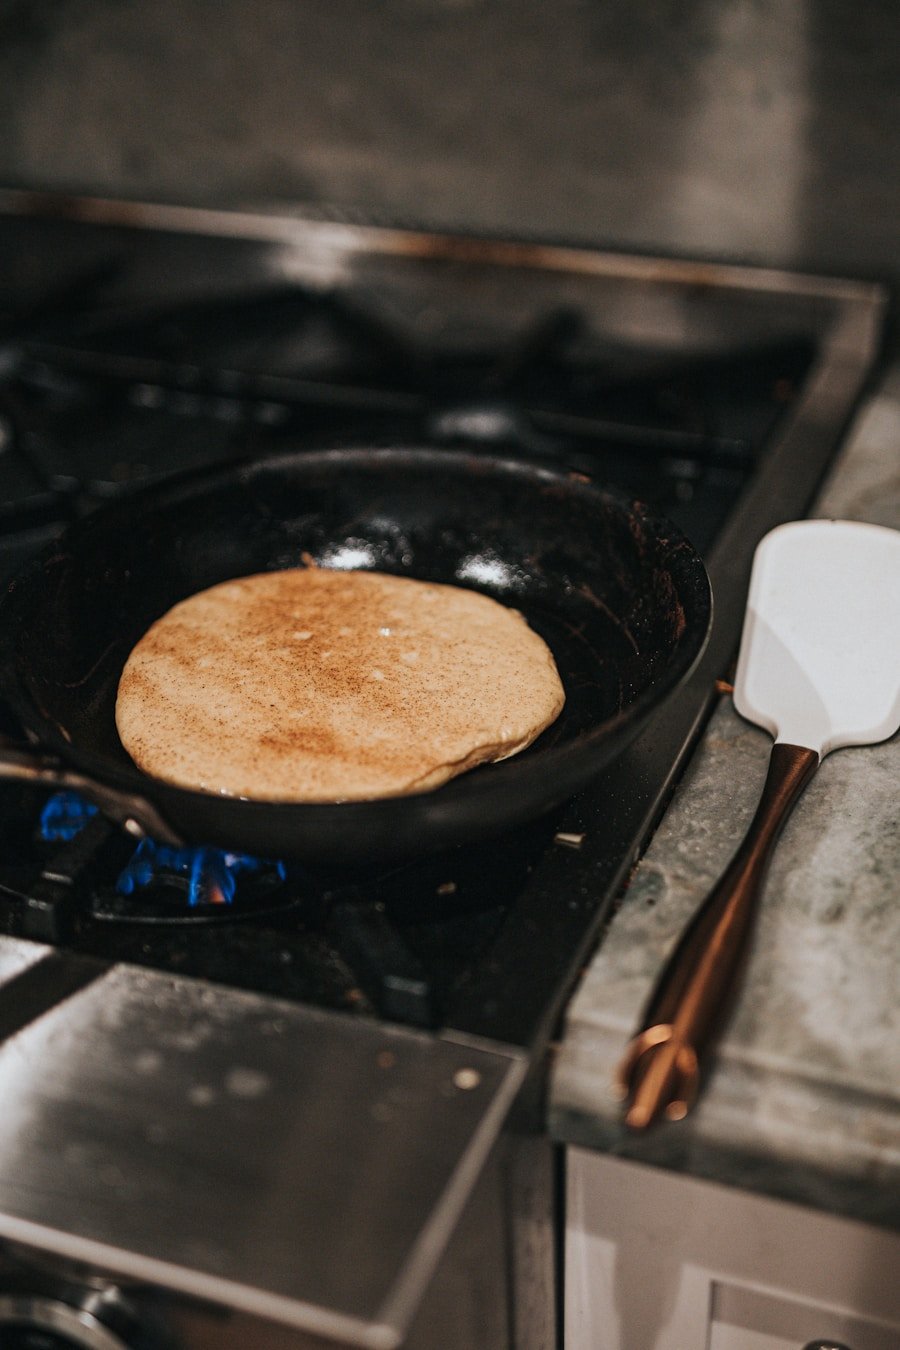
Mastering flipping techniques is an art that takes practice, but it is essential for perfectly cooked pancakes, omelets, and similar dishes. The key to successful flipping lies in timing and technique. Waiting until the edges begin to set and bubbles form on the surface usually indicates that it is time to flip.
Use a spatula designed for flipping, preferably one with a wide surface area. A wide spatula supports more of the pancake, so you can lift it without folding or tearing it. Before flipping, slide the spatula gently under the pancake. If it resists, give it a little more time. A pancake that is ready to flip should release more easily.
When flipping pancakes or similar items, use a quick wrist motion rather than trying to lift straight up and turn slowly. This technique creates a smoother transition and reduces the chance of splattering batter or folding the pancake. For omelets or frittatas, gently sliding the spatula underneath before lifting helps maintain the shape during flipping.
Timing is just as important as movement. Flip too early, and the top may spill or tear. Flip too late, and the bottom can overbrown. Practicing these techniques will improve your confidence in the kitchen and help you create dishes that look as good as they taste.
Common Reasons Pancakes Still Stick
If your pancakes still stick after you grease the pan, look at the surface, temperature, and timing. A pan with sticky residue or scratches can grab batter even when you add oil. A pan that is too cold can let the batter settle into tiny surface pores before it sets. A pan that is too hot can burn the fat and create rough, sticky spots.
Another common problem is flipping too soon. Pancakes need time to form a cooked bottom layer before you move them. Look for bubbles across the surface, slightly dry edges, and a bottom that slides easily when nudged with a spatula. If the pancake bends, smears, or drags, wait a little longer.
The batter can also cause sticking. Batter with too much sugar may brown quickly and cling to the surface. Batter that is too thin can spread unevenly and tear. Batter that is overmixed may become dense and less tender. Make small adjustments one at a time so you can tell which fix works.
How to Fix a Sticky Pan During Cooking
If a pancake sticks in the middle of cooking, do not scrape aggressively. First, lower the heat slightly and give the pancake a few more seconds to set. Then slide a thin, flexible spatula around the edges. Work slowly toward the center instead of forcing the whole pancake up at once.
If the pan looks dry, add a tiny amount of oil or butter around the edge of the pancake and tilt the pan so the fat moves underneath. This can help loosen the pancake without soaking it. For the next pancake, wipe out burnt bits, add fresh grease, and adjust the heat before pouring more batter.
If every pancake sticks, pause and clean the pan before continuing. A layer of burnt butter, sugar, or batter can make the next batch worse. Wipe the pan carefully, re-grease it, and use the first new pancake as a temperature test.
[Amazon Products Picked for You]

Tapered edge helps move easily underneath delicate food. Perfect for fish, omelets, and cookies!
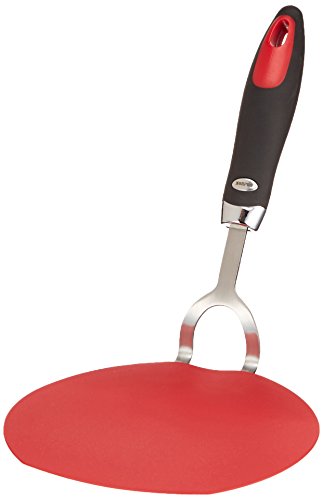
Measures: 13.25" x 6.25" x 5" / 33.5cm x 16cm x 13cm

Perfect for sauteing or lifting cookies from a cookie sheet
Cleaning the Pan
Cleaning your pan after use is an often overlooked yet vital part of maintaining its longevity and performance. The cleaning method varies depending on the material. Non-stick pans require gentle cleaning with soft sponges and mild detergent to avoid scratching the surface. Avoid abrasive cleaners or steel wool on non-stick surfaces because they can damage the coating and cause food to stick in future uses.
For cast iron skillets, cleaning requires a different approach. After the pan cools slightly, rinse it with hot water and scrub with a stiff brush or coarse salt if necessary. Avoid soaking cast iron, because long contact with water can encourage rust. Use soap only when necessary, and avoid harsh detergents that strip seasoning.
Once a cast iron pan is clean, drying it thoroughly is essential. Moisture can lead to rust, especially around the rim and handle. Applying a thin layer of oil before storing can help maintain the seasoning and keep the pan ready for future use. With non-stick pans, dry them with a soft towel and store them carefully so the surface stays smooth.
Storing the Pan
Proper storage of your pans is crucial for maintaining their quality over time and ensuring they remain ready for use. For non-stick pans, stacking them with care is important. Placing a soft cloth, paper towel, or pan protector between stacked pans can prevent scratches on the cooking surface. If space allows, hanging them on hooks or using a pot rack can keep them accessible while reducing wear.
Cast iron skillets also need special attention during storage. Store them in a dry place to prevent moisture buildup that could lead to rust. If you have several cast iron pieces, place a paper towel inside each one before stacking them. This helps absorb moisture and protects the seasoning layer.
Keeping lids slightly off or separated during storage can allow air circulation, which further reduces moisture buildup. By adopting storage practices tailored to each type of pan, you can extend the lifespan of your cookware and keep it in excellent condition for pancakes, eggs, frittatas, steaks, and other dishes.
If you’re looking for more kitchen tips and tricks, you may also be interested in learning about the 5 Top Pasta Roller Attachments for Your KitchenAid Stand Mixer. Just like preventing pancakes from sticking to the pan, having the right tools and equipment can make a big difference in your cooking experience. Check out this article for recommendations on pasta roller attachments that can help elevate your homemade pasta game.
Frequently Asked Questions
What causes pancakes to stick to the pan?
Pancakes can stick when the pan is not greased enough, the surface is dirty or damaged, the pan is not properly seasoned, or the cooking temperature is too high or too low. Sticking can also happen when you flip before the bottom has fully set.
How can I prevent pancakes from sticking to the pan?
Use a clean non-stick pan or a well-seasoned cast iron pan, preheat it over medium heat, grease it lightly with oil or butter, and wait until bubbles form and the edges look set before flipping. A wide spatula also helps you lift the pancake cleanly.
What type of pan is best for preventing pancakes from sticking?
A non-stick pan is the easiest option for preventing pancakes from sticking. A well-seasoned cast iron pan can also work very well if it is properly maintained, preheated gradually, and lightly greased before each batch.
Is it necessary to use oil or butter when cooking pancakes to prevent sticking?
Yes, a small amount of oil or butter helps create a barrier between the batter and the pan. This makes it easier to flip the pancakes without tearing them. Use only a light coating so the pancakes do not become greasy.
Can I use cooking spray to prevent pancakes from sticking to the pan?
Cooking spray can help prevent sticking, especially on a non-stick pan. However, oil or butter often gives better flavor and browning. If you use cooking spray, coat the pan evenly and avoid spraying onto an overheated surface.
Why does the first pancake usually stick or turn out badly?
The first pancake often tests the pan temperature and grease level. If the pan is still warming up or the grease has not spread evenly, the first pancake may stick, brown unevenly, or look different from the rest of the batch.
Should pancake batter be thick or thin to avoid sticking?
Pancake batter should be smooth and pourable, but not watery. Batter that is too thin can spread too much and tear during flipping. Batter that is too thick may cook unevenly and stick because the center takes longer to set.

3 thoughts on “Prevent Pancake Sticking: Pan Tips”