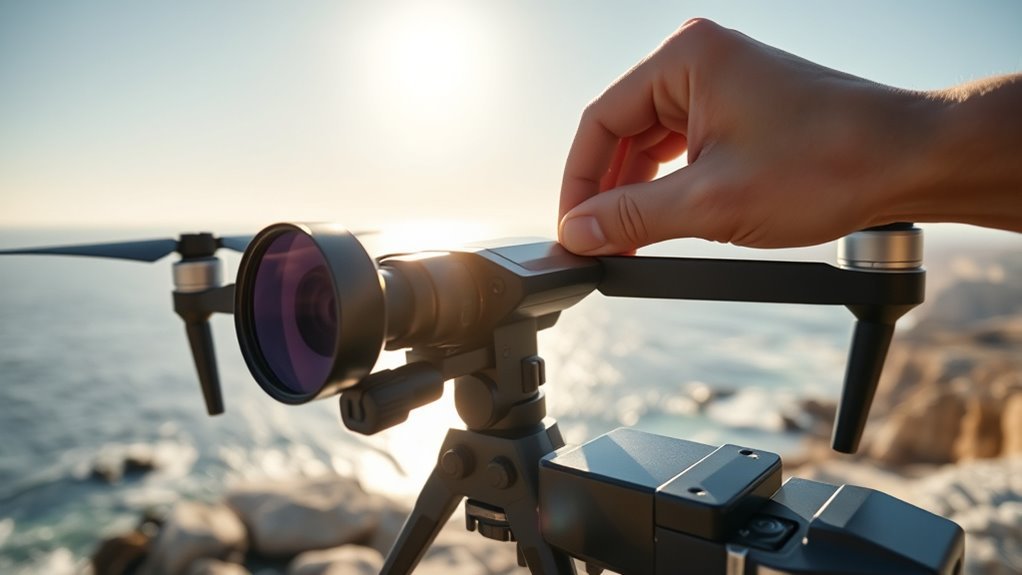
An ND64 PL filter is generally reserved for very bright scenes, often around EV 16 or higher. That usually means direct midday sun, reflective water, snow, or other high-luminance conditions. In lower light, it can quickly become excessive and force settings outside practical ranges. The real question is where the threshold shifts from useful to restrictive, and that depends on exposure targets, shutter speed, and the scene’s contrast.
When Should You Use ND64 PL?
ND64 PL filters are typically used in extremely bright conditions, especially when the scene reaches an exposure value of 16 or higher and standard ND32 filtration no longer provides sufficient reduction.
In such settings, the filter supports controlled exposure, preserves shutter discipline, and protects cinematic motion from distortion.
For practitioners using ND Filters for video, the need ND arises when midday sun, direct sunlight, or reflective surfaces overwhelm normal exposure settings.
Water, glass, and polished metal often benefit from the polarization component, which suppresses glare and reflection with clinical efficiency.
Water, glass, and polished metal often benefit from the polarization component, suppressing glare and reflection with clinical efficiency.
The filter is also appropriate when maintaining the 180-degree shutter rule, such as 1/60 at 30 fps, is required without clipping highlights.
Field testing across varied light levels remains advisable, since actual use depends on scene brightness, subject reflectivity, and desired motion blur.
ND64 PL consequently serves as a precise instrument for disciplined image control, not as a default choice.
ND64 PL Vs ND32: Which Is Better?
When exposure demands move beyond the range where ND32 remains effective, the comparison becomes straightforward: ND64 PL is the stronger option for very bright scenes, while ND32 is better suited to moderately bright conditions.
ND64 is typically appropriate at EV 16 or above, where aggressive light reduction is required to preserve image integrity. ND32 generally fits EV 13 to 14, offering a milder attenuation that can be sufficient when brightness is elevated but not extreme.
In midday shooting, ND64 PL more reliably prevents overexposure and reduces the risk of highlight clipping. Its polarizing element also suppresses glare from reflective surfaces, improving color saturation and contrast with clinical efficiency.
ND32 lacks the same headroom in severe light and may leave the scene insufficiently controlled. For subjects seeking visual autonomy in harsh daylight, ND64 delivers the more decisive exposure control, while ND32 remains the practical choice only when illumination is less severe.
What Exposure Settings Work Best?
For extremely bright scenes, often at EV 16 or higher on sunny days, ND64 PL performs best when exposure is calibrated to preserve both detail and motion integrity.
The preferred shutter speed is 1/60 at 30fps, which aligns with the 180-degree shutter rule and maintains natural motion blur. With ND64 PL, an aperture near f/2.8 to f/4 usually provides a controlled balance between sharpness and light reduction. This setting supports clean subject separation without forcing unnecessary exposure compromise.
If highlights remain excessive, a higher frame rate may be used to moderate exposure while retaining smoother motion characteristics. After capture, the histogram should be checked for clipped highlights and shadow starvation, especially in scenes with strong contrast.
This disciplined exposure method gives the operator maximal control, reducing dependence on corrective intervention and supporting deliberate, liberated image-making in harsh light.
How Bright Is Too Bright For ND32?
ND32 is generally well matched to scenes around EV 15, where daylight is bright but not extreme, such as midday with partial cloud cover or softer golden-hour illumination.
Beyond that threshold, brightness can become excessive. At EV 16 and above, ND32 often no longer supplies enough attenuation, and exposure may rise into overexposed territory. In direct sunlight, or in environments dominated by hard reflections, its margin narrows further.
Observers including Dmitrii Cazamir have reported ND32 becoming inadequate on very bright days, confirming its practical limit.
For a liberated workflow, the useful boundary is clear: when the scene moves from moderate daylight into intense, high-contrast light, ND64 becomes the more reliable choice. ND64 preserves highlight detail, maintains control, and prevents blown-out regions where ND32 would permit too much light.
ND32 remains competent in softer conditions, but it is too bright for demanding daylight.
How To Test ND64 PL Outdoors?
To test an ND64 PL outdoors, a bright, mostly cloudless day should be selected, ideally around EV 15 to EV 16, where the filter’s attenuation is pushed into demanding conditions.
| Test variable | Target |
|---|---|
| Frame rate | 30fps |
| Shutter | 1/60 |
| Aperture A | f/2.8 |
| Aperture B | f/4 |
The camera should be set to 30fps and a 1/60 shutter, preserving the 180-degree rule and stable motion cadence. Histogram review is then required to detect highlight clipping, especially on reflective surfaces and sky detail. Test shots should be recorded at f/2.8 and f/4, with exposure monitored at each step to confirm how the nd filter controls light without forcing severe compromises. After capture, footage with and without the ND64 PL should be compared for motion blur consistency, highlight retention, and overall image quality. This procedure yields a clinical, repeatable assessment of performance in liberated daylight conditions, and exposes whether the filter remains usable under severe brightness.
When Is ND64 PL Overkill?
ND64 PL becomes overkill when ambient light drops below very bright daylight, especially in overcast conditions, during golden hour, or in shade, where its 6-stop reduction can push exposure too far and suppress highlight detail.
In these ranges, ND64 PL often induces underexposure, not control, and can force corrective ISO or shutter changes that reduce operational freedom.
If the scene is only moderately bright, ND32 usually provides sufficient attenuation with less penalty to image brightness and latitude.
In shaded areas or at twilight, ND64 PL can darken the frame beyond practical limits, making the image appear constrained rather than liberated.
The filter is thus best reserved for direct sunlight, EV 16 or higher, or other extreme luminance conditions.
When applied outside those bounds, it risks overexposure management becoming unnecessary complexity, with no proportional gain in exposure discipline.
Why Polarization Matters?
Polarization matters because it suppresses glare from reflective surfaces, improving image clarity and color saturation in bright conditions.
With an ND64 PL, this effect can also increase contrast and preserve richer detail in skies, water, and glass.
Since the polarization response depends on light angle and filter rotation, exposure and reflection control must be adjusted together.
Glare Reduction Benefits
A polarizing ND filter such as the ND64 PL reduces glare from reflective surfaces including water, glass, and polished materials, which improves overall image fidelity.
This glare reduction is not cosmetic; it restores scene structure otherwise lost to specular reflection. With the ND64 PL, tonal separation increases, color saturation deepens, and contrast becomes more defined, allowing landscapes and skies to register with greater precision and visual autonomy.
The effect is strongest when the filter is oriented relative to the light source, often near a 90-degree angle to the sun. In bright environments, the resulting image can retain detail in highlights and shadows, reducing the need to accept washed-out capture.
The filter consequently supports controlled, liberated image-making under demanding reflective conditions.
Polarization And Exposure
Glare control from a polarizing ND filter also affects exposure behavior, since the same optical attenuation that suppresses reflections reduces incoming light overall.
In practice, polarization reshapes scene response by limiting specular highlights from water, glass, and other reflective surfaces, improving clarity and saturation while conserving visual freedom.
With an ND64 PL, the operator can retain deliberate shutter speed and depth of field in bright conditions without surrendering control.
The effect is angle dependent; rotation must be matched to the light source and shooting direction for consistent results.
Under harsh midday illumination, polarization can also deepen skies and lower haze, producing cleaner contrast.
Understanding polarization and exposure together enables disciplined, liberated image control.
Which ND64 PL Brand Should You Buy?
When selecting an ND64 PL filter, reputable options such as Freewell and PolarPro are often prioritized for their build quality and consistent performance in bright conditions.
Reputable ND64 PL filters from Freewell and PolarPro are favored for reliable build quality and bright-light performance.
An ND64 PL from Polar Pro is notable when a polarization indicator, including the vivid line, is needed to calibrate glare suppression with minimal ambiguity.
Compatibility remains critical; a filter must match the drone platform, such as the Mavic 2 Pro, to prevent vignetting, mechanical interference, or degraded edge fidelity.
Field reports from drone communities offer practical evidence, especially regarding behavior in intense daylight and on reflective surfaces.
For operators seeking autonomy from excess spending, a single high-quality filter is often preferable to a bundled set, because it concentrates resources on a tool that will be used repeatedly.
Selection should consequently be based on optical consistency, fit, and user-verified performance, not packaging volume.
Frequently Asked Questions
What Is the Best ND Filter to Use in Bright Sunlight?
ND64 is often the best ND filter for bright sunlight, especially for maintaining exposure settings near the 180-degree shutter rule in video work.
In very harsh midday light, ND128 may be preferable.
When polarizing filters are combined with ND, glare control improves, but light loss increases.
The ideal choice depends on scene brightness, frame rate, and ISO.
A properly selected filter preserves motion fidelity while granting technical autonomy over exposure.
How Many Stops of Light Is ND64?
ND64 is 6 stops of light reduction, a shutter of restraint that frees exposure settings from harsh light conditions.
It transmits only 1/64 of incoming illumination, allowing controlled use of wider apertures and slower shutter speeds without clipping highlights.
In clinical terms, it is appropriate when ambient brightness is excessive, especially direct sun.
This filtration gives the operator disciplined freedom to shape the image while preserving cinematic exposure.
Do I Need to Use ND Filter at Night?
No, an ND filter is usually unnecessary at night.
In night photography, low light already limits exposure, so adding ND can cause underexposure and reduce signal.
Wider apertures, slower shutter speeds, and higher ISO settings are generally more effective for preserving ambient detail.
An ND64 PL is designed for bright conditions, not dim scenes, where exposure control should remain unburdened and technically responsive to available light.
What Is the Difference Between ND64 and ND1000?
ND64 and ND1000 differ chiefly in light transmission: ND64 cuts light by 6 stops, while ND1000 cuts about 10 stops.
This ND filter choice alters exposure settings substantially, with ND64 suited to bright daylight and ND1000 reserved for extreme brightness or long-exposure effects.
For precise control, photography tips include matching the filter to desired motion blur, maintaining shutter discipline, and preserving a liberated, natural rendering of the scene.
Conclusion
An ND64 PL filter is most appropriate in very bright conditions, typically EV 16 or higher, such as direct midday sun or highly reflective environments. In practical terms, it reduces light by 6 stops while also controlling polarized glare, helping preserve highlights and saturation. One useful statistic is that a 6-stop reduction cuts light to 1/64 of its original intensity, which makes it especially effective when shutter speed and aperture must remain cinematic in intense daylight.
