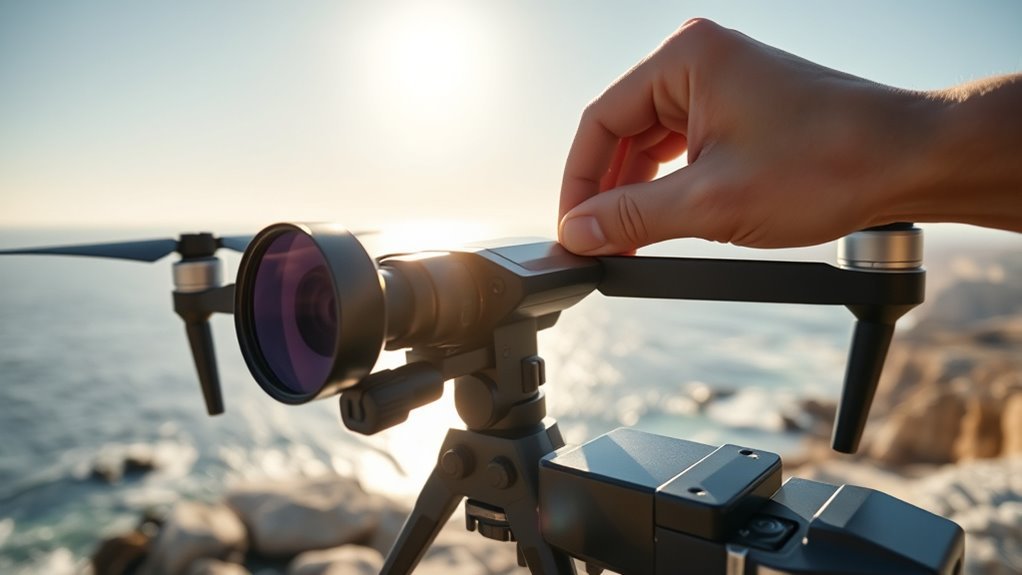
An ND64 PL filter combines strong light reduction with glare control, making it useful for video and photography in bright sunlight. It can help you maintain a slower shutter speed while reducing reflections from water, glass, and other non-metallic surfaces. However, the right filter depends on your camera settings, not sunlight alone.
Quick Answer
Use an ND64 PL filter when strong daylight would otherwise overexpose your footage at the shutter speed and aperture you want. It reduces light by 6 stops and adds polarization to control glare. It is particularly useful around midday, beaches, snow, and reflective water, but may be too dark in shade or overcast conditions.
When Should You Use ND64 PL?
)
An ND64 PL filter is useful when intense light prevents you from maintaining your intended exposure settings. It combines a 6-stop neutral density filter with a polarizer, giving you control over both incoming light and reflections.
Typical situations include:
- Bright midday sunlight: Reduces incoming light so you can use a slower shutter speed without overexposing the image.
- Beaches and snow: Helps manage strong light reflected by bright surroundings.
- Lakes and rivers: Reduces certain surface reflections while allowing more detail beneath the water to become visible.
- Glass and wet surfaces: Helps reduce unwanted glare when the viewing angle allows polarization to work effectively.
- Drone videography: Supports a consistent shutter speed during bright outdoor recording.
EV 16 is a useful reference for exceptionally bright conditions, including sunlit snow or light-colored sand. However, it is not a universal requirement for using ND64 PL.
The correct filter depends on your ISO, aperture, shutter speed, and the brightness of the scene.
The Freewell filter guide identifies ND64 as a 6-stop filter designed for intense sunlight.
Use ND64 PL when you need strong light reduction and glare control at the same time, rather than treating it as the default filter for every sunny day.
For video, the filter is particularly useful when you want to follow the 180-degree shutter rule without losing important highlight detail.
ND64 PL vs ND32: Which Is Better?
ND64 PL provides one additional stop of light reduction compared with ND32. It also includes a polarizing element, while a standard ND32 filter only reduces the light entering the lens.
Neither filter is automatically better. The right choice depends on your exposure settings and whether you want to reduce reflections.
| Filter | Light Reduction | Typical Use |
|---|---|---|
| ND16 | 4 stops | Bright daylight when less reduction is needed. |
| ND32 | 5 stops | Strong sunlight when ND16 is insufficient. |
| ND64 PL | 6 stops plus polarization | Very bright scenes where glare reduction is also useful. |
| ND128 | 7 stops | Extremely bright conditions requiring additional light reduction. |
ND32 transmits approximately 1/32 of the incoming light. ND64 transmits approximately 1/64.
Therefore, switching from ND32 to ND64 halves the transmitted light.
If ND32 produces the correct exposure at your preferred settings, moving to ND64 may make the image unnecessarily dark.
If ND32 leaves your footage one stop too bright, ND64 can provide the additional reduction you need.
When reflection control is unnecessary, a standard ND64 may be preferable to ND64 PL.
What Exposure Settings Work Best?
For video, start by selecting your frame rate and intended shutter speed. Then use ISO, aperture, and filter strength to achieve the correct exposure.
The 180-degree shutter rule provides a common starting point for natural-looking motion blur.
The DJI videography guide explains how matching shutter speed to approximately twice the frame rate helps maintain natural motion.
- 24 fps: approximately 1/48 or 1/50 second.
- 25 fps: approximately 1/50 second.
- 30 fps: approximately 1/60 second.
- 60 fps: approximately 1/120 second.
These are starting points rather than mandatory settings. Faster shutter speeds can produce a sharper, more staccato appearance.
For bright daylight at 30 fps, a practical starting setup is:
- Frame rate: 30 fps.
- Shutter speed: 1/60 second.
- ISO: 100, if supported by your camera.
- Aperture: Around f/2.8 to f/4 when your camera offers aperture control.
- Filter: ND32 or ND64 PL, depending on the exposure reading.
Many compact drone cameras have fixed apertures. In those cases, you cannot use aperture adjustments to compensate for an unsuitable filter.
Example Exposure Settings at Different Brightness Levels
The following examples show how ND32 and ND64 affect the aperture needed at the same shutter speed and ISO.
They are approximate starting points based on exposure calculations, not guaranteed settings for every scene.
| Scene Brightness | ND32 | ND64 |
|---|---|---|
| EV 14 | Approximately f/2.8 | Approximately f/2 |
| EV 15 | Approximately f/4 | Approximately f/2.8 |
| EV 16 | Approximately f/5.6 | Approximately f/4 |
These examples assume ISO 100 and a shutter speed of 1/60 second. Actual results vary with metering, subject brightness, and the filter’s measured transmission.
The underlying exposure relationship follows the Sunny 16 rule explained by Adobe.
At EV 16, ND64 can support approximately f/4 at these settings. At EV 15, the same filter supports approximately f/2.8.
This explains why ND64 may be useful before EV 16, particularly when a wider aperture is desired.
Increasing frame rate changes the shutter-speed target and can reduce exposure when shutter speed increases. However, it also changes how motion is captured and should not be treated as a direct replacement for selecting the appropriate filter.
How Bright Is Too Bright for ND32?
ND32 becomes insufficient when it cannot produce the exposure you want at your chosen shutter speed, ISO, and aperture. There is no single EV value at which it stops working.
For example, ND32 may remain suitable at EV 16 if your camera allows a smaller aperture. However, it may be insufficient at EV 15 when you need to keep the aperture wide open.
The original account attributed to Dmitrii Cazamir reports ND32 becoming inadequate on very bright days. Without the corresponding camera settings, that observation cannot establish a universal brightness threshold.
Use the following decision process:
- Set the frame rate and shutter speed you want.
- Choose your preferred aperture, if adjustable.
- Set ISO to the appropriate low setting.
- Check the exposure with ND32 installed.
- If the image remains approximately one stop too bright, try ND64.
If the image remains too bright with ND64, you may need stronger filtration, a smaller aperture, or a faster shutter speed.
If you need to raise ISO significantly just to compensate for ND64, consider returning to ND32 or a lighter filter.
How to Test ND64 PL Outdoors
Test your ND64 PL filter in bright, stable daylight. A mostly cloudless day provides a useful starting point because the light changes less frequently than under passing clouds.
A scene around EV 15 to EV 16 can help reveal whether the filter provides the reduction needed for your preferred settings.
Use the following starting configuration:
| Test Variable | Target |
|---|---|
| Frame rate | 30 fps |
| Shutter | 1/60 second |
| Aperture A | f/2.8 |
| Aperture B | f/4 |
Complete the test in this order:
- Record a baseline: Capture the scene without the filter and note the exposure settings.
- Install ND64 PL: Confirm that the filter is securely attached and does not interfere with the lens or gimbal.
- Set your exposure: Use 30 fps and 1/60 second. Start at a low ISO setting.
- Compare apertures: Record at f/2.8 and f/4 if your camera supports both.
- Adjust polarization: Rotate the polarizing element while watching reflections and sky color.
- Check the histogram: Look for clipped highlights and excessively dark shadows.
- Compare results: Examine exposure, motion blur, color, reflections, and edge sharpness.
According to Adobe’s histogram guide, tones running off the right edge may indicate clipped highlights, while clipping on the left indicates lost shadow detail.
A bright reflection does not always require correction. The goal is to preserve detail in the parts of the scene that matter.
Compare the results with ND32 under the same conditions. This reveals whether the extra stop of reduction provides a practical benefit.
Pro Tip: Record a short clip before and after rotating the polarizer. This makes it easier to judge whether glare reduction improves the scene or removes reflections you wanted to keep.
When Is ND64 PL Overkill?
ND64 PL is excessive when the scene does not provide enough light for your intended settings. Its 6-stop reduction can force higher ISO values, wider apertures, or slower shutter speeds than you want.
Common situations where a lighter filter may work better include:
- Heavy overcast conditions.
- Deep shade.
- Golden-hour photography.
- Twilight and other low-light scenes.
- Indoor recording without very bright lighting.
In moderately bright conditions, ND32 may provide adequate reduction without making exposure unnecessarily difficult.
For softer daylight, ND16 or ND8 may offer more flexibility.
At night, an ND filter is generally unnecessary unless you are deliberately creating a long-exposure effect around bright artificial lights.
ND64 PL can also be unnecessary when you do not want to change reflections. In that situation, a standard ND filter may provide more predictable results.
For drone footage, remember that the camera may move between sunlight and shade during a single flight. A filter selected for the brightest part of the route can leave shaded areas underexposed.
Why Polarization Matters
Polarization reduces certain reflections from non-metallic surfaces and can improve color saturation. It is particularly useful when glare hides detail beneath water or makes glass difficult to photograph.
Unlike the neutral density component, polarization changes the appearance of the scene itself.
The strength of the effect depends on the direction of the light, the camera angle, and the filter’s orientation.
Glare Reduction Benefits
The polarizing element can reduce reflections from water, glass, wet foliage, and other non-metallic surfaces.
This may reveal detail that would otherwise be hidden by surface glare.
For example, reducing reflection from a lake can make submerged rocks or vegetation easier to see. On foliage, the same effect can produce deeper-looking greens by reducing surface glare.
Canon’s circular polarizing filter documentation identifies water, glass, and atmospheric reflections as applications for polarization.
Ordinary polarizing filters are not equally effective against reflections from metallic surfaces. They should not be expected to remove glare from polished metal in the same way.
Polarization can reveal detail hidden by reflections, but it cannot restore image information already lost through sensor clipping.
Polarization is often most noticeable when shooting approximately 90 degrees away from the sun.
However, the appearance varies with the subject and viewing direction. There is no single filter rotation that produces the ideal effect in every scene.
Polarization and Exposure
ND64 PL combines light reduction and polarization, so both effects must be considered when setting exposure.
Rotating the polarizer can change the brightness of reflective areas even when the underlying ND strength remains the same.
It may also deepen parts of a blue sky. With wide-angle lenses, this can create uneven sky color because different parts of the frame sit at different angles to the sun.
For aerial footage, camera direction changes during flight. A polarizer adjusted for one viewing angle may produce a different result after the drone turns.
Where the filter allows manual rotation, adjust it for the main shooting direction before recording.
Do not automatically choose maximum polarization. Sometimes reflections are an important part of the composition.
Which ND64 PL Brand Should You Buy?
Freewell and PolarPro both offer ND64 PL filters for photography and drone use. The right choice depends primarily on compatibility, optical quality, and the adjustment features you need.
Consider these factors before selecting a filter:
- Compatibility: Confirm that the filter fits your exact camera, lens, or drone model.
- Light transmission: Look for the stated ND strength and consistent exposure performance.
- Color neutrality: Prefer a filter that does not introduce an unwanted color cast.
- Polarization control: Check whether the filter can be rotated or uses a fixed orientation.
- Mechanical fit: For drones, confirm that the filter does not interfere with gimbal movement.
- Edge performance: Check for vignetting, particularly when using wide-angle lenses.
PolarPro’s Mavic 2 Limited Collection includes ND32, ND32/PL, ND64, and ND64/PL filters, with polarization indicators on the ND/PL frames.
Compatibility remains model-specific. A filter designed for the Mavic 2 Pro should not be assumed to fit another drone simply because it has the same ND rating.
PolarPro also explains its polarization alignment system in its Mavic 2 filter tips.
The white alignment mark provides a reference for polarization. It does not guarantee the strongest or most suitable effect for every camera angle.
For a drone, this matters because changing the polarization setting may require landing and readjusting the filter.
When buying, compare a single filter with a bundled set based on the strengths you actually need. A well-matched ND64 PL is more useful than several incompatible or rarely used filters.
Frequently Asked Questions
What Is the Best ND Filter to Use in Bright Sunlight?
ND32 and ND64 are both useful in bright sunlight. ND64 provides stronger reduction and may be better when you need a slow shutter speed or wide aperture. ND128 may be appropriate when additional reduction is necessary. Choose the lightest filter that gives you the intended exposure without clipping important highlights.
How Many Stops of Light Is ND64?
ND64 provides 6 stops of nominal light reduction. It transmits approximately 1/64 of the incoming light, or 1.56%. This allows you to use a slower shutter speed or wider aperture in bright conditions. An ND64 PL combines this light reduction with a polarizing effect.
Do I Need to Use an ND Filter at Night?
No, an ND filter is usually unnecessary at night because available light is already limited. Adding ND64 PL can cause severe underexposure or force higher ISO settings. An ND filter may still be useful for deliberate long-exposure photography involving bright artificial lights, but it is not a normal requirement for nighttime video.
What Is the Difference Between ND64 and ND1000?
ND64 reduces light by 6 stops, while ND1000 provides approximately 10 stops of reduction. ND64 is commonly used for bright-day video and photography. ND1000 is more suitable for deliberate long exposures, such as smoothing moving water or showing cloud movement during daylight.
What Is the Difference Between ND64 and ND64 PL?
ND64 reduces incoming light without intentionally changing reflections. ND64 PL combines that reduction with polarization, allowing you to control certain reflections from water, glass, and other non-metallic surfaces. Choose ND64 PL when glare reduction benefits the image, and standard ND64 when you want light reduction without the additional polarizing effect.
Can You Use ND64 PL for Photography?
Yes, ND64 PL works for still photography as well as video. It allows longer exposures or wider apertures in bright conditions while reducing certain reflections. It can be useful for landscapes, water, and reflective outdoor scenes. However, use a lighter filter when ND64 prevents you from maintaining a suitable exposure.
Conclusion
An ND64 PL filter is a useful tool for very bright scenes where you need both strong light reduction and reflection control. Its 6-stop reduction can help preserve your intended shutter speed and aperture, while polarization improves the appearance of certain reflective surfaces.
However, EV 16 is a reference point, not a strict requirement. Choose between ND32, ND64 PL, and other strengths based on your actual exposure settings. Start with a controlled outdoor test, review the histogram, and select the lightest filter that achieves the result you want.
Sources
- Freewell: Ultimate Guide to Choosing Filters: ND filter strengths, polarization, and outdoor applications.
- Adobe: Sunny 16 Rule: Exposure settings for direct sunlight.
- DJI: Drone Videography Guide: Frame rates, shutter speeds, and ND filter use.
- Adobe: How to Read a Histogram: Highlight and shadow clipping.
- Canon: Circular Polarizing Filter: Reflection control and color saturation.
- PolarPro: Mavic 2 Limited Collection: ND32 and ND64 PL options, compatibility, and polarization indicators.
- PolarPro: Mavic 2 Filter Tips: Polarizer adjustment and exposure practices.
