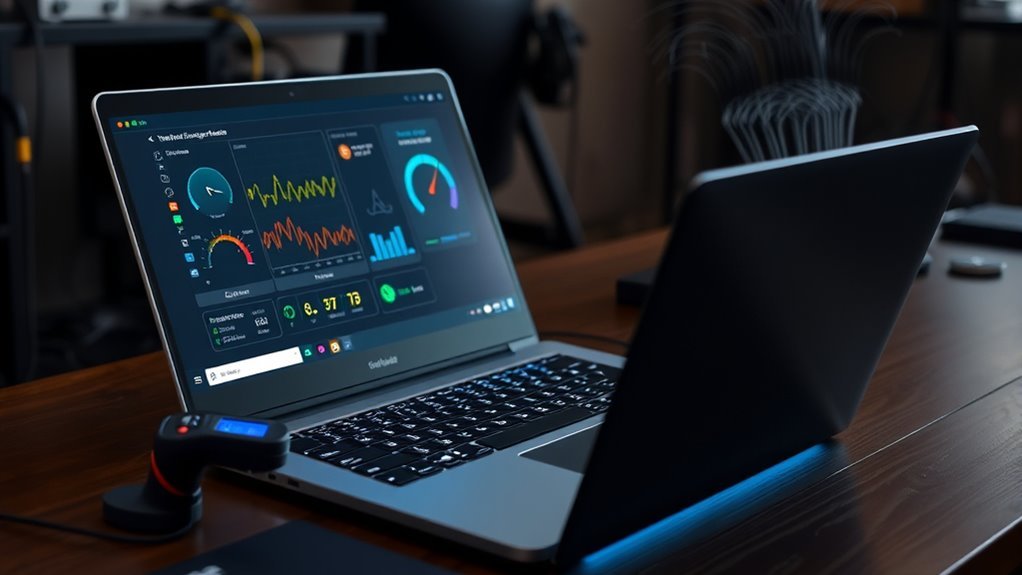
Testing a laptop fan and processor temperature starts with real-time tools such as HWiNFO, Core Temp, or SpeedFan, plus BIOS or UEFI checks for direct readings. Normal CPU temperatures are usually 40°C–65°C, while 70°C–80°C under load is acceptable; sustained values above 85°C are risky. Dust, blocked vents, firmware faults, and failing fans are common causes of overheating. Cleaning, diagnostics, and updates often restore stability, and further steps can clarify when replacement is needed.
Key Takeaways
- Use HWiNFO, Core Temp, or SpeedFan to monitor CPU temperature and fan RPM in real time.
- Check BIOS/UEFI or Dell ePSA diagnostics for fan errors, unusual noise, or codes like 90B.
- Normal laptop temperatures are about 40°C–65°C; 70°C–80°C is acceptable under heavy load.
- Clean vents and fans with compressed air, keeping blades still, and use the laptop on a hard surface.
- If temperatures stay above 85°C after cleaning, update firmware or replace the fan.
How to Test Laptop Fan Speed and Noise
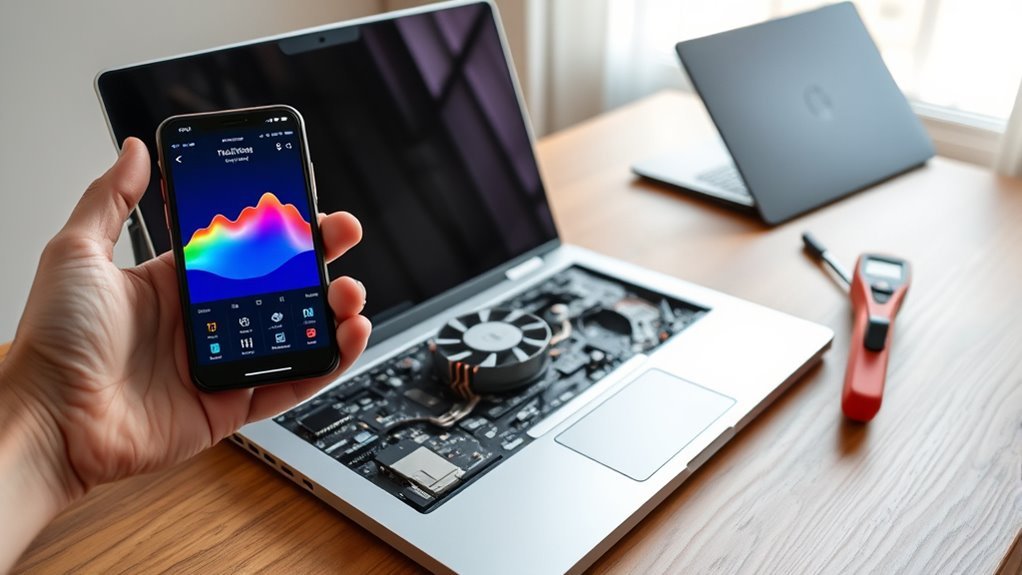
To test laptop fan speed and noise, real-time monitoring tools such as SpeedFan or HWiNFO can be used to observe fan RPM and CPU temperatures under different workloads. These readings establish baseline fan speeds and reveal whether cooling responds proportionally to load.
BIOS fan diagnostics should then be checked for error codes, including the 90B alert, which signals a malfunctioning fan and possible overheating issues. Physical inspection remains essential: compressed air can clear dust from vents and blades, restoring airflow and reducing acoustic drag.
During operation, irregular rattling, grinding, or abrupt surges in sound may indicate obstruction or mechanical wear. If available, RealTemp can be used to confirm whether the thermal system is maintaining stable conditions and whether fan speeds require adjustment.
Together, these measures provide a disciplined assessment of fan performance, enabling users to detect degradation early and preserve system autonomy.
How to Check Laptop CPU Temperature
Laptop CPU temperature can be checked directly in the BIOS/UEFI during startup, where the processor’s current thermal reading is usually shown and should be lower at idle. This method provides an unmediated baseline, independent of operating-system load or background processes.
For continuous oversight, third-party tools such as Core Temp, HWiNFO, and SpeedFan report core temperature in real time and can record changes across light and heavy workloads. Such logging helps correlate thermal spikes with CPU demand and laptop fan behavior.
When a system is inspected under routine use, readings commonly remain in a moderate band; during demanding tasks, they rise sharply. Persistent elevation suggests inefficient cooling pathways, often tied to dust accumulation in vents or a weakened fan assembly.
Regular temperature checks thus support maintenance decisions, preserve performance, and reduce the risk of instability by revealing thermal drift before it becomes a failure condition.
Safe CPU Temperature Ranges for Laptops
Measured CPU readings become most useful when interpreted against accepted thermal limits. For most laptop CPU systems, safe temperatures during routine use remain between 40°C and 65°C, a band that supports stable performance and preserves user autonomy from avoidable thermal constraint. Under heavier workloads, such as gaming or video editing, temperatures of 70°C to 80°C can still be acceptable in the short term.
| CPU temperature | Status |
|---|---|
| 40°C–65°C | Normal use |
| 70°C–80°C | Heavy load |
| Around 80°C | Critical threshold |
| Above 85°C | High risk |
| Regular checks | Recommended |
Once CPU temperatures approach 80°C, throttling or instability may begin. Sustained operation above 85°C increases the probability of hardware damage and accelerates wear. Regular monitoring of temperatures consequently functions as a practical safeguard, enabling informed control rather than passive dependence on hidden limits.
Common Causes of Laptop Overheating
Laptop overheating is frequently linked to dust accumulation and blocked vents, which reduce airflow and impair heat dissipation.
Heavy CPU workloads also elevate processor activity, increasing thermal output beyond typical operating ranges.
When these factors coincide, internal temperatures can rise rapidly and place the system at risk of thermal throttling or shutdown.
Dust And Blocked Vents
Dust accumulation in vents can sharply reduce airflow through a laptop’s cooling system, forcing fans to operate harder while internal temperatures rise.
When dust collects around the cooling fan and exhaust paths, ventilation becomes constrained, and heat is retained instead of dispersed. Blocked vents lower cooling efficiency, increase acoustic output, and can push CPU readings beyond the normal 40–65°C range into hazardous territory.
Such restriction diminishes thermal freedom, limiting stable performance and accelerating wear. Routine maintenance, ideally once per year, preserves airflow and helps prevent avoidable thermal stress.
Compressed air cleaning is an effective corrective measure, resolving up to 60% of fan-related problems while restoring cleaner passage for heat to exit.
Heavy CPU Workloads
Heavy CPU workloads are a major source of laptop overheating, particularly during gaming, video editing, rendering, or other sustained processing tasks. These operations drive high CPU usage, raising thermal output and forcing the Fan to work at maximum capacity.
Temperatures can climb to 158–176°F (70–80°C), stressing the cooling system and reducing thermal headroom for user autonomy.
- Overclocking can push heat beyond 176°F (80°C).
- Dust in fans and vents restricts airflow.
- Soft surfaces block ventilation openings.
- Poor airflow intensifies heat during long workloads.
When cooling is constrained, performance throttling and shutdown risks increase.
Monitoring load, temperature, and ventilation supports liberated, reliable operation under demanding conditions.
How to Clean Laptop Fans and Improve Airflow
Laptop fans should be cleaned regularly with compressed air to remove dust accumulation. The blades should be immobilized with a paperclip or similar tool to prevent mechanical damage during the procedure.
Airflow can be improved by placing the system on a hard surface and ensuring unobstructed intake and exhaust paths, which reduces thermal resistance and supports cooling efficiency.
For sustained performance, cleaning should be performed at least annually, followed by a hard reset after reassembly to stabilize the system.
Fan Cleaning Steps
Careful cleaning of the cooling system begins with powering the laptop off and unplugging it, then using compressed air to clear dust from the fan and ventilation openings without risking electrical damage.
A paperclip may be used to immobilize the blades, preventing spin-related wear and improving dust extraction from the cooling path. This disciplined method supports stable fan speeds and preserves cooling efficiency under load.
- Remove the battery and AC adapter.
- Hold the power button for 20–30 seconds.
- Clean internals at least once yearly.
- Keep the chassis on hard surfaces only.
These steps reduce obstruction, limit overheating, and help the processor retain performance. Clean hardware remains freer, quieter, and more responsive than dust-laden systems.
Boosting Airflow Tips
Improving airflow begins with routine removal of dust from laptop fans and vents using compressed air, since accumulated debris can sharply reduce ventilation and raise operating temperatures. During cleaning, a soft brush or paperclip may be used to restrain blades, preventing overspin and improving debris extraction. Hard, flat surfaces preserve intake clearance and support stable laptop cooling. Annual maintenance is advisable, and older systems, especially those exceeding three to four years, benefit most because dust drives noise and thermal drift.
| Action | Effect | Risk |
|---|---|---|
| Clean vents | Restores airflow | Overheating |
| Hold blades | Protects components | Fan damage |
| Use flat surface | Unblocks intakes | Heat buildup |
| Add cooling pad | Lowers temperatures | Limited space |
| Check fan speeds | Confirms response | Missed faults |
This disciplined routine preserves temperatures, fan speeds, and autonomy.
When a BIOS or Thermal Driver Update Fixes Fan Issues
A BIOS update can resolve fan speed irregularities by refining the firmware’s cooling and performance controls, allowing the system to respond more effectively to thermal events and adjust fan behavior accordingly.
When fan behavior is unstable, a BIOS update may recalibrate control tables and restore normal response curves. A matching thermal driver, especially the latest Intel Dynamic Platform and Thermal Framework driver, can further improve thermal management and fan operation.
- Charge the battery to at least 10% before starting.
- Disconnect external devices to reduce update interruption risk.
- Install the current BIOS update from the manufacturer’s support package.
- Verify the thermal driver is current after the firmware change.
Regular firmware maintenance can reduce overheating by enabling the platform to regulate heat with greater precision.
After installation, diagnostic verification may confirm that the fan reaches expected speeds under test conditions. This process supports system autonomy by removing software-layer constraints on cooling behavior.
When to Run Diagnostics or Replace a Fan
Run diagnostics when excessive fan noise, irregular fan behavior, or overheating suggests a possible cooling fault. Dell ePSA Diagnostics should then be used to verify fan status; a high-speed reading during the test generally indicates normal fan function.
If the system’s temperature rises above 80°C (176°F) under sustained load, the cooling margin is insufficient, and fan replacement becomes a practical corrective action to prevent thermal damage. Dust accumulation in the fan and vents must also be assessed, because restricted airflow can elevate temperature and mimic hardware failure.
Cleaning is the first intervention, but persistent overheating after cleaning indicates that replacement is justified. Startup fan errors, including a 90B code, further support a failing fan diagnosis.
In such cases, replacing the fan restores thermal control, reduces noise, and preserves system autonomy from heat-driven failure. Diagnostic evidence, not guesswork, should govern the decision.
Frequently Asked Questions
How to Test a Laptop CPU Fan?
A laptop CPU fan is tested by running diagnostics, monitoring RPM and temperatures with HWMonitor or BIOS tools, then stressing the processor; proper fan maintenance reduces noise issues, while irregular speed indicates failure or dust buildup.
How to Check Processor Temperature in Laptop?
Processor temperature in a laptop is checked through BIOS/UEFI or monitoring tools like Core Temp and HWiNFO. Nearly 80°C signals concern. A laptop thermal review supports cooling solutions, revealing idle and load conditions with precision.
How to Check if a Laptop CPU Fan Is Working or Not?
A laptop CPU fan is working if fan noise appears at startup, vents show visible spin, diagnostics report normal RPM, and temperatures remain stable. Absence of fan noise, thermal shutdowns, or performance impact suggests failure.
How Can I Tell if My CPU Is Overheating?
Overheating is indicated by temperatures above 80°C, especially with overheating symptoms like loud fans, slowdowns, or crashes. Like a thermostat stuck at 100°C, the system may throttle. Dust and degraded thermal paste often worsen it.
Conclusion
In the final assessment, a laptop’s fan and processor temperature form a quiet thermal heartbeat, revealing whether the machine is breathing freely or trapped in heat. Stable RPMs, moderate CPU readings, and unobstructed airflow indicate balance; rising noise, spikes, or irregular behavior signal strain. With cleaning, updates, and diagnostics, the system can return to a cooler, steadier state. When these measures fail, fan replacement becomes the last precise remedy.
