Plasma cutting dross is best reduced by diagnosing the type of dross before changing settings. Start with the cut chart for your exact plasma cutter, material, thickness, torch, and consumables. Heavy, bubbly dross underneath the cut usually points toward excessive heat input or travel that is too slow, while a narrow, hard bead can indicate travel that is too fast, insufficient cutting energy, or excessive torch standoff. Worn consumables, incorrect torch height, poor air or gas delivery, and material condition can also affect the result.
This 2026 guide explains how to troubleshoot plasma cutting dross step by step, including travel speed, amperage, torch position, consumables, compressed-air quality, and thick-plate cutting. The goal is not to chase one universal setting, but to find the cleanest operating window for your specific machine and material.
Last updated: September 22, 2026 — updated with current dross troubleshooting, cut-chart guidance, EX-TRAFIRE 85HD power information, safety references, and expanded FAQs.
Table of Contents
- How Do You Reduce Plasma-Cutting Dross?
- 🔧 The Essentials of Good Plasma Cutting Air Supply
- ⚡ Matching Amperage to Metal Thickness
- ✍️ Preparing Your Cut: Marking and Using a Drag Tip
- 🚶♂️ Travel Speed: The Key to Clean Cuts
- 🛠️ Choosing the Right Consumables for Thicker Metals
- 🔪 Cutting 3/8 Inch and 1 Inch Plate: Tips and Tricks
- Plasma Cutting Safety Checklist
- 💡 Final Tips for Plasma Cutting Success
- ❓ Frequently Asked Questions
How Do You Reduce Plasma-Cutting Dross?
Start with the manufacturer’s cut chart, then identify what the dross looks like before changing a setting. According to Hypertherm’s dross troubleshooting guidance, cutting speed, amperage, torch-to-work distance, consumable condition, material, and gas delivery can all affect dross. Change only one variable at a time and make another test cut so you know which adjustment changed the result.
| Dross or cut symptom | Common causes to check | First adjustment |
|---|---|---|
| Heavy, bubbly dross on the bottom | Travel too slow, excessive current for the process, or torch too close | Increase travel speed slightly while keeping the other settings unchanged |
| Small, hard bead tightly attached underneath | Travel too fast, amperage too low, excessive standoff, or worn nozzle | Reduce travel speed slightly and inspect the nozzle |
| Top-edge spatter | Speed, torch height, or worn consumables | Verify the cut chart, torch height, and nozzle condition |
| Arc does not fully penetrate | Travel too fast, insufficient amperage for the setup, incorrect airflow, worn consumables, or material beyond practical capacity | Return to the machine’s cut chart and verify every setup variable |
| Beveled or inconsistent edge | Torch not square, incorrect height, worn or misaligned consumables | Square the torch and verify torch-to-work distance |
A useful troubleshooting sequence is: confirm the correct cut-chart row, inspect the nozzle and electrode, verify clean air or gas flow, square the torch, make a short test cut, and then adjust one variable at a time. This is more reliable than automatically increasing amperage or slowing the torch whenever dross appears.
[Amazon Products Picked for You]
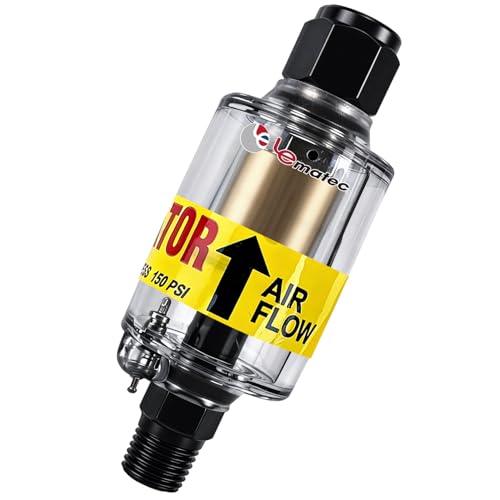
Moisture Protection: 1-micron reusable element removes air compressor oil and water from compressed air systems; essential for precise spray painting and plasma cutting

WATER SEPARATOR: Add this air-tool accessory to your shop or garage to stop moisture, water, oil, and particles from entering air-spray guns and air-compressor tools. You can also add it to your compressor hose to keep the equipment working efficiently.

Desiccant Air Dryer System: Engineered with a compressor desiccant air filter dryer system that effectively traps water vapor, oil aerosols, and dirt particles from the air supply. This unit functions as a reliable air line dryer, helping to prevent moisture-related damage to pneumatic tools and ensuring smoother operation for workshop projects.
🔧 The Essentials of Good Plasma Cutting Air Supply
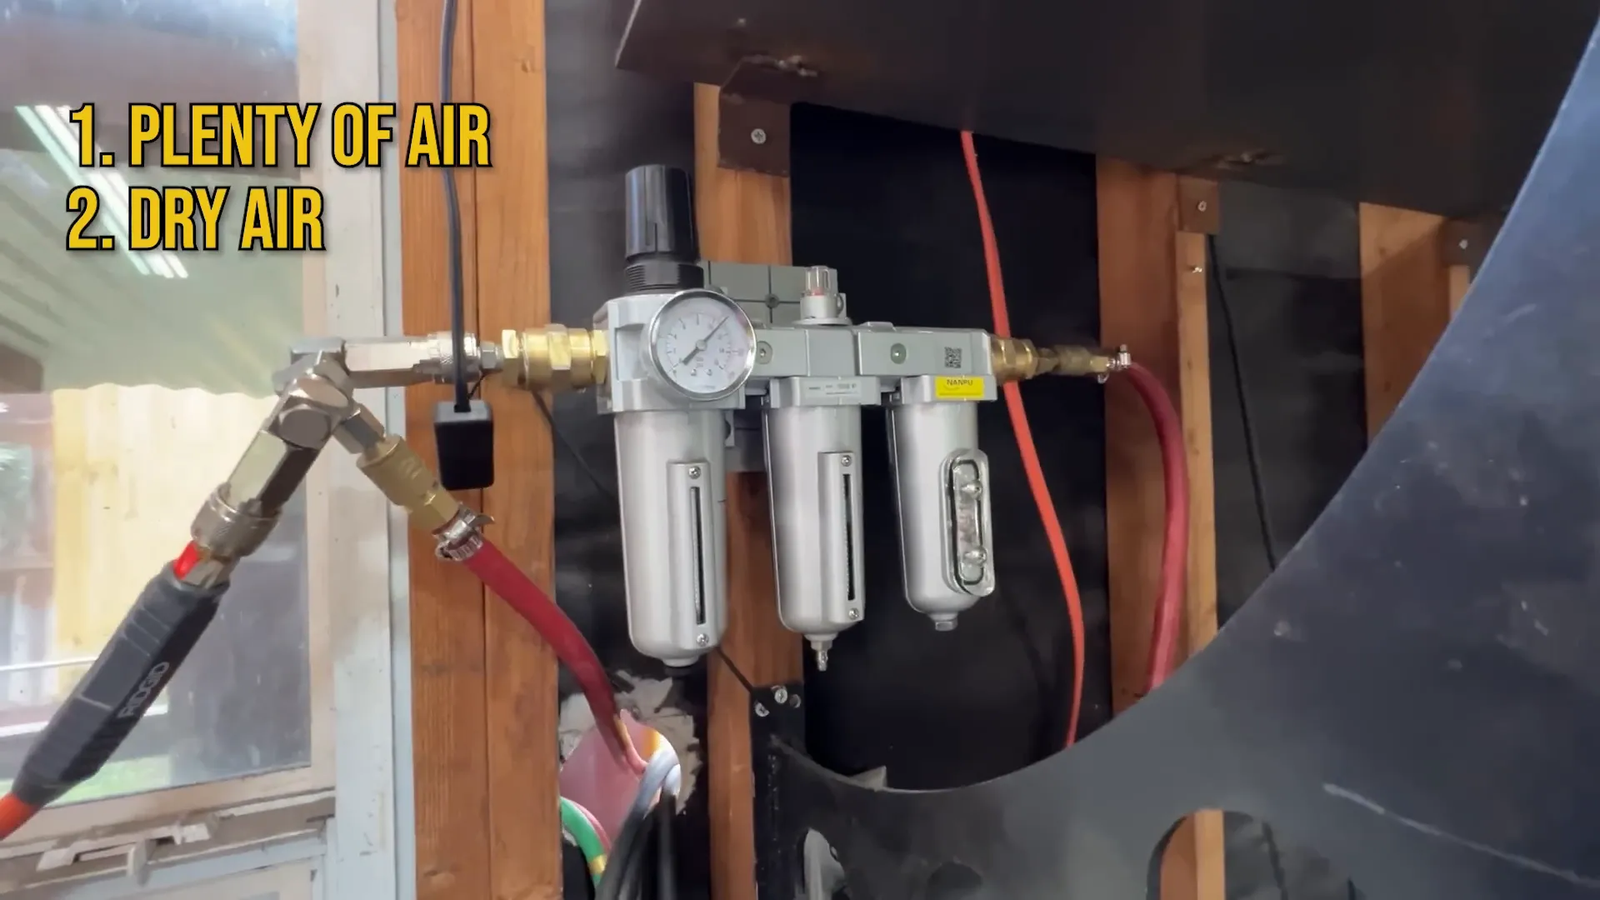
Clean, dry compressed air is essential on air-plasma systems. Moisture, oil, particles, leaks, restrictions, or inadequate airflow can shorten consumable life and make the arc less consistent. A moisture separator or dryer can help, but it must be paired with a compressor that can maintain the pressure and airflow required by your specific cutter while air is flowing.
Do not rely on one universal PSI recommendation. Plasma cutters differ in torch design, amperage, regulator setup, and airflow requirements. Check your machine’s manual and cut chart, inspect the air line for restrictions or leaks, and verify pressure under the conditions specified by the manufacturer. Hypertherm also recommends checking the gas-delivery system when cut quality is inconsistent.
[Amazon Products Picked for You]

Standard size plasma torch double pointed spacer guide for: PT-60 / PT-40

fit SG-55 AG-60 WSD-60 Plasma Cutter Torch

Roller Guide Wheel Spacer
⚡ Matching Amperage to Metal Thickness
Setting the right amperage is important, but material thickness alone does not determine the final setting. Start with the cut chart for your exact plasma cutter, torch, consumables, material, input power, and cutting mode.
As a general relationship:
-
16-gauge and 10-gauge sheet metal normally require less cutting power than heavy plate, but the correct current and speed remain machine-specific.
-
3/8-inch and 1-inch steel plate require a cutter, electrical supply, consumables, and travel speed capable of handling that thickness.
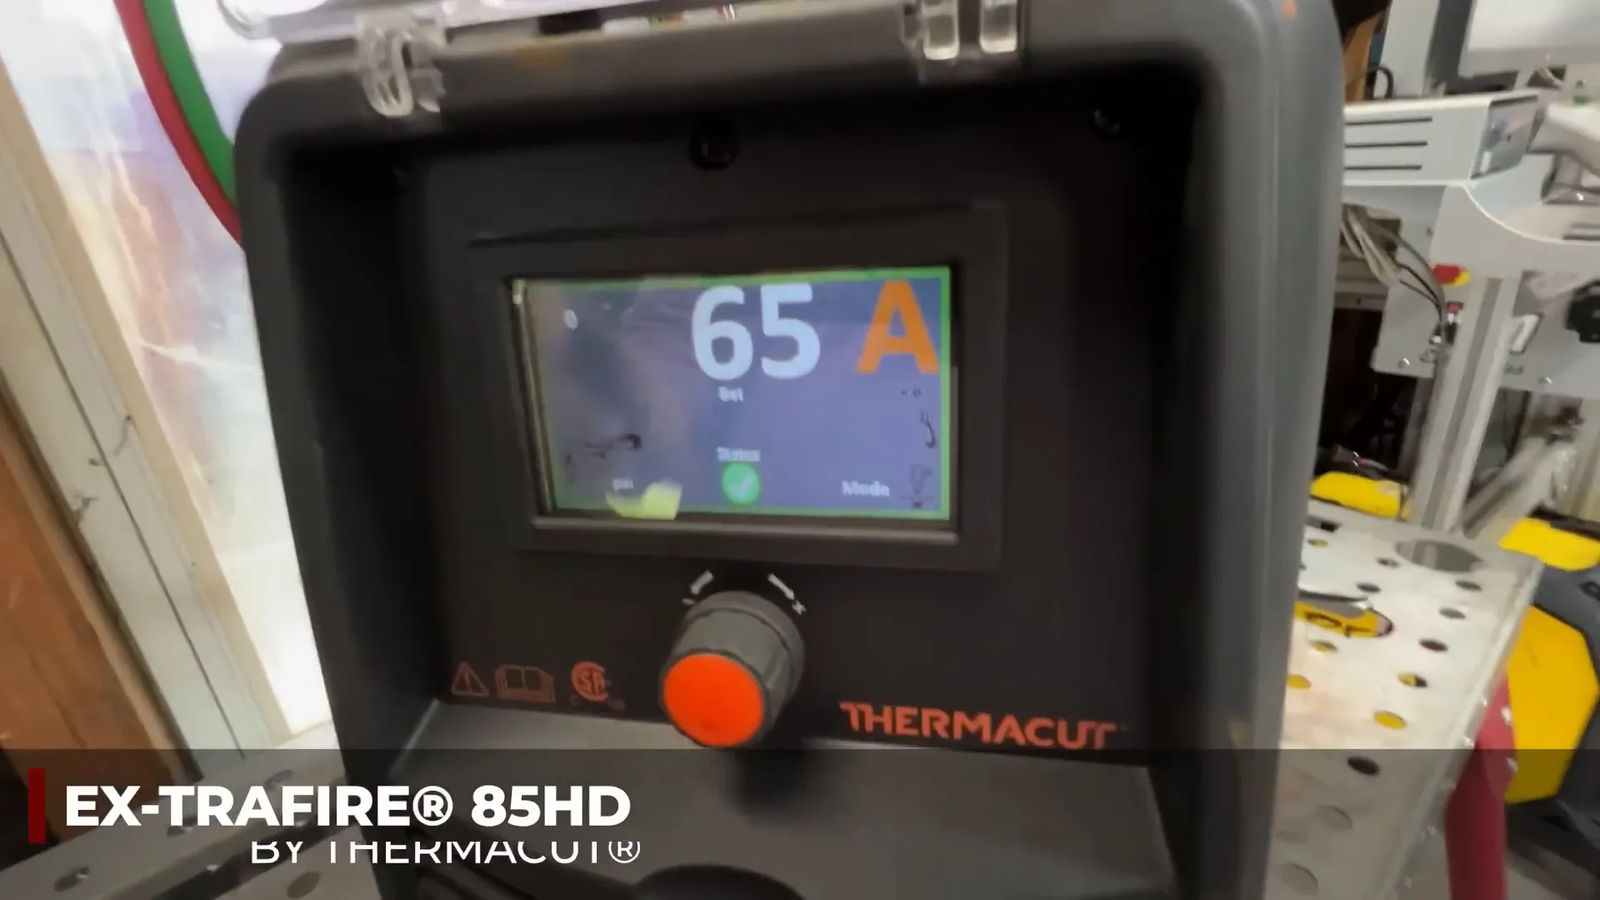
The Thermacut EX-TRAFIRE 85HD is a useful example of why input power matters. North American specifications list output up to 65 A on 230 V single-phase power, while supported three-phase supplies allow output up to 85 A. Regional versions and specifications can differ, so confirm the current Thermacut technical documentation before using any thickness or amperage figure as a setup target.
👉 Need help choosing the right machine? Visit our full review of the Best Plasma Cutters of 2026 for options based on power, features, and common shop needs.
[Amazon Products Picked for You]

[Efficient Prevention] Ensure a smooth cutting process with airflow channels and heat dissipation holes, no guide wheels or ceramic nozzles needed.

list includes: 24pcs (10pcs Electrode PR0105 + 10pcs PD0102-10 tips/nozzles + 1pcs PE0106 Swirl Ring + 1pcs PC0116 Shield Cap + 2pcs Spring)
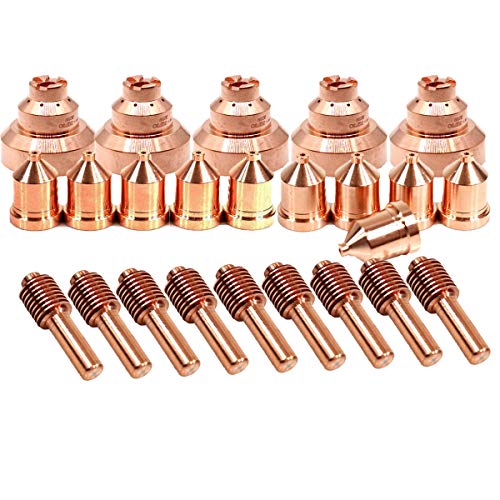
Plasma Consumables type: 212724 Electrode, 219676 Tip / Nozzle, 212730 Drag Shield
✍️ Preparing Your Cut: Marking and Using a Drag Tip
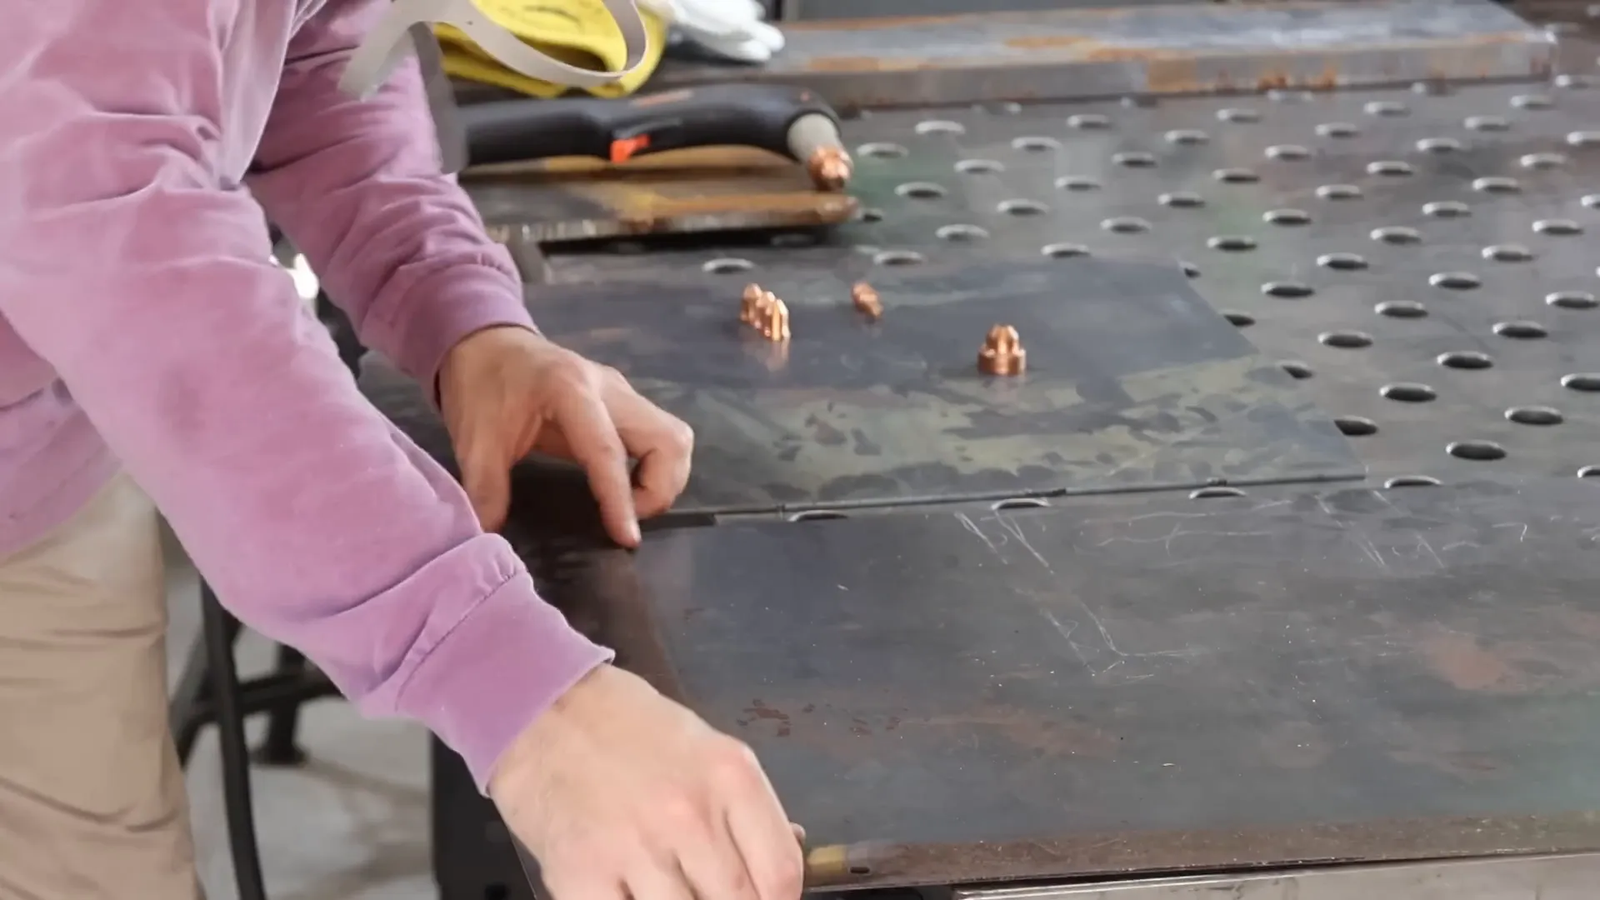
Before starting, scribe or clearly mark the cut line so you can maintain a steady path. For a long straight cut, a straightedge or cutting guide can help reduce hand movement and keep the cut more consistent.
A drag-cutting consumable can ride on the workpiece only when the torch and consumable are designed for drag cutting. Other setups require a specific torch-to-work distance. Check the torch manual instead of assuming every tip can touch the metal. During the cut, keep the torch square to the workpiece unless the manufacturer specifies a different technique.
🚶♂️ Travel Speed: The Key to Clean Cuts
Travel speed is one of the first settings to check when dross appears, but both extremes can create problems. Moving too slowly can produce heavy, bubbly low-speed dross because excessive heat is concentrated in the kerf. Moving too fast can produce a narrow, hard bead of high-speed dross or prevent the arc from fully penetrating the material.
For 16-gauge sheet, start with the travel speed and current specified by the cutter manufacturer. If the underside develops heavy dross that knocks off relatively easily, make a short test cut at a slightly higher travel speed while keeping amperage, standoff, air supply, and consumables unchanged.
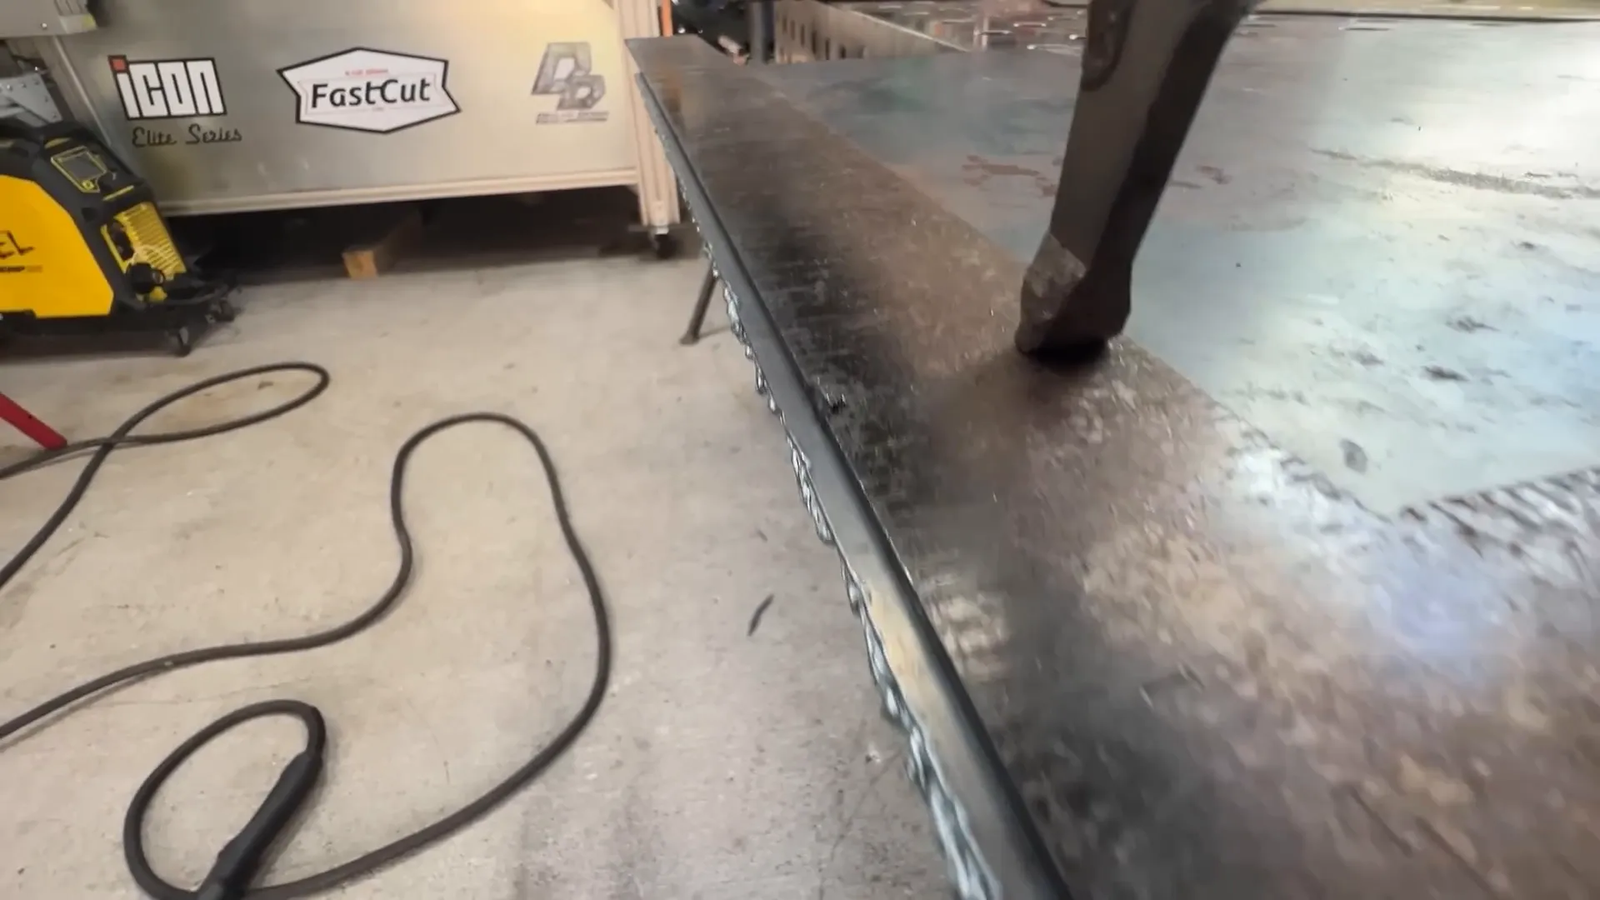
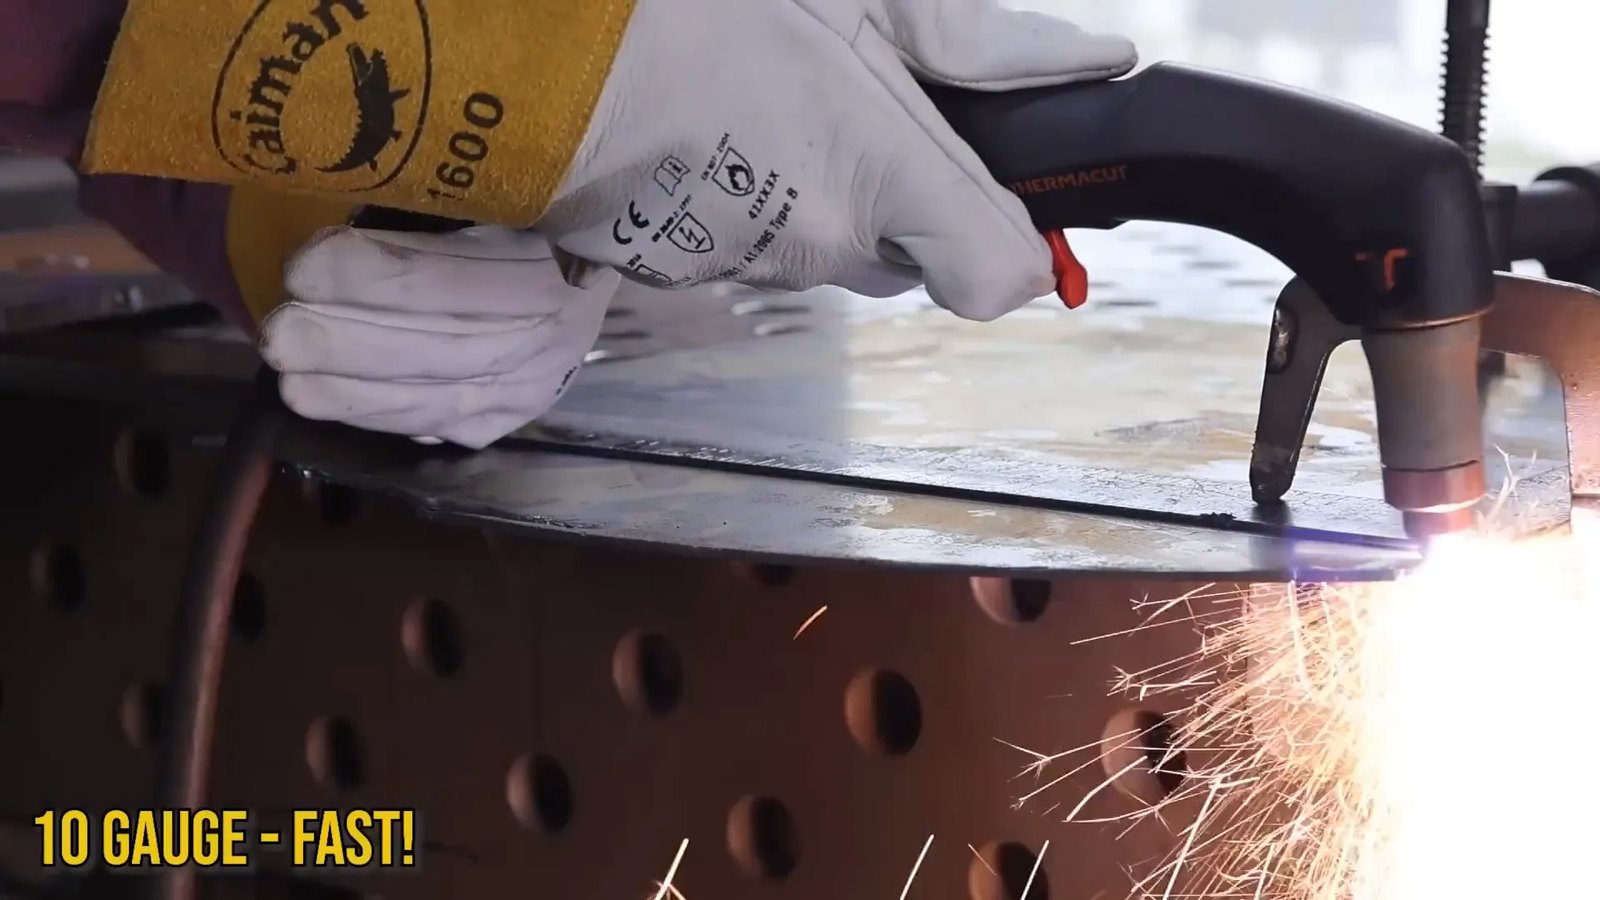
With thicker material such as 10-gauge steel, the correct travel speed will normally be lower than for thinner sheet on the same system, but do not choose the speed from thickness alone. Watch the arc or sparks only after starting from the cut chart. On many handheld air-plasma systems, a modest trailing angle below the workpiece indicates a better operating window; sparks spraying upward can indicate excessive speed or inadequate cutting capacity.
🛠️ Choosing the Right Consumables for Thicker Metals
Consumables become increasingly important as cutting current and material thickness rise. Use the nozzle, electrode, shield or drag shield, and other torch parts specified for the exact amperage and process in your cutter’s manual. Do not assume that any physically compatible nozzle is correct for the job.
Inspect the nozzle before changing machine settings. An enlarged, damaged, or non-round nozzle orifice can destabilize the arc, widen the kerf, increase bevel, and contribute to inconsistent dross. Inspect the electrode and the rest of the consumable stack at the same time and replace parts according to the manufacturer’s wear limits.
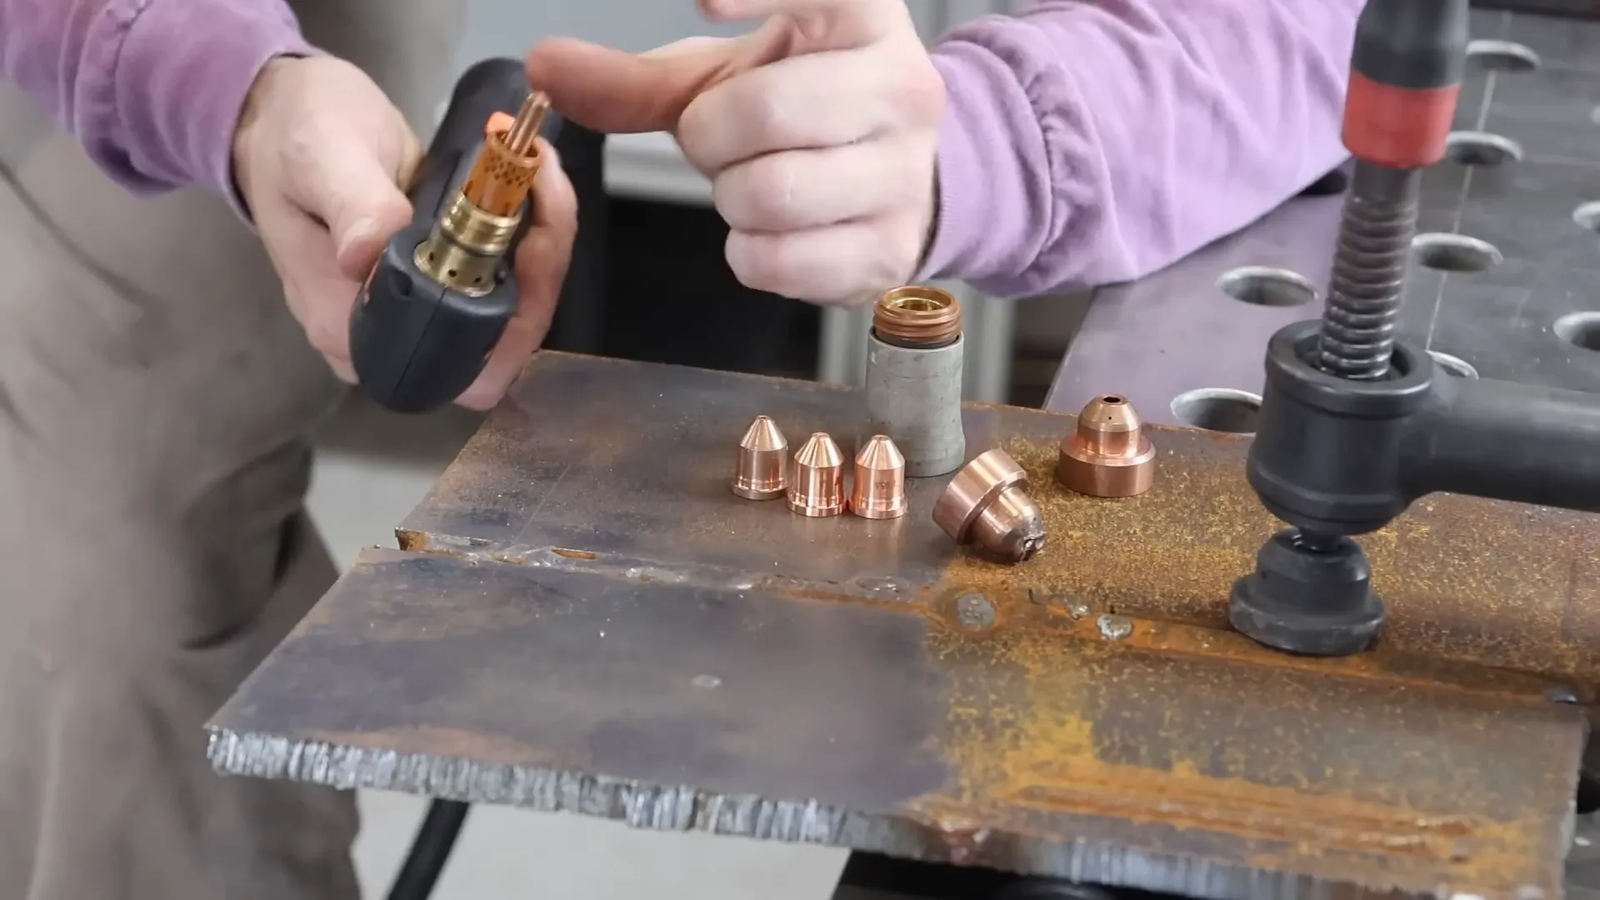
Nozzle size and current rating influence arc concentration and kerf width, but the correct combination is system-specific. Follow the manufacturer’s cut chart rather than installing a larger-amperage nozzle simply because you are cutting thicker material.
🔪 Cutting 3/8 Inch and 1 Inch Plate: Tips and Tricks
When cutting 3/8-inch plate, keep the torch square and start with the validated settings for that material and thickness. If the machine struggles to penetrate, do not use torch angle as a general substitute for insufficient power. Check input voltage, amperage, travel speed, torch height, air or gas flow, work-lead contact, and consumable condition first.
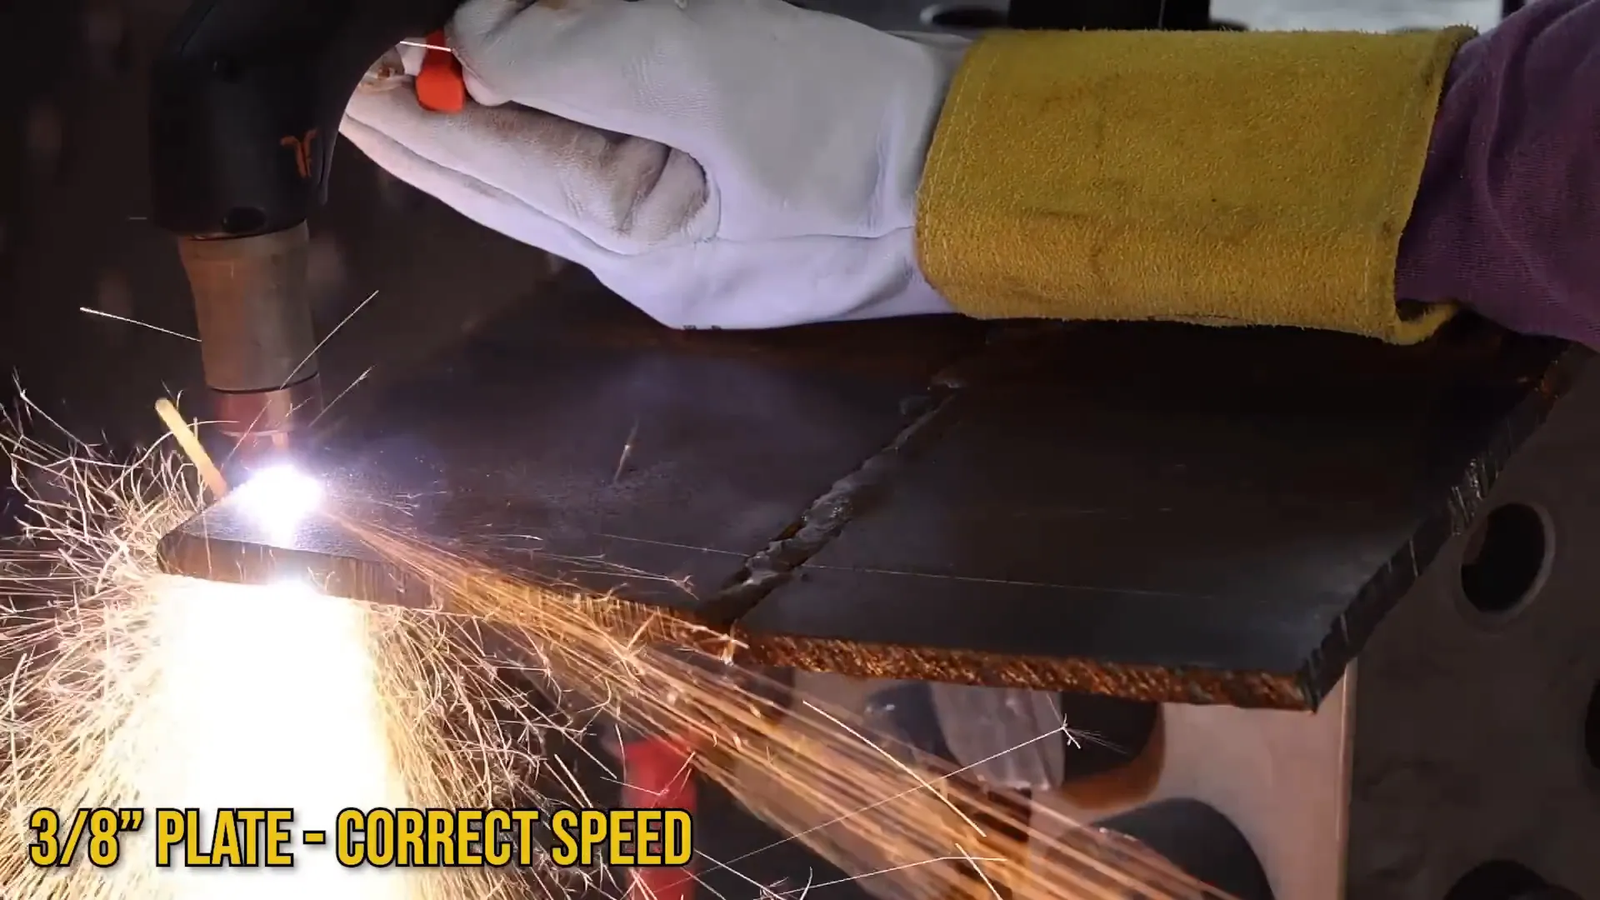
For 1-inch plate, the cutter must have enough practical cutting capacity for the material and power supply being used. Follow the manufacturer’s chart for current, consumables, air or gas requirements, and travel speed. If sparks spray upward, the arc repeatedly loses penetration, or the cut requires extreme slowing, stop and verify that the system is operating within its rated process window.

Do not install an 85-amp-class nozzle on a setup that is operating at substantially lower current unless the cutter manufacturer’s chart specifically calls for that consumable. A mismatched or worn nozzle can reduce arc stability and cut quality.
Plasma Cutting Safety Checklist
Plasma arc cutting exposes the operator to hot metal, sparks, ultraviolet and infrared radiation, fumes and gases, electrical hazards, fire risk, and noise. OSHA’s welding and cutting guidance recommends controlling these hazards with appropriate work practices and personal protective equipment.
- Wear suitable eye and face protection for the plasma-cutting current and follow the machine manual for the required filter shade.
- Use flame-resistant clothing, appropriate gloves, and footwear that protects against sparks and hot metal.
- Provide adequate ventilation and control fumes, especially when cutting coated, painted, galvanized, stainless, or otherwise contaminated material.
- Remove flammable materials from the cutting area and control sparks and hot slag.
- Keep electrical connections, work leads, grounding, cables, and the plasma cutter in safe condition.
- Read the cutter manufacturer’s safety instructions before changing consumables, connecting input power, or cutting unfamiliar material.
💡 Final Tips for Plasma Cutting Success
- Start with the manufacturer’s cut chart for the exact material, thickness, torch, consumables, gas or air process, and available input power.
- Identify whether you have low-speed dross, high-speed dross, top spatter, bevel, or incomplete penetration before changing settings.
- Change one variable at a time and make short test cuts so you can see which adjustment improved the edge.
- Keep the torch square and maintain the correct torch-to-work distance unless your manual specifies drag cutting or another technique.
- Use clean, dry air and make sure the compressor can maintain the required airflow while cutting.
- Inspect the nozzle, electrode, and other consumables before compensating with speed or current.
- Do not automatically maximize amperage. Use the current and consumable combination specified for the job.
- Remember that material type, surface condition, and heat buildup in the plate can change dross behavior during a long job.
Cleaner plasma cuts come from keeping several variables inside the correct process window rather than relying on one aggressive setting. Start with validated machine data, read the appearance of the dross, make one controlled adjustment, and repeat until you reach the cleanest practical edge for your material.
❓ Frequently Asked Questions
What causes excessive dross in plasma cutting?
Excessive dross can come from travel speed that is too slow or too fast, incorrect amperage, wrong torch-to-work distance, worn consumables, poor air or gas delivery, or material conditions. Heavy, bubbly dross generally points toward a low-speed or excessive-heat condition, while a small hard bead can indicate excessive speed or insufficient cutting energy.
Should I speed up or slow down to reduce plasma dross?
It depends on the dross. If the underside has heavy, bubbly dross that is relatively easy to remove, try increasing speed slightly. If there is a narrow, hard bead tightly attached underneath, reduce speed and also check amperage, torch height, and nozzle condition. Always start from your machine’s cut chart.
How do I know if my plasma cutter has the right amperage for the metal thickness?
Use the manufacturer’s cut chart for your exact model, input power, torch, consumables, material, and thickness. Do not assume that the highest available amperage is automatically best. Some cutters also produce less maximum output when operated on a lower-voltage or single-phase supply.
What air pressure should I use on a plasma cutter?
There is no universal PSI setting that applies to every plasma cutter. Use the pressure and airflow specified by your machine manufacturer and check it under the conditions described in the manual. Also inspect the compressor, regulator, filters, hoses, and fittings for restrictions, leaks, moisture, or oil contamination.
Can I use a drag tip for all types of cuts?
No. Drag cutting is appropriate only when the torch and installed consumable are designed to operate in contact with the workpiece. Other consumables require a specified standoff distance. Check the torch manual before allowing the tip to ride directly on the metal.
Why is dry air important for plasma cutting?
Moisture, oil, and particles in compressed air can contaminate the torch air path, accelerate consumable wear, and make cut quality less consistent. Clean, dry air also needs adequate pressure and airflow; filtration cannot compensate for an undersized or restricted air supply.
Does increasing amperage always reduce dross?
No. Insufficient amperage can contribute to poor penetration or high-speed-type dross, but excessive amperage can also increase heat input and dross. Use the amperage and nozzle combination specified in the cut chart instead of automatically turning the cutter to maximum output.
What should I do if my plasma arc keeps wandering?
Inspect the nozzle and electrode for wear or damage, verify that the consumables match the selected current, check torch squareness and standoff, and confirm stable air or gas delivery. A worn or damaged nozzle can distort the arc and produce an uneven kerf or bevel.
How do I remove dross after plasma cutting?
First correct the cutting conditions so less dross forms on the next cut. Light or low-speed dross may chip or scrape away relatively easily, while hard high-speed dross can require more mechanical cleanup. Wear appropriate eye and face protection when scraping, brushing, or grinding cut edges.