Last Updated: July 15, 2026
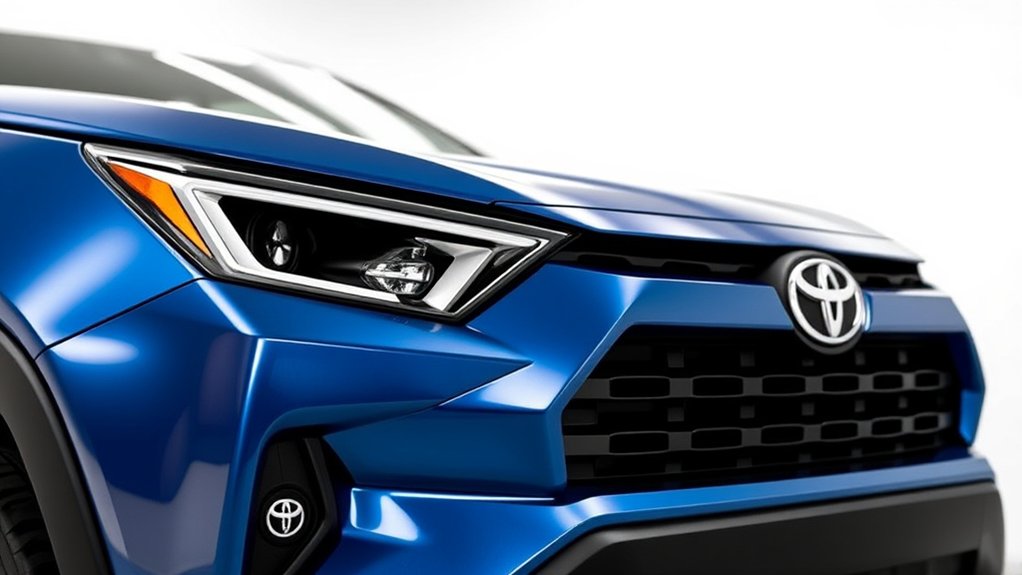
If you want to give your 2026 Toyota RAV4 a darker, cleaner exterior, a blackout emblem kit can be a simple cosmetic upgrade. However, fitment must come first. The 2026 RAV4 begins a redesigned generation, so an overlay advertised only for 2019–2025 models should not be assumed to fit.
Before buying, confirm that the kit specifically lists the 2026 Toyota RAV4, your exact trim, and every badge you want to cover. This guide explains how to compare your options, avoid common fitment mistakes, install overlays carefully, and maintain their finish.
Quick Verdict
Choose a blackout emblem kit only when the seller or manufacturer explicitly confirms compatibility with your exact 2026 RAV4 trim. Do not rely on a listing that ends at the 2025 model year, even when the emblems appear similar in photos.
Why Blackout Emblems Appeal to RAV4 Owners
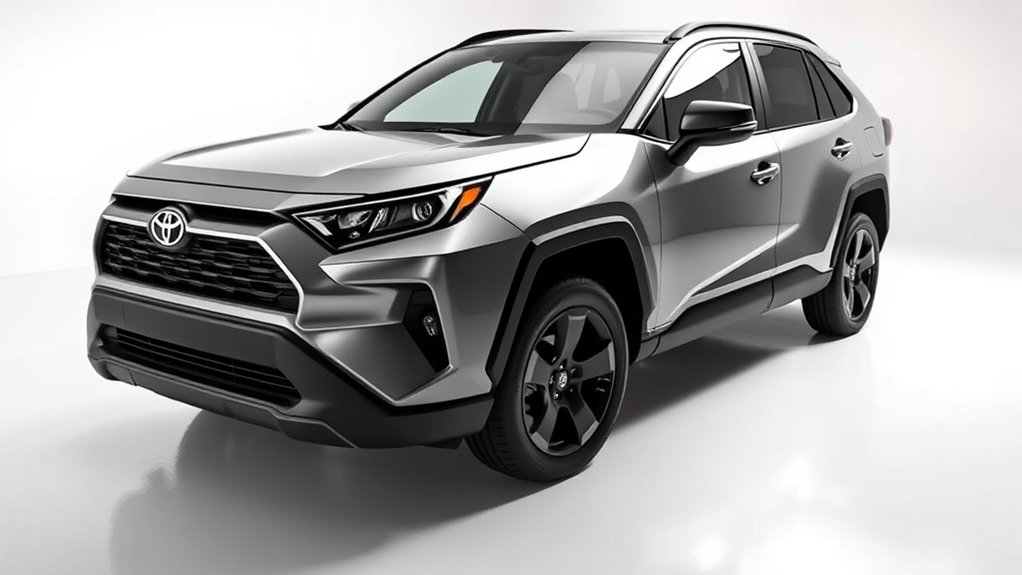
Blackout emblems replace bright chrome accents with a darker appearance. Depending on the kit, the pieces may cover the original badges or replace them completely.
Overlay-style kits are usually the easier option because you do not have to remove the factory emblems. They can also preserve the original badge placement and spacing. Full replacement badges may create a cleaner result, but they normally require more preparation and careful alignment.
The best choice depends on your RAV4’s trim, exterior color, badge layout, and whether you want a reversible modification.
What to Check Before Buying a 2026 RAV4 Emblem Kit
Do not purchase a kit based only on a broad title such as “RAV4 Blackout Emblems.” Check the complete compatibility information and compare the product photos with your vehicle.
| What to Check | Why It Matters |
|---|---|
| 2026 model-year listing | The redesigned 2026 RAV4 may use different badge shapes or placement from earlier models. |
| Exact trim compatibility | Badge wording and included pieces may differ among trims and powertrains. |
| Included emblem count | Some sets cover only the rear lettering, while others may include additional trim or drivetrain badges. |
| Overlay or replacement design | Overlays attach over factory badges. Replacement emblems require removal and more precise alignment. |
| Material and finish | The listing should identify the material and describe whether the finish is matte, satin, or gloss. |
| Adhesive type | A reputable listing should explain how the pieces attach and provide preparation and curing instructions. |
| Return policy | A clear return policy reduces your risk if the shape or badge count is incorrect. |
Compatibility Note: A kit labeled for 2019–2025 RAV4 models is not automatically suitable for a 2026 RAV4. Buy it only when the manufacturer has separately confirmed 2026 fitment for your trim.
Which Type of Blackout Emblem Is Best for You?
No single emblem option is best for every owner. Consider how permanent you want the modification to be and how much installation work you are comfortable doing.
OEM or Dealer-Supplied Overlays
An original-equipment or dealer-supplied kit may offer the clearest fitment information when one is available for your exact trim. This option suits owners who prioritize a factory-style appearance and straightforward compatibility support.
Confirm the part number with the seller or Toyota parts department before ordering. Similar trim names do not guarantee that every rear badge is identical.
Aftermarket Emblem Overlays
Aftermarket overlays may offer more finish choices and broader availability. Quality can vary, so inspect the listing carefully. Look for close-up photographs, a complete piece count, installation instructions, and an explicit 2026 fitment statement.
This option works best when you want a removable upgrade and can verify the seller’s compatibility information before purchase.
Removable Coatings or Vinyl
Removable coatings and precut vinyl can provide a custom appearance without replacing the badge. However, the final result depends heavily on surface preparation and application quality.
These methods may require more patience than molded overlays. They can also show seams, lifting, or uneven edges when they are not applied correctly.
How to Install Blackout Emblem Overlays
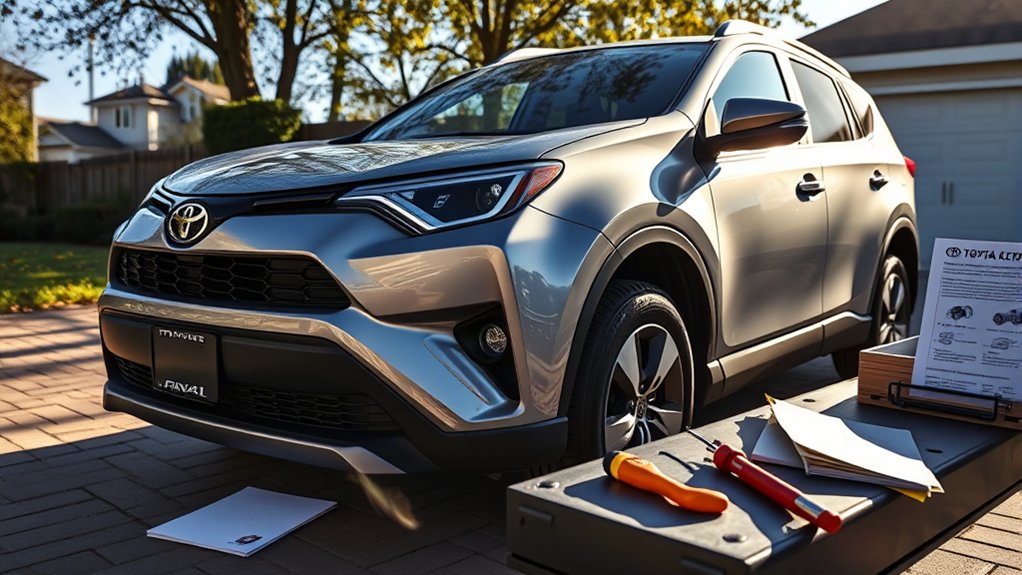
Always follow the instructions supplied with your kit. The following process is general guidance for adhesive-backed overlays and may not apply to replacement emblems.
Tools and Materials
- A clean microfiber cloth
- Automotive-safe surface cleaner or isopropyl alcohol, when permitted by the kit manufacturer
- Painter’s tape for temporary alignment marks
- A hairdryer on a low setting, only when recommended
- Clean, dry hands or disposable gloves
Avoid using a metal pry tool or strong solvent near painted surfaces. Do not use excessive heat on the emblem, overlay, trim, or paint.
Step-by-Step Installation Guide
- Confirm every piece. Hold each overlay over the intended badge without removing the adhesive backing. Verify the shape, lettering, depth, and edge coverage.
- Inspect the surrounding area. Make sure the overlay will not obstruct a camera, sensor, light, button, or movable component.
- Clean the factory emblem. Remove wax, dust, road film, and moisture with a product that is safe for the surface.
- Let the area dry completely. Adhesive may not bond correctly to a damp, cold, oily, or recently waxed surface.
- Test the alignment again. Use small pieces of painter’s tape as reference marks if the overlay can shift during placement.
- Remove the backing carefully. Avoid touching the adhesive more than necessary.
- Position the overlay. Align all edges before pressing it into place. Do not force a piece that rocks, bends, or leaves a large gap.
- Apply even pressure. Press around the complete overlay according to the manufacturer’s directions.
- Allow the adhesive to cure. Follow the kit’s stated curing time before washing the vehicle or exposing the emblems to heavy rain.
Stop the Installation If: The overlay does not sit flush, the lettering is misaligned, a trim badge is missing, or the piece must be bent to fit. These signs usually indicate incorrect fitment.
Maintenance Tips for Blackout Emblems
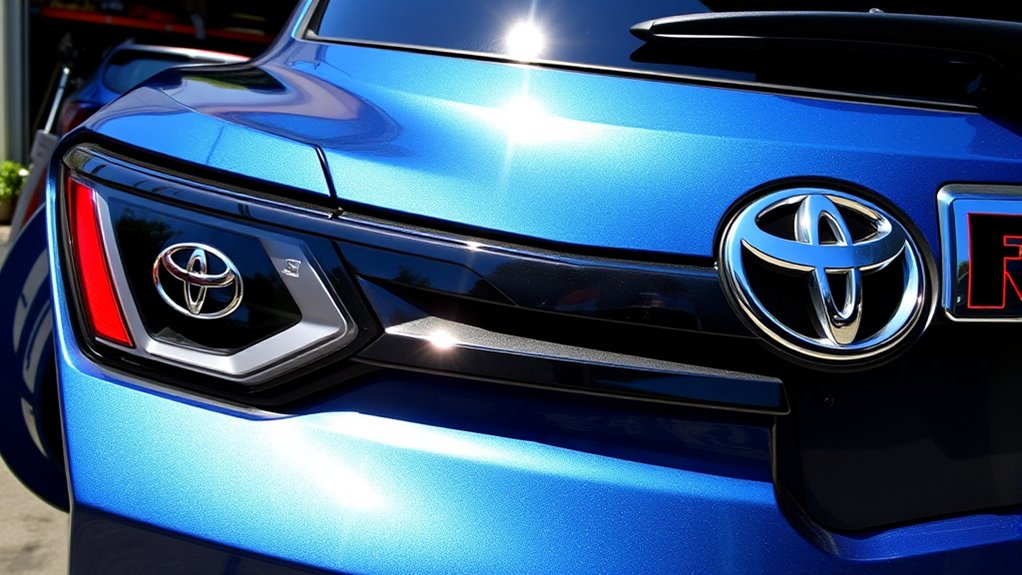
Gentle cleaning can help preserve the finish and adhesive. Care requirements vary by material, so check the kit manufacturer’s instructions before applying wax, sealant, polish, or coating.
Regular Cleaning Techniques
- Wash the emblems with mild automotive soap and clean water.
- Use a soft microfiber cloth rather than a stiff brush or abrasive pad.
- Rinse away trapped dirt from the edges without pulling at the overlay.
- Dry the area gently to reduce water spots.
- Inspect the edges periodically for lifting, cracks, or trapped moisture.
Avoiding Scratches and Damage
Avoid harsh solvents, aggressive polishing compounds, and abrasive cleaners. Automatic car-wash brushes may also catch an edge when an overlay is already loose.
Do not pressure-wash directly against the edge from close range. If part of an overlay begins to lift, do not push dirt underneath it or attempt a permanent repair with an unidentified household adhesive.
Reapplication and Touch-Up Tips
A damaged molded overlay is usually better replaced than painted while attached. Touch-up products may not match the original finish and can make later removal more difficult.
When replacing an overlay, remove the old piece using the manufacturer’s recommended process. Clean away compatible adhesive residue carefully before installing the replacement.
Common Fitment Mistakes to Avoid
- Buying by vehicle name alone: “Fits RAV4” is not enough. The listing should identify the 2026 model year and compatible trims.
- Ignoring the badge count: Compare every supplied piece with the badges installed on your vehicle.
- Assuming HEV and PHEV badges are identical: Powertrain badging may differ, so verify the exact configuration.
- Installing before a dry fit: Always test every piece before exposing the adhesive.
- Forcing an incorrect overlay: A properly matched molded overlay should not require bending or trimming.
- Applying it over wax or ceramic residue: Surface treatments may reduce adhesion unless removed as directed.
- Using too much heat: High heat can damage plastic, adhesive, trim, or paint.
Customization Options Beyond Blackout Emblems
Blackout emblems are only one way to change the appearance of your RAV4. Other cosmetic options may include compatible wheel accents, protective door-sill pieces, interior trim overlays, cargo-area accessories, and removable exterior graphics.
Choose accessories made for the 2026 model and avoid modifications that interfere with visibility, lighting, cameras, sensors, controls, or safety equipment. Confirm compatibility before applying any permanent coating or drilling into the vehicle.
Where to Buy 2026 RAV4 Blackout Emblems

You may find emblem kits through Toyota parts departments, established automotive-accessory retailers, manufacturer websites, and large online marketplaces. The lowest-priced listing is not always the best value when the product lacks clear fitment information.
Before ordering, review the following details:
- The full product title and manufacturer part number
- An explicit 2026 Toyota RAV4 fitment statement
- Compatible trims and powertrains
- Photographs of every included piece
- Material and finish information
- Installation and curing instructions
- Return, replacement, and product-warranty terms
- Seller contact information for fitment questions
When the listing is unclear, send the seller your model year, trim, powertrain, and a photograph of the factory badges. Keep the seller’s written fitment confirmation until the installation is complete.
Related Guides
Frequently Asked Questions
Will a 2019–2025 RAV4 Emblem Kit Fit a 2026 Model?
You should not assume it will fit. The 2026 RAV4 starts a redesigned generation, and exterior badge shapes or layouts may have changed. Choose a kit that explicitly includes the 2026 model year and your exact trim.
Are Blackout Emblem Kits Weather-Resistant?
Weather resistance depends on the material, finish, adhesive, installation quality, and manufacturer specifications. Check the product documentation rather than assuming every kit offers the same durability.
Will Installation Affect My Vehicle’s Warranty?
A cosmetic accessory does not normally determine warranty coverage for unrelated vehicle components. However, damage caused by the accessory, improper removal, or incorrect installation may not be covered. Review your warranty documentation or ask your Toyota dealer when you have concerns.
Can I Remove an Overlay Without Damaging the Factory Emblem?
Many adhesive overlays are designed to be removable, but the result depends on the adhesive, age, heat exposure, and removal method. Follow the manufacturer’s instructions and avoid metal tools or aggressive solvents near painted surfaces.
How Long Do Blackout Emblem Kits Last?
No universal lifespan applies to every kit. Material quality, adhesive preparation, climate, washing methods, sun exposure, and installation quality all affect longevity. Use the manufacturer’s warranty and care instructions as your main guide.
Are Colors Besides Black Available?
Some manufacturers offer gloss black, matte black, satin black, or other custom finishes. Confirm that the finish is intended for exterior automotive use and that the kit fits your exact RAV4 configuration.
Should I Choose Overlays or Replacement Emblems?
Overlays are generally easier to install and may be more reversible because they cover the original badges. Replacement emblems can create a more integrated appearance but require removal, surface preparation, and precise positioning.
Conclusion
A blackout emblem kit can give your 2026 Toyota RAV4 a clean, understated appearance, but correct fitment matters more than finish or price. Because the 2026 model begins a redesigned generation, avoid kits advertised only for earlier RAV4 model years unless the manufacturer has separately confirmed compatibility.
Verify the model year, trim, powertrain, badge count, attachment method, and return policy before buying. Dry-fit every piece before exposing the adhesive, follow the manufacturer’s installation instructions, and use gentle cleaning methods after installation. These checks will help you achieve a better-looking result while reducing the risk of ordering the wrong kit.
