
Toyota RAV4 wiper insert replacement means replacing the rubber refill inside the factory wiper blade rather than replacing the entire blade assembly. On many 2019–2025 RAV4 models, Toyota’s procedure is to lift the driver-side arm first, then the passenger side, remove the blade from the arm, pull out the old insert, transfer its two metal plates to the new insert in the same orientation, reinstall the refill, and lock the blade back onto the arm. If your RAV4 uses a different blade design or the wipers sit below the hood and cannot be lifted safely, follow the owner’s manual for your exact model year before proceeding.
Last updated: September 11, 2026
Quick Answer
To replace a Toyota RAV4 wiper insert, remove the wiper blade from the arm, release the rubber insert from the blade’s stopper, transfer the two metal backing plates to the new insert without changing their cutout position or curve, slide the new insert in from the side without the stopper, and secure the stopper in the blade claw. Reinstall the blade and test the wipers with washer fluid.
Key Takeaways
- Confirm you are replacing an insert, not a complete blade. The procedures are different.
- On Toyota’s 2019–2025 RAV4 procedure, lift the driver-side wiper arm first and the passenger side second; lower them in the reverse order.
- Protect the screwdriver tip with a rag when lifting the factory blade stopper.
- Transfer both metal backing plates from the old rubber insert to the new insert with the same cutout location and curve.
- Do not force a stuck refill or let a bare spring-loaded wiper arm snap against the windshield.
- Use the owner’s manual for your exact model year if your connector, refill, or wiper-arm parking position differs.
If you are replacing the entire blade assembly rather than the rubber refill, use our Toyota RAV4 wiper blade replacement guide. For year-by-year fitment, see the Toyota RAV4 wiper blade size guide.
Preparing Your Toyota RAV4 for Wiper Insert Replacement
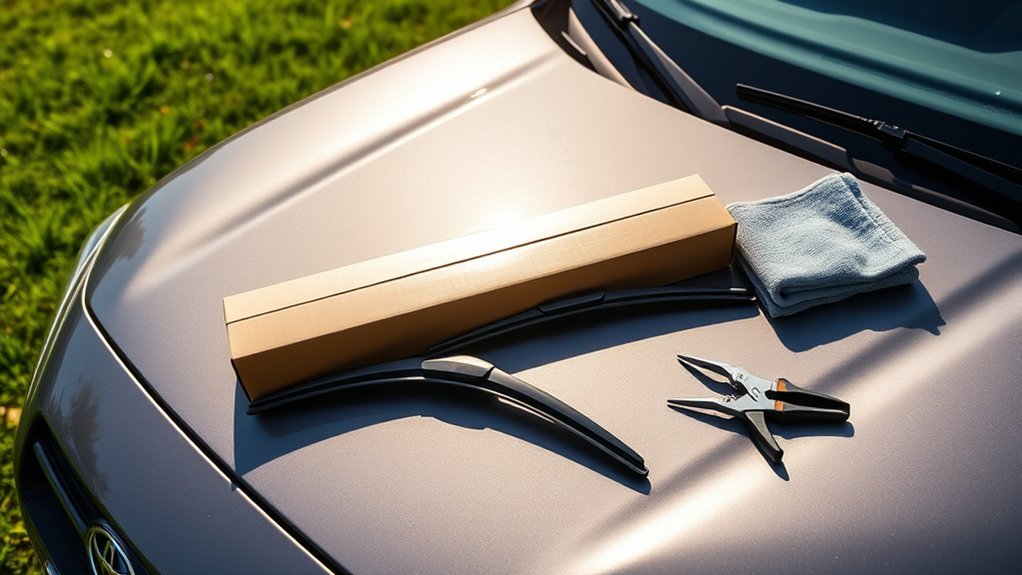
Park on a level surface, switch the vehicle off, and make sure the wiper control is off. Have the correct replacement inserts ready before lifting the arms. Toyota’s fifth-generation RAV4 instructions for 2019–2025 use a removable factory blade with a stopper and a rubber refill supported by two metal plates. Aftermarket blades can use a different connector or may not accept refills at all.
For the 2019–2025 factory-style setup, Toyota instructs you to hold the hook portion of the wiper arm, lift the driver-side arm first, and then lift the passenger side. When you finish, lower the passenger side first and the driver side last. If the arms are parked below the hood or cannot be lifted without contacting the hood, do not force them upward. Use the wiper service-position procedure in the owner’s manual for that model year.
Place a folded towel on the windshield below the arm while the blade is removed. This protects the glass if the spring-loaded arm slips. Never operate the wipers while an arm is raised.
What Tools Do You Need to Change RAV4 Wiper Inserts?
For an OEM-style insert replacement, the tool list is short. You do not need a special puller or mechanical service tool.
Essential Tools Overview
| Tool/Item | Purpose |
|---|---|
| Correct replacement wiper inserts | Replace the worn rubber refills |
| Small flathead screwdriver | Lift the stopper on applicable factory blades |
| Small rag or tape | Protect the screwdriver tip and nearby surfaces |
| Folded towel | Protect the windshield while the blade is off |
| Gloves | Optional hand protection |
Before buying refills, confirm the model year, blade position, and whether the current blade is the original refill-compatible design. A blade length alone does not prove that a refill will fit the holder.
Safety Precautions Reminder
Keep the ignition or power system off while your hands are near the wiper arms. Hold the arm securely when removing the blade, and do not let the metal arm spring back onto the glass. Toyota also warns against lifting a wiper by the blade itself because the blade can deform.
If the wiper arm overlaps the hood or does not have enough clearance to lift, stop and check the model-year manual. Forcing the arm upward can damage the hood, wiper arm, blade, or windshield.
Recommended Replacement Parts
Use a replacement insert that is specified for your exact RAV4 blade. The factory insert uses two metal backing plates that are transferred from the old refill to the new one. If your replacement is a complete blade assembly, do not follow the refill-transfer steps below; use the separate complete-blade guide linked above.
Toyota provides year-specific manuals through Toyota Manuals and Warranties. Check your exact vehicle if the blade connector, arm position, or refill construction differs from the procedure shown here.
How Do You Remove Old Toyota RAV4 Wiper Blade Inserts?
The safest method is to remove one blade at a time so you can use the untouched side as a reference. The following sequence matches Toyota’s factory-style refill procedure used on recent fifth-generation RAV4 models.
- Lift the wiper arms in the correct order. On 2019–2025 models using this setup, lift the driver side first, then the passenger side.
- Release the blade from the arm. Hold the hook portion of the arm securely. Use a small flathead screwdriver to lift the blade stopper if your factory blade uses one. Wrap the screwdriver tip with a rag or tape to avoid damage.
- Slide the blade off the arm. Keep control of the spring-loaded arm and rest it carefully against the towel-protected windshield if needed.
- Release the rubber insert. Pull the insert enough to free the blade claw from the insert’s stopper, then slide the insert out of the blade.
- Remove the two metal plates. Take both backing plates out of the old refill and keep their original orientation as your reference for the new insert.
Troubleshooting Common Removal Issues
| Issue | What to Do |
|---|---|
| Blade will not release from the arm | Check that the stopper or lock is fully released; do not pry the connector aggressively. |
| Rubber insert will not slide out | Confirm the stopper end is released from the blade claw, then pull the refill straight through the blade guides. |
| Metal plates fall out | Pause and match their cutouts and curve to the old refill before transferring them. |
| Wiper arm cannot clear the hood | Do not force it; use the model-year service-position instructions in the owner’s manual. |
| Replacement refill does not match the holder | Stop and verify the exact insert or blade fitment for your model year and current blade design. |
Tips for Safe Removal
Photograph the old insert before removing the metal plates. The photo gives you a quick reference for the plate cutouts, curve, and stopper end. Do not flatten, bend, or reverse the plates; they help the rubber follow the windshield’s shape.
Also avoid gripping or pulling the refill with unnecessary force. If the rubber is stuck because of dirt or age, work it free gradually rather than twisting the blade frame.
How to Properly Install New Wiper Blade Inserts
Installation is the removal process in reverse, but the metal-plate orientation matters. Toyota specifically instructs owners to keep the plates’ cutout location and warp direction the same as they were in the old insert.
- Transfer the two metal plates. Fit them into the new rubber insert in the same orientation as the original.
- Identify the stopper end. Start feeding the refill into the wiper blade from the side that does not have the stopper.
- Slide the insert through the blade claws. Keep the rubber grooves engaged with the blade guides as you feed it through.
- Lock the stopper. Continue until the insert’s stopper is secured by the blade claw.
- Reinstall the complete blade. Slide the blade back onto the wiper arm and confirm that the connector is locked.
- Repeat on the other side. Replace the second insert using the same sequence.
Before lowering the arms, gently tug each blade at the connector. It should stay locked on the arm, and the rubber insert should remain captured by the blade claws from end to end.
Final Installation Checks for Wiper Blades

On the 2019–2025 Toyota procedure, return the arms in the reverse order: lower the passenger side first, then the driver side. Make sure each blade sits flat against the windshield and neither blade is twisted or trapped against trim.
Test the wipers on a wet windshield using washer fluid. Watch the full sweep from the driver’s seat. A correct installation should clear smoothly without the blade detaching, colliding, skipping, or leaving persistent heavy streaks.
If a new insert chatters, skips, or streaks, first check the refill seating, metal-plate orientation, blade lock, and windshield cleanliness before assuming the new rubber is defective.
If the connector will not lock or the blade can be pulled off the arm after installation, do not drive in rain until the fitment problem is corrected.
Essential Tips for Extending the Life of Your Wiper Blades
- Clean the windshield and rubber edge regularly. Dirt and road film can cause streaking even when the insert is not worn out.
- Do not run the wipers on dry glass. Use washer fluid when practical to reduce friction and help remove grit.
- Free frozen blades before operating them. Do not use the wiper motor to break a blade loose from ice or packed snow.
- Inspect the rubber for cracks, splits, hardening, contamination, or deformation. Toyota lists these as conditions that require attention.
- Replace based on condition as well as time. AAA notes that many wiper blades last about six to twelve months, but climate, sun, snow, dirt, and use can shorten that interval.
If cleaning does not stop streaking, chattering, skipping, or poor contact, inspect the insert and blade holder. A bent arm or damaged blade frame can cause wiping problems that a new rubber refill alone will not fix.
Related Guides
Frequently Asked Questions
How Often Should I Change My Windshield Wiper Inserts?
A common guideline is every six to twelve months, but condition matters more than the calendar. Replace the inserts sooner if they are cracked, split, hardened, deformed, or still streak or skip after the windshield and rubber edge are cleaned.
What Size Wiper Blades Do I Need for My RAV4?
RAV4 blade sizes vary by model year and by driver, passenger, and rear position. Do not rely on one universal size for every RAV4. Use the year-specific fitment in our RAV4 wiper blade size guide and verify the connector or refill style before ordering.
Can I Use Any Brand of Wiper Insert?
No. A replacement refill must match the blade holder’s length, groove shape, stopper design, and backing-plate arrangement. Some aftermarket blades are designed to be replaced as complete assemblies and do not accept the Toyota-style refill described in this guide.
What Should I Do if My Wipers Squeak After Replacement?
Clean the windshield and rubber edge, then check that the insert is fully seated, the metal plates are oriented correctly, and the blade is locked squarely on the arm. If the noise continues, inspect the blade frame and arm for damage or uneven pressure. Do not add an unverified lubricant to the wiping edge as a substitute for correcting fitment or contamination.
Are There Seasonal Wiper Blades for Winter Conditions?
Yes. Winter-focused complete blades are available and can resist snow and ice buildup better than some conventional designs. If you switch from the factory refill-style blade to a winter blade assembly, follow the complete-blade installation instructions for that product rather than the insert procedure on this page.
Conclusion
Replacing a Toyota RAV4 wiper insert is a manageable DIY job when the vehicle still uses a refill-compatible factory blade. The critical steps are to control the wiper arm, release the blade without forcing it, transfer both metal plates in the same orientation, feed the new insert from the correct end, and confirm that both the refill stopper and blade connector are locked.
Because RAV4 wiper designs and parking positions can vary by generation, check the manual for your exact model year whenever the arm, connector, or refill differs from the procedure above. Then test the finished installation with washer fluid before driving in rain.
Sources
- Toyota Manuals and Warranties — model-year owner’s manuals and wiper-service instructions.
- 2022 Toyota RAV4 Owner’s Manual: Wiper Insert Replacement — factory blade removal, insert replacement, metal-plate orientation, and arm-order procedure.
- AAA: How to Replace Windshield Wipers — replacement interval and general wiper-maintenance guidance.
