
Windows virtual memory uses a disk-based paging file, usually called pagefile.sys, to increase the amount of committed memory the operating system can support. For most Windows 11 and Windows 10 PCs, the safest choice is to let Windows manage this file automatically. A custom size is mainly useful when a specific application, troubleshooting case, or measured memory workload requires it.
Quick Answer
To add more virtual RAM in Windows, open Advanced system settings, go to Performance > Settings > Advanced > Virtual memory > Change. For most PCs, keep Automatically manage paging file size for all drives enabled. Use a custom size only when measured memory demand or application guidance gives you a reason to override Windows.
Key Takeaways
- Windows normally manages the paging file automatically, and this is the best starting point for most users.
- A larger page file can prevent out-of-memory failures when committed memory approaches its limit, but it does not make disk storage as fast as physical RAM.
- Do not use the old 1.5-to-3-times-RAM rule as a universal formula; Microsoft says proper page-file sizing depends on workload and crash-dump requirements.
- Check Task Manager’s Committed memory reading before assuming lag or high disk activity means the page file is too small.
- Avoid disabling the paging file unless you understand the effect on applications, system commit limits, and crash dumps.
At a Glance
| Time Required | About 5–10 minutes |
| Difficulty | Easy |
| Tools Needed | Windows System Properties, administrator access, and optionally Task Manager |
| Cost | $0 |
Signs You Need More Virtual Memory
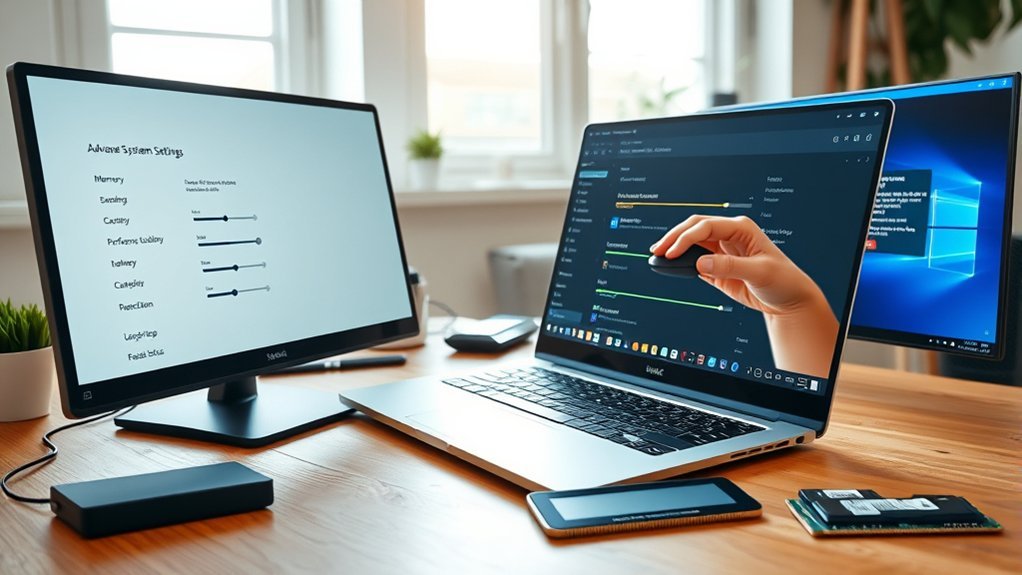
The strongest sign that Windows is running short of committed memory is an out-of-memory or insufficient-memory error while opening a large file, starting another application, compiling software, rendering video, or handling another demanding workload. Microsoft explains that the system commit limit is based on physical RAM plus paging-file capacity, and reaching that limit can cause freezing, crashes, or failed memory allocations.
You can verify this more directly in Task Manager. Press Ctrl + Shift + Esc, open Performance, select Memory, and find the Committed reading. It appears as a current value followed by a limit. If the current committed amount repeatedly approaches the limit during your normal workload, additional paging-file capacity may help.
Lag, freezes, and high disk activity can occur when memory is under pressure, but they are not proof that the page file is too small. Microsoft notes that hard page faults may involve executables, DLLs, memory-mapped files, or the page file itself. A slow SSD or hard drive, background programs, insufficient physical RAM, CPU limits, and other bottlenecks can produce similar symptoms.
Pro Tip: Check Task Manager’s Committed value while running the workload that normally causes trouble. That gives you better evidence than guessing from total RAM or disk activity alone.
Open Virtual Memory Settings
The Virtual Memory controls are located inside Windows’ Advanced System Properties. The wording is very similar in current Windows 10 and Windows 11 installations.
- Open Windows Search and type advanced system settings.
- Select View advanced system settings.
- In System Properties, open the Advanced tab.
- Under Performance, select Settings.
- Open the Advanced tab in Performance Options.
- Under Virtual memory, select Change.
| Action | Result |
|---|---|
| Search “advanced system settings” | Opens System Properties |
| Performance > Settings > Advanced | Reveals Virtual memory controls |
| Select Change | Shows page-file settings for each drive |
Microsoft also documents this general path through Control Panel and recommends keeping Automatically manage paging file size for all drives selected for normal Windows operation. See Microsoft Support’s virtual-memory instructions.
Check Recommended and Current Values
The Virtual Memory window shows the paging files assigned to your drives along with values such as Recommended and Currently allocated. These numbers are useful references, but the Recommended figure should not be treated as a universal target or as proof that your PC has a memory problem.
Microsoft’s current guidance says appropriate page-file size depends on the system’s peak commit charge, its expected workload, and the amount of paging capacity needed for the configured crash-dump type. Because those requirements vary from one PC to another, page-file sizing cannot be generalized solely from installed RAM.
The most useful question is not “How much RAM do I have?” but “How close does my workload come to the Windows commit limit?”
If Automatically manage paging file size for all drives is enabled, Windows controls paging capacity dynamically. Microsoft states that system-managed page files can grow in response to commit pressure and crash-dump requirements, assuming enough free disk space is available.
For more technical detail, see Microsoft’s page-file sizing guidance and introduction to Windows page files.
[Amazon Products Picked for You]

Capacity Display Variance: 1TB external ssd often appears as around 931GB on Windows. MacOS can show full 1 TB capacity. This is binary calculation difference and doesn’t affect SSD hard drive actual physical storage

High-speed Performance: Designed for casual gamers and everyday use, this external SSD with up to 1050MB/s accelerates large file transfers, media editing, and backup processes outperforming traditional hard drives

High-Speed Performance: fanxiang SSD enclosure supports USB 3.2 Gen 2 with a theoretical speed of up to 10Gbps, utilizing UASP acceleration technology for lightning-fast read and write speeds, ensuring you never have to wait for data transfers. Backward compatible with USB 3.1 and USB 3.0
Should You Use System Managed or a Custom Page File?
For most home, office, gaming, and general-purpose PCs, leave Automatically manage paging file size for all drives enabled. This lets Windows respond to changing committed-memory requirements instead of forcing the machine to work within arbitrary numbers chosen in advance.
A custom page-file size is more reasonable when you have a specific technical reason, such as:
- An application vendor documents a required paging-file size.
- You repeatedly reproduce out-of-memory errors even though the storage drive has adequate free space.
- Monitoring shows committed memory approaching the commit limit during a known workload.
- You are troubleshooting a documented page-file growth problem.
- You need a predictable configuration for specialized software or system administration.
Note: Microsoft does document an Initial size of about 1.5 times installed RAM as a workaround for a specific slow page-file-growth memory-allocation problem. That recommendation should not be turned into a universal sizing formula for every Windows PC.
[Amazon Products Picked for You]

Merge several PDF files into one PDF by Drag & Drop

Efficient Organization: Enjoy effortless file organize with these binder dividers with tabs. The macaron colors offer an elegant touch, total 36 pcs binder dividers in pack, making it easy to sort documents with efficiency.

High-quality padded canvas
Choose a Custom Virtual Memory Size
If you have confirmed that manual sizing is appropriate, clear Automatically manage paging file size for all drives, select the drive you want to configure, and choose Custom size.
The Initial size is the starting allocation, while Maximum size limits how far the paging file can grow. Avoid choosing these numbers only by multiplying installed RAM. A better manual configuration takes into account your observed peak committed memory, the amount of physical RAM, application requirements, available disk space, and crash-dump needs.
For example, a PC with 64 GB of RAM does not automatically need a 64 GB, 96 GB, or 192 GB page file. If its workloads remain comfortably below the commit limit, Windows may need much less. A specialized workload that commits unusually large amounts of memory could need more. In most cases, System managed size remains the simplest choice.
After entering custom values:
- Select the drive you are configuring.
- Select Custom size.
- Enter the Initial size and Maximum size in megabytes.
- Select Set to register the drive-specific setting.
- Select OK through the remaining windows.
- Restart Windows if prompted or if the new paging configuration has not yet taken effect.
Warning: Do not disable the page file simply because your PC has a large amount of RAM. Some applications depend on paging capacity, and Windows may also require a page file or dedicated dump file to create certain crash dumps after a system failure.
[Amazon Products Picked for You]


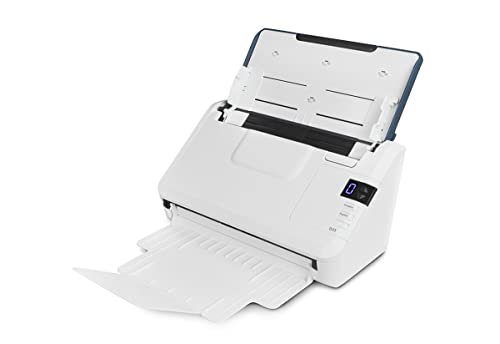
FAST SCANNING: Duplex scanner with 50-page automatic document feeder; scans in color, grayscale and black/white. Scans up to 45 ppm/90 ipm at 200 to 300 dpi. Duty Cycle: 8,000 pages/day
Restart Windows and Avoid Common Mistakes
A restart may be required after page-file changes so Windows can use the new configuration correctly. After rebooting, run the same workload that caused problems and check Task Manager again.
Avoid these common mistakes:
- Do not assume more virtual memory always improves performance. It mainly increases commit capacity. Heavy paging to storage is still much slower than keeping actively used data in physical RAM.
- Do not set a very small maximum. If committed-memory demand reaches the system limit, applications may fail to allocate memory.
- Do not disable the page file without a clear reason. Doing so can reduce the commit limit and interfere with certain crash-dump configurations.
- Keep enough free storage space. A system-managed or expanding page file needs room on its volume.
- Do not diagnose memory pressure from disk activity alone. Check Committed memory and other performance data first.
- Back up critical work before troubleshooting recurring crashes. Creating a restore point is optional, but it can provide an additional rollback option before broader system changes.
If applications still run out of memory after you confirm that the page file is adequate, check for memory leaks, unusually heavy software, background applications, and insufficient physical RAM. When a workload constantly pushes RAM usage to its limit, installing more compatible physical memory usually provides a larger performance benefit than relying heavily on storage-backed paging.
Frequently Asked Questions
How Do I Add More Virtual RAM?
Open Advanced system settings > Performance > Settings > Advanced > Virtual memory > Change. For most PCs, keep automatic management enabled. If you have a verified reason to use custom values, disable automatic management, select the drive, enter the new Initial and Maximum sizes, select Set, and restart if required.
How Do I Set up Virtual RAM?
Windows normally creates and manages its paging file automatically. You can review the setting in the Virtual Memory window. Unless a specific workload or troubleshooting case requires manual values, leaving Automatically manage paging file size for all drives enabled is the safest setup.
How to Properly Install More RAM?
Check your motherboard or laptop specifications for the supported DDR generation, module type, maximum capacity, and slot configuration. Power the computer off, disconnect power, use basic anti-static precautions, seat the compatible modules firmly, then confirm the new capacity in BIOS/UEFI and Windows. Physical RAM is preferable to heavy paging when your normal workload repeatedly exhausts installed memory.
How Much Virtual Memory Should I Set for 64 GB RAM?
There is no universal page-file size for a PC with 64 GB of RAM. Microsoft says sizing depends on peak committed-memory demand and crash-dump requirements. For most 64 GB systems, use System managed unless monitoring or application documentation shows that a specific custom size is needed.
Does Increasing Virtual Memory Increase FPS?
Usually not. A larger page file can prevent a game or application from failing when the commit limit is reached, but paging to storage is slower than using physical RAM. FPS problems are more often tied to the CPU, GPU, RAM capacity, game settings, drivers, or storage performance.
Should I Disable the Windows Page File?
Usually no. Disabling the page file lowers the amount of committed memory Windows can support and can affect applications or crash-dump creation. Large amounts of physical RAM do not automatically make the paging file unnecessary.
How Can I Tell If the Page File Is Actually Too Small?
Open Task Manager, select Performance > Memory, and watch the Committed reading during your heaviest normal workload. If committed memory repeatedly approaches its limit or applications report out-of-memory errors, investigate page-file capacity, memory-hungry applications, and physical RAM usage together.
Conclusion
Adding more virtual RAM in Windows is simple, but manually choosing a large page-file number is rarely the best first step. Windows already manages paging dynamically for most PCs. Check committed-memory pressure first, keep enough disk space available, and use custom values only when a specific workload or troubleshooting case justifies them. If your everyday workload repeatedly exhausts physical RAM, a compatible RAM upgrade is generally the better long-term performance solution.
Sources
- Microsoft Learn: How to determine the appropriate page file size for 64-bit versions of Windows — page-file sizing, system-managed behavior, performance counters, and crash-dump requirements.
- Microsoft Learn: Introduction to page files — page-file purpose, committed memory, commit limits, and large-memory systems.
- Microsoft Learn: Memory allocation errors can be caused by slow page file growth — circumstances where manual sizing and a 1.5-times-RAM initial size are used as a specific workaround.
- Microsoft Support: Advanced system settings and virtual memory — current Windows path and automatic page-file management guidance.
