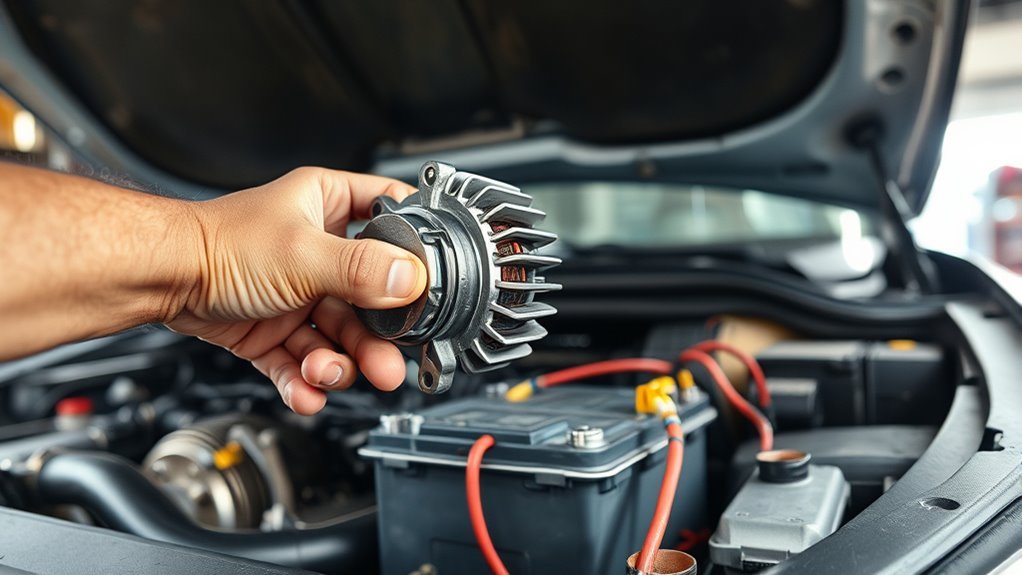
When a car won’t start, the fastest way to avoid replacing good parts is to identify the symptom first, then test the battery, terminals and grounds, charging system, starter circuit, and starting controls in that order. A no-crank condition is different from an engine that cranks normally but will not run, so the correct diagnosis depends on what happens when you turn the key or press the start button.
Quick Answer
If your car won’t start, inspect the battery terminals and grounds first, then test battery condition, charging-system output, and the starter circuit. A weak battery or high-resistance connection can imitate a bad starter or alternator, so test before replacing parts. If the engine cranks normally, investigate fuel, ignition, immobilizer, or engine-control faults instead.
Key Takeaways
- Clean and secure battery terminals and ground connections before condemning expensive components.
- A conventional load test uses about half the battery’s CCA for 15 seconds; 9.6 volts is the reference minimum at 70°F (21°C), not a universal temperature-independent cutoff.
- For many conventional charging systems, roughly 13–15 volts around 2,000 rpm is a useful general check, but the vehicle manufacturer’s specification takes priority.
- Use voltage-drop testing to find resistance in starter and charging cables instead of judging the starter from one voltage reading.
- If the engine cranks at normal speed but does not start, the fault may be outside the battery, alternator, and starter systems.
At a Glance
| Time Required | About 15–45 minutes for basic inspection and electrical testing; component removal varies by vehicle. |
| Difficulty | Basic to moderate for diagnosis; starter replacement may be advanced depending on access. |
| Tools Needed | Safety glasses, gloves, digital multimeter, battery terminal brush, basic hand tools, and preferably a battery load or conductance tester. |
| Cost | Basic inspection and cleaning can cost very little if tools are already available; battery, starter, alternator, wiring, and labor costs vary widely by vehicle. |
Start With These Checks
- Inspect the battery case, terminals, cables, and grounds before replacing anything.
- Clean corrosion and tighten loose connections using the vehicle manufacturer’s torque specifications where provided.
- Test the battery only after confirming it is adequately charged.
- Verify charging-system operation instead of assuming the alternator is bad because the battery discharged.
- Check starter-circuit voltage drop, relay/control operation, and starter engagement before replacing the starter.
- Inspect the Park/Neutral safety circuit, immobilizer indications, fuses, and related wiring when the starter does not receive a command.
Warning: Wear eye protection and gloves around a lead-acid battery and keep sparks, cigarettes, and open flames away. Do not continue DIY testing on a cracked, leaking, badly swollen, or physically damaged battery. Follow the vehicle owner’s manual before disconnecting or jump-starting any battery.
Why the Car Won’t Start
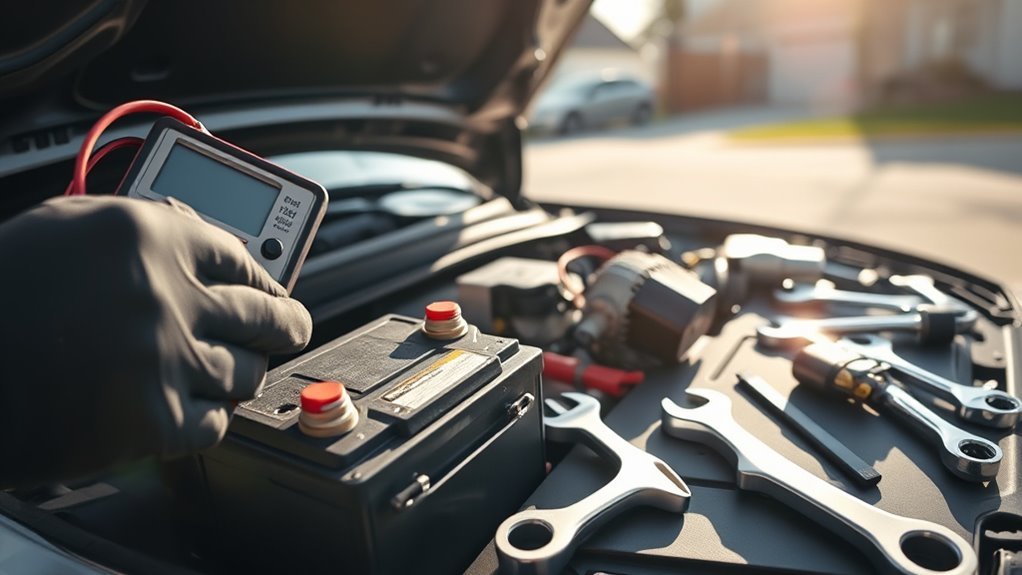
A no-start condition should first be divided by symptom. Battery, starter, and cable faults are especially common when the engine does not crank or cranks very slowly. If the engine turns at normal speed but never fires, the starting motor has already done its main job and the diagnosis must expand beyond the starter circuit.
| Symptom | Likely Areas to Check |
| No lights and no crank | Battery charge, terminal connection, main fuse/fusible link, battery cables, grounds |
| Rapid clicking or very slow crank | Weak battery, terminal corrosion, loose cable, excessive voltage drop, starter load |
| One click but no crank | Battery/cables first, then starter solenoid, starter motor, engine mechanical resistance |
| No click and no crank | Start switch/button circuit, fuse, starter relay, Park/Neutral switch, clutch switch, immobilizer, wiring |
| Cranks normally but will not start | Fuel delivery, ignition, engine management, timing/compression, immobilizer or other engine-control faults |
A jump start can temporarily overcome a discharged battery. If the vehicle starts and later loses electrical power or stalls, the charging system becomes a suspect, but that symptom alone does not prove the alternator has failed. The battery, belt, wiring, connections, and charging output still need to be tested.
Test the battery and connections before condemning the starter or alternator—a weak power supply can make healthy components appear faulty.
Anti-theft faults, a defective Park/Neutral range switch, clutch-interlock switch, starter relay, fuse, ignition/start circuit, or damaged wiring can also prevent cranking. A systematic diagnosis separates a power-supply problem from a control-circuit or component failure.
Check the Battery Terminals First
Battery terminal corrosion and loose clamps should be inspected early because resistance at these connections can reduce the current available to the starter. Check the battery case as well. A cracked, leaking, badly swollen, or loose battery requires professional attention rather than routine cleaning.
Battery Terminal Corrosion
White, blue, or greenish buildup around the battery posts and cable terminals can interfere with electrical contact. Current Interstate Batteries corrosion-cleaning guidance recommends wearing gloves and safety glasses and using baking soda and water to neutralize corrosion on external surfaces.
- Turn the vehicle off, set the parking brake, and keep the key or key fob away from the vehicle as directed by the owner’s manual.
- Wear gloves and safety glasses.
- If battery disconnection is appropriate for the vehicle, disconnect the negative terminal first, then the positive terminal.
- Apply the baking-soda-and-water solution to external corrosion without allowing the mixture into battery vents.
- Scrub the posts and clamps with a suitable battery-terminal brush.
- Rinse or wipe away residue as directed and dry the area thoroughly.
- Reconnect the positive terminal first and the negative terminal last.
Note: Disconnecting a modern vehicle battery can erase stored settings or require system relearning. Some vehicles also use remote battery posts or special procedures, so check the owner’s manual before disconnecting anything.
Tighten Loose Connections
After corrosion is removed, inspect both cable clamps for movement and check the battery hold-down, engine ground, body ground, starter connection, and alternator connection where accessible. Damaged insulation, frayed conductors, heat damage, or corrosion inside a cable are reasons to repair or replace the affected cable.
Tighten connections to the manufacturer’s specification rather than overtightening battery posts or electrical studs. A connection that looks clean can still have excessive resistance, which is why a voltage-drop test under load is more useful than appearance alone when a fault persists.
Test the Battery Load
A battery can show reasonable voltage at rest and still fail when the starter demands high current. Before a traditional load test, inspect the battery and make sure it is sufficiently charged. DENSO’s battery performance-testing guidance uses about 12.6 volts as a fully charged open-circuit reference before testing.
For a conventional carbon-pile load test, DENSO specifies applying approximately one-half of the battery’s rated CCA for 15 seconds. At a battery temperature of 70°F (21°C), a good battery should generally remain at or above 9.6 volts. The acceptable minimum changes with temperature, so 9.6 volts should not be treated as a universal cutoff.
- Inspect the battery for physical damage and verify adequate charge.
- Confirm the battery’s CCA rating.
- Connect the battery tester according to its instructions.
- Apply the specified load for the specified time.
- Compare the result with the tester or manufacturer’s temperature-adjusted specification.
- Recharge and retest when the test procedure calls for it; replace the battery only when testing confirms failure.
Pro Tip: Do not diagnose the starter from a low cranking-voltage reading until the battery itself has passed testing. A weak battery can pull the entire starting circuit voltage down.
Verify the Alternator Output
On a conventional alternator-equipped vehicle, charging-system testing begins only after the battery is known to be serviceable. Inspect the alternator drive belt for damage, improper tension, or alignment problems, and inspect the charging cables and grounds.
DENSO’s charging-system troubleshooting procedure gives approximately 13 to 15 volts at the alternator and battery around 2,000 rpm as general guidance. Electrical loads such as headlights, blower motor, and rear defroster can then be switched on and the test repeated.
That range is a diagnostic guide rather than a universal specification. Charging strategies differ by vehicle, and electronically controlled systems can vary charging voltage according to battery state, temperature, electrical load, and operating conditions. Use the factory service information when the measured voltage does not match expectations.
Check Charging-Circuit Voltage Drop
An alternator can produce adequate voltage at its output terminal while excessive cable resistance prevents that voltage from reaching the battery. DENSO recommends checking the positive and negative charging paths under electrical load; its general guidance calls for approximately 0.2 volt or less on each side.
Excessive voltage drop points toward loose connections, corrosion, damaged cable strands, or poor grounds rather than automatically proving that the alternator itself is defective.
Note: Fully electric vehicles and many hybrids do not use a conventional alternator to maintain the 12-volt system. They can use a DC-DC converter instead. Follow the manufacturer’s procedure for the specific vehicle.
Test and Replace the Starter
Starter testing should come after the battery, cables, terminals, and grounds have been checked. A single click, grinding, slow cranking, intermittent engagement, or no crank can involve the starter, but those symptoms can also result from poor power delivery or a control-circuit fault.
Starter Test Procedure
DENSO’s starter troubleshooting guidance recommends testing the complete starting circuit rather than relying on one cranking-voltage number.
- Confirm battery condition. The battery should be adequately charged and capable of passing its performance test.
- Inspect cables and grounds. Check for loose connections, corrosion, damaged insulation, and broken or deteriorated conductors.
- Check starter control voltage. Verify that the starter solenoid or control terminal receives the proper start command according to the service manual.
- Perform a complete-circuit voltage-drop test. If excessive drop is found, test the positive and ground sides separately to locate the resistance.
- Listen to engagement. Grinding, free-spinning, repeated clicking, or failure to turn can provide additional clues.
- Confirm the engine is mechanically free to turn before condemning a starter that cannot rotate it.
DENSO lists a general maximum of about 0.5 volt across the complete starter circuit during its voltage-drop procedure, while individual vehicle specifications should still take priority.
Starter Replacement Steps
Starter replacement varies greatly by vehicle. Some starters are accessible from above; others require underbody access, removal of shields or intake components, or additional disassembly. Use the factory procedure for the specific make, model, engine, and drivetrain.
- Park on a stable, level surface, switch the vehicle off, and set the parking brake.
- Follow the manufacturer’s battery-disconnection procedure. On a conventional 12-volt system, this commonly includes disconnecting the negative battery cable before starter wiring is disturbed.
- If underbody access is required, raise and support the vehicle with equipment rated for its weight. Never work beneath a vehicle supported only by a jack.
- Remove only the components required for safe starter access.
- Label or photograph starter wiring positions when needed.
- Disconnect the starter electrical leads without allowing tools to bridge an energized positive terminal to ground.
- Remove the starter mounting fasteners and starter.
- Install the replacement in the correct position and tighten fasteners to factory torque specifications.
- Reconnect wiring, removed components, and the battery in the specified sequence.
- Test starter engagement and charging-system operation after the repair.
Warning: High-voltage hybrid and EV components can cause severe injury or death. NHTSA advises that traction batteries and high-voltage systems be serviced by qualified technicians. Do not disconnect orange high-voltage wiring or assume an electrified vehicle uses a conventional starter or alternator.
What Usually Fixes a No-Start Electrical Problem?
There is no single repair that correctly fixes every no-start condition. The repair should follow the test result. If corrosion or a loose battery connection caused excessive resistance, cleaning and tightening the connection may restore normal cranking without replacing the battery, alternator, or starter.
If the battery fails a properly performed battery test after being charged, replace the battery with the correct type and rating. If the charging system fails its output or voltage-drop tests, diagnose the alternator, belt, regulator/control system, DC-DC converter where applicable, cables, and grounds before choosing a replacement part.
If the battery and power-delivery circuit are healthy but the starter receives the correct command and still fails to crank the engine properly, starter or solenoid repair or replacement may be justified.
- Clean and secure battery terminals and ground points.
- Verify battery condition under an appropriate test.
- Check the charging system and its cable voltage drop.
- Check starter-circuit voltage drop and starter control voltage.
- Check fuses, relays, Park/Neutral or clutch-interlock operation, immobilizer indicators, and related wiring.
- Replace a component only after the diagnosis identifies it as faulty.
When the Engine Cranks but Still Won’t Start
If the starter turns the engine at a normal speed, continually testing or replacing the starter usually will not solve the problem. The diagnosis should shift to the systems required for the engine to run.
Possible areas include fuel pressure and delivery, ignition or spark, crankshaft/camshaft sensor signals, engine timing, compression, immobilizer authorization, engine-control power supplies, or stored diagnostic trouble codes. Exact testing depends heavily on the vehicle, so a scan tool and model-specific service information may be required.
Check the Starter Relay, Fuse, and Safety Interlocks
When the battery is healthy but the starter receives no command, check the starting-control circuit. Depending on the vehicle, this can include a starter fuse or fusible link, starter relay, ignition switch or start-button circuit, clutch-interlock switch, automatic-transmission Park/Neutral switch, body-control module, engine-control module, and immobilizer.
If an automatic-transmission vehicle refuses to crank in Park, applying the brake and trying Neutral according to the owner’s manual can sometimes help identify a range-switch problem. Do not bypass an interlock or safety switch to make the vehicle start.
When to Stop DIY Troubleshooting
Professional diagnosis is appropriate when the battery is damaged or leaking, wiring becomes hot or smokes, a fuse repeatedly blows, the starter or alternator is difficult to access safely, the vehicle has high-voltage components near the work area, or electrical measurements do not match the service information.
Stop immediately if you smell burning insulation, see smoke or sparks, or find melted wiring. Disconnecting power is not always safe on modern or electrified vehicles, so follow the manufacturer’s emergency and service procedures.
Frequently Asked Questions
How Do I Tell if the Problem Is the Starter or Alternator?
A starter problem normally affects cranking, while an alternator or charging-system problem affects the battery’s ability to stay charged while the vehicle operates. Because a weak battery or bad cable can imitate both faults, test battery condition and cable voltage drop first. Then test charging output and starter operation separately.
Is It Cheaper to Replace a Starter or an Alternator?
There is no reliable universal answer. Part design, engine layout, labor time, rebuilt versus new components, and vehicle make and model can make either repair more expensive. Diagnose the failed component first rather than using price to decide which part to replace.
Can an Alternator and Starter Go Bad at the Same Time?
Yes, separate faults can exist at the same time, but do not assume both components have failed just because the vehicle will not start. Test the battery, connections, charging system, and starter circuit independently so one fault is not mistaken for another.
Why Won’t My Car Start With a New Battery, Alternator, and Starter?
New components do not rule out loose battery terminals, bad grounds, damaged cables, a starter relay or fuse problem, a Park/Neutral or clutch-interlock fault, immobilizer problems, or incorrect installation. If the engine cranks normally but will not run, investigate fuel, ignition, engine-control, timing, and related faults instead.
Can a Bad Battery Make a Good Starter or Alternator Look Faulty?
Yes. A weak battery can cause slow cranking, clicking, low measured starter voltage, unstable electronics, and misleading charging-system results. Confirm battery condition before making a final starter or alternator diagnosis.
What Does It Mean if the Engine Cranks Normally but Won’t Start?
Normal cranking usually means the battery and starter are at least capable of turning the engine. The remaining fault may involve fuel delivery, ignition, engine sensors, immobilizer authorization, timing, compression, or engine-control power. Scan-tool and vehicle-specific testing may be necessary.
Conclusion
When a car won’t start, begin with the symptom instead of guessing which component failed. Inspect the battery and connections, verify battery condition, test charging-system operation, and use voltage-drop testing to check the starter and high-current cables. Then inspect relays, fuses, safety interlocks, grounds, and start-control circuits as needed.
If the engine cranks normally, move beyond the starter system and investigate fuel, ignition, engine-management, immobilizer, timing, or mechanical problems. Replacing the battery, alternator, or starter should be the result of testing—not the first troubleshooting step.
Sources
- DENSO — Battery Visual Inspection & Performance Testing — battery charge, CCA load-test procedure, and temperature-adjusted voltage thresholds.
- DENSO — Charging System Troubleshooting — alternator output, belt inspection, cable checks, and charging-circuit voltage drop.
- DENSO — Starter Troubleshooting — starter control checks and starting-circuit voltage-drop diagnosis.
- Interstate Batteries — How to Clean Battery Corrosion — PPE, corrosion cleaning, and battery-terminal precautions.
- NHTSA — Electric and Hybrid Vehicle Safety — 12-volt systems, DC-DC converters, and high-voltage service precautions.
