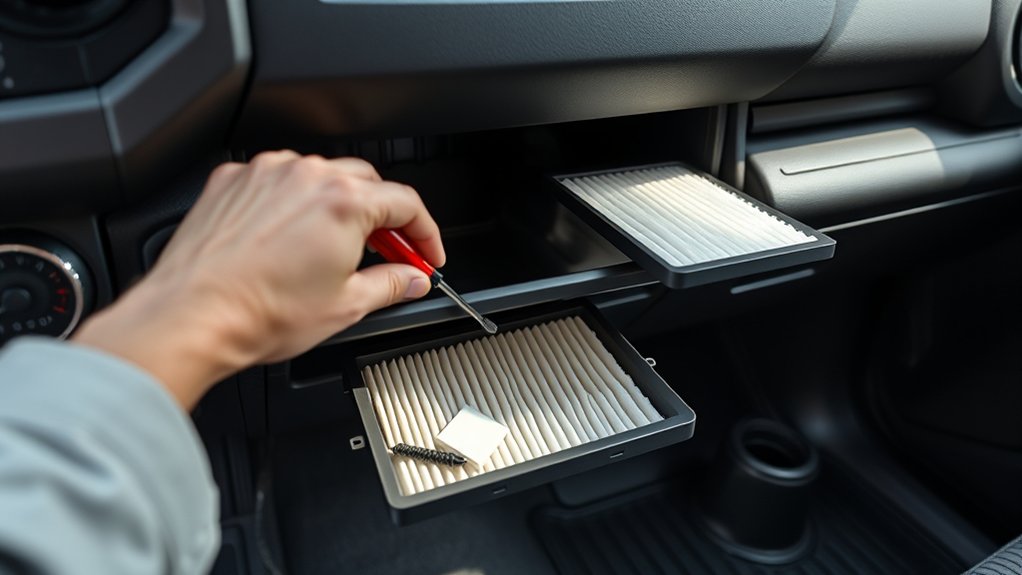
You can change a Toyota Tacoma cabin air filter in about 10 to 20 minutes by lowering the glove box, opening the filter housing, and sliding in the correct replacement filter. The job is simple, but fitment and airflow direction matter. Check your Tacoma’s model year first, then match the new filter to the old filter, the housing mark, or your owner’s manual before you close everything back up.
Quick Answer
To change a Tacoma cabin air filter, empty the glove box, unhook the damper, squeeze the glove box sides inward, and lower it. Unclip the rectangular filter cover, pull the old filter out, match the airflow direction, slide in the new filter, snap the cover closed, and reconnect the glove box damper.
Key Takeaways
- Most Tacoma cabin air filters sit behind the glove box, but you should verify the exact procedure for your model year.
- Match the filter’s airflow arrow to the old filter, housing mark, or owner’s manual before installation.
- Replace a dirty, musty, clogged, or damaged filter sooner if you drive in dust, smoke, pollen, or heavy traffic.
- If airflow or odor problems remain after replacement, check the housing, blower area, and HVAC ducts for debris.
At a Glance
| Time Required | About 10 to 20 minutes |
| Difficulty | Easy DIY job |
| Tools Needed | Replacement cabin air filter, flashlight, clean rag, gloves, and a small container for loose items |
| Cost | Usually the cost of the filter only; price varies by brand, media type, and vehicle fitment |
Quick Steps: Change the Tacoma Cabin Air Filter

Start by emptying the glove box so nothing drops into the footwell or HVAC opening. Open the glove box fully, then find the small damper arm on the side. Squeeze or release the damper clip gently, depending on your Tacoma’s design, and let the damper separate from the glove box.
Next, press both sides of the glove box inward so the stop tabs clear the dashboard opening. Lower the glove box slowly until you can see the rectangular cabin air filter cover behind it. Press the cover tabs, remove the cover, and pull the old filter straight out.
Before you install the new filter, look for the airflow arrow on the old filter, the new filter, or the housing. Many Tacoma setups use downward airflow toward the blower motor, but you should always match the actual marking on your vehicle or filter package. Slide the new filter in squarely, snap the cover closed, raise the glove box, and reconnect the damper.
Warning: Do not yank the glove box or pry hard on the plastic tabs. Older plastic can crack, especially in hot or cold weather. Use steady pressure, support the glove box as it drops, and wear gloves if the old filter is dusty.
Confirm Your Toyota Tacoma Year and Filter Type
Before you buy a cabin air filter, confirm your Tacoma’s model year, trim, and cab configuration. Tacoma generations use similar glove-box access steps, but filter dimensions and part numbers can change. The safest method is to check your owner’s manual, the old filter number, or a reliable parts lookup before ordering.
Toyota’s official manuals and warranties page lets you access vehicle-specific owner information. Toyota also notes that Genuine Toyota Parts are made to fit Toyota specifications. You can still use a quality aftermarket filter, but the size, frame shape, and airflow marking must match your Tacoma.
Identify Model Year
Find the model year before you shop for a replacement filter. You can check the vehicle registration, insurance card, door-jamb label, VIN lookup, or owner’s manual. If your Tacoma has been modified or imported, verify the filter by physical size instead of guessing from the year alone.
- Check your registration, VIN, or door-jamb label for the model year.
- Look at the old filter for a printed part number or size code.
- Compare the replacement filter’s fitment chart with your Tacoma year.
- Check the airflow marking before you remove the old filter.
- Inspect the housing for leaves, dust, or signs of moisture.
This quick check prevents the most common mistakes: buying the wrong filter, forcing the frame into the housing, or installing it backward.
Select Correct Filter
Choose a filter that lists your Tacoma year and body style as compatible. A standard particulate filter works for most drivers. A carbon or odor-reducing filter may help with some traffic smells, but it still needs to fit correctly and allow proper airflow. Avoid any filter that must be bent, crushed, trimmed, or forced into the slot.
If you want stronger dust or pollen filtration, look for a high-efficiency cabin filter made for your exact Tacoma. Do not choose by marketing terms alone. EPA guidance for air filtration notes that filters need regular replacement and that no filter removes every pollutant from the air. A clean, correctly fitted filter usually helps more than an expensive filter installed the wrong way.
Note: If your Tacoma does not have a filter installed when you open the housing, do not assume the vehicle cannot use one. Some used vehicles are missing the old filter. Confirm fitment by model year and housing size, then install the correct replacement.
Prep Checklist: Empty the Glove Box and Gather Items
Empty the glove box completely before you lower it. Remove documents, pens, chargers, receipts, and anything small enough to fall into the HVAC opening. Put important papers in a folder and set loose items in a tray or container.
A clean work area helps keep leaves, crumbs, and dust out of the HVAC intake while the filter housing is open.
Gather these items before you start:
- Correct replacement cabin air filter
- Clean rag or shop towel
- Small container for glove-box items
- Flashlight for the filter cover and housing tabs
- Gloves if the old filter looks dusty or moldy
Park on a level surface, turn the ignition off, and give yourself enough room on the passenger side. You do not usually need hand tools for this job, but a flashlight makes the cover tabs easier to see.
Open the Glove Box and Unhook the Damper
Open the glove box fully and support it with one hand. Look along the side for the damper arm. The damper slows glove-box movement, so you need to disconnect it before the box can lower far enough to expose the HVAC assembly.
Open Glove Box Wide
Pull the glove box open until it stops. Make sure the contents are out and nothing is caught near the hinges. Use a flashlight if the passenger footwell is dark. You should see the glove-box side walls and the small damper connection on the side.
- Open the glove box fully.
- Support the door so it does not drop suddenly.
- Find the damper arm before pressing the side tabs.
- Keep fingers clear of the hinge area.
- Work slowly if the plastic feels stiff.
Unhook Damper Clip
Locate the small plastic damper clip on the side of the glove box. Squeeze the clip or slide it off its post, depending on your model year. Use gentle pressure and avoid twisting the arm. When the damper releases, let it rest out of the way without stretching it.
If the clip does not move, stop and look closely at how it locks onto the post. Forcing the damper can break the clip and make the glove box drop too fast during normal use.
Squeeze Sides Inward
After the damper is free, press the left and right sides of the glove box inward. This lets the stop tabs clear the dashboard opening. Lower the glove box slowly until it hangs down and gives you a clear view of the HVAC assembly behind it.
- Squeeze both sides evenly.
- Do not pry the tabs with a screwdriver unless your manual calls for it.
- Lower the glove box with control.
- Confirm both stop tabs clear the opening.
- Keep the damper arm out of the way.
Lower the Glove Box to Access the Filter Housing
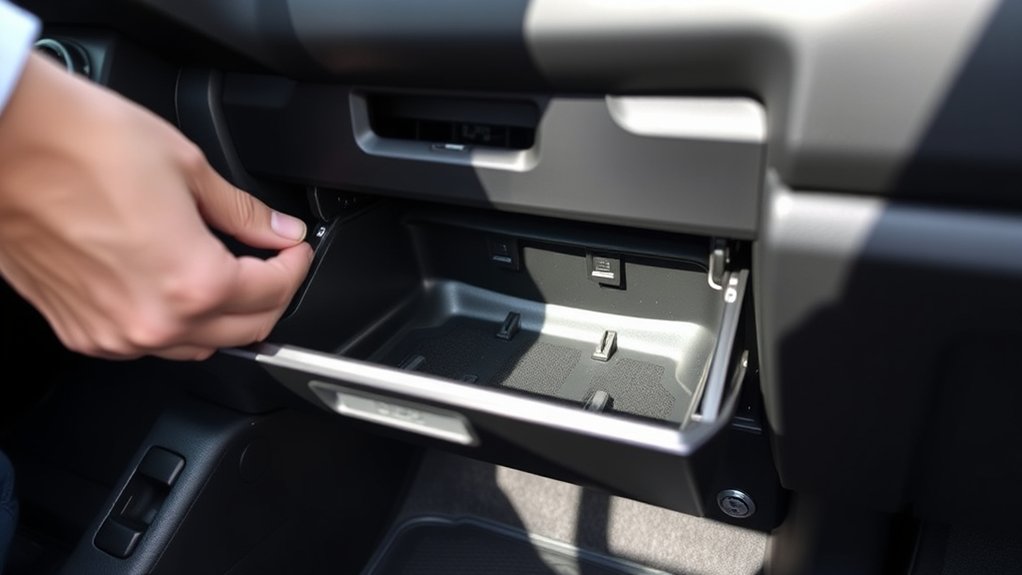
With the glove box lowered, look straight ahead behind the opening. You should see a rectangular plastic cover on the HVAC case. That cover protects the cabin air filter slot. Wipe away loose dust near the opening before you remove the cover, especially if leaves or crumbs are visible.
Keep the glove box supported if it feels like it is pulling on the hinges. You need enough access to reach the cover tabs, not enough force to bend the box. A calm, controlled setup makes the filter swap easier and prevents broken trim.
Unclip the Cover and Remove the Old Cabin Air Filter
Find the release tabs on the rectangular filter housing cover. Press the tabs and pull the cover straight off. Set the cover in a safe place so it does not get stepped on or kicked under the seat.
Locate The Filter Housing
The filter housing sits behind the lowered glove box, flush with the HVAC case. Feel for the seam around the cover if you cannot see it clearly. The housing should open without heavy force. If it does not, check for a tab you missed instead of pulling harder.
- Confirm the housing is behind the glove box opening.
- Identify the cover tabs before pulling.
- Note any airflow mark on the cover or housing.
- Check for leaves or debris near the slot.
- Keep the old filter level as you remove it.
Release The Plastic Cover
Press the cover tabs and pull the plastic cover outward. Some covers swing out, while others come off as a small panel. Use both hands if needed so the cover releases evenly. Do not bend the cover, because it needs to seal the slot after the new filter goes in.
Once the cover is off, look inside the filter slot. If you see leaves, seeds, or heavy dust, remove loose debris with a clean rag or careful hand motion. Do not push debris deeper toward the blower motor.
Extract The Old Filter
Grip the old cabin air filter by its edge and slide it straight out. Keep it level so trapped dust does not spill into the housing. Before you throw it away, check the airflow arrow and note which direction it pointed.
- Pull the old filter straight out.
- Check the filter for dirt, leaves, moisture, or musty odor.
- Note the airflow arrow direction.
- Wipe loose debris from the housing opening.
- Do not run the HVAC fan while the filter is removed.
If the old filter is wet, moldy, or packed with debris, look deeper into the housing with a flashlight. A new filter can help, but it will not solve a water leak, blocked drain, or dirty evaporator by itself.
Pick the Right Replacement and Orient the Airflow Arrows
Before installing the new filter, compare it with the old one. The frame length, width, thickness, and corner shape should match. The filter should slide into the slot without crushing. If the new filter bows, wrinkles, or leaves a gap, stop and verify the part number.
| What to check | Why it matters |
|---|---|
| Part number or fitment | Helps confirm the correct size and frame shape |
| Airflow arrows | Prevents reversed installation and poor seating |
| Filter media type | Standard, carbon, and high-efficiency filters target different needs |
| Filter condition | Heavy dirt, odor, or moisture means replacement is due sooner |
Most replacement filters have either an “Air Flow” arrow or an “Up” arrow. These do not always mean the same thing. An “Air Flow” arrow shows the direction air moves through the filter. An “Up” arrow shows how the filter should sit in the housing. Read the label carefully before inserting the filter.
Pro Tip: Take a quick phone photo of the old filter before removal. The photo gives you a simple reference for filter depth, arrow direction, and cover position when you install the replacement.
Install the New Cabin Air Filter and Close the Housing

Hold the new cabin air filter with the airflow mark facing the correct direction. For many Tacoma setups, airflow points downward toward the blower motor, but your old filter, housing mark, or owner’s manual should be the final guide. Slide the filter into the slot with light, even pressure.
The filter should sit flat and snug. If the frame catches, pull it back out and check alignment. Do not crush the pleats or fold the corners. A gap around the filter can let dust bypass the media and can also make the cover harder to close.
- Verify the arrow direction before insertion.
- Slide the filter in squarely.
- Feel for even contact along the frame.
- Snap the housing cover closed until the tabs lock.
- Check that the cover sits flush with the HVAC case.
After the cover clicks into place, give it a light tug. If it stays secure and the edges sit flush, the housing is closed correctly.
Reinstall the Glove Box and Reconnect the Damper
Raise the glove box back toward the dashboard opening. Press the sides inward again if needed so the stop tabs pass into place. Let the tabs seat naturally rather than forcing them over the edge.
| Step | Action | Goal |
|---|---|---|
| 1 | Lift the glove box into position | Seat the stop tabs correctly |
| 2 | Reconnect the damper arm | Restore smooth glove-box movement |
| 3 | Open and close the glove box | Confirm nothing binds or rattles |
Clip the damper arm back onto its post. Open and close the glove box a few times. It should move smoothly, stop at the normal open position, and close without rubbing the dashboard.
Troubleshooting and Recommended Replacement Intervals
After installation, turn the fan on and check airflow through the vents. Listen for rattles and make sure the glove box stays closed. If airflow improves and odors fade, the filter was likely the main issue.
Use your Tacoma owner’s manual or maintenance guide as the final replacement schedule. As a practical habit, inspect the filter at least once a year and sooner if you drive on dusty roads, park under trees, travel during wildfire smoke, or notice weak airflow. Replace the filter whenever it looks clogged, smells musty, feels damp, or has damaged pleats.
- Weak airflow after replacement: Recheck filter direction, seating, and housing cover alignment.
- Rattle behind the glove box: Confirm the cover tabs and damper clip are fully locked.
- Musty odor remains: Check for moisture, debris, or dirty HVAC ducts beyond the filter.
- Filter will not fit: Stop and verify the part number, frame size, and model-year compatibility.
- Dust blows from vents: Inspect the housing for gaps or debris bypassing the filter.
A cabin filter can help reduce dust, pollen, and other particles entering the cabin, but it cannot remove every pollutant or fix a dirty evaporator, water leak, or mold source. EPA air-quality guidance notes that filters can support cleaner air, but all filters need regular replacement and no filter removes all pollutants.
Related Guides
Frequently Asked Questions
How do you change a cabin air filter on a Toyota Tacoma?
Empty and lower the glove box, disconnect the damper, press the sides inward, and access the rectangular filter cover behind the glove box. Remove the cover, pull the old filter out, match the airflow direction, slide in the new filter, close the cover, and reconnect the glove box damper.
Can you change your Tacoma cabin air filter yourself?
Yes. Most Tacoma cabin air filter replacements are simple DIY jobs that do not require special tools. You mainly need the correct replacement filter, a clean work area, and careful handling of the glove-box damper and plastic stop tabs.
What are three symptoms of a clogged cabin air filter?
Three common symptoms are weak airflow from the vents, musty or dusty odors when the fan runs, and visible dirt or debris on the filter. You may also notice more dust in the cabin or louder fan noise if airflow is restricted.
How often should you change the cabin air filter on a Tacoma?
Follow the maintenance guide for your Tacoma model year. A good habit is to inspect the filter at least once a year and replace it sooner if it is dirty, musty, damp, clogged, or used in dusty, smoky, or high-pollen conditions.
Which way should the airflow arrow point on a Tacoma cabin air filter?
Match the airflow arrow to the old filter, the housing mark, or your owner’s manual. Many Tacoma filter housings use downward airflow toward the blower motor, but you should verify the marking on your specific vehicle and filter before installation.
Conclusion
Changing your Tacoma’s cabin air filter is one of the easiest DIY maintenance jobs you can do. Confirm your model year, buy the correct filter, empty and lower the glove box, unhook the damper, open the filter cover, and remove the old filter carefully. Then match the airflow direction, slide the new filter in squarely, close the housing, and reconnect the glove box.
Check the filter regularly, especially if you drive in dust, pollen, smoke, or heavy traffic. If weak airflow or odors remain after a clean filter goes in, inspect the housing and HVAC area for debris or moisture instead of replacing the filter again right away.
Sources
- Toyota Manuals and Warranties — supports checking the owner’s manual for model-year-specific instructions.
- Toyota Genuine Parts — supports using parts designed to fit Toyota specifications.
- U.S. EPA: Particulate Matter (PM) Basics — supports cautious statements about PM2.5, PM10, dust, and fine particles.
- U.S. EPA: Guide to Air Cleaners in the Home — supports filter limitations, replacement needs, and filtration guidance.

