
Replacing a Toyota Tacoma tail light bulb is usually a simple driveway repair, but you must buy the correct bulb for your exact model year and lamp position. Tacoma brake, tail, turn-signal, and reverse bulbs are not automatically interchangeable, and some newer or upgraded housings use integrated LEDs instead of serviceable bulbs.
Quick Answer
To replace a Tacoma rear bulb, open the tailgate, remove the two 10mm lamp bolts, pull the housing straight back, rotate the correct socket counterclockwise, and pull the wedge bulb straight out. Install the exact year-specific replacement, refit the socket and housing, then test the tail, brake, turn, and reverse functions.
Key Takeaways
- Confirm the bulb by model year, trim, lamp function, socket marking, or VIN before buying it.
- Rotate the plastic socket to remove it from the housing, but pull a wedge bulb straight out of the socket.
- Switch off the ignition and exterior lights. Battery disconnection is normally unnecessary for a bulb-only replacement.
- An LED replacement may be polarity-sensitive and can cause flicker or fast turn-signal flashing.
- Test every rear-light function before driving, including the dim tail-light and bright brake-light modes.
At a Glance
| Time Required | About 10–30 minutes per side |
| Difficulty | Beginner |
| Tools Needed | 10mm socket, ratchet, short extension, gloves, flashlight, and a clean cloth |
| Cost | Usually limited to the replacement bulb; cost varies by bulb type, brand, and technology |
Quick Fix: Replace a Tacoma Tail Light Bulb
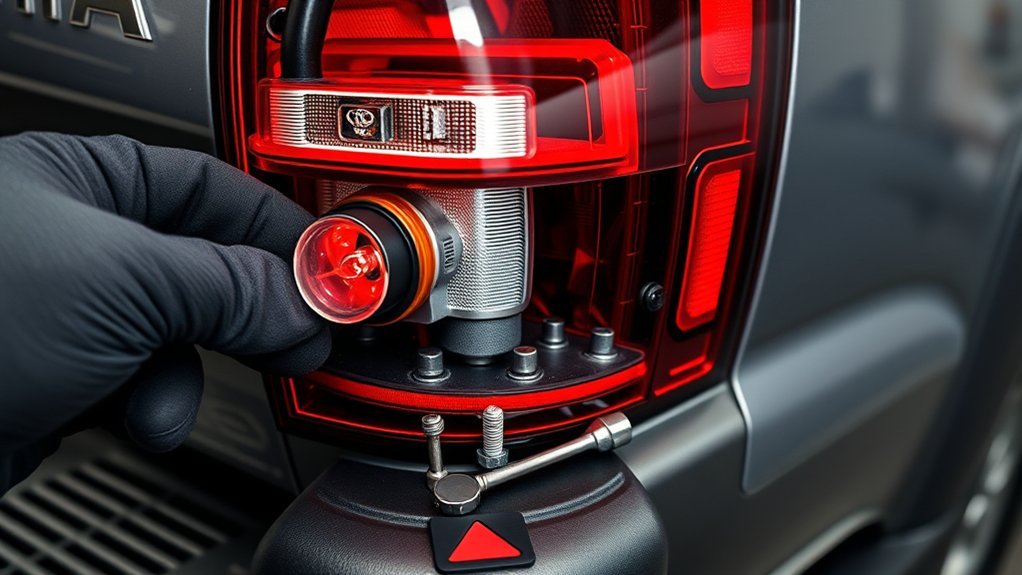
Open the tailgate to expose the two lamp-housing bolts. Remove both bolts with a 10mm socket, support the housing with one hand, and pull it straight back until the locating pins release. Avoid twisting the lens or prying against the painted body panel.
Find the socket for the failed light and rotate the socket counterclockwise. Once the socket is free, pull the wedge bulb straight out. Push the correct replacement straight into the socket, reinstall the socket, refit the housing, and test the light.
Warning: Do not assume that one 7443 bulb fits both the brake and turn-signal positions. Bulb numbers and lamp layouts vary by year, trim, market, and aftermarket housing. Confirm the exact position before ordering or installing a bulb.
Confirm the Model Year, Bulb, and Lamp Type
Start with your Tacoma’s model year and trim. Use the Toyota Manuals and Warranties portal, the bulb number printed on the removed bulb, or a vehicle-specific automotive bulb finder. You can also search the Toyota Genuine Parts catalog with your VIN.
Many Tacoma housings with replaceable bulbs use separate sockets for the stop/tail light, turn signal, and reverse light. Common bulb families include 7443 for a dual-intensity stop/tail position, 7440 or 7440NA for some turn-signal positions, and 921 for some reverse positions. These are examples only, not a universal Tacoma specification.
| Lamp Function | How to Identify It | Important Check |
|---|---|---|
| Stop/tail light | Glows dimly with the parking lights and brightly when you press the brake | Often uses a dual-intensity bulb, but verify the exact number |
| Rear turn signal | Flashes with the turn signal or hazard switch | The required bulb color depends on the lens and vehicle design |
| Reverse light | Produces white light when reverse is selected | Confirm the socket size and LED polarity before upgrading |
| Integrated LED lamp | No removable bulb socket is visible for the failed function | The LED module or complete housing may require replacement |
What Tools and Supplies You Need
- A 10mm socket
- A ratchet and short extension
- The verified replacement bulb
- Clean nitrile or mechanic’s gloves
- A flashlight
- A clean microfiber cloth
- Electrical contact cleaner and a small nylon brush, if corrosion is present
You normally do not need a screwdriver, pry bar, multimeter, scan tool, or battery wrench for a straightforward bulb replacement. Keep diagnostic tools nearby only when the new bulb does not solve the problem.
Safety Checklist Before You Start
Park on level ground, switch off the ignition, turn off all exterior lights, apply the parking brake, and allow the lamp to cool. Open the tailgate fully so you can reach the inner edge of the housing without leaning against a partly latched tailgate.
Wear gloves to keep the bulb and socket clean and to protect your hands from a broken bulb or sharp housing edge. Common rear signal bulbs are usually incandescent wedge bulbs rather than halogen headlamp capsules, but clean handling remains good practice.
Note: Disconnecting the negative battery terminal is normally unnecessary when you are only changing a rear bulb. Disconnect it before repairing exposed wiring, replacing a burned connector, or working on a circuit that could short against the body.
How to Remove the Tacoma Tail Light Assembly Step by Step
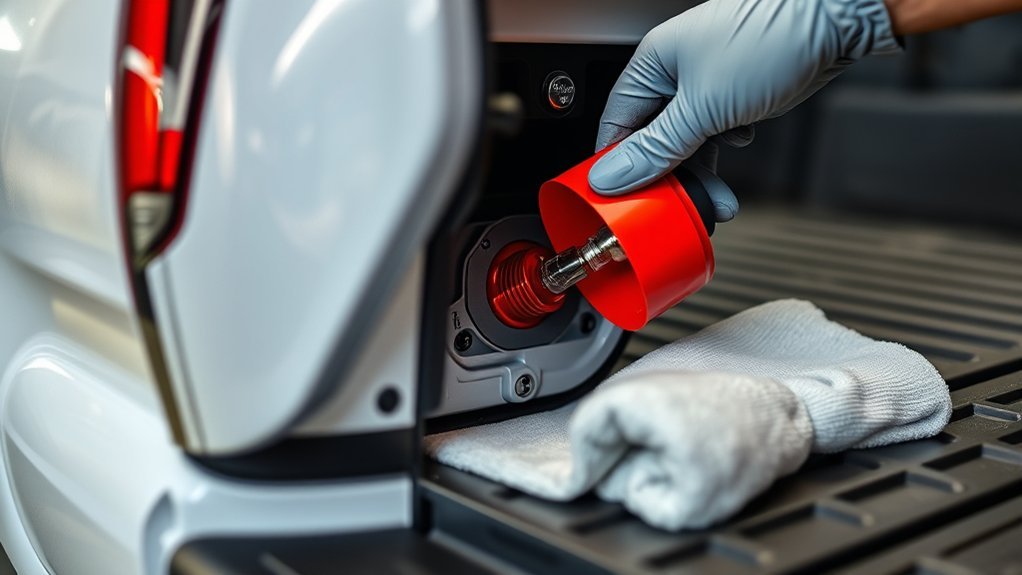
1. Open the Tailgate and Locate the Bolts
Lower the tailgate to expose the inner edge of the tail light. Most housings covered by this procedure have two visible 10mm bolts, one near the top and one near the bottom.
Check that both fasteners have conventional bolt heads before proceeding. Stop and consult the model-specific manual when the housing uses different fasteners, hidden access panels, or an integrated LED module.
2. Remove the Housing Bolts
Support the housing with one hand while removing the upper and lower bolts. Put the bolts in a tray or container so they cannot roll into the bed or fall onto the ground.
Do not use excessive force. If a bolt feels seized, apply controlled pressure with a properly seated six-point socket. A rounded or broken fastener makes this small repair much harder.
3. Release the Locating Pins
Grip the housing along its inner edge and pull it straight back in the direction the truck faces away from the cab. Many housings also use locating pins or clips along the outer edge.
- Keep one hand under the housing as the clips release.
- Do not lever a metal tool between the lens and body.
- Do not twist the housing sideways.
- Stop if the housing binds and check for a missed fastener.
Pro Tip: Take a clear photo of the sockets and wire colors before removing anything. The photo helps you return each socket to the correct opening.
How to Identify and Remove the Brake, Turn-Signal, and Reverse Bulbs

Identify the failed function before opening a socket. Lens color alone is not always enough because some housings use clear lenses with colored bulbs. Match the socket position to the owner’s manual, the working lamp on the opposite side, or the photo you took before removal.
- Hold the plastic socket, not the wires.
- Rotate the socket counterclockwise until its locking tabs clear the housing.
- Pull the socket straight out of the housing.
- Grip the bulb at its base and pull it straight out of the socket.
- Do not twist a wedge bulb or pull on the wires.
Inspect the removed bulb. A broken filament or darkened glass often confirms a failed incandescent bulb. However, a bulb can still be faulty without obvious damage, so compare it with a known-good replacement when necessary.
Inspect the Socket, Housing, and Seal
Before installing the new bulb, look inside the socket and housing. A replacement bulb will not provide a lasting repair when the socket has heat damage, loose contacts, corrosion, or water contamination.
- Green or white deposits: Clean light corrosion with electrical contact cleaner and a nylon brush.
- Melted or browned plastic: Replace the damaged socket or connector.
- Bent contacts: Repair or replace the socket instead of forcing the bulb.
- Water inside the housing: Check the lens, housing seam, vent, and socket seal.
- Torn socket gasket: Replace the seal or socket to prevent another moisture problem.
Do not scrape contacts aggressively with a metal tool. Removing the protective surface can make future corrosion worse.
Install the New Bulb and Reattach the Tail Light
1. Compare the Old and New Bulbs
Place the bulbs side by side and compare the base width, contact layout, locating features, color, and part number. Never force a similar-looking bulb into the socket.
If you are installing an LED, confirm that the product is intended for the exact lamp position. Replacement lighting must preserve the required color and must not reduce the effectiveness of the original lighting system. Federal lighting requirements cover replacement lamps and related equipment under 49 CFR 571.108.
2. Install the Bulb and Socket
- Push the wedge bulb straight into the socket until it is fully seated.
- Do not rotate or thread the glass bulb.
- Insert the socket into the correct housing opening.
- Rotate the socket clockwise until the locking tabs stop.
- Confirm that the socket gasket sits evenly against the housing.
Some LEDs are polarity-sensitive. If an LED does not illuminate during the first test, switch the lights off, remove the LED, rotate it 180 degrees, and reinstall it. Do not keep the circuit powered while handling the bulb.
3. Refit the Tail Light Housing
Align the housing pins with their body grommets and press the housing straight into position. Do not use the bolts to pull a misaligned housing against the body.
Hand-start both 10mm bolts to prevent cross-threading. Tighten them evenly until the housing is secure. These small fasteners hold a plastic lamp, so avoid excessive torque that could crack the mounting tabs.
Test Every Rear-Light Function
A bulb can fit the socket but still operate incorrectly. Test the full lamp after reassembly.
- Turn on the parking lights and confirm the dim tail-light function.
- Press the brake pedal and confirm the bright stop-light function.
- Activate the left and right turn signals.
- Activate the hazard lights.
- Test the reverse lights with a helper.
For a safe reverse-light test, keep the engine off when the vehicle design allows the lamps to operate with the ignition on. Apply the parking brake, keep your foot firmly on the brake pedal, and have another person observe from a safe position beside the truck rather than directly behind it.
Compare the repaired side with the working side. Both lamps should have similar brightness, color, flashing speed, and response.
Troubleshoot Flicker, Fast Flashing, and a Bulb That Stays Dark
| Symptom | Likely Cause | What to Check |
|---|---|---|
| New bulb does not light | Wrong bulb, poor seating, reversed LED polarity, or damaged contact | Part number, bulb seating, polarity, and socket terminals |
| Turn signal flashes quickly | Another bulb has failed or an LED draws too little current | All turn bulbs and LED compatibility |
| Bulb flickers over bumps | Loose bulb, weak terminal tension, corrosion, or a damaged socket | Bulb fit, socket contacts, connector, and ground |
| Tail light works but brake light does not | Incorrect bulb, failed bright filament, or brake circuit fault | Correct dual-intensity bulb, socket contacts, brake switch, and wiring |
| Several lights on one side fail | Connector, harness, ground, or fuse problem | Housing connector, ground point, wiring damage, and year-specific fuse chart |
| Moisture returns inside housing | Cracked lens, damaged seam, blocked vent, or failed socket seal | Housing condition and all seals |
Do not assume a generic OBD-II scanner will identify a failed tail light. Start with visual inspection and basic circuit checks. Use a multimeter only after confirming the bulb, socket, fuse, and connector, or follow the diagnostic procedure in the service information for your exact model.
When to Replace the Socket or Complete Housing
Replace more than the bulb when you find heat damage, loose terminals, severe corrosion, repeated water entry, cracked mounting tabs, or a damaged lens. A bulb cannot correct a socket that no longer grips its contacts securely.
An integrated LED lamp may not contain a separately replaceable bulb for the failed function. In that case, confirm the repair procedure and part number by VIN before buying a module or complete lamp assembly.
Related Guides
Frequently Asked Questions
How do I replace a Toyota Tacoma tail light bulb?
Open the tailgate, remove the two 10mm housing bolts, pull the housing straight back, rotate the correct socket counterclockwise, and pull the wedge bulb straight out. Push in the verified replacement, lock the socket into the housing, reinstall the lamp, and test every function.
How do I take off a Toyota Tacoma tail light?
Lower the tailgate and remove the visible bolts along the inner edge of the housing. Support the lamp and pull it straight back to release the outer locating pins. Do not pry against the lens or painted body panel.
Which tail light bulb does a 2017 Toyota Tacoma use?
The 2017 Tacoma has different bulb positions for the stop/tail light, turn signal, and reverse light. Do not buy one bulb number for every position. Confirm the required bulb in the 2017 owner’s manual, a vehicle-specific bulb finder, or the marking on the original bulb.
Can I use this procedure on a 2008 Toyota Tacoma?
The basic tailgate-side housing removal is similar on many 2008 Tacoma configurations, but you should confirm the fasteners, socket positions, and bulb numbers for your exact truck. Aftermarket housings may use a different arrangement.
Can I install LED bulbs in a Tacoma tail light?
You can use an application-specific LED when it fits the socket, produces the correct signal color, and works correctly with the lamp and vehicle circuit. Test for polarity, flicker, fast flashing, poor brightness, and uneven light distribution. Return to the specified incandescent bulb when the LED does not perform correctly.
Why does my turn signal flash quickly after an LED upgrade?
Many LED bulbs draw less current than the original incandescent bulb. The vehicle can interpret that lower load as a failed bulb and flash rapidly. Confirm that every turn bulb works and use a replacement designed for the vehicle’s turn-signal circuit.
Conclusion
A Tacoma tail light bulb replacement is manageable when you verify the correct part and handle the housing carefully. Remove the two lamp bolts, pull the housing straight back, rotate the socket out, and pull the wedge bulb straight from its contacts. Reassemble the lamp without overtightening the bolts.
Finish by checking the tail, brake, turn-signal, hazard, and reverse functions. If the new bulb flickers or stays dark, inspect its seating, polarity, socket contacts, connector, ground, fuse, and housing seal before replacing more parts.
Sources
- Toyota Manuals and Warranties — model-specific owner’s manuals and vehicle information
- Toyota Genuine Parts — VIN-based parts and fitment lookup
- Sylvania Automotive Bulb Finder — vehicle- and position-specific replacement-bulb lookup
- 49 CFR 571.108, Federal Motor Vehicle Safety Standard No. 108 — requirements covering original and replacement vehicle lighting equipment
