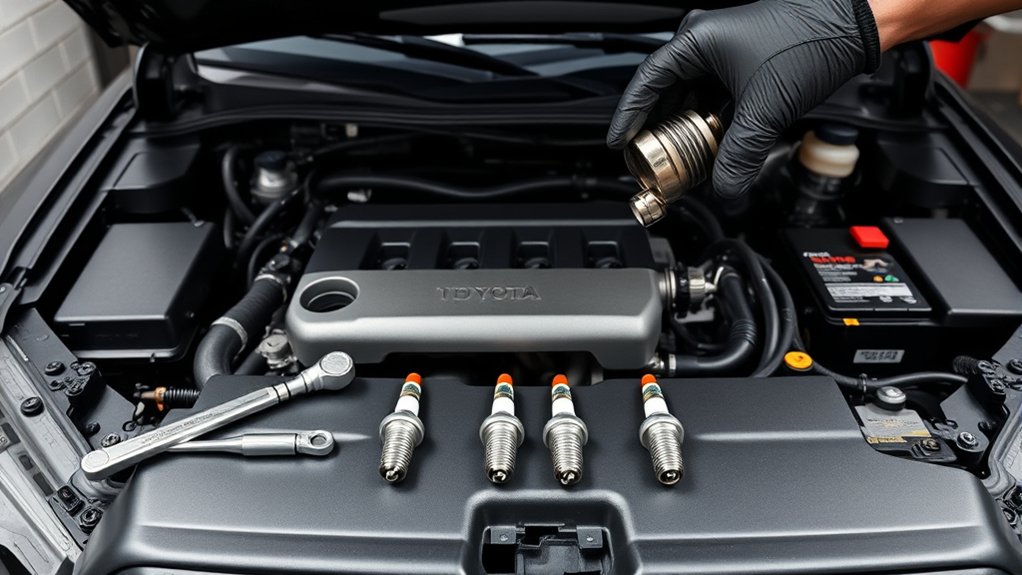
Replacing Toyota Tacoma spark plugs is manageable when you identify the engine first and follow the correct specifications for that exact truck. This guide focuses on the six-coil V6 layout described in the original procedure, but plug numbers, socket sizes, gaps, access steps, and torque values can differ by model year and engine. Always verify the parts and specifications with your VIN before starting.
Quick Answer
To change Tacoma spark plugs, confirm your engine and plug number, work on a cold engine, clean each plug well, and replace one plug at a time. Install new plugs with dry threads unless Toyota specifies otherwise, hand-start them, and tighten them to the exact factory torque listed for your VIN.
Key Takeaways
- Confirm the model year, engine code, replacement plug number, plug hex size, gap, and torque before disassembly.
- Do not assume DENSO 4705 fits every Tacoma simply because it was named in an earlier procedure.
- Install normal DENSO replacement plugs with clean, dry threads unless the exact manufacturer instructions say otherwise.
- Work on a fully cooled engine and clean debris from each plug well before removing the plug.
- Replace one plug at a time so coils, connectors, brackets, and fasteners return to their original positions.
At a Glance
| Time Required | About 1.5–3 hours for a six-coil V6 layout, depending on experience and access |
| Difficulty | Intermediate DIY maintenance |
| Tools Needed | Correct spark plug socket, ratchet, extensions, wobble or universal joint, low-range torque wrench, 10 mm and 12 mm sockets as applicable, air or vacuum, and a stable step platform |
| Cost | The cost of the correct plug set and small consumables; total varies by engine and plug brand |
Warning: Do not use this six-coil procedure until you confirm that it matches your Tacoma’s engine. Keep the truck on level ground, let the engine cool completely, and never work under a vehicle supported only by a jack. Spark plug replacement normally does not require raising the truck.
Confirm Your Tacoma’s Engine, Plug Type, and Service Interval
Start with the emissions label under the hood, your VIN, and the engine information in the Toyota owner and maintenance documents. A Tacoma may have a four-cylinder or six-cylinder engine, and newer generations use different ignition layouts. The number of plugs, plug design, hex size, gap, torque, and access procedure must match the exact engine.
The earlier version of this guide named “DINSO 4705.” The correct brand spelling is DENSO, but the part number still should not be treated as confirmed fitment. Look up the truck by year, engine, and VIN in the Toyota parts system or the plug manufacturer’s current application catalog. Compare the new plug’s number, thread reach, seat, and terminal design with the original plug before installation.
For one relevant example, Toyota’s 2023 Tacoma Warranty and Maintenance Guide lists spark plug replacement at 60,000 miles or 72 months for the 2GR-FKS engine. Toyota also says to install the same type of plug originally equipped. Other engines and model years may use a different interval, so check the guide for your truck.
Tools, Parts, and Safety Checklist for Tacoma Spark Plug Change
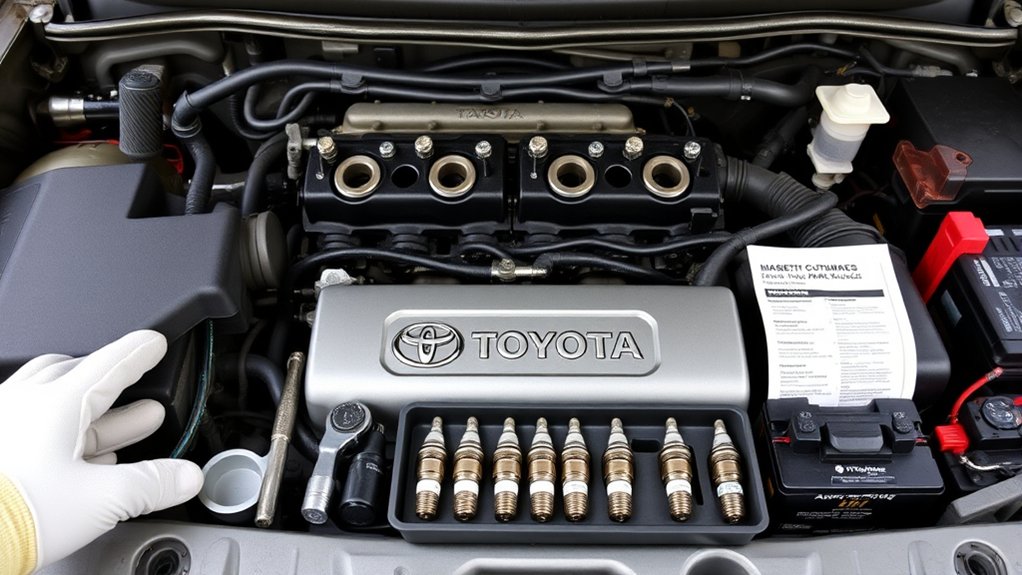
Gather all parts and tools before opening a plug well. You need the correct replacement plugs, a spark plug socket that fits their hex, a ratchet, several extensions, a wobble extension or universal joint, and a torque wrench that reads accurately at the required low torque. Keep 10 mm and 12 mm sockets nearby because coil fasteners and access brackets may use those sizes on the V6 layout.
- Replacement spark plugs confirmed for the exact year and engine
- Correct thin-wall spark plug socket
- Ratchet, straight extensions, and wobble or universal extension
- Low-range torque wrench
- 10 mm and 12 mm sockets as required
- Small pick or screwdriver for connector locks
- Compressed air or a shop vacuum for plug wells
- A small amount of dielectric grease for the inside edge of coil boots
- Gloves, safety glasses, a flashlight, and a magnetic parts tray
- A stable automotive step platform if extra reach is needed
Do not add anti-seize to the shopping list unless the exact Toyota or plug-manufacturer instructions specifically require it. DENSO’s spark plug installation guidance warns that thread lubricant can lead to over-tightening.
Pro Tip: Test the spark plug socket on one new plug before starting. Confirm that the socket holds the plug securely and that your torque wrench covers the required setting near the middle of its usable range.
Prep: Disconnect Battery and Remove Engine Cover
Park on level ground, apply the parking brake, switch the ignition off, remove the key, and let the engine cool fully. Removing plugs from a hot aluminum cylinder head increases the chance of thread damage and burns.
Disconnecting the negative battery terminal is a conservative precaution when working around ignition connectors. If you disconnect it, use the correct wrench, isolate the cable so it cannot spring back onto the terminal, and remember that some stored settings may reset. Never disconnect or reconnect the battery with the ignition on.
Remove the engine cover by releasing its nuts, clips, or grommets according to the truck’s design. A 10 mm socket is common for nearby fasteners, but inspect each fastener before turning it. Lift the cover evenly and store its hardware in a labeled tray.
Note: Do not jack up or elevate the Tacoma for this job. Use a wide, stable step platform beside the fender when you need more reach. Do not stand on tires, buckets, loose blocks, or the radiator support.
Identify Ignition Coils and Set Up Your Workspace
On the six-cylinder layout covered here, six ignition coils sit over the spark plugs in two banks. Three are on the driver side and three are on the passenger side. Each coil has an electrical connector and a retaining fastener.
Inspect the area before removing anything. Photograph hose routing, bracket positions, connector locks, and wiring clips. Those reference photos can prevent pinched wiring or incorrectly routed hoses during reassembly.
Locate Ignition Coil Banks
Identify all six coils and note which access points are restricted by brackets, wiring looms, hoses, or firewall insulation. Do not remove the intake manifold merely because access looks tight. Use extensions and carefully reposition only the components that the applicable Toyota procedure allows you to move.
- Confirm that the engine has the six-coil layout described in this guide.
- Identify the driver-side and passenger-side coil banks.
- Inspect each connector lock before attempting to release it.
- Note any 10 mm coil fasteners and 12 mm access-bracket fasteners.
- Photograph hose, wiring, and insulation positions before moving them.
Prepare Work Area
Work on one cylinder at a time. This keeps an open plug well exposed for the shortest period and reduces the chance of mixing coils or fasteners. Keep tools away from the battery terminals and cover open intake passages if any ducting must be removed.
| Task | Tool | Important Check |
|---|---|---|
| Confirm plug fitment | VIN and application catalog | Part number, seat, reach, gap, and hex size |
| Release coil connector | Small pick or screwdriver | Press the lock; do not pull on the wires |
| Clean plug well | Air or vacuum | Remove grit before loosening the plug |
| Install new plug | Socket, extension, torque wrench | Dry threads, hand-started, factory torque |
Remove One Ignition Coil Safely: Step-by-Step
Begin with the easiest coil so you can confirm your tools and technique before reaching the tighter driver-side positions. Complete the plug replacement and reinstall that coil before moving to the next cylinder.
Safety First
Connector locks can become brittle with age and heat. Press the release tab fully and pull on the connector housing, not the wires. If the connector does not release, inspect it with a flashlight instead of forcing it with a screwdriver.
Keep dirt, loose hardware, and broken plastic away from the open plug well. If a connector, coil boot, or fastener is damaged, stop and replace the damaged component rather than relying on tape or an insecure connection.
- Confirm the ignition is off and the engine is cold.
- Release the electrical connector without pulling its wires.
- Remove the coil retaining fastener and store it safely.
- Lift the coil while gently rotating it if the boot is stuck.
- Inspect the boot for cracking, oil, moisture, or carbon tracking.
One-Coil Procedure
After removing the coil, inspect the plug well with a flashlight. Remove dust, sand, leaves, and loose deposits with compressed air or a narrow vacuum attachment before loosening the plug. Wear eye protection and avoid directing debris toward your face.
- Seat the correct spark plug socket squarely on the old plug.
- Keep the extension aligned with the plug and loosen it gradually.
- Remove the plug and compare it with the confirmed replacement.
- Inspect and record the old plug’s condition.
- Insert the new plug with dry threads and start it by hand.
- Tighten it to the verified Toyota torque specification.
- Apply a very thin film of dielectric grease around the inside lip of the coil boot, not as a heavy coating on the electrical terminal.
- Reinstall the coil, retaining fastener, and electrical connector.
Warning: Stop if a plug binds after only a partial turn, feels crooked, or requires force while being hand-started. Remove it, inspect the threads, and correct the alignment. Forcing it can cross-thread the aluminum cylinder head.
Extract and Inspect Old Spark Plugs
Keep the socket and extension as straight as access allows. If the plug is unusually tight, apply steady pressure instead of a sudden impact. Stop if the plug begins to loosen and then binds repeatedly, because damaged threads or heavy deposits may require a professional removal procedure.
- Check electrode wear: Rounded or heavily worn electrodes can increase the voltage required to fire the plug.
- Look for dry black deposits: Carbon can accompany repeated short trips, rich operation, ignition problems, or an unsuitable plug.
- Look for wet oil: Oil on the firing end or inside the plug well may indicate a leak that requires diagnosis before reassembly.
- Check the insulator: Cracks, chips, or dark tracking marks can contribute to a misfire.
- Compare cylinders: One plug that looks very different from the others can help identify a cylinder-specific problem.
- Record the service: Note the date, mileage, plug number, and condition of each old plug.
Plug appearance alone does not prove a specific engine fault. Use it with scan data, maintenance history, compression information, and other diagnostic evidence.
Install New Spark Plugs: Dry Threads, Hand-Start, and Correct Torque

Inspect each new plug for shipping damage and confirm its part number before installation. Most modern iridium plugs arrive with a factory-set gap. DENSO’s installation guide says most DENSO Iridium Power plugs do not need gap adjustment and warns that poor technique can damage the fine electrode or porcelain.
Measure the gap only with a tool suitable for fine-wire plugs and compare it with the specification for the exact engine. Do not force a thick gauge between the electrodes. Adjust the gap only when the vehicle or plug instructions require it, and never press a tool against the fine center electrode.
Keep the new plug’s threads clean and dry. Lower the plug vertically into the well and rotate it by hand through the extension. It should turn smoothly for several rotations. DENSO advises holding the plug vertically, hand-tightening it first, and using the correct vehicle torque without tilting the wrench.
Set the torque wrench to the Toyota specification verified for your VIN and engine. If the applicable Toyota procedure specifically lists 18 N·m, which is approximately 13 ft·lb, use that value on clean, dry threads. Do not apply 13 ft·lb to a different engine solely because it appeared in an earlier version of this article.
Correct torque depends on the exact plug and engine. Too little torque can allow combustion leakage or loosening, while excessive torque can damage the plug or cylinder-head threads.
Reinstall Coils, Reconnect Components, and Clean Up
Inspect each coil boot before reinstalling it. Replace a boot or coil that is split, oil-soaked, swollen, or heavily carbon-tracked. A small film of dielectric grease around the inner boot lip can help seal out moisture, but excessive grease can prevent the boot from seating fully.
- Seat the coil: Align it with the plug and press it down evenly until the boot is fully seated.
- Install the fastener: Start the coil fastener by hand and tighten it to the applicable Toyota specification. Do not confuse the fastener’s 10 mm head size with its torque value.
- Reconnect the connector: Push the connector into place until its lock engages.
- Restore moved components: Reinstall every bracket, wiring clip, hose retainer, and section of insulation in its original position.
- Check the engine bay: Remove sockets, extensions, rags, loose hardware, and packaging.
- Reinstall the engine cover: Align its clips or grommets before tightening any fasteners.
- Reconnect the battery: If disconnected, attach the negative cable securely with the ignition off.
Start the engine and let it idle while you listen for an uneven rhythm, clicking, hissing, or arcing. Confirm that the check-engine light goes out normally. Do not immediately clear diagnostic codes if the engine runs poorly; save the codes and freeze-frame information first.
Driver-Side Tricks for Tight Spaces (Brackets, Hoses, Insulation)
The driver-side bank can require more patience because wiring, brackets, hoses, and firewall insulation reduce working room. Use a stable step platform and a combination of straight and wobble extensions instead of leaning heavily on the fender or radiator support.
Loosen only the brackets that genuinely prevent access. A 12 mm socket may fit some access-bracket fasteners on the layout described here, but confirm the fastener before turning it. Photograph the bracket and hose routing first, remove one item at a time, and keep each fastener labeled.
- Release wiring retainers by their clips instead of pulling the harness.
- Support hoses while moving them and avoid kinking or stretching them.
- Do not open coolant, fuel, air-conditioning, or brake-fluid connections for spark plug access.
- Fold insulation only as far as needed and return it to its original position.
- Keep extensions aligned so the socket does not place sideways force on the plug insulator.
Pro Tip: Before removing a difficult driver-side plug, practice placing the socket and extension into the empty space with the coil still installed. This helps you choose the straightest extension combination before the plug well is open.
Quick Tests, Diagnosing Misfires, and Troubleshooting Next Steps
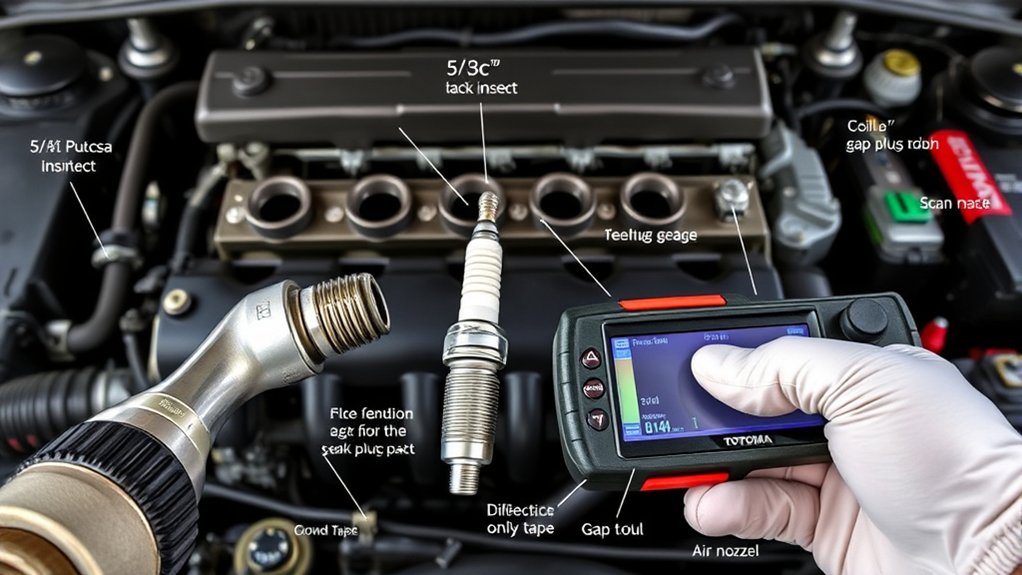
If the engine runs rough after the repair, switch it off and inspect your work before driving. The most common post-service problems include an unplugged coil, a connector that did not lock, a coil that is not fully seated, a damaged boot, an incorrect plug, or a plug that was not tightened correctly.
- Read stored and pending diagnostic trouble codes with an OBD-II scanner.
- Record the codes and freeze-frame data before clearing anything.
- Inspect the connector and coil on the indicated cylinder.
- Confirm the coil fastener is present and the boot is fully seated.
- Verify the installed plug number and torque.
- Look for oil, moisture, cracked porcelain, or carbon tracking.
Do not depend on a generic resistance measurement unless you have the correct Toyota pinout and specification for that exact coil. A modern integrated coil can pass a static resistance check and still fail under operating load.
When Toyota service information permits it, a controlled coil-swap test can help isolate a cylinder-specific misfire. Move the suspected coil to another cylinder, clear the code only after recording it, and run the engine again. If the misfire follows the coil, the coil becomes the leading suspect. If it stays on the original cylinder, inspect the plug, connector, injector, intake sealing, compression, and related wiring.
Warning: Do not continue driving with a flashing check-engine light, severe shaking, fuel odor, arcing, or loud mechanical noise. A severe misfire can overheat the catalytic converter and may indicate an incorrectly installed or damaged component.
Related Guides
Frequently Asked Questions
What tool do I need to change spark plugs on a Toyota?
You need a spark plug socket matched to the confirmed plug, suitable extensions, a ratchet, and a low-range torque wrench. Tacoma V6 access may also require 10 mm and 12 mm sockets, a wobble extension, a connector pick, compressed air or a vacuum, and a stable step platform.
What year was the worst year for Toyota Tacoma?
No single model year is objectively the worst under every reliability or safety measure. Evaluate a truck by its VIN, maintenance history, corrosion, accident history, configuration, inspection results, recalls, and unresolved complaints. Use the NHTSA recall search to check the specific vehicle.
How long does it take to change Tacoma spark plugs?
Allow about 1.5–3 hours for the six-coil V6 procedure. A first-time repair, restricted driver-side access, brittle connectors, stuck plugs, or additional diagnosis can extend the job.
What size is the spark plug socket on a Toyota?
Toyota spark plug socket size varies by engine and plug design. Do not assume every Tacoma uses a 5/8-inch or 16 mm socket. Confirm the replacement plug first, measure or check its listed hex size, and use a thin-wall socket that fits securely.
Should I put anti-seize on Tacoma spark plugs?
Normally, no. DENSO warns against applying thread lubricant because it can lead to over-tightening. Install the plugs with clean, dry threads unless the exact Toyota procedure or the instructions supplied with the confirmed plug specifically direct you to use a lubricant and provide an adjusted torque.
When should Tacoma spark plugs be replaced?
Follow the maintenance guide for the exact model year and engine. For example, Toyota’s 2023 Tacoma guide lists replacement at 60,000 miles or 72 months for the 2GR-FKS engine. Other Tacoma engines and model years may have different requirements.
Conclusion
A successful Tacoma spark plug replacement depends more on verification and careful installation than speed. Confirm the exact engine and plug, work on a cold cylinder head, keep debris out of the plug wells, hand-start every plug, and use the verified Toyota torque on clean, dry threads.
Before driving, check every coil connector, fastener, bracket, hose, and tool location. The engine should start promptly, idle evenly, and show no new warning light. If it runs poorly, stop and inspect the work rather than continuing to drive with a possible misfire.
Sources
- Toyota 2023 Tacoma Warranty and Maintenance Guide — supports the 2GR-FKS spark plug service interval and use of the original plug type.
- DENSO Spark Plug Installation — supports dry-thread installation, hand-starting, vertical alignment, and correct torque.
- DENSO Auto Parts Spark Plug Installation Guide — supports torque precautions and careful handling of factory-gapped iridium plugs.
- National Highway Traffic Safety Administration Recall Search — provides VIN- and model-based recall, complaint, investigation, and manufacturer-communication information.
