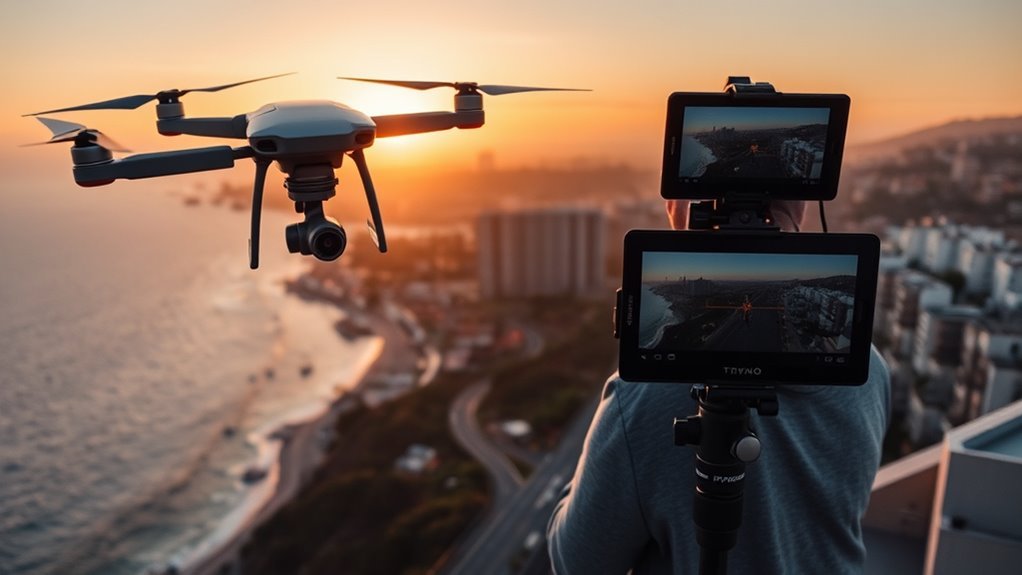
Vertical drone video for Reels, Shorts, and TikTok depends on one choice that changes everything: true vertical capture or a cropped landscape frame. True vertical preserves resolution and keeps subjects clean for 9:16 delivery, while cropping can reduce detail and limit composition. The difference is not just technical; it affects framing, editing speed, and platform performance. The next step is knowing when each method is the better tool.
What True Vertical Video Means?
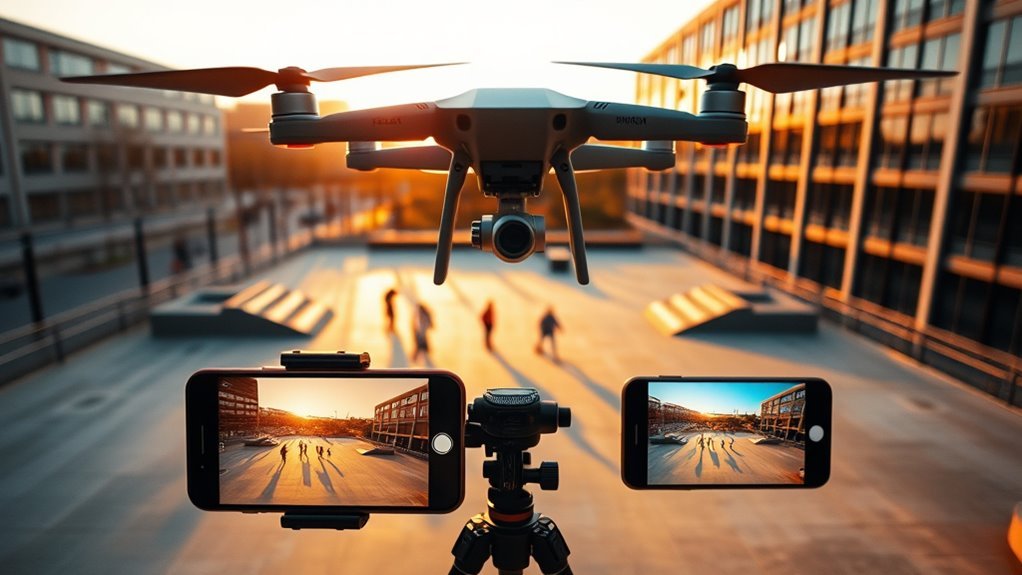
True vertical video refers to footage captured in a vertical orientation by a camera that can physically rotate, preserving the full image resolution instead of cropping a horizontal frame.
In technical terms, true vertical video records the scene in its intended portrait geometry, rather than repackaging landscape footage after the fact. This preserves detail, sharpness, and framing integrity, which are especially important on mobile-first platforms such as TikTok and Instagram Reels.
With true vertical video, the delivered image can reach resolutions like 1512 x 2688 on drones such as the DJI Mini 5 Pro and Mini 4 Pro, far exceeding cropped alternatives.
The result is cleaner motion, more efficient production, and stronger visual impact. For audiences seeking liberation from low-quality, constrained media, true vertical capture offers a direct path to higher fidelity and better engagement, matching how most viewers naturally hold and consume content on smartphones.
When to Shoot Vertical and When to Crop?
- Use true vertical for Reels, Shorts, and TikTok.
- Crop only when the footage must also serve widescreen media.
- Prioritize native vertical capture to avoid resolution loss.
- Match the capture method to the final delivery platform.
- Leave extra headroom and side space to preserve editing flexibility.
Horizontal capture remains appropriate for widescreen distribution, but vertical is essential when the audience is expected to hold a phone upright.
How to Frame Drone Shots for 9:16?
Framing for 9:16 requires establishing vertical safe zones so the subject remains usable after cropping or repositioning in post.
The subject should be centered clearly, with vertical alignment preserved to keep the composition balanced on mobile-first displays.
Extra headroom and lower clearance should be left in the frame to accommodate captions, interface elements, and edit adjustments.
Vertical Safe Zones
Vertical safe zones help keep 9:16 drone compositions usable after editing by placing the main subject centered with controlled headroom and lower padding for captions, UI elements, or slight reframing. They preserve freedom in post-production while protecting essential detail.
- Leave extra space above and below the subject.
- Shoot wider than the final vertical crop.
- Use 4K to retain clarity during reframing.
- Prefer true vertical gimbal capture over software crops.
- Check that empty space stays balanced, not wasteful.
This method keeps the frame adaptable without weakening composition.
In practice, vertical safe zones let the editor reposition the image for Reels, Shorts, or TikTok while avoiding clipped edges and soft detail.
Center Subjects Clearly
A centered subject gives a 9:16 drone frame immediate clarity, with the subject placed along the vertical axis and enough headroom to preserve room for captions or interface overlays. To center subjects clearly, operators should compose for vertical video before takeoff, not after cropping. True vertical gimbal rotation retains full resolution and supports precise placement.
| Rule | Result | Benefit |
|---|---|---|
| Center subject | Strong axis | Cleaner read |
| Shoot wider | Flexible reframing | Easier edits |
| Use vertical lines | Taller form | Better mobile impact |
Buildings, trees, and other upright forms reinforce scale and direction, helping the frame feel stable on phones. A wider capture also leaves freedom in post, while the centered subject stays prominent and legible.
Leave Edit Headroom
Once the subject is centered, the next framing priority is leaving extra headroom for captions and interface overlays in a 9:16 drone frame. This leave edit headroom practice keeps the composition functional after export and preserves freedom in post.
- Reserve space above the subject for text and UI.
- Keep the subject slightly below center for balance.
- Use 4K capture to permit clean vertical crops.
- Select a wider field of view to retain contextual latitude.
- Use true vertical shooting, when available, to avoid resolution loss.
This approach reduces the need for aggressive reframing and supports a cleaner, more liberated workflow. It also protects the visual hierarchy when the clip is adapted for Reels, Shorts, or TikTok.
Which Drones Are Best for Vertical Video in 2026?
For vertical drone video in 2026, the strongest choice is the DJI Mini 5 Pro, because its gimbal supports true vertical capture while preserving full 4K resolution and delivering up to 36 minutes of flight time.
It is the most capable tool for creators who want vertical freedom without surrendering image fidelity.
The DJI Mini 4 Pro is the best budget alternative, offering true vertical recording at 4K/60fps HDR, but its 2 GB internal storage and 30 MB/s Wi‑Fi transfers limit speed.
The DJI Mini 3 also supports true vertical shooting, yet its lack of internal storage and 5.5 MB/s transfer rate reduce practicality.
For hands-free operation, the DJI Neo 2 adds palm take-off and gesture control, though its vertical output is cropped to 2.7K.
Models such as the DJI Flip and HOVERAir X1 PROMAX remain usable, but cropped vertical footage sacrifices resolution.
How to Edit Vertical Drone Video Fast?
To edit vertical drone video quickly, creators should duplicate the original project and build a dedicated vertical version instead of starting from scratch. This workflow preserves the master timeline while enabling rapid reframing for short-form delivery.
Using vertical editing tools, the editor can change the canvas, adjust sequence settings, and move clips with precision. Keyframes are then applied to pan across wide aerial shots, keeping the subject centered as the frame shifts.
- Duplicate the source project first.
- Switch the sequence to a vertical aspect ratio.
- Use keyframes to track motion smoothly.
- Crop tightly enough to remove distractions.
- Leave clear space for captions and overlays.
Efficient vertical editing depends on disciplined framing decisions, not extra effects. The goal is liberation from wasted time: a fast, controlled process that turns horizontal drone footage into clean vertical content without compromising subject focus or readability.
What You Need to Post Vertical Drone Video?
Vertical drone video production requires equipment that can record in a native vertical orientation, ideally with a gimbal that rotates a full quarter-turn, as found in the DJI Mini 3 Pro and newer models such as the Mini 4 Pro and Mini 5 Pro.
This setup enables true vertical shooting without cropping, preserving full sensor resolution for Reels, Shorts, and TikTok. A drone with 4K capture is preferred when flexible reframing is needed; the higher source detail supports a clean 9:16 export while retaining edge clarity.
Fast internal storage and rapid offload matter as well, since large clips must move efficiently to editing and publishing workflows. The Mini 5 Pro’s 100 MB/s Wi-Fi 6 transfer rate illustrates the advantage.
Before takeoff, verify registration obligations and privacy rules in the local jurisdiction. Compliance protects the pilot’s freedom to publish while avoiding preventable legal interference.
Frequently Asked Questions
Should I Record Vertically or Horizontally for Reels?
He should record vertically for Reels.
Vertical capture aligns with audience behavior, preserves full frame quality, and supports a stronger Content Strategy for mobile-first platforms. If the drone offers true vertical mode, that is preferable to cropping, since cropping reduces resolution and detail.
Horizontal capture only makes sense when he needs both widescreen and vertical deliverables from one take, framing subjects centrally within vertical-safe zones for later adaptation.
How to Make a Video Vertical on Tiktok?
To make a video vertical on TikTok, the creator should set the project to 9:16 or crop horizontal footage into that frame.
Vertical Techniques include duplicating the edit, using keyframes to pan and reframe, and preserving resolution by shooting in 4K when possible.
Leave safe space for captions at the top and bottom.
This workflow frees the image from fixed widescreen limits and aligns with mobile viewing behavior.
What Is Vertical Shooting for Drones?
Vertical shooting for drones is the capture of video in a 9:16 frame, with the Drone Orientation set for tall-format delivery instead of a cropped landscape image.
Since 94% of people hold phones vertically, this method preserves composition for mobile viewing.
True vertical systems rotate the camera or gimbal physically, maintaining full resolution, while crop-based methods reduce detail and limit creative freedom for precise, liberated framing.
Should Tiktok Videos Be Vertical or Horizontal?
TikTok videos should be vertical, not horizontal. Video Orientation on the platform is optimized for 9:16 mobile viewing, where most users hold devices upright.
Vertical framing preserves screen space, improves attention, and supports stronger engagement. Horizontal clips can be used only when widescreen context is essential, but they underperform in mobile feeds.
For creators seeking liberation from wasted space, vertical capture aligns with audience behavior and platform design.
Conclusion
True vertical capture preserves resolution, protects detail, and delivers cleaner results than a cropped frame. True vertical shooting keeps the subject centered, keeps the composition stable, and keeps the footage ready for Reels, Shorts, and TikTok. Crop only when the drone cannot shoot vertically, when the scene tolerates loss, and when speed matters more than quality. In practice, the best workflow is simple: shoot in 4K, frame for 9:16, and export for mobile first.

