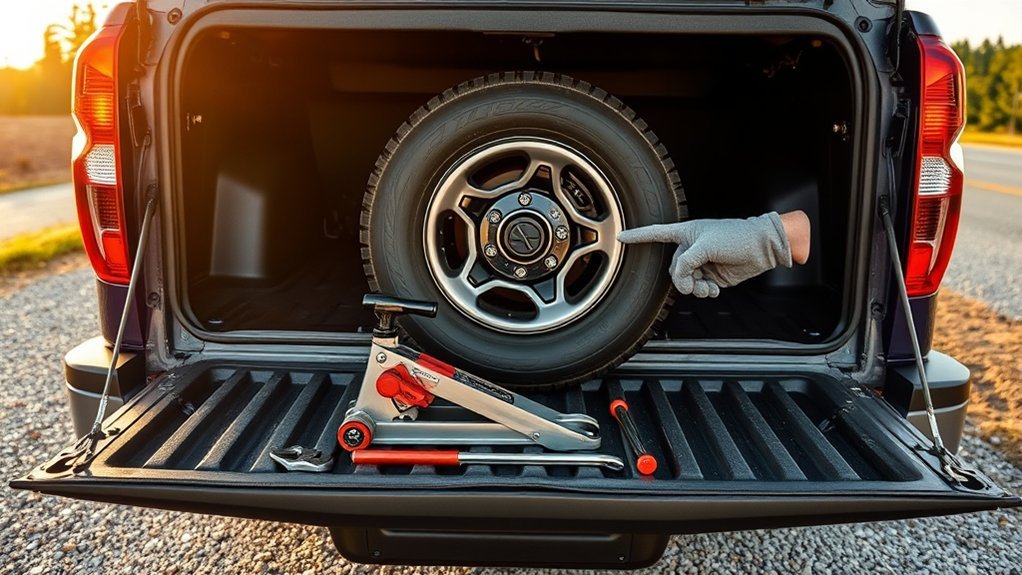
Toyota Tundra Jack and Spare Tire Tools: Safe-Use Guide
To use Toyota Tundra jack and spare tire tools safely, park on hard, level ground away from traffic, apply the parking brake, chock the wheel diagonally opposite the flat, lower the spare with the factory handle, and loosen each wheel nut before lifting. Place the jack only at the point specified for your model year, install the spare, lower the truck, and tighten every wheel nut in Toyota’s specified sequence and to the correct torque for that wheel and model year.
Last updated: September 19, 2026. This guide was checked against Toyota owner-manual procedures for multiple Tundra model years and NHTSA TireWise guidance.
Quick Answer
Park on firm, level ground, shift to Park, apply the parking brake, and chock the wheel diagonally opposite the flat. Lower the spare with the factory tool, loosen the wheel nuts about one turn before lifting, place the factory jack only at the model-year-approved point, install the spare, lower the truck, and tighten every nut in Toyota’s specified alternating sequence to the correct model-year and wheel-specific torque.
Key Takeaways
- Use the owner’s manual for your exact Tundra model year because tool locations, jacking points, wheel hardware, torque specifications, and spare-tire restrictions can differ.
- Do not change a tire where traffic, soft ground, a slope, poor visibility, or severe weather makes the job unsafe.
- Loosen the wheel nuts before lifting, but perform final tightening only after lowering the truck as Toyota directs.
- Never crawl under a Tundra supported only by an emergency jack.
- Check the spare’s pressure, condition, markings, speed limits, load restrictions, and towing restrictions before driving.
At a Glance
| Time Required | Varies with roadside conditions, corrosion, wheel condition, spare-tire condition, and access to the factory tools |
| Difficulty | Moderate; the wheel and spare can be heavy |
| Tools Needed | Factory jack, jack handle and extensions, lug wrench, spare-lowering tool, proper wheel chock, gloves, flashlight, pressure gauge, and a calibrated torque wrench |
| Cost | No additional purchase is required when the correct factory tools and a usable spare are already present; replacement equipment or roadside service costs vary |
Warning: Do not attempt a roadside tire change on a narrow shoulder, steep slope, soft surface, blind curve, or anywhere passing traffic can reach you. Turn on the hazard lights, move to a safer location when the truck remains controllable, and call roadside assistance when safe clearance is unavailable. Never place your head, hands, legs, or torso under a vehicle supported only by a jack.
Understanding the Toyota Tundra Jack and Spare Tire Tools
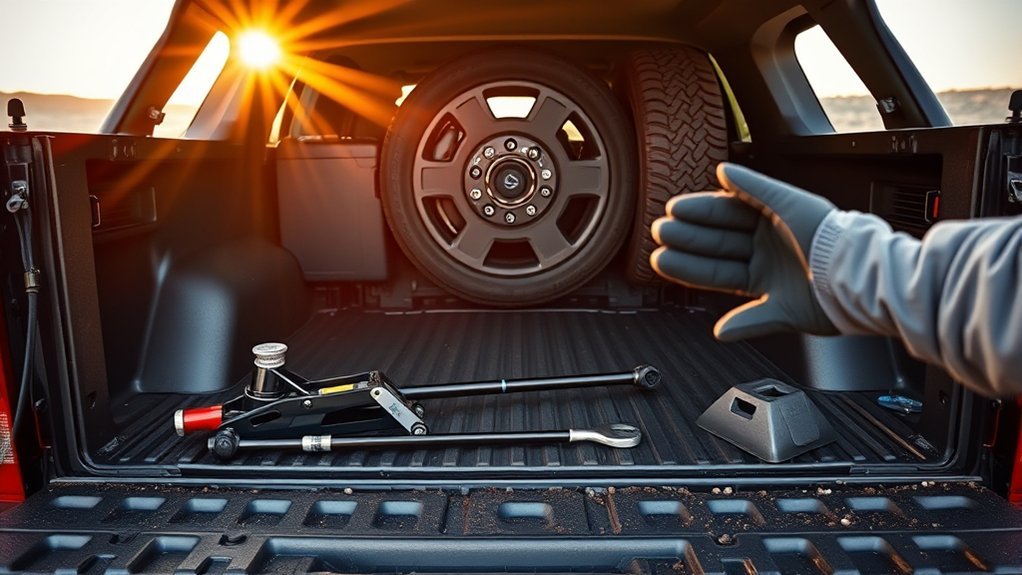
A Toyota Tundra equipped with a conventional spare commonly includes a vehicle jack, a lug wrench, handle or extension sections, and a tool used to operate the under-bed spare-tire hoist. The storage position and assembly method vary by generation, cab style, drivetrain, trim, equipment, and sales market.
Use Toyota’s official Manuals and Warranties page to select your exact vehicle before beginning. Look for the owner’s-manual sections covering a flat tire, tool storage, spare-tire removal, jacking points, wheel installation, wheel-lock hardware, spare restrictions, and wheel-nut torque.
Your kit may include:
- Emergency jack: Raises one corner of the truck far enough to replace a wheel.
- Jack handle and extensions: Operate the jack and may also connect to the spare-hoist mechanism.
- Lug wrench: Loosens and installs the wheel nuts.
- Spare-tire lowering tool: Engages the hoist that stores the spare beneath the bed.
- Wheel-lock key: Required when locking wheel nuts have been installed. Its location and use depend on the model year and equipment.
Why the Model Year Matters: Verified Examples
| Model-year example | Verified difference |
| 2021 Tundra | Toyota’s quick-reference guide places the jack/tool bag under the right rear seat on Double Cab models and in the rear-seat area on CrewMax models. It also instructs the owner to assemble the handle and turn the spare-lowering mechanism counterclockwise. |
| 2025 Tundra | Toyota’s U.S. manual includes separate Double Cab and CrewMax tool-location illustrations, identifies a glove-box wheel-lock key when equipped, and tells the owner to loosen the wheel nuts one turn before lifting. |
| 2025 wheel torque example | Toyota lists different tightening values for the applicable steel and aluminum wheels, which is why a universal online “Tundra torque” number should not be used for every truck. |
Note: Do not order a replacement jack, handle, extension, lowering tool, wheel-lock key, or wheel hardware from an unverified part number. Confirm compatibility by VIN through Toyota’s parts system or a Toyota dealer.
Before Changing the Tire
If a tire loses pressure while you are driving, hold the steering wheel firmly and avoid abrupt steering or hard braking. Ease off the accelerator, stabilize the truck, and move away from traffic when you can do so safely. Toyota warns against continuing to drive on a flat tire because even a short distance can damage the tire and wheel.
Choose a Safe Location
- Move as far from moving traffic as reasonably possible.
- Stop on firm, level pavement or another hard, stable surface.
- Turn on the hazard warning lights.
- Shift the transmission to Park.
- Apply the parking brake firmly.
- Turn off the engine and remove passengers from the traffic-facing side when that can be done safely.
- Place a proper wheel chock against the wheel diagonally opposite the flat tire.
Do not use a loose rock, brick, or unstable piece of wood as a substitute for proper support equipment. If the ground cannot support the jack securely, relocate the truck or request roadside assistance.
Configuration note: On Tundras equipped with electronically modulated air suspension, check the procedure for your exact model year before lifting. Toyota’s 2025 U.S. manual instructs applicable vehicles to place the height-control system in manual mode before the flat-tire procedure.
Inspect the Spare and Tools
Check the spare before raising the truck. Confirm that it is inflated, free from severe cracks or bulges, and suitable for the truck. Use the vehicle label, spare-tire marking, and exact owner’s manual to determine the required pressure and any operating restrictions.
The National Highway Traffic Safety Administration recommends checking the pressure of all tires, including the spare, at least once a month while they are cold. NHTSA defines “cold” for this check as a vehicle that has not been driven for at least three hours.
Pro Tip: Before a long trip, assemble the jack handle once at home, confirm that the hoist operates, find the wheel-lock key, and test the spare’s pressure. This prevents a missing part or seized mechanism from becoming a roadside emergency.
How to Access the Spare Tire
Tundras covered by the Toyota owner-manual procedures checked for this guide use an under-bed spare operated by a lowering mechanism through the rear of the truck. The exact access opening, handle assembly, and surrounding trim depend on the model year, so confirm the illustration in your manual.
- Find the hoist access point. Locate the rear spare-tire access point shown in your model-year owner’s manual.
- Assemble the handle sections. Connect them in the order shown in the tool diagram and make sure each joint is fully seated.
- Engage the hoist. Insert the tool straight through the guide until it fully engages the lowering mechanism.
- Lower the spare. Follow the rotation direction in your manual. Toyota procedures verified for the 2021 and 2025 Tundra direct the owner to turn the lowering mechanism counterclockwise.
- Create enough slack. Continue lowering until the tire rests completely on the ground and the cable or chain is loose.
- Remove the retainer. Slide the tire out far enough to reach its center, then remove the holding bracket or retaining plate as shown in the manual.
- Move the spare beside the flat tire. Keep it flat on the ground until you are ready to install it.
If the mechanism turns but the tire does not move, the tool may not be fully engaged. Remove it, align it again, and retry without forcing the mechanism. Stop if the cable or chain is badly corroded, tangled, damaged, or jammed.
Loosen the Wheel Nuts Before Lifting
Remove any center cap or wheel cover according to the manual. Fit the lug wrench fully over each wheel nut and loosen each nut about one turn while the tire remains on the ground. Do not remove the nuts yet.
The tire’s contact with the ground keeps the wheel from spinning and reduces vehicle movement while you apply force.
If a Wheel Nut Will Not Move
- Confirm that the wrench or socket fits the nut completely.
- Check for a locking nut that requires a matching key.
- Apply steady, controlled pressure to the supplied wrench.
- Use a suitable breaker bar only when you can maintain balance and control.
- Do not jump on the wrench or use an unstable pipe extension.
- Do not heat the nut or routinely add oil to the wheel stud, nut seat, or threads.
- Call roadside assistance when the nut is rounded, damaged, cross-threaded, or requires excessive force.
2025 wheel-lock example: Toyota’s 2025 U.S. Tundra manual places the wheel-lock key in the glove box when the truck is equipped with wheel locks. It instructs the owner to loosen the lock nut first, tighten it last, and not use an impact wrench on the wheel-lock key. Other model years or aftermarket locks may differ.
How to Use the Jack Assembly
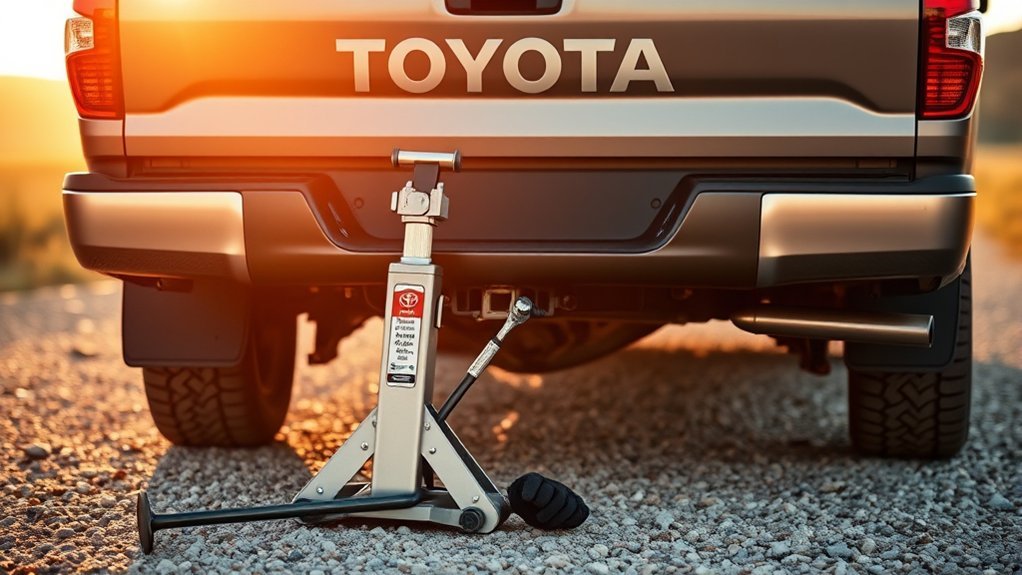
Locate the exact jacking point shown for the flat tire in your owner’s manual. Do not rely on a generic description such as “under the frame” or “under the crossmember.” Suspension parts, skid plates, steps, body panels, drivetrain components, and unapproved frame areas may bend or allow the jack to slip.
- Position the jack. Place its base flat on firm ground and align the saddle with the approved jacking point.
- Raise the jack until it contacts the truck. Pause and verify that the saddle is centered and the jack remains stable.
- Clear the area. Keep passengers away and do not allow anyone to lean against, enter, or rock the truck.
- Raise the tire slightly. Lift only until the flat tire has enough clearance to come off and the inflated spare can go on.
- Recheck stability. Stop immediately if the jack leans, sinks, twists, or shifts away from the approved point.
Warning: The factory emergency jack is for changing a wheel, not for working underneath the truck. A jack can tip or lose height without warning. If a repair requires any part of your body beneath the vehicle, use correctly rated support stands at approved support points and follow a professional service procedure.
Removing the Flat Tire and Installing the Spare
- Remove the loosened wheel nuts. Keep them together in a clean, visible place.
- Pull the flat wheel straight outward. The assembly may be heavy, so keep your back straight and use both hands.
- Place the removed wheel flat on the ground. Do not leave it upright where it can roll.
- Inspect the mounting surfaces. Remove loose dirt or foreign matter from the wheel-contact surface. Keep the wheel studs, nut seats, and mounting faces clean and dry unless Toyota or the wheel manufacturer specifically directs otherwise.
- Lift the spare onto the hub. Align the holes with the studs and push the wheel fully against the mounting surface.
- Start every wheel nut by hand. Turn each nut several full rotations. A nut that does not turn easily may be cross-threaded.
- Snug the nuts lightly. Use the sequence shown for your wheel in the owner’s manual so the wheel seats evenly. Do not apply final torque while the truck is fully raised.
If the Wheel Is Stuck on the Hub
Thread the wheel nuts back on loosely before attempting to free a stuck wheel so it cannot fall unexpectedly. Do not crawl beneath the truck, kick the wheel while balancing near traffic, or strike an alloy wheel with a hard metal hammer. When controlled pressure does not release it, lower the truck and request professional help.
Tightening the Wheel Nuts Correctly
A Tundra-specific tightening procedure must account for the actual wheel, wheel nuts, model year, and tightening sequence. Do not copy a generic four- or five-nut diagram or use one universal torque figure for every Tundra.
- Make sure every nut has been started correctly by hand and the wheel is seated against the mounting surface.
- Snug the wheel nuts evenly in the sequence shown in your model-year manual.
- Lower the truck as Toyota directs for final tightening and remove the jack when the truck is stable.
- Use a calibrated torque wrench to tighten every nut to the exact specification for the model year and wheel.
- Repeat the prescribed tightening sequence to confirm that no nut was missed.
- Reinstall the wheel cover or center cap only when it fits the installed spare and the manual permits it.
Verified 2025 example: Toyota’s 2025 U.S. Tundra manual lists 154 ft-lbf (209 N·m) for the applicable steel wheel and 97 ft-lbf (131 N·m) for the applicable aluminum wheel. The same manual instructs owners to check tightening torque again within 100 miles (160 km). These numbers are a 2025 example, not a universal specification for every Tundra, aftermarket wheel, or wheel-nut design.
Do not rely on an impact wrench for accurate final torque. Too little tightening can allow the wheel to loosen, while excessive tightening can damage wheel hardware or seating surfaces. Keep the threads and seating surfaces clean and dry unless Toyota or the wheel manufacturer specifically instructs otherwise.
Note: Aftermarket wheels or wheel nuts may have different requirements from the original equipment. Follow verified instructions for the installed wheel and hardware when they differ from the factory-wheel procedure.
Before Driving on the Spare
Do not assume that every Tundra spare can be driven like a normal road tire. Read the spare’s markings and the owner’s manual for pressure, speed, distance, load, towing, four-wheel-drive, differential, and driver-assistance restrictions.
For example, Toyota’s 2025 U.S. Tundra manual states that a temporary spare marked for temporary use must not be driven faster than 50 mph (80 km/h). It also warns that vehicle-speed-dependent systems and the four-wheel-drive system may be affected while that temporary spare is installed. Do not apply the 2025 temporary-spare rule to a different Tundra configuration without checking its own manual and tire markings.
Before moving the truck:
- Confirm that every wheel nut has received final tightening to the verified specification.
- Check that the spare is correctly inflated.
- Make sure the jack, handle, extensions, lug wrench, wheel-lock key, and chock are secured.
- Secure the removed wheel using the method shown in the manual.
- Raise and secure the spare-hoist mechanism as the model-year procedure directs so nothing hangs beneath the truck.
- Verify that no tool, cap, nut, or personal item remains on the roadside.
- Drive cautiously and arrange repair or replacement of the damaged tire as soon as practical.
- Recheck wheel-nut torque at the interval required by your manual; Toyota’s 2025 U.S. manual specifies within 100 miles (160 km).
Do not infer operating limits from the spare’s physical size alone. Where Toyota identifies the installed tire as a temporary spare, follow its temporary-use restrictions. Where a different spare is supplied, follow the markings and instructions for that exact truck.
Troubleshooting Common Tire-Change Problems
The Spare Will Not Lower
Confirm that the handle sections are assembled correctly and fully engaged with the hoist. Follow the manual-specified turning direction and maintain controlled engagement with the mechanism. Stop when the mechanism binds, the cable or chain twists, or corrosion prevents controlled movement. Do not crawl beneath the truck to pull on a suspended spare.
The Jack Tilts or Sinks
Lower the truck immediately. Reposition it on firm, level ground and verify the approved jacking point. Do not continue raising a leaning jack or improvise with loose bricks, stones, or stacked scrap wood.
A Wheel Nut or Stud Is Damaged
Stop when a nut spins without tightening, binds after only a partial turn, has rounded corners, or reveals damaged threads. Driving with missing or improperly secured wheel hardware can allow the wheel to loosen. Arrange professional repair instead of forcing the nut.
The Spare Is Flat or Damaged
Do not install a spare with a bulge, exposed cord, serious cracking, damaged bead, or pressure that cannot be corrected safely. Use roadside assistance or towing rather than driving on an unsafe tire.
The Tools or Wheel-Lock Key Are Missing
Do not substitute an undersized wrench, damaged jack, or unrelated lowering tool. A roadside provider or tire shop can use properly matched equipment and help avoid damage to the wheel, wheel lock, hoist, or truck.
Maintaining the Jack, Spare, and Tire Tools
- Check the spare monthly: NHTSA recommends checking all tires, including the spare, at least once a month while cold. Also inspect the spare for cracking, bulges, punctures, corrosion, and aging.
- Inspect the jack: Look for bent parts, damaged threads, corrosion, missing retainers, or rough movement.
- Operate the hoist periodically: Lower and raise the spare far enough to confirm that the mechanism moves smoothly, following your model-year instructions.
- Keep the tools clean and dry: Remove road salt, mud, and moisture before returning them to storage.
- Secure every component: Loose tools can rattle, become damaged, or create a hazard during sudden braking.
- Replace incompatible parts by VIN: Tool shapes, lengths, wheel-lock hardware, and storage arrangements can change between Tundra generations and configurations.
The safest time to discover a flat spare, missing wheel-lock key, or seized hoist is in your driveway, not beside a busy road.
Related Guides
Frequently Asked Questions
Where is the jack on a Toyota Tundra?
The location depends on the model year, cab, trim, and market. Toyota quick-reference material for the 2021 Tundra, for example, shows different rear-seat storage arrangements for Double Cab and CrewMax models. Use the tool-location illustration in the owner’s manual for your exact truck instead of relying on one universal location.
What capacity jack do I need for a Toyota Tundra?
Use the factory emergency jack for wheel replacement when it is undamaged and operated exactly as the manual directs. An aftermarket jack must have an adequate rated capacity, suitable lifting range, stable base, compatible saddle, and instructions that permit use with the truck. Do not choose a jack by ton rating alone.
Does every Toyota Tundra come with a jack and spare tire?
Equipment can vary by model year, market, trim, configuration, and previous ownership. Inspect the truck and compare its jack, tool bag, spare tire, wheel hardware, and storage arrangement with the model-year owner’s manual before relying on the kit.
Is a three-ton floor jack enough for a Tundra?
A three-ton label does not by itself confirm suitability. Check the jack manufacturer’s instructions, rated capacity, maximum lift height, minimum saddle height, stability, and compatibility with the approved Tundra lifting point. Never exceed the jack’s rating or use it on unstable ground.
How do I lower the spare tire on a Toyota Tundra?
Assemble the factory handle, insert it through the rear hoist-access point shown in your owner’s manual, and engage the lowering mechanism. Toyota procedures checked for the 2021 and 2025 Tundra direct the owner to turn the mechanism counterclockwise. Lower the tire completely to the ground, create enough slack, and remove the holding bracket or retainer as shown for your truck.
What is the Toyota Tundra lug-nut torque?
There is no safe universal torque figure for every Tundra wheel and model year. As a verified example, Toyota’s 2025 U.S. Tundra manual lists 154 ft-lbf (209 N·m) for the applicable steel wheel and 97 ft-lbf (131 N·m) for the applicable aluminum wheel, and instructs owners to check tightening torque again within 100 miles (160 km). Use the specification for your exact model year, wheel, and wheel hardware.
Can I tow or drive normally with the spare installed?
Do not assume so. Check the spare’s marking and the Tundra owner’s manual for speed, distance, pressure, load, towing, four-wheel-drive, and differential restrictions. For example, Toyota’s 2025 U.S. manual limits its temporary spare to 50 mph (80 km/h) and warns that several vehicle systems may be affected. Follow the instructions for your exact spare and repair or replace the damaged tire promptly.
Conclusion
A safe Toyota Tundra tire change depends on following the procedure for the exact truck rather than relying on generic jack-point or torque advice. Verify the model-year instructions, choose a firm location away from traffic, chock the correct wheel, inspect the spare, loosen the wheel nuts before lifting, and use only the approved jacking point.
After installing the spare, hand-start every nut, lower and tighten the wheel according to Toyota’s sequence, and apply the verified torque for the actual wheel and model year. Secure the damaged wheel and tools, follow the spare-tire restrictions, and arrange permanent tire repair promptly. Check the manual for any required torque recheck; Toyota’s 2025 U.S. Tundra manual specifies a recheck within 100 miles (160 km).
Sources
- Toyota Manuals and Warranties — model-year owner’s manuals, tool locations, jacking instructions, wheel hardware, spare-tire procedures, and vehicle-specific specifications
- Toyota Technical Information System — official Toyota technical and service information
- NHTSA TireWise — tire pressure, spare-tire, aging, and tire-maintenance guidance