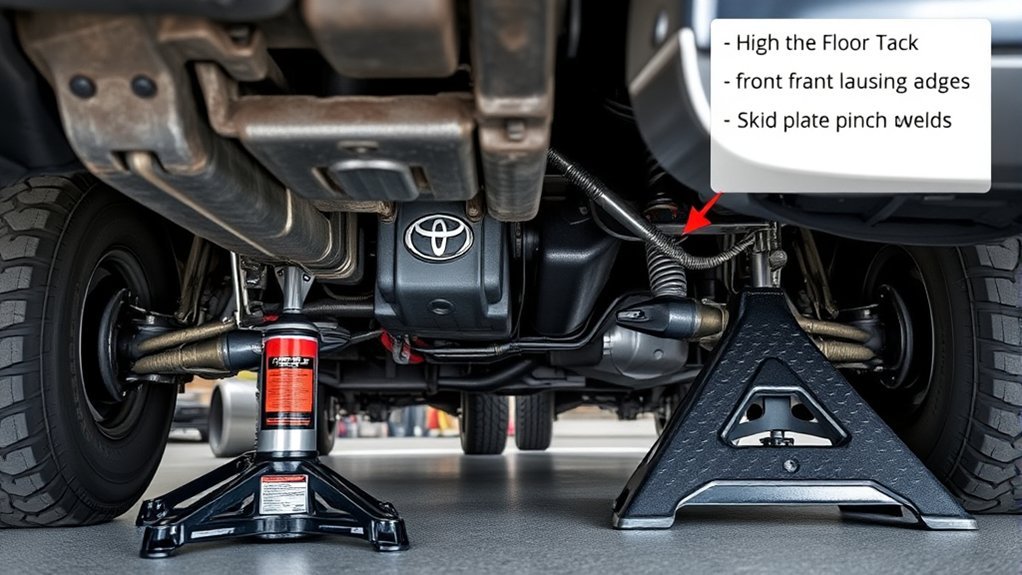
Safe Toyota Tundra jacking starts with one rule: use the lifting and support points specified for your exact model year and the type of jack you are using. Tundra chassis and equipment changed across generations, so a location that works on an older truck should not automatically be used on a newer one. Before lifting, check Toyota’s official owner’s manual finder, work on a hard and level surface, chock the wheels, and never crawl underneath a truck supported only by a jack.
Quick Answer
Toyota Tundra jacking points are model-year specific. Use the factory manual’s diagram and distinguish the emergency tire-jack point from a floor-jack lift point and jack-stand support point. Never guess from another generation, and never work under a Tundra that is supported only by a hydraulic or factory jack.
Key Takeaways
- Check the Toyota manual for your exact model year before choosing a lifting or support point.
- Do not assume the factory emergency tire-jack point, a floor-jack point, and a jack-stand point are interchangeable.
- Use a jack and stands with sufficient rated capacity, reach, and lift range for the load they will carry.
- Set the parking brake, select Park, turn the engine off, chock the wheels, and lift only on hard, level ground.
- Never work beneath a Tundra supported only by a jack, and never improvise with unapproved suspension parts, skid plates, running boards, or rusty metal.
At a Glance
| Time Required | Plan about 10–20 minutes for setup, lifting, stand placement, and safety checks; repair time is additional. |
| Difficulty | Moderate; you need to identify the correct model-specific lift and support points before starting. |
| Tools Needed | Exact model-year Toyota manual, properly rated jack, properly rated jack stands, wheel chocks, flashlight, gloves, and wheel tools if removing a tire. |
| Cost | Varies with the lifting equipment you already own; choose by load rating, stability, reach, and condition rather than price alone. |
Warning: A hydraulic jack or factory tire jack is a lifting device, not a safe substitute for properly positioned support stands when you will be underneath the truck. If you cannot positively identify a Toyota-approved lifting/support location, or the area is bent, cracked, heavily rusted, or modified, stop and have the truck lifted by a qualified shop.
Understanding the Importance of Proper Jacking Points

A Toyota Tundra is heavy enough that a small placement error can become a serious problem. The jack saddle must contact a structure designed to accept the lifting force, and the support stands must sit under locations suitable for supporting the truck after it is raised.
The safest jacking point is not the one that looks strongest from underneath; it is the point Toyota identifies for your model year and lifting procedure.
Improper placement can dent or deform thin metal, damage a skid plate or suspension component, let the jack slip, or make the truck unstable. Toyota’s general floor-jack guidance warns that incorrect jack placement can damage the vehicle or cause injury. The same principle should guide every Tundra lift.
Tire-Jack, Floor-Jack, and Jack-Stand Points Are Not Always the Same
One of the most important distinctions missing from many jacking guides is that there can be three different types of locations:
- Emergency tire-jack point: The location Toyota specifies for the factory jack when changing a wheel or dealing with a flat tire.
- Floor-jack lifting point: A reinforced point intended for raising part of the vehicle with a hydraulic service jack when Toyota identifies one for that procedure.
- Jack-stand support point: A location suitable for supporting the truck after it has been raised.
Do not automatically move a floor jack, bottle jack, or stand to a location merely because the factory emergency jack uses a nearby area. Check the exact illustration and wording in the owner’s manual or Toyota service information.
Check Your Tundra Model Year First
Toyota publishes separate documentation for different Tundra model years. For example, the 2021 Tundra uses Owner’s Manual OM0C039U, Toyota lists OM0C066U for the 2025 Tundra, and the 2026 Tundra uses OM0C084U. That is a strong reason not to copy a jack-point location from a photo or forum post showing a different generation.
| 2000–2006 Tundra | Use the first-generation manual’s exact diagram. Do not assume later Tundra locations are identical. |
| 2007–2021 Tundra | Older factory flat-tire procedures commonly identify illustrated front locations and a specific rear axle-housing contact position. Follow the diagram for your exact year rather than using a generic “under the door” description. |
| 2022–2026 Tundra | Use the third-generation manual or Toyota service information. Do not transfer older-generation lift-point instructions to the newer chassis, especially when suspension or ride-height equipment differs. |
Note: Lift kits, aftermarket suspension, skid plates, rock sliders, running boards, oversized tires, and other modifications can change access, ground clearance, and safe equipment setup. An aftermarket part is not automatically a jack point just because it looks strong.
Recommended Front Jacking Locations for the Tundra
There is no single text description such as “just behind the front wheel” or “under the front door” that should be applied to every Toyota Tundra. The correct front location is the point illustrated for your model year and the lifting method you are using.
On trucks where Toyota identifies a reinforced frame or central service-jack point, center the jack saddle exactly where shown. Do not shift the saddle to a nearby bracket, thin flange, skid plate, steering part, suspension link, or body panel because it is easier to reach.
A crossmember also should not be treated with a blanket rule. Do not jack on one simply because it looks substantial, but do not assume every crossmember is forbidden either. Use it only when Toyota’s documentation specifically designates that structure as an approved lifting point for your truck and procedure.
Pro Tip: Before rolling the floor jack underneath, use a flashlight to locate the manual’s illustrated point from the same viewing direction shown in the diagram. Confirm the surrounding brackets, holes, welds, and frame shape match what you see on the truck.
Safe Rear Jacking Points to Use on Your Tundra
Some Tundra factory tire-changing procedures use a designated position at the rear axle housing, with the jack head aligned in a specific way. That does not mean every flat area of the axle, differential housing, sway-bar mount, shock mount, or suspension bracket is automatically a safe floor-jack point.
Use the exact rear point shown for your model year. If the manual identifies the axle housing, center the jack where specified and make sure the jack saddle engages securely. If Toyota identifies a different floor-jack location for your generation or configuration, use that location instead.
Do not use a sway bar or sway-bar mounting plate as a substitute unless Toyota service information for your exact truck expressly identifies it as a lifting point. The same caution applies to differential covers, skid plates, exhaust components, trailer-hitch hardware, control arms, and other nearby parts.
Techniques to Prevent Damage During Vehicle Jacking
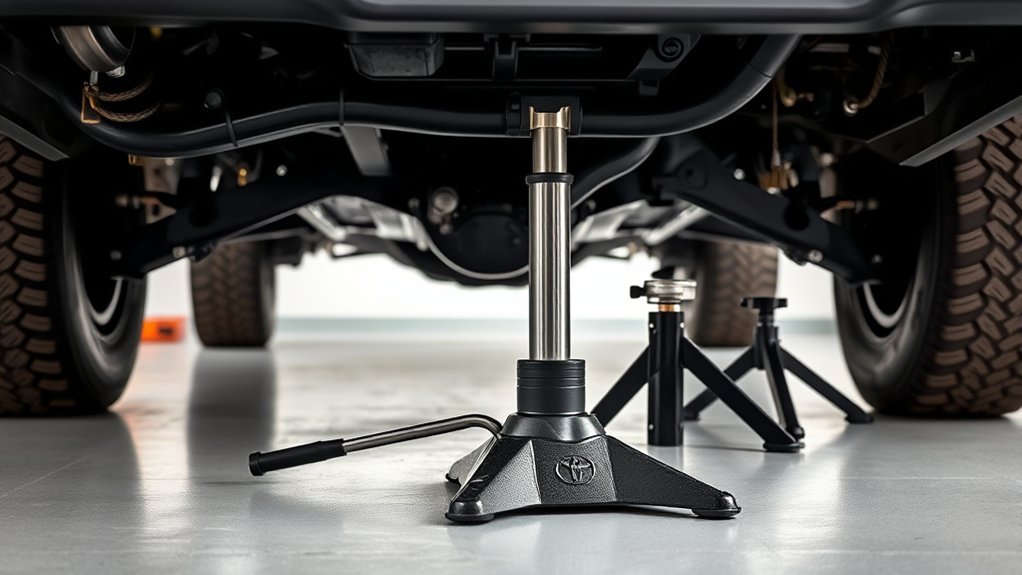
Good jack placement starts before the jack touches the truck. Give yourself enough room to see the contact point, keep the jack wheels free to move as the lifting arm changes angle, and avoid surfaces where the jack can sink, tilt, or roll unpredictably.
Proper Jack Placement Techniques
- Park on hard, level ground. Avoid dirt, gravel, sloped pavement, soft asphalt, and other unstable surfaces when possible.
- Secure the truck. Shift to Park, set the parking brake, turn the engine off, remove occupants, and keep the key away from anyone who might start or move the truck.
- Chock the wheels that will stay on the ground. For a one-wheel tire change, Toyota manuals commonly show chocking the wheel diagonally opposite the flat tire. For service lifting, use chocks appropriate to the direction in which the truck could roll.
- Identify the exact approved point. Compare the manual illustration with the truck before placing the saddle.
- Center the saddle. It should sit squarely on the approved structure rather than contacting an edge, bolt head, thin flange, or nearby component.
- Raise slowly. Watch the jack, saddle, truck, and ground continuously. Stop immediately if the saddle shifts, the jack tilts, the truck moves sideways, or the contact area deforms.
Do not try to “spread the load” by improvising with several unrelated lifting points. For ordinary service work, lift from the approved point for the procedure and then transfer the vehicle’s weight to properly placed supports.
Utilize Jack Stands Effectively
After raising the truck high enough for the intended work, position jack stands only at support locations appropriate for your exact Tundra. Both stands should sit flat on the ground, with their posts or saddles fully seated and their locking mechanisms completely engaged.
Lower the truck slowly until its weight is carried by the stands. Watch each saddle as the suspension and chassis settle. If a stand begins to lean, slide, dig into the surface, or contact only an edge of the support area, raise the truck again and correct the setup before continuing.
Rock sliders and side steps deserve special caution. A factory or aftermarket slider should be used as a lifting/support point only when its manufacturer specifically says the part and its mounting system are designed for that purpose.
Inspect Jack Points Regularly
Before lifting, use a flashlight to inspect the intended contact area. Look for:
- heavy corrosion or scaling;
- cracks or torn metal;
- previous crushing or bending;
- damaged welds;
- fresh distortion from an earlier lift;
- oil, mud, ice, undercoating, or debris that could let the saddle slip.
Surface rust is different from severe structural corrosion, but you should not guess about the strength of compromised metal. If a designated lift/support point is heavily corroded or deformed, have a qualified technician inspect it and choose the proper alternative procedure.
Essential Tools for Safe Vehicle Jacking
You need more than a jack with a large tonnage number. The equipment must have sufficient rated capacity for the load it will actually carry, enough reach to contact the designated point, enough lift range to accomplish the job, and a stable saddle that fits the contact area.
The U.S. Occupational Safety and Health Administration’s portable-jack standard requires a jack to have sufficient rated capacity and requires a raised load to be secured. Although that regulation applies to workplaces, the underlying safety principles are useful for home vehicle maintenance as well.
Recommended Jack Types
- Hydraulic floor jack: A practical choice for garage maintenance when it has suitable rated capacity, reach, lift height, saddle geometry, and a stable base.
- Factory tire jack: Intended for the emergency wheel-changing procedure described by Toyota. Do not treat it as a substitute for a service floor jack and stands when working underneath the vehicle.
- Bottle jack: Useful only when its capacity, minimum height, maximum lift, saddle shape, and designated contact point make it appropriate for the job. Its smaller base demands particular attention to surface stability.
A “3-ton” label by itself does not prove that a jack is appropriate. A jack can have ample capacity yet still be too short to reach an approved point, too tall to fit under the truck with a flat tire, or unable to lift high enough without exceeding its designed travel.
Essential Safety Equipment
- Rated jack stands: Read their capacity label and instructions rather than assuming how the rating is expressed.
- Wheel chocks: Use purpose-made chocks sized for the truck’s tires.
- Flashlight: Helps positively identify the lift/support location and inspect corrosion or damage.
- Gloves and eye protection: Useful when working around dirt, corrosion, and underbody debris.
- Suitable jack pad or adapter: Use only when compatible with the approved lifting point and the jack manufacturer’s instructions. A pad should improve contact, not hide poor placement.
Inspect all equipment before use. Do not use a jack that leaks, drops under load, has damaged wheels or a bent lifting arm. Do not use stands with cracked welds, a damaged post, a malfunctioning locking mechanism, or a distorted base.
How to Use Jack Stands Safely
Jack stands are the primary supports when your body will be beneath the truck. Use this sequence:
- Confirm the correct Toyota lift point and the intended jack-stand support points before raising the truck.
- Place the floor jack squarely under the approved lifting location and raise the truck slowly.
- Set both stands to the required height on hard, level ground.
- Position each stand at an approved support location with the saddle centered and fully contacting solid structure.
- Lower the jack slowly until the vehicle settles onto the stands.
- Check that both stand bases remain flat and that neither saddle has shifted.
- Verify the truck is stable from outside the crush zone before putting any part of your body underneath it.
Warning: Never place your head, hands, legs, or torso under the truck while it is supported only by the lifting jack. Do not start the engine or allow anyone to enter the truck while it is raised for service.
Safe Step-by-Step Tundra Jacking Procedure
- Identify the truck. Confirm the model year, drivetrain/configuration, and any suspension or underbody modifications.
- Open the correct Toyota manual. Locate the tire-jacking or floor-jack diagram that matches what you are doing.
- Prepare the work area. Park on solid, level ground with enough room to operate the jack handle and place stands.
- Secure the vehicle. Shift to Park, apply the parking brake, switch the engine off, and remove occupants.
- Chock the wheels. Prevent movement in both likely directions as appropriate for the lift.
- Inspect the lift point. Do not continue if the area is seriously rusted, cracked, crushed, or altered.
- Position the jack. Center the saddle on the exact approved point.
- Lift slowly. Raise only as high as needed while watching for movement, slipping, or deformation.
- Position the stands. Use approved support locations and equal, stable stand heights.
- Transfer the load. Lower slowly until the truck rests securely on the stands.
- Verify stability. Check the saddle positions, stand bases, wheel chocks, and overall stance before beginning work.
How to Lower Your Tundra Safely
Lowering deserves the same care as lifting. Remove tools, parts, and people from beneath the vehicle first. Confirm the wheels are ready to take the load and that nothing is underneath the tires.
- Place the jack back at the approved lifting point.
- Raise the truck only enough to unload the jack stands.
- Remove the stands completely from beneath the vehicle.
- Lower the truck slowly and smoothly while keeping hands and feet away from pinch points.
- After all tires are fully on the ground and the jack is removed, remove the wheel chocks.
- If a wheel was removed, follow Toyota’s model-specific wheel-installation and lug-nut torque procedure.
Signs of Damage to Look for After Jacking
After lowering the Toyota Tundra, inspect the contact areas before driving. A small mark from a saddle is not automatically structural damage, but fresh deformation deserves attention.
Look for crushed or bent metal, cracked welds, torn seams, displaced brackets, damaged coatings, or a new fluid leak. Check nearby brake lines, wiring, suspension components, exhaust parts, and skid plates if the jack was ever close to them.
If the truck now sits unevenly, makes a new noise, shows visible structural deformation, has a fluid leak, or handles differently, do not assume the issue will correct itself. Have the affected area inspected before normal driving.
Safety Tips for Working Under Your Tundra
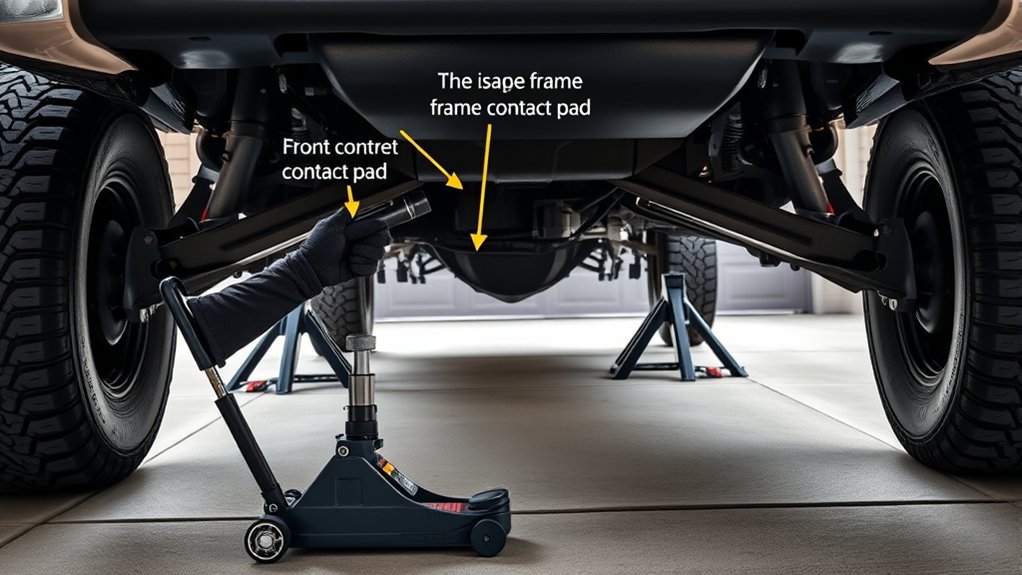
- Never rely on a hydraulic jack alone. Transfer the vehicle to correctly positioned supports before going underneath.
- Do not work on a slope. A heavy truck can generate substantial sideways force even on a seemingly mild incline.
- Do not lift with occupants inside. Movement inside the cab or bed can disturb a marginal setup.
- Keep the engine off. Avoid vibration or accidental vehicle movement while supported.
- Use wheel chocks. The parking brake and transmission are not substitutes for physical wheel restraint.
- Keep the work area clear. Do not allow children, pets, or bystanders near a raised vehicle.
- Do not exceed equipment ratings. Follow the jack and stand manufacturers’ limits and instructions.
- Do not improvise supports. Avoid concrete blocks, loose stacks of material, or unrelated objects as substitutes for automotive support equipment.
Top Mistakes to Avoid When Jacking Your Tundra
The most common jacking mistakes are usually not complicated mechanical failures; they are setup errors. Avoid these:
- copying a jack point from a different Tundra generation without checking your manual;
- confusing an emergency tire-jack point with a floor-jack or stand location;
- placing a jack under a sway bar, suspension link, differential cover, skid plate, running board, or hitch simply because it looks strong;
- lifting on heavily corroded, bent, or damaged metal;
- working on soft or sloped ground;
- forgetting wheel chocks;
- using a jack or stand with insufficient capacity, reach, or lift range;
- raising the truck higher than necessary;
- working underneath before the load is fully supported and stable;
- assuming aftermarket sliders, skid plates, or suspension parts are approved lift points.
Maintenance Tips for Your Jacking Equipment
Well-maintained lifting equipment is easier to position and less likely to fail unexpectedly. Follow the manufacturer’s inspection and maintenance schedule and check the equipment every time you use it.
- Inspect for damage and leaks. Look at the jack frame, lifting arm, saddle, casters, handle, hydraulic system, and release mechanism.
- Check stand locking parts. Make sure posts, pins, ratchets, bases, welds, and locking mechanisms are undamaged and operate correctly.
- Keep ratings readable. Do not use equipment if you cannot determine its capacity or operating limits.
- Keep equipment clean and dry. Dirt and corrosion can hide damage and interfere with moving or locking parts.
- Remove defective equipment from service. Do not keep using a jack that leaks down or a stand that is bent, cracked, or unreliable.
Frequently Asked Questions
Where should I place the jack under a Toyota Tundra?
Place it only at the lifting point shown for your exact Tundra model year and the type of jack you are using. Do not rely on a universal description such as “under the door.” Toyota’s emergency tire-jack point, floor-jack point, and jack-stand support location may not be interchangeable.
How do you know where to jack up a vehicle without damaging it?
Use the vehicle manufacturer’s jack-point illustration, identify the structure shown in the diagram, and compare it with the underside before lifting. Do not choose a point only because the metal looks thick. Inspect the area for corrosion or damage, center the saddle, and raise the vehicle slowly while watching the contact point.
What is the most common problem with a Toyota Tundra?
There is no single problem that accurately describes every Tundra generation and model year. Corrosion can matter on some older trucks and in rust-prone climates, which is especially relevant when inspecting frame and lifting areas. For vehicle-specific safety campaigns, check your VIN with the NHTSA recall lookup and Toyota’s recall resources.
Can you jack a truck up from the frame?
Yes, when the manufacturer designates that particular reinforced frame location as a lifting or support point for the procedure. Do not assume that any convenient section of frame rail is safe. Thin sections, brackets, corrosion, modifications, and nearby lines can make an otherwise solid-looking area unsuitable.
Can I jack a Toyota Tundra from the rear differential?
Do not assume the differential is an approved floor-jack point. A Toyota flat-tire procedure may identify a particular location on the rear axle housing for certain model years, but that is not permission to place a jack anywhere on the differential or its cover. Follow the exact diagram for your truck.
Are 2022–2026 Tundra jacking points the same as 2007–2021 Tundra jacking points?
Do not assume they are. The 2022 model year introduced a new Tundra generation, and Toyota publishes separate owner and service information for current trucks. Use the manual for the exact model year, configuration, and lifting procedure rather than copying a point from an older-generation diagram.
Conclusion
The safest way to jack a Toyota Tundra is to match the lifting method to the exact truck. Start with the model-year Toyota manual, identify the proper lift and support points, use equipment with sufficient rated capacity and range, and secure the truck on hard, level ground before raising it. Once lifted, transfer the load to correctly positioned jack stands before working underneath. Never substitute a convenient-looking frame section, sway-bar mount, skid plate, running board, hitch, or damaged structure for a documented lifting point. Careful setup takes only a few extra minutes and protects both you and your Tundra.
Sources
- Toyota Owner’s Manuals and Warranties — official model-year manual finder and primary reference for vehicle-specific procedures.
- Toyota 2021 Tundra Owner’s Manual, OM0C039U — confirms the factory manual specific to the 2021 Tundra.
- Toyota 2026 Tundra Owner’s Manual, OM0C084U — current factory-issued manual reference for the 2026 Tundra.
- OSHA 29 CFR 1910.244 — Portable Jacks — authoritative general guidance on jack load ratings, securing raised loads, inspection, and maintenance.
- NHTSA Recall Lookup — official VIN-based resource for checking open vehicle safety recalls.
