Updated for 2026.
When you’re learning drone photography and videography, the right drone camera settings can help you capture sharper photos, smoother video, and cleaner aerial footage. Start with a low ISO, choose shutter speed based on whether you are shooting stills or video, and use ND filters when bright light prevents you from getting the exposure and motion you want.
The best beginner setup is simple: keep ISO as low as practical, use enough shutter speed to keep photos sharp, treat the 180-degree shutter rule as a starting point for natural-looking video, and control excess light with aperture or an appropriate ND filter when your drone supports those options. Exact settings vary by drone, lighting, wind, subject movement, and creative goal.
Quick Drone Camera Settings Cheat Sheet
|
Shooting Goal |
Recommended Starting Point |
Why It Helps |
|---|---|---|
|
Sharp daylight photos |
ISO 100 or base ISO, sufficiently fast shutter, correct focus |
Helps limit noise and reduces blur from drone or subject movement. |
|
Cinematic 30fps video |
Low ISO, shutter near 1/60 second, ND filter if needed |
Provides a useful starting point for natural-looking motion blur. |
|
Fast-moving subjects |
Start around 1/500 second or faster |
Helps freeze cars, boats, bikes, wildlife, and other action. |
|
Bright midday video |
Low ISO, chosen video shutter speed, suitable ND filter |
Reduces incoming light without forcing an unnecessarily fast shutter. |
|
Low-light scenes |
Lowest practical ISO with a shutter speed that remains usable |
Balances image brightness against noise and motion blur. |
Beginner rule: Do not chase one “perfect” setting. Set your frame rate or photographic goal first, keep ISO low, choose the shutter speed you need, then use aperture or an ND filter to finish the exposure when those controls are available.
[Amazon Products Picked for You]

【3 Pack Drone Filter Set】 Compatible with DJI Mini 4K, Mini 2 SE, Mini SE, Mini 2, Mavic Mini and Fly More Combos, this circular polarizing neutral density drone filter set elevates your aerial photography and videography to a professional level. Each lens filter quickly snaps onto the camera and locks into place with a hook for secure attachment during flights

【6 Pack Snap On Drone Lens Accessories】 The kit for your drone gear includes 4 x Neutral Density filter (ND4/ND8/ND16/ND32), 1 x circular polarizing filter, and 1 x UV filter, compatible with DJI Mini 4K Drone with 4K UHD Camera for Adults/ Mini 2 / Mavic Mini / Mini SE / Mini 2SE and Fly More Combos, meeting various photography needs, from glare reduction to long exposure effects, as well as providing lens protection. Simple snap on design makes easy and swift filter attachment and dismounting

【Dedicated to Mini 4 Pro】 Introducing the latest must have ND & CPL filter set, compatible with DJI Mini 4 Pro. This NEEWER filter kit boasts top notch HD glass that ensure crystal clear imaging during aerial shooting. It's a game changer for drone enthusiasts looking to optimize shutter speeds, minimize glare, enrich colors, and achieve impeccable exposure in varying weather conditions
Understanding ISO Settings for Optimal Exposure
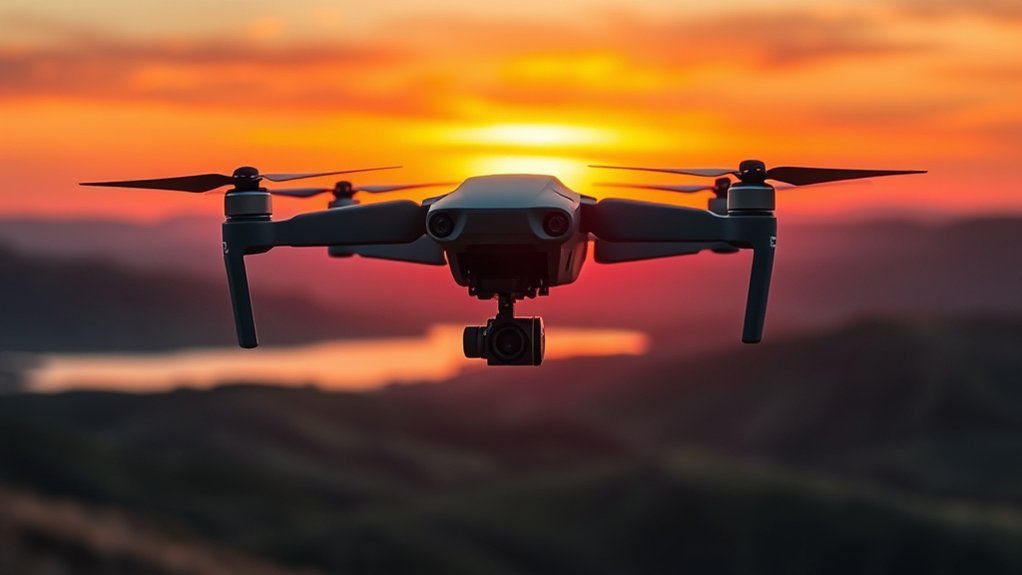
ISO controls how strongly the camera amplifies the image signal. A low setting, such as ISO 100 on cameras where that is the base setting, usually produces cleaner daylight images with less visible noise.
Raising ISO can make the recorded image brighter, but it also tends to increase noise and reduce image quality, particularly in shadows and on smaller drone-camera sensors. Increase ISO when you cannot get the exposure you need through available light, shutter speed, aperture, or other exposure controls without compromising the shot.
Keep ISO as low as practical, but do not sacrifice the shutter speed you genuinely need just to keep ISO at its minimum value.
For daylight drone photography, ISO 100 is a sensible starting point on many cameras. Around sunrise, sunset, shade, or low-light scenes, raise ISO carefully and review both highlights and shadow noise before recording an important flight.
Shutter Speed: Freezing Motion vs. Creating Blur
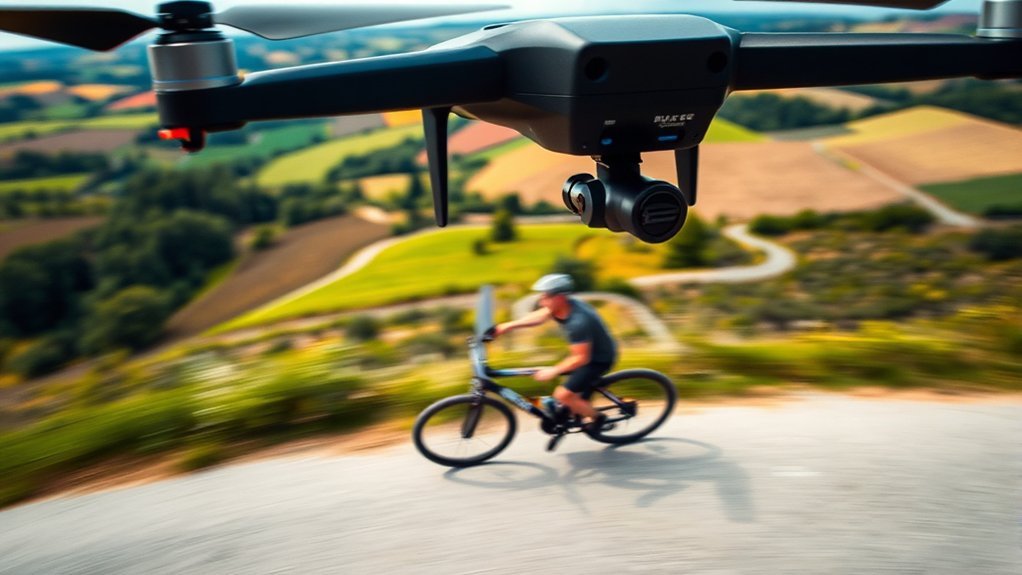
Shutter speed controls how long each photo or video frame gathers light. It affects exposure, sharpness, and the way movement looks. Faster shutter speeds reduce motion blur, while slower shutter speeds allow more motion blur and more light to reach the sensor.
[Amazon Products Picked for You]

Precisely engineered for the DJI Mavic 3 Pro.

This FPV ND UV Filter Set is compatible with O4 Pro Air Unit, ensuring its adaptability and suitable for aerial video shooting.
Shutter Speed for Drone Photos
For still photography, use a shutter speed fast enough for the amount of drone movement, wind, and subject motion in the scene. You do not need 1/500 second for every aerial landscape, but a faster shutter becomes increasingly useful when either the aircraft or subject is moving quickly.
For cars, boats, bikes, wildlife, or other fast action, around 1/500 second or faster is a practical starting point. Review the image at full size and increase shutter speed further if important details are still blurred.
Shutter Speed for Drone Video
For video, the 180-degree shutter guideline is a useful creative starting point. It means using a shutter speed roughly twice the frame rate:
- 24fps: around 1/48 or 1/50 second
- 25fps: around 1/50 second
- 30fps: around 1/60 second
- 60fps: around 1/120 second
This is a guideline rather than a strict rule. Faster shutter speeds may be useful for action, strong wind, sharper individual frames, or a deliberately crisp look. The trade-off is less natural motion blur.
In bright sunlight, the slower shutter speeds commonly used for cinematic video can overexpose the image. An ND filter can reduce incoming light so you can retain your chosen shutter speed without unnecessarily raising shutter speed just to darken the scene.
Mastering Aperture for Brightness and Light Control
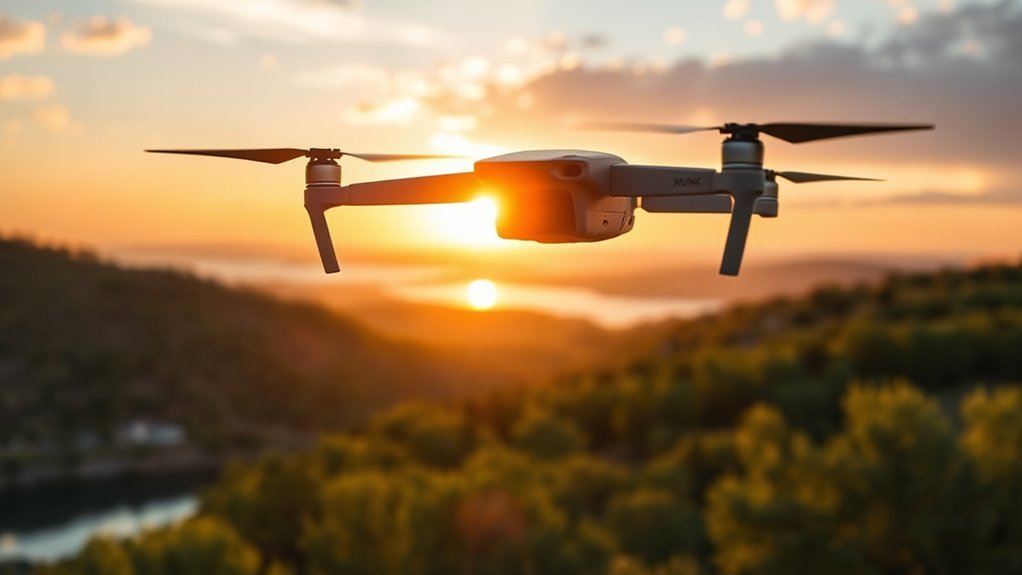
Aperture controls how much light passes through the lens. A lower f-number, such as f/2.8, uses a wider aperture and lets in more light. A higher f-number, such as f/11, uses a smaller aperture and lets in less light.
Many consumer drones use a fixed aperture, which means you cannot change this setting. Drones with variable-aperture cameras offer another way to manage exposure. For example, the main Hasselblad camera on the DJI Mavic 3 Pro supports a variable aperture from f/2.8 to f/11.
Aperture is useful when your drone supports it, but ISO, shutter speed, available light, and ND filters often play a larger role in everyday drone shooting.
Unlike close-up portrait photography, aperture usually has a smaller visible effect on background blur in typical aerial scenes because subjects are often far from the camera. For most drone shots, think of aperture primarily as an exposure and optical-quality control rather than a tool for creating dramatic background blur.
Avoid assuming that the smallest aperture is automatically the sharpest. Very small apertures can soften fine detail through diffraction on some cameras. If you need to reduce light for video, an ND filter may sometimes be a better choice than closing the aperture as far as possible.
The Importance of ND Filters in Drone Photography
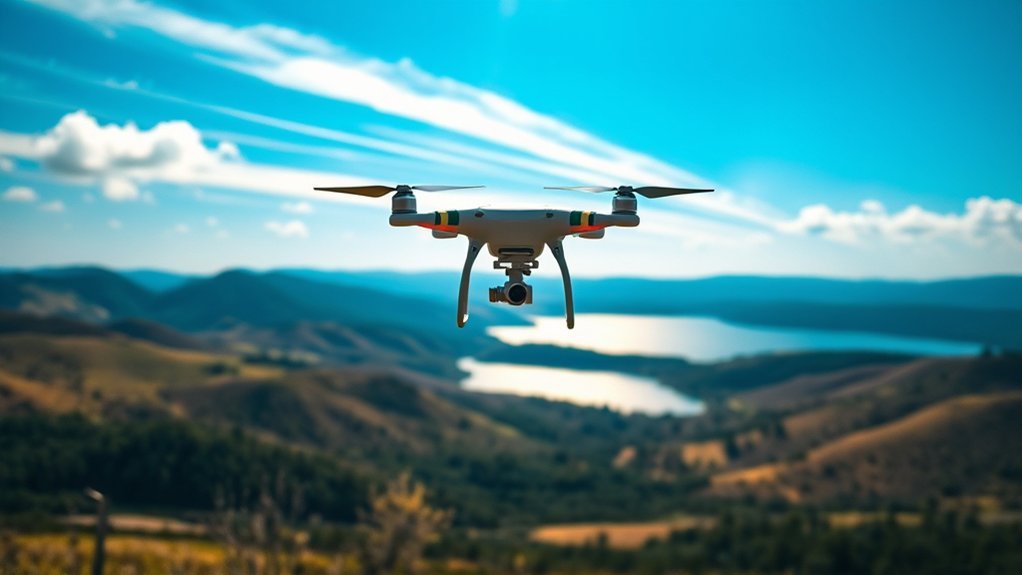
ND filters, or neutral-density filters, reduce the amount of light entering your drone camera. They work much like sunglasses for the lens. They are particularly useful when filming in bright conditions while trying to maintain a slower video shutter speed.
ND filters can help you:
- Keep ISO low in bright conditions.
- Use your preferred video shutter speed without overexposing the scene.
- Create more natural motion blur in video.
- Maintain greater control over exposure in strong sunlight.
- Use longer exposures for creative photography when conditions and aircraft stability allow.
Choose filters designed for your exact drone and camera system so the filter fits correctly and does not interfere with the gimbal. ND8, ND16, ND32, and ND64 represent progressively stronger reductions in light, but there is no single filter that is automatically correct for a particular time of day.
Instead, decide your desired ISO, aperture, and shutter speed first. Then choose an ND strength that brings the exposure into the correct range. Check the histogram or overexposure warnings before recording because clouds, water, snow, sand, sun angle, and reflective buildings can quickly change the amount of light in the scene.
ND filter tip: If adding a filter makes you raise ISO unnecessarily just to recover brightness, the filter may be too strong for the current conditions.
[Amazon Products Picked for You]

Adapt to strong lighting conditions with ND16/64/256 filters and always be ready for the perfect shot.

Complete Light Control & Lens Protection: Includes ND16, ND32, ND64, ND256, ND512 & ND1000 to handle all lighting conditions, from cloudy to bright sunlight.
White Balance and Color Settings
White balance controls how warm or cool the colors in your footage appear. Auto white balance is convenient when you are learning, but it can sometimes change during a continuous video clip as the drone turns toward different lighting.
For planned video shots, consider using a fixed white-balance preset or Kelvin value when your drone provides that control. Keeping white balance fixed can make the color remain more consistent throughout the clip and can make editing easier later.
If your drone offers flat or log-style color profiles, use them only when you plan to color-correct the footage afterward. Beginners who want ready-to-share footage may get better results from a standard color profile until they are comfortable with post-production.
Practical Tips for Capturing Stunning Aerial Footage
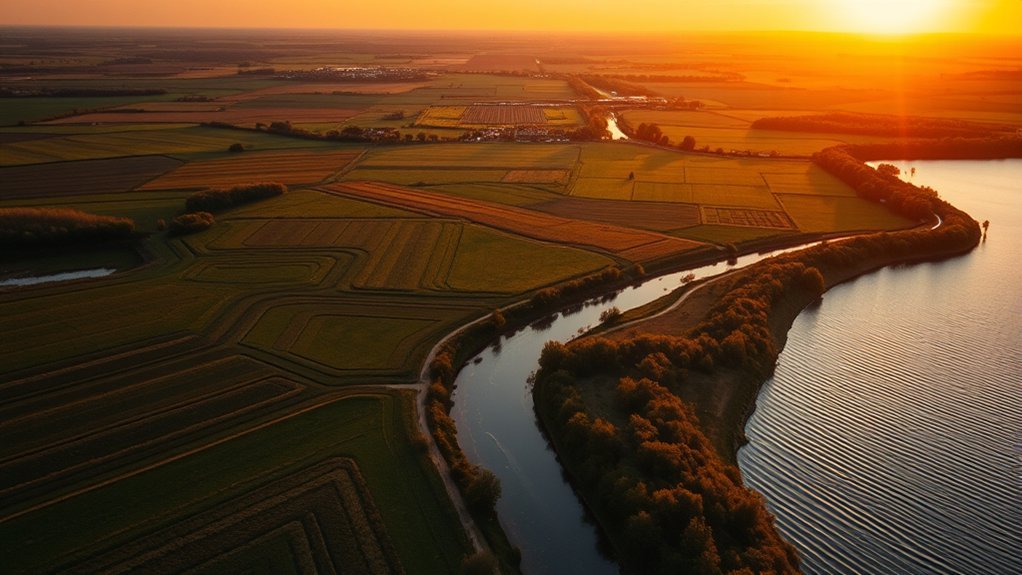
Understanding camera settings is only part of getting clean aerial footage. Stable flying, suitable light, correct focus, controlled movements, and a quick pre-flight camera check can make just as much difference.
Best Settings for Drone Photos
- Start with ISO 100 or your camera’s base ISO in good daylight.
- Choose a shutter speed that is fast enough for the wind, aircraft movement, and subject movement.
- Use around 1/500 second or faster as a starting point for fast-moving subjects when needed.
- Tap to focus or confirm autofocus before taking important shots.
- Use RAW/DNG or JPEG + RAW if your drone supports it and you plan to edit later.
- Check the histogram, zebras, or overexposure warnings if your camera app provides them.
- Review important shots at high magnification rather than relying only on the small live preview.
Best Settings for Drone Video
- Use 4K when your drone, memory card, storage, and editing device can comfortably handle it.
- Choose 24fps, 25fps, or 30fps for normal cinematic or everyday footage.
- Use 50fps or 60fps when you want smoother motion or footage intended for slow-motion editing.
- Use the 180-degree shutter guideline as a starting point when natural motion blur is the goal.
- Keep ISO as low as practical without underexposing important parts of the scene.
- Use an appropriate ND filter when bright light prevents you from maintaining your chosen shutter speed.
- Use a fixed white balance for planned clips when you want more consistent color.
- Consider manual exposure when changing brightness during the shot would be distracting.
Best Settings for Low-Light Drone Shooting
- Remove unnecessary ND filters so the camera can receive more light.
- Start with the lowest ISO that still allows a usable exposure.
- For photos, use slower shutter speeds only when the drone can hover steadily and subject movement is limited.
- For video, avoid slowing the shutter so much that movement becomes excessively smeared.
- Watch highlight clipping around streetlights, signs, buildings, and sunsets.
- Take several photos when possible because small aircraft movements can make one frame sharper than another.
Before You Fly Camera Checklist
- Clean the lens and any installed filter before takeoff.
- Check that the gimbal is level and moving freely.
- Confirm resolution, frame rate, ISO, shutter speed, aperture if adjustable, and white balance.
- Confirm your memory card has enough free space and supports the recording mode you selected.
- Check focus before beginning the main shot.
- Watch wind conditions because aircraft movement and vibration can reduce sharpness.
- Set and verify exposure before flying into your main composition.
- Check the histogram or exposure warning rather than judging brightness only from the controller screen.
- Follow the drone rules that apply where you are flying and avoid unsafe operations around people, traffic, airports, restricted areas, or other hazards.
Pro tip: Change one setting at a time while you are learning. When you change ISO, shutter speed, aperture, frame rate, and an ND filter simultaneously, it becomes much harder to understand which adjustment improved or hurt the final image.
Review your full-resolution photos and recorded video after each flight. Drone camera settings become much easier to understand once you can see how ISO, shutter speed, aperture, white balance, and ND filtration affect the same type of scene.
Related Guides
Frequently Asked Questions
What Setting Makes Drone Photos Sharper?
Use a shutter speed fast enough to prevent movement blur, keep ISO reasonably low, confirm focus, and keep the lens clean. Sharpness also depends on wind, drone stability, gimbal performance, optical quality, and subject movement. For fast action, starting around 1/500 second or faster can help, but normal aerial landscapes do not automatically require that shutter speed.
What Is the Best Video Setting for a Drone?
For a simple starting setup, try 4K at 30fps with low ISO and a shutter speed around 1/60 second. Use a suitable ND filter if bright light makes that exposure impossible. A fixed white balance and manual exposure can also help maintain consistency throughout a planned clip.
Is the 180-Degree Shutter Rule Mandatory?
No. It is a cinematography guideline that produces a familiar amount of motion blur. You can use a faster shutter when you want sharper motion, when the drone is moving aggressively, when conditions are windy, or when your creative goal calls for a crisper appearance.
How Do You Make Drone Video Look More Cinematic?
Use controlled stick movements, smooth flight paths, thoughtful composition, low ISO, consistent exposure and white balance, and an appropriate shutter speed for your frame rate. An ND filter can help maintain your preferred shutter speed in bright conditions. Softer light around sunrise or sunset can also create more flattering contrast than harsh midday light.
Why Are My Drone Videos Blurry?
Possible causes include a shutter speed that is too slow for the movement, missed focus, a dirty lens or filter, wind vibration, excessive digital zoom, heavy noise reduction, or judging quality only from a compressed live preview. Check the actual recorded file before assuming the camera failed to capture a sharp image.
Should I Use Auto or Manual Camera Settings on a Drone?
Auto exposure is useful while learning and when lighting changes rapidly. Manual exposure is helpful when you want ISO and shutter speed to remain consistent throughout a planned shot. A good progression is to learn in auto, watch which settings the camera chooses, and then move to manual control when you understand the trade-offs.
Do I Need ND Filters for Drone Photography?
Not always. ND filters are especially useful for video when bright conditions prevent you from using your preferred shutter speed. They can also be useful for creative long-exposure photography. For ordinary still photos where you want to freeze movement, an ND filter may provide little benefit and can force you to use a slower shutter or higher ISO.
What ND Filter Should I Use?
Choose the filter based on your desired exposure rather than relying only on labels such as cloudy, sunny, or midday. Set your target ISO, shutter speed, and aperture first, then select an ND strength that brings the exposure into range. Recheck exposure whenever the lighting changes.
Should I Shoot RAW Photos on a Drone?
If your drone supports RAW or DNG and you plan to edit your images, RAW files generally give you more flexibility for adjusting exposure, highlights, shadows, and color. JPEG files are smaller and more convenient when you want images that are ready to share with minimal editing.
Conclusion
Mastering drone camera settings is less about memorizing one perfect combination and more about understanding how exposure and motion controls work together. Start with a low ISO, choose shutter speed for the type of photo or video you want, adjust aperture when your drone supports it, and use an appropriate ND filter when excess light limits your choices.
For video, also pay attention to frame rate, white balance, exposure consistency, and smooth aircraft movement. For photos, focus on adequate shutter speed, correct focus, stable flight, and protecting highlight detail.
Modern drones can capture impressive high-resolution images and video, but resolution alone does not guarantee strong results. Clean settings, good light, stable flying, thoughtful composition, and careful exposure make the larger difference. Make small adjustments, review your real recorded files after each flight, and refine the settings that work best for your specific drone and shooting style.
