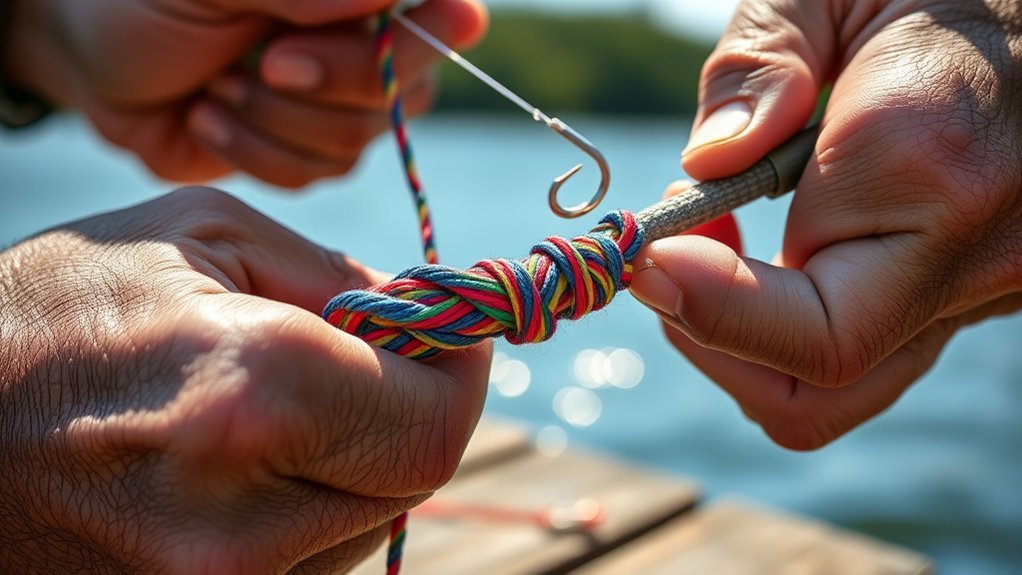
When it comes to fishing with braided lines, the strength of your knots can make or break your success on the water. Braided line is thin, slick, and has very little stretch, so a rushed knot can slip even when your line is strong. In this guide, you’ll learn how to tie reliable braid-friendly knots, including the Palomar, Double Uni, Albright, and Trilene knots. You’ll also learn when to use each knot, how to tighten it correctly, and how to test it before your next cast.
Quick Answer
The best knot for tying braided line directly to a hook, lure, or swivel is usually the Palomar knot because it is strong, simple, and easy to check. For connecting braid to a mono or fluorocarbon leader, the Double Uni and Albright knots are practical choices for most anglers.
Key Takeaways
- Use the Palomar knot for a strong braid-to-lure connection.
- Use the Double Uni Knot when joining braided line to a mono or fluorocarbon leader.
- Wet every knot before tightening so friction does not weaken the line.
- Trim tag ends neatly, but leave a tiny bit of extra tag when using slick braid.
- Test each knot with steady pressure before fishing, especially when targeting larger fish.
At a Glance
| Time Required | 5 to 15 minutes of practice per knot |
| Difficulty | Beginner to intermediate |
| Tools Needed | Braided line, hook or lure, leader line, scissors or line cutters, and water or saliva for wetting the knot |
| Cost | No extra cost if you already have line and basic cutters |
Importance of Strong Knots for Braided Lines
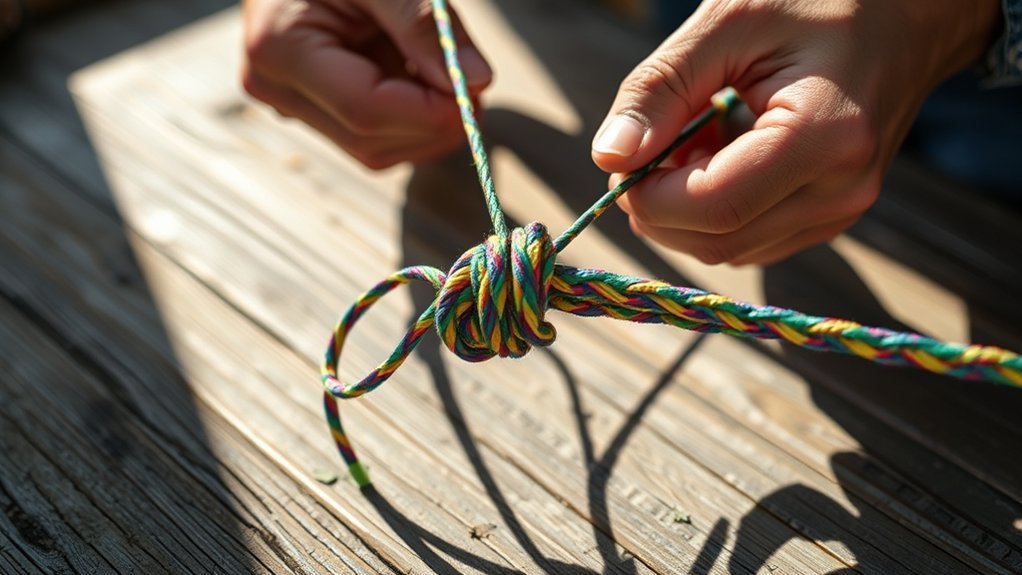
When it comes to fishing with braided lines, the importance of knot strength cannot be overstated. Braided lines have low stretch and a slick surface, so they can be prone to knot slippage if you use the wrong knot or tighten it too quickly. A strong, well-seated knot helps protect your tackle, your lure, and the fish you worked hard to hook.
The Palomar knot, with a strength rating of 96-97%, is one of the most reliable options for tying braided lines directly to lures, hooks, snaps, or swivels. For connecting braided line to leader material, the Double Uni Knot is often favored because it provides a smooth transition that glides through guides while maintaining dependable strength. Always prioritize testing knots before fishing; poorly tied knots can fail under tension, especially with the unforgiving nature of braided lines.
To further enhance the integrity of your connection, some anglers use a small drop of super glue on certain braid knots. This can improve security, but you should use it sparingly and let it dry before casting. A neat knot tied with correct tension is still more important than glue.
Warning: Do not pull braid tight with your bare fingers under heavy pressure. Braided line can cut skin. Use a glove, wrap the line around a safe pulling tool, or apply steady pressure with care.
Choosing the Right Knot for the Job
Not every fishing knot serves the same purpose. Some knots work best for tying braid directly to a lure, while others work better for joining braid to a leader. Choosing the right knot helps you avoid slipping, bulky connections, and weak spots near your tackle.
| Knot | Best Use | Why It Helps |
|---|---|---|
| Palomar Knot | Braid to hook, lure, swivel, or snap | Simple, strong, and easy to inspect |
| Double Uni Knot | Braid to mono or fluorocarbon leader | Works with different line diameters |
| Albright Knot | Heavier braid to leader material | Compact and useful for stronger setups |
| Trilene Knot | Line to lure or hook eye | Adds security with two passes through the eye |
The Palomar Knot: Step-by-Step Instructions
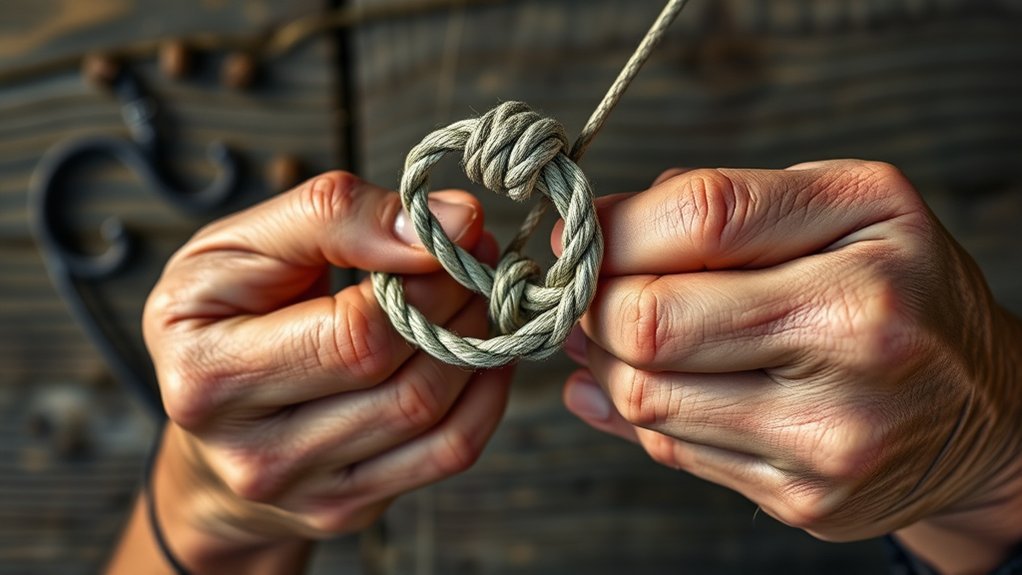
A strong knot is vital for maximizing the effectiveness of your braided line, and the Palomar knot stands out as one of the most reliable options available. With a strength rating of 96-97%, it’s perfect for securing your tackle. Here’s how to tie this knot:
- Double the Line: Create a loop by doubling your line, leaving enough slack for your hook or lure.
- Pass the Loop Through the Eye: Insert the loop through the eye of your hook, lure, snap, or swivel.
- Tie an Overhand Knot: Tie a loose overhand knot with the doubled line, keeping the hook or lure hanging below.
- Pass the Lure Through the Loop: Take the hook or lure and pass it completely through the doubled loop.
- Wet the Knot: Moisten the braid before tightening to reduce friction and help the knot seat cleanly.
- Tighten the Knot: Pull the standing line and tag end evenly until the knot is snug against the eye.
- Trim the Tag End: Trim the extra tag end, but leave a small amount so slick braid has room to settle.
For added security, consider applying a small drop of superglue to the completed Palomar knot. This helps it hold strong under pressure, giving you confidence during your fishing trips. Avoid using too much glue because a stiff lump can catch weeds or bump through guides.
Pro Tip: After tying the Palomar knot, check that the two strands are not crossed over each other near the hook eye. A clean, seated knot usually holds better than a twisted one.
[Amazon Products Picked for You]

Designed for Braid-to-Leader Knots: Specially formulated to reinforce line-to-line connections when using braided line and fluorocarbon or monofilament leaders. Boosts knot strength and reduces breakage.

Hundreds of uses: fishing pole assembly, equipment repair, fly/lure building, and knot support.

Designed for Braid-to-Leader Knots: Specially formulated to reinforce line-to-line connections when using braided line and fluorocarbon or monofilament leaders. Boosts knot strength and reduces breakage.
Mastering the Double Uni Knot
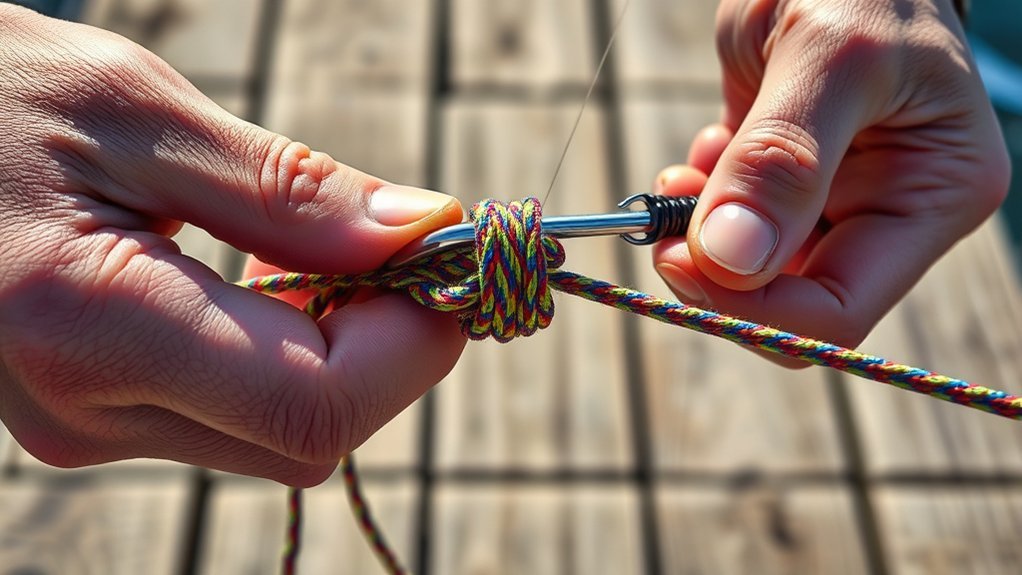
Mastering the Double Uni Knot can greatly enhance your fishing experience, especially when connecting braided lines to leader lines. This versatile knot is ideal for achieving a strong hold, particularly with super slick or thin lines. It also works well when your braid and leader have different diameters.
To tie the Double Uni Knot, overlap the braided line and leader line by several inches. Form a loop with the braid, then wrap the braid tag end around both lines 8-10 times. Pull that braid tag end to snug the first Uni knot. Next, form a loop with the leader line and wrap the leader tag end around both lines 5-7 times. Pull that tag end to snug the second Uni knot.
Make sure to wet the lines before tightening to enhance strength and prevent damage. Once both knots are snug, pull the standing braid and standing leader in opposite directions until the two knots slide together. Trim both tag ends neatly.
This knot glides smoothly through guides, minimizes the visibility of the braided line, and suits many fishing applications. Practicing the Double Uni Knot will improve your efficiency and consistency, ensuring reliable connections during your fishing trips. Incorporate this essential knot into your repertoire of fishing knots, and you’ll notice significant improvements in your overall fishing success.
[Amazon Products Picked for You]

√ Quick Safe Easy - Suitable for anglers of all ages and experience - Never lose a fish from a faulty knot! Ideal for cold weather conditions, numb or arthritic fingers to the hands. Great to any tackle box!

Precision machined contact firmly grips any fishing line, without causing damage

What You Will Get: the package includes 6 black fishing knotting tools, which are ample to suffice your various needs and replacements; Enclosed in nice packaging, these tools are ready to tag along for most of your fishing adventures, proving to be an excellent companion for both beginner and skilled anglers
Exploring the Albright Knot
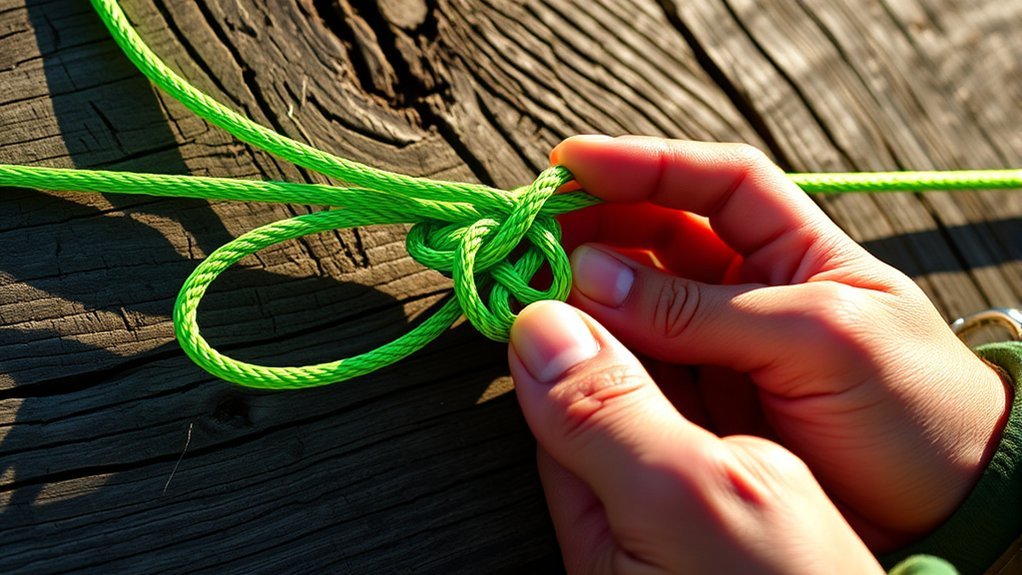
When tying the Albright Knot, you’ll create a secure connection between heavier braided lines and monofilament or fluorocarbon leaders. This knot excels in applications involving 30-pound test lines and above, offering a compact design that smoothly navigates rod guides. Understanding its benefits and proper tying technique is essential for maximizing its strength and reliability in various fishing scenarios.
[Amazon Products Picked for You]

Aerospace-Grade Aluminum Construction:Crafted from aerospace-grade aluminum using CNC precision machining. Delivers superior strength, perfect balance, and long-lasting resistance to corrosion and wear. Ideal for both freshwater and saltwater use
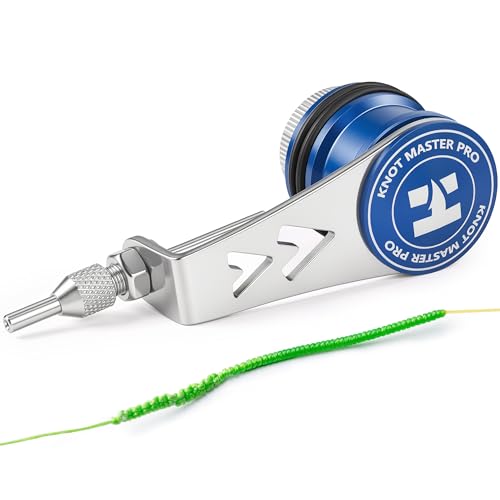
「Ultimate Knot Strength」:Using this PR knot bobbin tool to tie a PR knot can deliver superior strength and stability. Unlike a hand-tied fishing knot. It won't slip or break under GT, tuna, or offshore pressure, so you won't lose fish when it matters most. Best of all, you get nearly identical, reliable results every single time—something hand-tying simply cannot guarantee.

【Fishing Line Knot Tying Tool, Knot Assist for FG Knot Braided Line to Leader Connection】- Assist tool that can be woven into knots. The switch-type corrugated line hook and offset arm allow you to easily, securely, and speedily bind the PE line and leader with FG knots.
Tying the Albright Knot
To effectively connect heavier braided fishing lines with leader lines, the Albright Knot proves to be a compact and efficient choice. Here’s how to tie it:
- Form a loop in the heavier leader line and hold it between your fingers.
- Pass the braided line through the loop and pull through several inches of tag end.
- Wrap the braided line around the doubled leader for 5-10 turns, keeping the wraps neat and close together.
- Thread the tag end of the braid back through the same loop opening it first entered.
- Moisten the knot before pulling both lines to tighten securely.
- Trim the tag ends after the wraps seat tightly and evenly.
This knot is particularly effective for tying fluorocarbon or monofilament leaders to 30-pound test braid or higher. Its smooth profile allows it to glide through rod guides, enhancing your fishing experience.
Ideal Applications and Benefits
Although it takes practice to perfect, the Albright Knot is invaluable for anglers looking to connect braided lines to leader lines effectively. This knot excels in high-tension scenarios, especially with 30-pound test braid or above, ensuring strong connections. Its compact design minimizes bulk, making it ideal for stealthy fishing situations.
| Feature | Details |
|---|---|
| Recommended Wraps | 6-8 for maximum strength |
| Line Compatibility | Accommodates various diameters |
| Maintenance Tip | Wet before tightening; add glue for extra strength |
The Versatility of the Trilene Knot
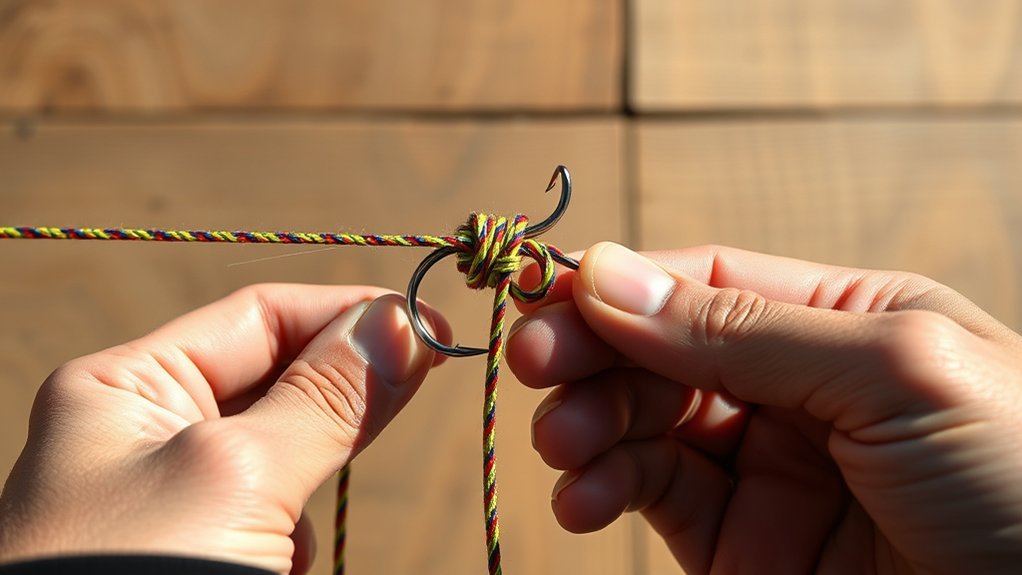
While many knots serve specific purposes, the Trilene Knot stands out for its remarkable versatility, making it a favorite among anglers. This knot excels in various scenarios, especially when dealing with different line types. Here are four key aspects that highlight the Trilene Knot’s effectiveness:
- Multi-line Compatibility: It’s useful for tying line to hooks, lures, and terminal tackle, and some anglers also use it with monofilament or fluorocarbon leaders.
- Enhanced Strength: The knot creates two loops on the lure or bait eye, greatly boosting its strength and reliability.
- User-Friendly: Easy to tie, it suits anglers of all skill levels, ensuring strong line integrity during every use.
- Broad Application: Recommended for a range of line weights, it’s dependable when targeting species that need robust tackle setups.
With its combination of strength and versatility, the Trilene Knot remains a top choice for anglers seeking reliable performance on the water.
Common Knot-Tying Mistakes to Avoid
Even a strong knot can fail when it is tied carelessly. Braided line does not forgive rushed wraps, sharp tag-end cuts, or dry tightening. Watch for these common mistakes before you cast:
- Not wetting the knot: Dry tightening creates heat and friction that can weaken the line.
- Crossed or messy wraps: Overlapping wraps can cut into each other under pressure.
- Cutting the tag end too close: Slick braid can settle after tightening, so leave a tiny tag end.
- Using too few wraps: Thin braid often needs extra wraps to grip properly.
- Skipping the pull test: A knot that looks fine may slip when loaded.
Note: If your knot slips during testing, retie it instead of trying to save it. A clean fresh knot is faster than losing a lure or fish.
Tips for Successful Knot Tying
When tying knots, maintaining proper line tension is essential for creating a strong and secure connection. You should practice regularly and embrace patience to master the details of each knot, ensuring you can execute them efficiently under pressure. With attention to detail, you’ll build confidence in your knot-tying skills, ultimately enhancing your fishing success.
Proper Line Tension
Proper line tension is essential for tying effective fishing knots, as it directly impacts the knot’s strength and reliability. To ensure you’re achieving proper line tension, follow these tips:
- Use Teeth Tension or Pinky Tension: These methods help create and maintain tension while tying the FG knot.
- Maintain Consistent Tension: Apply steady pressure during the wrapping process for knots like the Palomar and Double Uni Knot.
- Be Mindful of Slippage: Insufficient tension can lead to knot failure, especially with smoother braided lines.
- Always Test Your Knots: Before heading out, test your knots under tension to verify they can withstand real fishing forces.
Practice and Patience
Mastering the art of knot tying requires dedication and practice, as each knot demands a unique technique and approach. Begin by practicing regularly in a controlled environment to build muscle memory and confidence. Use a practice line that mimics the diameter and material of your actual fishing line, especially when tying knots for a fluorocarbon leader.
Start with easy-to-tie knots like the Palomar or Double Uni Knot, which are among the best knots for reliable connections. Gradually progress to more complex knots, like the FG knot. Watch instructional videos to grasp the process and avoid common mistakes. Remember, patience is key; don’t get discouraged by initial challenges, as consistent practice will lead to mastery.
How to Test a Braided Line Knot Before Fishing
Testing your knot only takes a few seconds, and it can prevent a frustrating breakoff. After you finish tying, inspect the wraps closely. The knot should look neat, tight, and evenly seated. If you see crossed wraps, gaps, or a burned-looking section of line, cut it off and retie it.
- Wet the finished knot again.
- Hold the standing line and the lure, hook, or leader connection securely.
- Pull with steady pressure instead of jerking suddenly.
- Watch for slipping, clicking, or uneven tightening.
- Retie the knot if the tag end moves or the knot looks distorted.
Once the knot passes a firm pull test, trim the tag end and check it again during the day. This matters more after catching a fish, dragging through cover, or pulling free from weeds.
Frequently Asked Questions
What Is the Best Fishing Knot for Braided Line?
The best fishing knot for braided line is often the Palomar Knot when you are tying braid directly to a hook, lure, snap, or swivel. Its high strength rating, ease of tying, and reliability make it ideal for securing lures and baits effectively. Practice it to guarantee peak performance.
Why Do Palomar Knots Fail?
Palomar knots fail due to improper tying techniques, inadequate wetting, using incompatible line materials, or insufficient tension. Slippage often occurs when you rush the process, twist the doubled line, cut the tag end too close, or neglect to guarantee proper wraps and tightness.
What Are the Steps for Fishing Knots?
The steps depend on the knot, but the basic process is similar. Start by forming the correct loop or wraps, keep the line neat, wet the knot, tighten it slowly, trim the tag end, and test the knot with steady pressure before fishing.
How to Tie a Line to a Braid?
To tie a line to a braid, use the Double Uni Knot for many braid-to-leader connections, especially when the lines have different diameters. You can also use the Albright Knot for heavier braid and leader setups. Always wet the line before tightening and consider using superglue sparingly for added security.
Should You Use Super Glue on Braided Line Knots?
You can use a tiny drop of super glue on some braid knots for extra security, but it should not replace proper tying. Too much glue can create a stiff lump or make the knot messy. Tie the knot correctly first, test it, then use glue only if it suits your setup.
How Many Wraps Should You Use With Braided Line?
Thin, slick braided line often needs more wraps than thicker mono. For the Double Uni Knot, 8-10 wraps on the braid side is a good starting point. For the Albright Knot, 6-8 neat wraps can provide strong grip, while heavier lines may need slight adjustment through practice.
Conclusion
Now that you’ve learned these essential knots, imagine the thrill of feeling a strong tug on your line. You’ll know your connections are secure and ready to withstand the fight of a big catch. With each knot mastered, you’re not just tying lines; you’re setting the stage for success on the water.
Start with the Palomar knot for direct braid connections, then practice the Double Uni Knot for leaders. Once you feel confident, add the Albright and Trilene knots to your skill set. So, as you prepare for your next fishing adventure, picture that moment when everything comes together, and your hard work pays off with a trophy fish on the line.