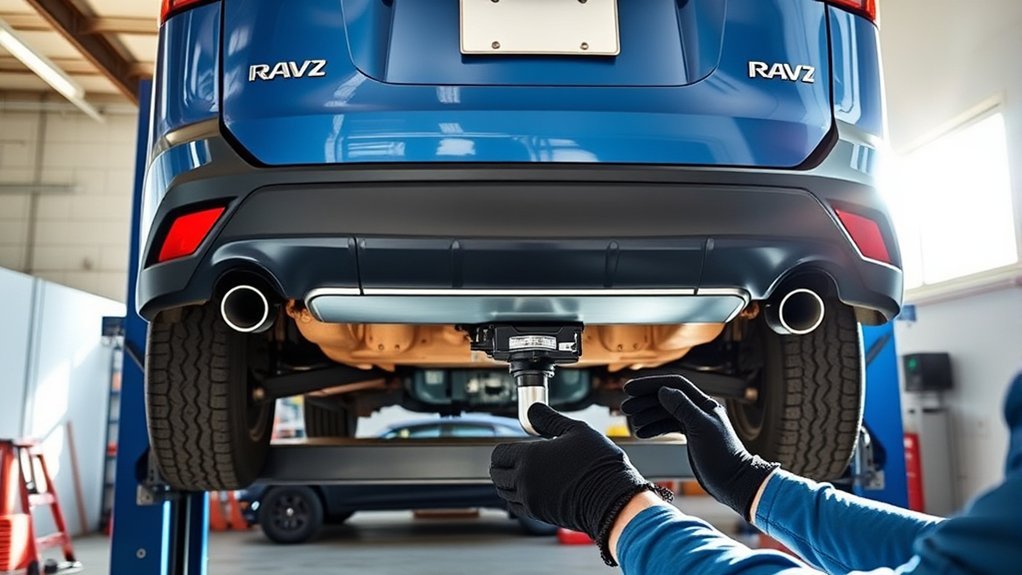
Yes, you can install a trailer hitch on a Toyota RAV4, but the procedure is model-year-specific. The redesigned 2026 RAV4 uses a different vehicle platform, so hitch fitment must be checked separately from earlier models; do not reuse another generation’s trimming steps, hardware layout, or torque values. Confirm your exact RAV4’s towing limits, follow the installation sheet for the exact hitch part number, and test trailer wiring before you tow.
Last updated: September 19, 2026 — reviewed for the redesigned 2026 RAV4, current Toyota towing-accessory guidance, current FTC warranty guidance, and the latest SAE J2807 revision.
Quick Answer
A Toyota RAV4 can accept a trailer hitch, but use a receiver and installation procedure listed for your exact model year and configuration. The 2026 redesign is not the same installation as a 2019–2025 RAV4. For towing, use the correct wiring solution, follow the hitch maker’s torque specs, and never exceed the lowest rating among the vehicle, hitch, ball mount, ball, and trailer.
Key Takeaways
- Check your exact RAV4 owner’s manual before buying a hitch because towing capacity and tongue weight vary by year and trim.
- Treat 2026 as a separate fitment check: Toyota redesigned the RAV4 for its sixth generation, so older hitch part numbers and install steps should not be assumed to fit.
- Aftermarket hitches are often easier for DIY installation, while OEM-style hitches may look cleaner but can require more bumper work.
- Use the torque specs from the exact hitch installation sheet. Do not rely on a generic torque number from another guide.
- If you plan to tow a trailer, install and test trailer wiring for brake lights, turn signals, and running lights.
- Inspect the hitch, bolts, wiring, pin, clip, ball mount, and safety chains before every towing trip.
At a Glance
| Time Required | Varies by hitch and model year. A simple bolt-on receiver can require much less disassembly than an integrated OEM-style installation with bumper, trim, wiring, or sensor work. |
| Difficulty | Moderate DIY. You should be comfortable working under the rear of the vehicle and using a torque wrench. |
| Tools Needed | Socket set, torque wrench, flathead screwdriver or trim tool, exhaust hanger pliers, soapy water, wire brush, safety glasses, gloves, and a helper or hitch jack. |
| Cost | Varies by hitch type, wiring harness, dealer/shop labor, and whether bumper trimming is required. |
Does Toyota RAV4 Trailer Hitch Installation Change by Model Year?
Yes. Fitment and installation steps change by model year and hitch design. Toyota identifies the 2026 RAV4 as a redesigned sixth-generation model, so a hitch or instruction sheet written for a 2019–2025 RAV4 should not be treated as interchangeable with 2026 hardware.
| RAV4 Model Year | Installation Rule |
|---|---|
| 2019–2025 | Use only instructions for the exact hitch part number. Some custom-fit aftermarket receivers bolt to existing mounting points and may require lowering the rear exhaust; OEM-style installs can involve bumper or sensor work. |
| 2026 | Treat it as a new fitment. Toyota redesigned the RAV4 for its sixth generation, so verify that the hitch and wiring explicitly list 2026 compatibility before starting. |
Before buying or installing a hitch, verify the part number, receiver size, trimming requirements, hands-free liftgate implications, wiring method, required tools, and torque values for your exact RAV4.
Experience note: [VERIFY: Add only after a real installation. Record the exact RAV4 year/trim, hitch part number, whether exhaust or bumper work was required, installed receiver clearance, and whether the hands-free kick sensor still worked.]
Why Install a Trailer Hitch on Your Toyota RAV4?
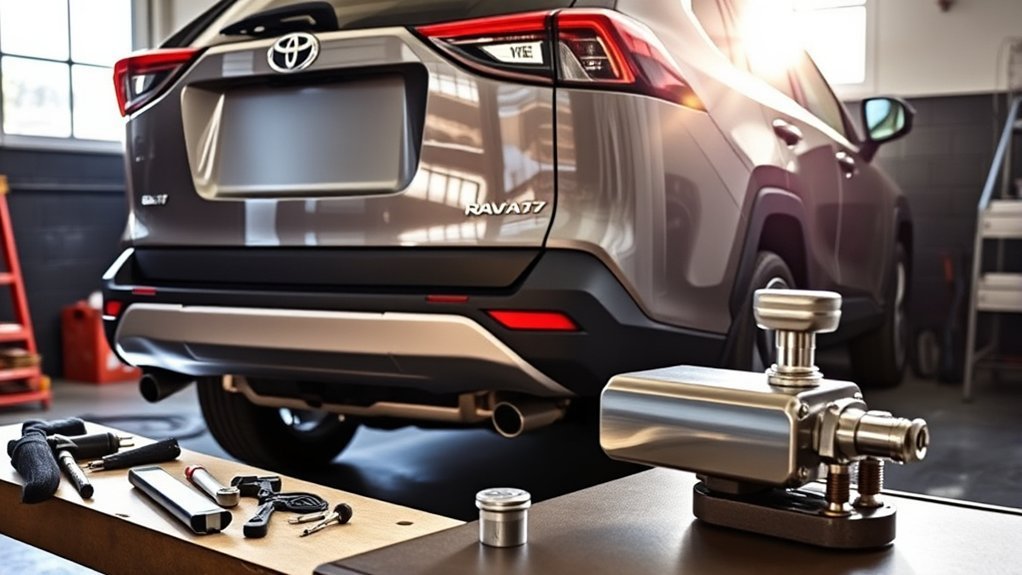
Installing a trailer hitch on your Toyota RAV4 makes the SUV more useful for light towing and hitch-mounted accessories. You can use it for a bike rack, cargo carrier, small utility trailer, or other gear that matches your vehicle’s limits.
The important word is matches. Your hitch may have one rating, your ball mount may have another, and your RAV4 has its own towing and tongue-weight limits. Always follow the lowest rating in the full setup.
Warning: Do not tow until you confirm your exact RAV4’s towing capacity, tongue-weight limit, payload limit, and trailer brake requirements in the owner’s manual. A hitch does not increase the vehicle’s factory tow rating.
A hitch used only for a bike rack or cargo tray usually does not need trailer wiring unless the accessory blocks required lights or the license plate and needs auxiliary lighting. A road-going trailer needs the lighting connection required for that trailer, and brake or connector requirements can vary by trailer and local law.
[Amazon Products Picked for You]

DEPENDABLE STRENGTH — This trailer hitch is rated for 4,500 lbs. gross trailer weight, 675 lbs. tongue weight, 4,500 lbs. weight distribution capacity and 675 lbs. weight distribution tongue weight (limited to lowest-rated towing component)

【COMPATIBLE WITH】— The TangMiGe Class 3 Trailer Hitch offers a custom, factory fit on select model years of the Toyota RAV4 2019 2020 2021 2022 2023 2024 2025, RAV4 Prime/Venza 2021 2022 2023 2024, Lexus NX Excludes F Sport 2022 2023 2024 2025 2026, Easy to install

Compatibility: Compatible with 2006-2018 Toyota RAV4. Please confirm your vehicle model before purchasing
How Do You Check RAV4 Hitch Fitment Before Buying?
Before you order a hitch, confirm the details that affect fitment. A hitch listed for one RAV4 generation may not fit another, and hybrid or plug-in hybrid models can have different underbody layouts.
- Model year: Match the hitch to your exact RAV4 year.
- Trim and drivetrain: Check whether the hitch fits gas, hybrid, plug-in hybrid, FWD, or AWD versions.
- Receiver size: A 2-inch receiver works well for many bike racks, cargo trays, and light towing accessories, but verify the hitch class and rating.
- Bumper and panel trimming: Some OEM-style hitches may require more cutting or bumper removal than exposed aftermarket hitches.
- Hands-free liftgate: Toyota warns that a tow hitch receiver or other rear-bumper accessory may require disabling or removing the kick sensor on equipped models; aftermarket behavior also varies by hitch design.
- Wiring needs: Choose a vehicle-specific wiring harness if you plan to tow a trailer.
Use the Toyota owner’s manual and warranty manual lookup to confirm towing limits for your exact vehicle before you install anything.
[Amazon Products Picked for You]

DEPENDABLE STRENGTH — This trailer hitch is rated for 4,500 lbs. gross trailer weight, 675 lbs. tongue weight, 4,500 lbs. weight distribution capacity and 675 lbs. weight distribution tongue weight (limited to lowest-rated towing component)

【Compatible Vehicle Models】This trailer hitch is compatible with factory tow hitch of Toyota RAV4, allows direct replacement and installation without vehicle modification. Fits all 2019 2020 2021 2022 2023 2024 2025 2026 2027 Toyota RAV4 and RAV4 Prime models.

Vehicle Application: Towing hitches RAV4 2019-2026; Toyota RAV4 Prime 2019-2026. Please VERIFY your model of car by referring to the application list.
Which Hitch Should You Choose: OEM or Aftermarket?
When deciding between an OEM and an aftermarket hitch for your Toyota RAV4, compare appearance, ground clearance, installation work, wiring support, and total cost.
For the broader buying decision, see Does the Toyota RAV4 Have a Trailer Hitch? Factory vs Aftermarket Options. This guide stays focused on installation, torque, wiring, and post-installation checks.
An OEM hitch or OEM-style setup can look cleaner because the receiver may sit closer to the bumper opening. The tradeoff is that installation may involve bumper removal, fascia trimming, extra brackets, or dealer labor.
An aftermarket hitch usually bolts to existing mounting points under the rear of the RAV4. Many DIY owners choose this route because it often requires less disassembly. The receiver may sit lower or be more visible, depending on the design.
Do not choose by price alone. Choose a hitch that fits your exact RAV4, includes clear installation instructions, lists its trailer-weight and tongue-weight ratings, and works with the accessories you plan to use.
Note: A higher-rated hitch does not let your RAV4 tow more than Toyota allows. The safe limit is the lowest rating among the vehicle, hitch, ball mount, hitch ball, and trailer.
[Amazon Products Picked for You]

Makes it easier to lead bolts and spacers through tough-to-reach holes

☆ Upgraded Trailer Alignment Kit With Magnet Hitch Line Up is towing facility for aligning hitch with the trailers.
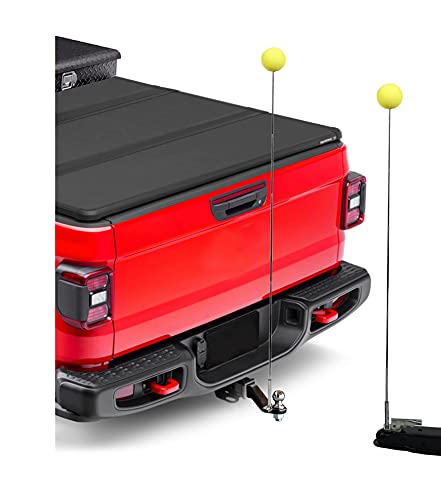
52" TALL EASILY VISIBLE: Align your hitch and ball mount the first time every time. The steel rods extend to 52" and can be seen above any oversized truck beds, day or night
What Tools Do You Need for RAV4 Trailer Hitch Installation?
Equipping yourself with the right tools is vital for a safe trailer hitch installation on your Toyota RAV4. Read the full hitch instruction sheet before you begin, then lay out every bolt, washer, spacer, and bracket.
- Socket set with the sizes listed in the exact hitch installation instructions
- Torque wrench that covers the torque range listed in your hitch instructions
- Flathead screwdriver or plastic trim tool for clips and push pins
- Exhaust hanger pliers or pry tool
- Soapy water to help slide rubber exhaust isolators off their hangers
- Wire brush to clean factory weldnuts before installing bolts
- Safety glasses, gloves, wheel chocks, and good lighting
- A helper, hitch jack, or stable support to raise the hitch into place
You may also need a utility knife or rotary tool if your hitch instructions require trimming an underbody panel or bumper trim. Make small cuts first, then test fit before removing more material.
How to Lower Your Underbody Panel for Hitch Access
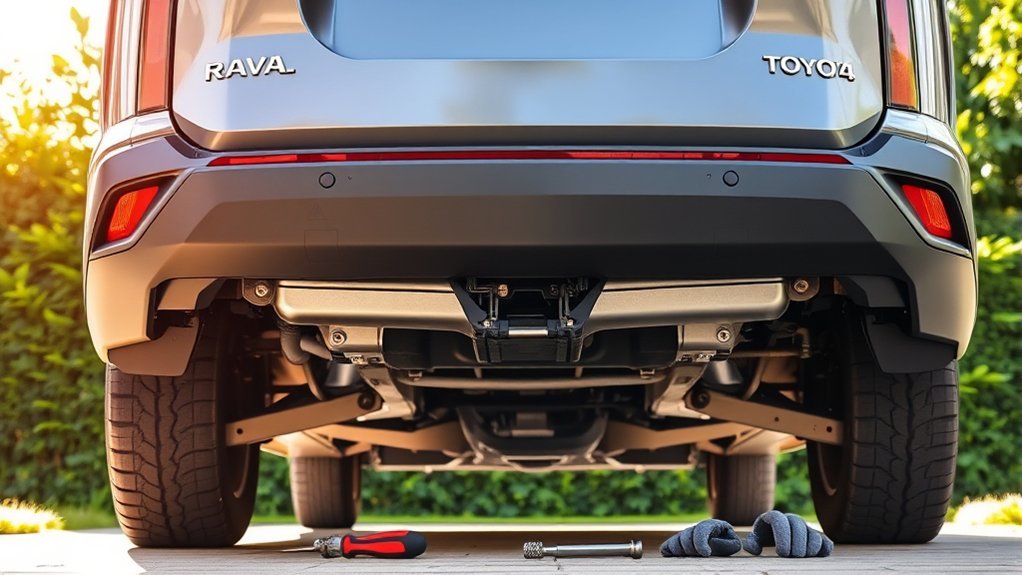
Some RAV4 hitch installations require you to loosen or lower the rear underbody panel for hitch access. The exact panel clips and fasteners depend on your model year, so follow the hitch sheet rather than forcing any panel.
Required Tools and Supplies
Use the socket sizes and trim tools listed in the exact hitch instructions, plus a safe way to support the exhaust if it must be lowered. If the rear underbody panel covers the hitch mounting area, remove only the clips and fasteners listed for your installation.
If your RAV4 does not have a tow hook in the area where the hitch mounts, you may need to remove plastic plugs from factory threaded weldnuts. Clean those threads with a wire brush before you start any bolt by hand.
Step-by-Step Process
Start by parking on a flat surface, setting the parking brake, and chocking the front wheels. If you raise the vehicle, support it with proper ramps or jack stands. Never rely on a tire jack while working under the vehicle.
| Step | Action |
|---|---|
| 1 | Loosen the underbody-panel fasteners listed in your hitch instructions. |
| 2 | Remove rear push pins carefully so you can reuse them. |
| 3 | Remove plastic plugs from unused weldnuts if your RAV4 has them. |
| 4 | Support the exhaust before sliding rubber isolators off the hangers. |
| 5 | Trim the panel only if the hitch instructions require it, then test fit before final reassembly. |
How Do You Prepare a Toyota RAV4 for Hitch Installation?
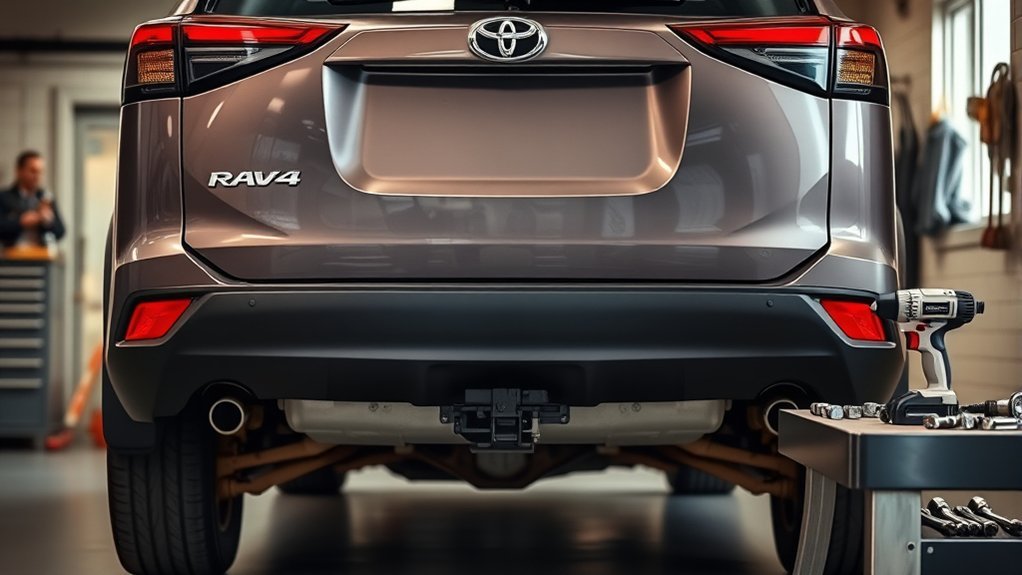
Before you lift the hitch into place, inspect the mounting points on both frame rails. Factory weldnuts can collect dirt, road salt, and undercoating. Clean each threaded hole with a wire brush until the bolts can start smoothly by hand.
If your exact hitch instructions require the exhaust to be lowered, support it with a strap before removing rubber isolators. Use the recommended method to release the hangers, then lower the exhaust only as much as needed for access.
Hold the hitch up under the rear frame rails and confirm that the mounting holes line up before installing hardware. If they do not line up, stop and confirm that you have the correct hitch for your RAV4.
Pro Tip: Start every hitch bolt by hand for several turns before using a ratchet. If a bolt binds immediately, back it out and clean the weldnut again instead of forcing it.
How Do You Install and Torque a RAV4 Trailer Hitch?
Raise the hitch into place with a helper or hitch jack. Align the hitch brackets with the factory weldnuts, then install the supplied bolts, conical washers, flat washers, spacers, or plates exactly as the hitch instructions show.
Proper Torque Specifications
Use the torque specification from your exact hitch installation sheet. Do not use a generic torque number from a forum, video, or different hitch model, because bolt size, bolt grade, spacer design, and mounting style can vary.
Tighten the bolts in stages, then torque them in the order recommended by the hitch maker. After the hitch is torqued, check that it sits square and does not contact the exhaust, bumper cover, or underbody panel.
Secure Hitch Attachment Process
Once the hitch is aligned, snug all bolts evenly before final torque. If one side is fully tightened too early, the opposite side may be harder to align. Keep the hitch supported until all bolts are started and partially tightened.
After final torque, reinstall any brackets, fasteners, or trim clips you removed. Confirm that the receiver opening is clear and that the safety-chain loops are easy to reach.
How to Reattach the Exhaust and Underbody Panel After Installation
After installing the trailer hitch, reattach the exhaust and underbody panel before you test the setup. Push the rubber exhaust isolators fully back onto their hangers, then remove the support strap.
If you trimmed the underbody panel, make sure the cutout clears the hitch plate and receiver without rubbing. Reinstall clips and fasteners in their original locations so the panel does not flap at highway speed.
| Task | Tool Needed | What to Check |
|---|---|---|
| Reattach exhaust | Hands or exhaust pliers | Rubber hangers are fully seated and exhaust does not touch the hitch. |
| Trim underbody panel | Utility knife or rotary tool | Cutout clears the hitch without leaving loose edges. |
| Reinstall panel | Socket listed in the instructions or trim tool | All clips and fasteners are secure. |
| Inspect clearance | Flashlight | No contact with exhaust, bumper, wiring, or suspension parts. |
Do You Need Trailer Wiring After Installing a RAV4 Hitch?
Proper wiring installation is essential for safe trailer towing because other drivers need to see your brake lights, turn signals, and running lights. If you plan to tow, use a vehicle-specific wiring harness or an OEM wiring solution designed for your RAV4.
Route wiring away from the exhaust, suspension, spare tire, sharp edges, and moving parts. Secure the harness with clips or zip ties, and protect any pass-through points with the grommets or seals specified in the wiring instructions.
Before towing, connect the trailer and test every light function with a helper:
- Running lights
- Left turn signal
- Right turn signal
- Brake lights
- Hazard lights
- Reverse lights, if your trailer uses them
Also check the coupler latch, hitch pin, retaining clip, safety chains, breakaway cable if equipped, tire pressure, trailer load balance, and license plate visibility.
How Do Towing Capacity, Tongue Weight, and Payload Work?
A hitch is only one part of the towing system. Your RAV4’s tow rating tells you the maximum loaded trailer weight Toyota allows for that exact vehicle. Tongue weight is the downward force the trailer places on the hitch.
Payload also matters. Passengers, cargo, roof cargo, the hitch, the ball mount, and trailer tongue weight all count against the vehicle’s available payload. Check the tire and loading label on the driver’s door jamb before you load the vehicle.
Use these rules before towing:
- Use the lowest rating among the RAV4, hitch, ball mount, hitch ball, and trailer coupler.
- Keep trailer weight within the owner’s manual limit for your exact model.
- Keep tongue weight within the vehicle and hitch limits.
- Do not exceed GVWR, GAWR, payload, or GCWR limits.
- Use trailer brakes when required by your trailer weight or local law.
A hitch with a high rating does not raise your RAV4’s factory towing limit. The lowest-rated part of the towing setup controls the safe limit.
Troubleshooting Common RAV4 Hitch Installation Problems
If the hitch does not fit cleanly, do not force it into place. Stop and check the cause before tightening bolts or trimming panels.
| Problem | Likely Cause | Fix |
|---|---|---|
| Bolts will not start | Dirty weldnuts or wrong hitch hardware | Clean threads, verify hardware, and start bolts by hand. |
| Hitch holes do not line up | Hitch slightly flexed in shipping or wrong fitment | Confirm part number. If instructions allow, gently realign the hitch; otherwise contact the seller. |
| Exhaust rattle after install | Exhaust hanger not seated or hitch too close | Reseat hangers and confirm clearance around the muffler and tailpipe. |
| Trailer lights do not work | Loose connector, poor ground, fuse issue, or wrong harness | Check all plugs, ground points, fuses, and the wiring diagram. |
| Panel does not fit back | Cutout too small or panel trapped above hitch bracket | Remove the panel, trim only the needed area, and reinstall with all clips. |
What Maintenance Does a RAV4 Hitch Need After Installation?
After the first few drives, inspect the hitch again. Look for loose hardware, rubbed wiring, exhaust contact, rust, cracked paint, or missing clips. Recheck torque if your hitch instructions recommend it.
Before each towing trip, inspect the receiver, hitch pin, clip, ball mount, hitch ball nut, safety-chain loops, wiring plug, and trailer coupler. Remove the ball mount when you are not using it if it sticks out far enough to become a shin hazard or parking-lot impact point.
Related Guides
Frequently Asked Questions
Will installing a hitch void my Toyota RAV4 warranty?
Using an aftermarket hitch does not, by itself, void a U.S. vehicle warranty. The FTC says a manufacturer or dealer can deny coverage for damage if an aftermarket part or its installation caused that damage, and the manufacturer or dealer must establish that connection. Keep your receipt, installation instructions, and torque record.
Can I use my RAV4 for towing heavy loads?
A RAV4 is not a heavy-duty tow vehicle. It can tow only within the rating listed for your exact model year, trim, drivetrain, and market. If the trailer approaches the limit, reduce cargo weight, confirm trailer brakes, and consider a larger tow vehicle.
How much weight can my RAV4 tow with a hitch?
The answer depends on the exact RAV4. Some model years and trims have lower ratings than others, and trailer brakes can affect the allowed weight. Check your owner’s manual, then compare that number with the hitch, ball mount, hitch ball, and trailer ratings. Use the lowest number.
Do I need a weight distribution system for towing?
Most RAV4 towing setups are light-duty, and many small trailers do not use a weight distribution system. Only use one if Toyota and the hitch manufacturer allow it for your exact vehicle and hitch. Never assume a weight distribution hitch raises your tow rating.
What maintenance is required after hitch installation?
Inspect the hitch regularly for rust, loose hardware, worn wiring, missing clips, and exhaust contact. Check the hitch pin, ball mount, ball nut, safety-chain loops, and wiring plug before each towing trip.
Will a RAV4 trailer hitch affect the hands-free liftgate kick sensor?
It can. Toyota warns that a tow hitch receiver or another accessory near the rear bumper may require disabling or removing the kick sensor on equipped models. Some aftermarket receivers may only change the usable foot-sweep area, so check the instructions for the exact RAV4 year and hitch.
Do I have to cut the RAV4 bumper to install a hitch?
Not always. Some Toyota Genuine hitch installations require bumper modification, while many custom-fit aftermarket receivers use existing mounting points without bumper cutting. Follow the instructions for the exact hitch part number instead of assuming every RAV4 installs the same way.
Do I need trailer wiring if I only use a bike rack?
Usually no. A bike rack or cargo carrier does not need trailer wiring unless it blocks your taillights or license plate and requires auxiliary lights. If you tow a trailer, you need working trailer lights and signals.
Can I install a RAV4 hitch without lifting the vehicle?
Some RAV4 hitch installs can be done on the ground, but extra clearance makes the work easier. If you raise the vehicle, use proper ramps or jack stands on a flat surface. Never work under a vehicle supported only by a tire jack.
Conclusion
Installing a trailer hitch on your Toyota RAV4 can make it easier to carry bikes, cargo, or a properly rated trailer. The key is to treat the job as a safety project, not just a bolt-on accessory.
Choose a hitch that fits your exact RAV4, follow the installation sheet, torque the hardware to the listed specs, install wiring if you tow, and check every rating before loading a trailer. If any step feels unclear, have a qualified installer handle the hitch or wiring so your RAV4 is ready for safe use.
Sources
- Toyota Owners Manuals and Warranty Manuals — supports checking the exact RAV4 owner’s manual for towing limits and model-specific requirements.
- Toyota USA Newsroom: Five Things to Know About the All-New 2026 RAV4 — supports treating 2026 as a redesigned sixth-generation RAV4 with new fitment considerations.
- 2026 Toyota RAV4 Brochure — supports Toyota’s warning that a tow hitch receiver or rear-bumper accessory may require disabling or removing the kick sensor.
- Federal Trade Commission: Auto Warranties and Auto Service Contracts — supports the U.S. warranty explanation for aftermarket parts and installation-caused damage.
- SAE J2807_202411 — current reaffirmed tow-vehicle rating recommended practice.
- SAE J684_201405 — current SAE standard page for trailer couplings, hitches, and safety chains.
