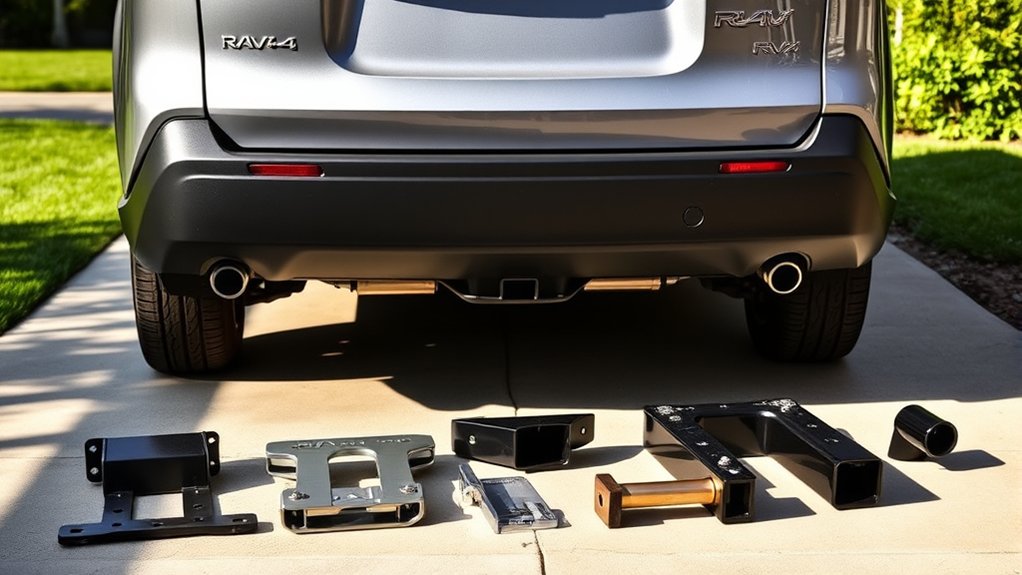
Your Toyota RAV4 can usually accept a trailer hitch, but the right setup depends on its model year, trim, powertrain, and intended use. Toyota Genuine receivers offer vehicle-specific integration, while aftermarket hitches can provide more design, receiver-size, and installation choices. Your RAV4’s published limits always control, regardless of the rating stamped on the hitch.
Quick Answer
Yes. Most Toyota RAV4 models can use a Toyota Genuine or custom-fit aftermarket trailer hitch. However, a hitch is not standard on most RAV4s, and its rating does not increase the vehicle’s towing capacity. Verify your exact model year, trim, wiring needs, tongue-load limit, and receiver compatibility before buying.
Key Takeaways
- Toyota Genuine and aftermarket hitches can both work well when the part is approved for your exact RAV4.
- The vehicle’s towing and tongue-load limits override a higher rating printed on an aftermarket receiver.
- OEM designs often provide cleaner integration, while aftermarket receivers may cost less or install more easily.
- A complete towing setup may require wiring, a ball mount, trailer ball, hitch pin, safety chains, and trailer brakes.
- A hitch can affect ground clearance and the hands-free liftgate sensor, so inspect the installed position before choosing.
Note: This information was reviewed on July 15, 2026, for U.S.-market RAV4 models. Specifications differ by country and model year. Your owner’s manual and vehicle-specific accessory instructions take priority.
Does the Toyota RAV4 Come With a Trailer Hitch?
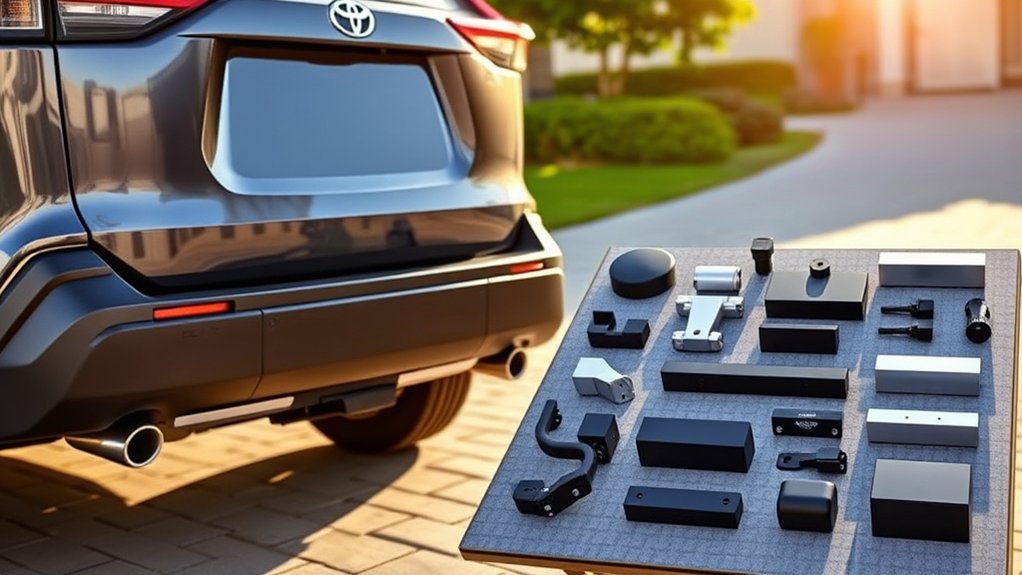
A trailer hitch is generally an available accessory rather than standard equipment on every RAV4. Toyota’s 2024 U.S. brochure, for example, lists the tow hitch receiver and wiring harness as optional across the lineup. You can review that information in the official 2024 Toyota RAV4 brochure.
A vehicle advertised with a “tow package” or “tow prep equipment” may still need the receiver, wiring, ball mount, or other hardware. Check the window sticker, parts invoice, receiver opening, and electrical connector rather than assuming the vehicle is ready to tow.
Your main options are:
- Toyota Genuine tow hitch receiver: Designed for specific Toyota fitments and intended to work within the vehicle’s published towing limits.
- Aftermarket custom-fit receiver: Made by a third-party manufacturer for specific RAV4 years and configurations.
- Accessory-only mount: Intended for compatible bike racks or other gear, but not necessarily approved for towing a trailer.
A higher number stamped on the receiver never raises the towing capacity assigned to your RAV4.
OEM vs Aftermarket RAV4 Trailer Hitches
| Feature | Toyota Genuine Hitch | Aftermarket Hitch |
|---|---|---|
| Fitment | Vehicle-specific when ordered by the correct Toyota part number | Vehicle-specific only when confirmed through the maker’s application guide |
| Appearance | Usually designed for close integration with the bumper | Ranges from exposed cross-tube designs to concealed-body receivers |
| Ground clearance | Often favorable when the receiver passes through or sits close to the bumper | Varies significantly by design and installed position |
| Installation | May involve more bumper, trim, wiring, or sensor work | Some bolt to existing weldnuts with no drilling; others require more work |
| Receiver choices | Limited to Toyota’s approved accessory for the vehicle | May include Class II or Class III products and different receiver sizes |
| Hands-free liftgate sensor | May require adjustment, deactivation, or removal | May also interfere, depending on receiver and sensor position |
| Cost | Often higher after parts, labor, wiring, and trim work | Often lower, but the total depends on wiring and installation |
Benefits of an OEM Trailer Hitch
A Toyota Genuine receiver can be a strong choice when you value factory-style integration. The design is matched to a particular vehicle application, and the receiver may sit closer to the bumper than a fully exposed aftermarket cross tube.
Potential benefits include:
- Integrated appearance: The receiver is intended to look appropriate with the RAV4’s bumper design.
- Vehicle-specific parts: Toyota identifies compatible receivers, wiring, plugs, and related accessories by part number.
- Clear dealer support: A Toyota dealer can verify fitment using the vehicle identification number.
- Potential clearance advantage: A bumper-integrated receiver can preserve more departure angle than a lower-hanging design.
OEM Limitations to Consider
Toyota Genuine does not mean every feature will remain unchanged. Toyota warns that installing a hitch or another accessory near the rear bumper may require disabling or removing the kick sensor. The sensor setting may also need to be switched off.
The receiver may not include every item needed for towing. Toyota’s current Genuine Tow Hitch Receiver listing states that the towing wire harness is required and sold separately for that application.
When OEM Makes the Most Sense
Choose the Toyota Genuine option when appearance, bumper integration, dealer-verified fitment, and possible clearance advantages matter more than the lowest installation cost. It can also be worthwhile when you prefer one shop to supply, install, and document the receiver and wiring.
Should You Choose an Aftermarket Trailer Hitch?
An aftermarket receiver can be a practical choice for a bike rack, cargo carrier, or trailer when it is explicitly approved for your RAV4’s model year and configuration. Many custom-fit products use existing mounting points, which can simplify installation.
For example, the official CURT 13416 installation manual for selected RAV4 applications describes a no-drill installation using existing weldnuts. That example does not apply to every RAV4 or every hitch, so follow the instructions supplied with your exact part.
Aftermarket advantages may include:
- More receiver and cross-tube designs
- Potentially simpler bolt-on installation
- Broader availability from hitch installers
- Different receiver sizes for existing accessories
- Lower total cost in some markets
Possible drawbacks include a receiver that hangs farther below the bumper, interference with the kick sensor, more visible hardware, or less direct support from Toyota.
Pro Tip: Compare installed photos of the exact hitch part on your RAV4 generation. Product-class labels alone do not reveal how low the receiver or attached bike rack will sit.
Trailer Hitch Installation: OEM vs Aftermarket
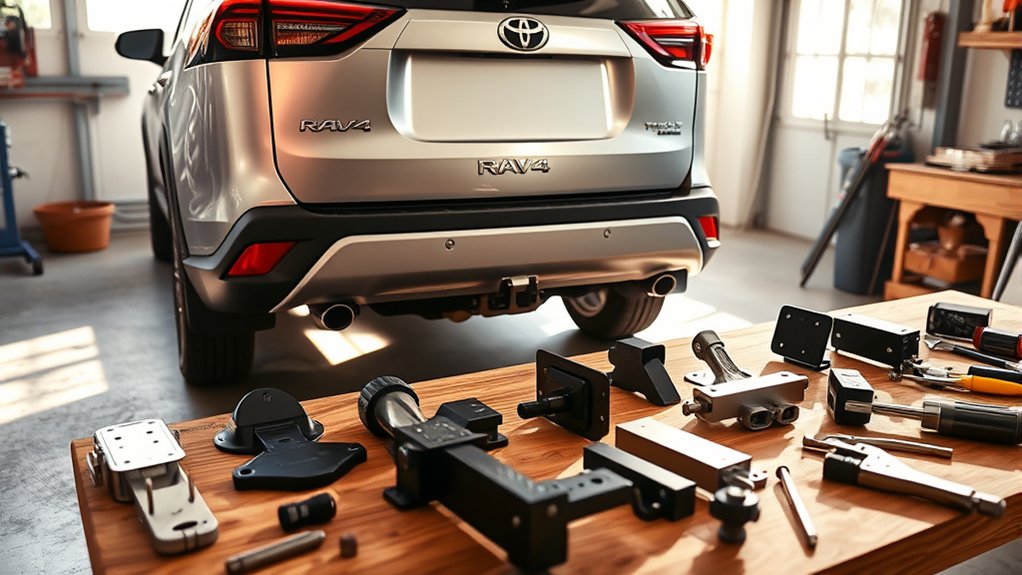
Installation difficulty depends more on the exact part number than on the OEM or aftermarket label. Some aftermarket receivers attach with four bolts, while an integrated OEM installation may require bumper, trim, wiring, or sensor work.
When DIY Installation May Be Reasonable
A do-it-yourself installation may be suitable when the manufacturer labels the job within your skill level and you have safe vehicle access, eye protection, the correct sockets, a torque wrench, and another person to help lift the receiver.
Use only the hardware, sequence, and torque values in the manual for your exact hitch. For instance, CURT’s 13416 instructions specify existing weldnuts and a particular torque value for that product. Those instructions must not be reused for another hitch part number.
When to Use a Professional Installer
Professional installation is the safer choice when bumper cutting, sensor changes, wiring, exhaust lowering, seized weldnuts, or limited working space are involved. It is also sensible when you cannot verify the required torque or safely support the hitch during installation.
Do Not Forget the Wiring
A receiver can hold a bike rack without trailer wiring, but towing a road-going trailer normally requires working tail, brake, and turn lights. Use a vehicle-specific powered wiring harness where required instead of splicing wires without approved instructions.
A heavier trailer may also require a brake controller, a 7-way connector, or trailer brakes. Requirements depend on the trailer, vehicle manual, and local law.
Warning: Never crawl beneath a vehicle supported only by a jack. Use approved lifting points and properly rated stands or have the receiver installed by a qualified shop.
Ground Clearance and Rear-Sensor Effects
How to Compare Ground Clearance
Exact clearance figures cannot be applied to every RAV4. Tire size, suspension height, passenger and cargo load, hitch design, and the attached accessory all change the lowest point.
Before buying, compare:
- The bottom of the receiver relative to the lower bumper
- The distance between the receiver and the ground
- The distance from the rear axle to the accessory’s lowest point
- The departure angle with a bike rack or cargo carrier installed
- Whether the accessory shank has a rise or drop
A low receiver may work well on level roads but scrape when entering a steep driveway. A long bike rack or cargo carrier can worsen that effect because it extends farther behind the rear axle.
Hands-Free Liftgate and Parking Sensors
Toyota states that a hitch or another accessory near the rear bumper may require the kick sensor to be disabled or removed. Do not assume an OEM receiver guarantees full hands-free operation.
After installation, test the liftgate, backup camera, parking sensors, rear cross-traffic systems, and any automatic-braking features according to the owner’s manual. A receiver should not block the license plate or required vehicle lighting.
Clearance Does Not Determine Towing Capacity
A higher receiver position can improve driveway clearance, but it does not increase the RAV4’s tow rating. Towing capacity comes from the vehicle manufacturer’s testing and depends on the vehicle’s powertrain, cooling, brakes, structure, drivetrain, and other equipment.
RAV4 Towing Capacity: Vehicle Limit vs Hitch Rating
The following figures are U.S.-market examples from Toyota sources. They show why a generic towing-capacity claim is not enough.
| Model-year example | RAV4 version | Published maximum towing capacity |
|---|---|---|
| 2024 | Gas LE, XLE, XLE Premium, and Limited | 1,500 lb |
| 2024 | Adventure and TRD Off-Road | 3,500 lb |
| 2024 | RAV4 Hybrid grades | 1,750 lb |
| 2024 | RAV4 Prime SE and XSE | 2,500 lb |
| 2026 | FWD models and LE AWD | 1,750 lb |
| 2026 | Specified AWD hybrid and plug-in hybrid grades | Up to 3,500 lb |
The 2024 figures come from Toyota’s official RAV4 brochure. Toyota announced the revised 2026 breakdown in its sixth-generation RAV4 release.
Warning: These figures are examples, not a substitute for your manual. Confirm the rating for your exact year, trim, drivetrain, powertrain, equipment, occupants, and cargo before towing.
Use the Lowest-Rated Component
Your safe limit is the lowest applicable rating among the RAV4, receiver, ball mount, trailer ball, hitch pin, accessory, trailer, and any adapters. A receiver rated for 4,000 pounds does not allow a RAV4 rated for 1,500 pounds to tow more than the vehicle limit.
Tongue Load Uses Vehicle Payload
Trailer tongue load presses down on the rear of the vehicle and counts toward payload. Passengers, luggage, the receiver, the ball mount, and cargo also consume available payload.
Check the owner’s manual, certification label, receiver instructions, and trailer documentation. Do not rely on a generic percentage or an online calculator when Toyota publishes a specific tongue-load limit for your vehicle.
Hitch Class and Receiver Size
Hitch class describes the receiver’s design and tested rating, not the towing capacity of the RAV4. Aftermarket RAV4 receivers may use 1¼-inch or 2-inch openings, depending on the product.
Match the receiver opening to your bike rack, cargo carrier, or ball-mount shank. An adapter can reduce clearance and may lower the allowable load, so check every component’s instructions before using one.
Tow Hitch vs Toyota Activity Mount
Do not confuse a trailer-towing receiver with Toyota’s Activity Mount. Toyota describes one Activity Mount as a 1¼-inch receiver for compatible hitch-mounted accessories with a maximum capacity of 110 pounds.
That product is intended to carry compatible gear and is not a substitute for a towing receiver. Confirm the purpose and rating on the exact accessory page. See Toyota’s official Activity Mount listing for an example.
Is the Cost of an OEM Hitch Justified?
The OEM premium can be justified when you value a factory-style appearance, dealer-confirmed fitment, documentation, and a receiver position designed around the vehicle. It may be especially worthwhile when you regularly use a long bike rack or cargo carrier and want to preserve as much rear clearance as possible.
An aftermarket hitch may offer better value when you need a straightforward receiver for occasional use and can find a verified custom-fit model with an acceptable installed position.
Compare written quotes that separately list:
- Receiver and mounting hardware
- Wiring harness and electrical connector
- Ball mount, ball, pin, and clip
- Bumper or trim work
- Kick-sensor modification
- Labor, taxes, and warranty terms
- Brake-controller or 7-way wiring work, when needed
A low receiver-only price can become less attractive after wiring and installation are added.
What Owner Reviews Can Tell You
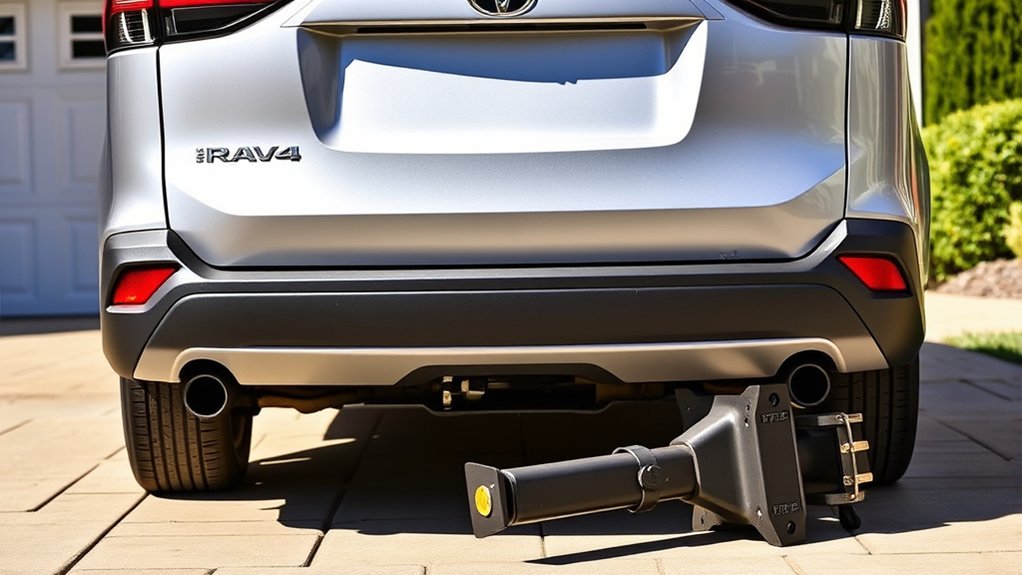
Owner feedback can help you assess appearance, rattling, driveway clearance, installation difficulty, corrosion, and compatibility with a specific bike rack. However, a useful review must identify the RAV4 model year, trim, hitch part number, installer, and attached accessory.
Do not treat a review saying “it fits my RAV4” as proof that the same receiver fits another generation, hybrid system, plug-in hybrid, bumper design, or market.
Before relying on a review, confirm:
- The exact receiver part number
- The reviewer’s RAV4 model year and powertrain
- Whether the review concerns towing or only a bike rack
- The receiver height after installation
- Whether the kick sensor still works
- Whether wiring was installed and tested
Key Considerations Before Choosing a Hitch
- Verify the vehicle: Record the model year, trim, drivetrain, powertrain, and country specification.
- Define the use: Decide whether you will tow, carry bikes, use a cargo carrier, or combine several uses.
- Check the vehicle limit: Read the towing, payload, and tongue-load sections of the owner’s manual.
- Confirm fitment: Use Toyota’s VIN lookup or the aftermarket manufacturer’s current application guide.
- Inspect receiver position: Compare ground clearance and departure angle using installed photos and measurements.
- Match receiver size: Confirm that your rack, carrier, or ball mount uses the correct shank.
- Plan the electrical setup: Add the correct trailer-light connector and brake equipment when required.
- Check the liftgate sensor: Ask whether it must be relocated, disabled, or removed.
- Compare complete quotes: Include parts, wiring, labor, trim work, and accessories.
- Follow the lowest rating: Never exceed the limit of the weakest component or the vehicle.
Accessories Needed for Towing With a RAV4
A complete setup may include:
- Vehicle-specific receiver: The structure attached to the RAV4.
- Ball mount: Provides the correct rise or drop for a level trailer.
- Trailer ball: Must match the trailer coupler size and load rating.
- Hitch pin and clip or lock: Secures the ball mount in the receiver.
- Wiring harness: Operates the trailer’s required lights.
- Safety chains: Connect the trailer to approved attachment points.
- Trailer brakes and controller: Required in some situations by the manual, trailer weight, or local law.
- Rated drawbar accessories: Any adapter, extender, anti-rattle device, rack, or carrier must be approved for the load.
Note: Do not add a weight-distribution hitch unless the owner’s manual for your exact RAV4 and the hitch manufacturer both permit it.
Pre-Tow Safety Checklist
- Confirm the loaded trailer weight and tongue load.
- Verify that vehicle payload, GVWR, GAWR, receiver, ball mount, and ball ratings are not exceeded.
- Make sure the coupler is fully seated and locked on the ball.
- Install the hitch pin and retaining clip correctly.
- Cross the safety chains when instructed and leave enough slack for turns.
- Connect the breakaway cable separately from the safety chains when the trailer uses one.
- Test running lights, brake lights, and turn signals.
- Confirm trailer-brake operation when equipped.
- Secure all cargo so it cannot shift.
- Check vehicle and trailer tire pressures while cold.
- Inspect the receiver, fasteners, wiring, chains, coupler, and ball for damage or looseness.
- Practice braking, turning, and reversing in a safe area before entering traffic.
Related Guides
Frequently Asked Questions
Can I install a Toyota RAV4 trailer hitch myself?
Possibly. Some custom-fit aftermarket receivers use existing weldnuts and require no drilling. You still need safe vehicle access, the correct tools, a torque wrench, and the instructions for the exact part number. Use a professional when bumper work, wiring, sensors, corrosion, or limited access makes the job uncertain.
What is the towing capacity of a Toyota RAV4?
It varies by model year, trim, drivetrain, and powertrain. As examples, Toyota listed 2024 U.S. RAV4 ratings from 1,500 to 3,500 pounds, while specified 2026 AWD grades are rated up to 3,500 pounds. Check the manual for your exact vehicle before towing.
Does a higher-rated Class III hitch increase my RAV4’s towing capacity?
No. A receiver may be rated above the vehicle’s towing limit, but the RAV4’s published rating still controls. You must also remain below the limits of the ball mount, trailer ball, accessory, trailer, and every other component.
Will a trailer hitch affect my RAV4’s fuel economy?
A bare receiver usually has far less effect than the trailer or accessory attached to it. Towing and carrying an exposed bike rack or cargo carrier add weight and aerodynamic drag, which can reduce fuel economy. Speed, wind, terrain, and load also affect the result.
What accessories do I need to tow with a RAV4?
You may need a receiver, compatible ball mount, correctly sized trailer ball, hitch pin, wiring harness, safety chains, and trailer brakes or a brake controller when required. Confirm every component’s rating and follow the vehicle and trailer manuals.
Can I use a RAV4 hitch for a bike rack or cargo carrier?
Yes, when the rack or carrier matches the receiver size and stays within every applicable load limit. Include the weight of the rack or carrier itself when calculating the total vertical load. Long accessories may also reduce driveway clearance.
Will a trailer hitch disable the hands-free liftgate sensor?
It may. Toyota states that a hitch or another accessory near the rear bumper can require the kick sensor to be disabled or removed. Ask the installer what will happen on your exact RAV4 and test the system after installation.
Conclusion
Both OEM and aftermarket trailer hitches can be suitable for a Toyota RAV4. The Toyota Genuine option often provides cleaner integration and may preserve more rear clearance, while an aftermarket receiver can offer easier installation, more receiver choices, or a lower total cost.
Choose by exact fitment rather than brand name alone. Confirm the RAV4’s towing, tongue-load, and payload limits; compare the installed receiver position; account for wiring and sensors; and follow the lowest rating in the complete setup. That approach gives you a safer and more useful hitch for towing, bikes, or cargo.
Sources
- Toyota Genuine Tow Hitch Receiver — receiver purpose, separate wiring requirement, weight-rating warning, and kick-sensor notice
- 2024 Toyota RAV4 Brochure — optional tow equipment and model-specific towing capacities
- Toyota’s Sixth-Generation RAV4 Announcement — 2026 powertrain and towing-capacity changes
- CURT 13416 Installation Manual — part-specific fitment, mounting, tools, and no-drill installation example
- CURT Toyota RAV4 Hitch Guide — receiver selection, fitment, wiring, and towing-accessory guidance
- Toyota Activity Mount — distinction between an accessory mount and a towing receiver
