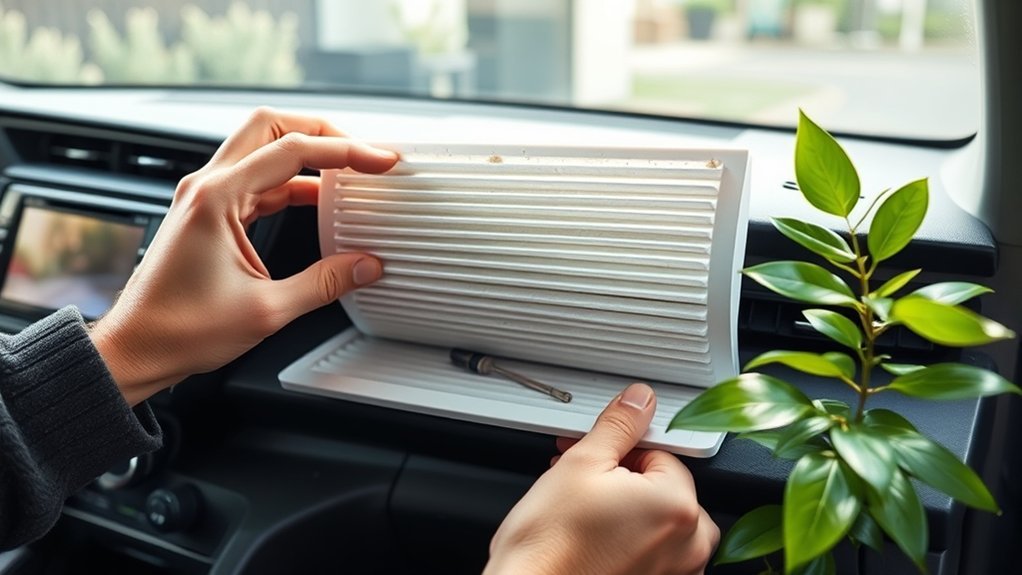
Changing the cabin air filter in your Toyota RAV4 is a straightforward maintenance task that you can finish in under 15 minutes. Start by opening the glove box and detaching the dampener arm on the side. Push in the glove box sides to lower it fully, then locate the filter housing behind it. Carefully extract the old filter, inspecting it for debris. Install the new filter with the “UP” arrows facing correctly and secure the housing cover. Remember to lock the tabs tightly.
Following these steps helps maintain air quality and HVAC efficiency. Below, we provide a complete walkthrough updated for 2026 to help you maintain your filter system properly.
Key Takeaways
- Open the glove box, detach the dampener arm, and squeeze the sides to lower it fully for access to the filter housing.
- Locate the white air filter housing cover, pinch its tabs to release, and pull it out carefully to replace the old filter.
- Ensure the new filter’s airflow arrows match the system direction (usually “UP” for Toyota OEM filters, but check specific brand instructions) and that the filter seats perfectly.
- Securely lock the filter housing tabs to prevent air leaks and verify the glove box dampener is reattached before closing.
- Inspect and clean or replace the filter every 15,000 to 30,000 miles (or annually) for optimal air quality and HVAC efficiency.
Why Change the Cabin Air Filter in Your Toyota RAV4?

When you change the cabin air filter in your Toyota RAV4, you’re not just maintaining your vehicle; you’re greatly improving the air quality inside the cabin. A clean filter effectively removes dust, pollen, soot, and other airborne contaminants, ensuring that you breathe easier during your drive. This enhances your overall driving experience, especially for passengers with allergies or respiratory sensitivities.
The benefits extend beyond health; a clean filter also boosts your HVAC system’s efficiency. A fresh cabin air filter leads to better heating and cooling performance, ensuring comfort in extreme weather conditions. If your defroster takes too long to clear the windshield, a clogged filter is often the culprit.
Regularly replacing the filter every 15,000 to 30,000 miles—or once a year—helps prevent unpleasant odors and reduced airflow. Additionally, maintaining a clean filter reduces strain on your HVAC blower motor, which can extend the lifespan of your climate control components.
Tools You’ll Need for Cabin Air Filter Replacement
To replace the cabin air filter in your Toyota RAV4, you typically don’t need heavy equipment. For most model years (including the 2019–2026 generations), the process is designed to be tool-free.
However, having a few basic items ready can make the job smoother, especially if the glove box clips are stiff.
[Amazon Products Picked for You]
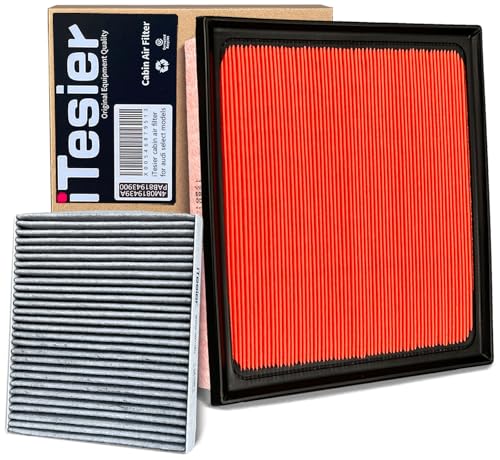
[COMPATIBLE WITH] Camry 2.5/3.5L Gas (2018-2024), RAV4 2.5L Gas (2019-2025), Highlander 3.5L Gas (2020-2022), Highlander 2.4L Gas (2023-2026), Grand Highlander 2.4L Gas (2024-2026)

[Vehicle Fitment]: Replacement for Toyota: Avalon (2019-2022), Camry (2018-2025), Corolla (2019-2025), Corolla Cross (2022-2025), CROWN (2023-2024), C-HR (2018-2022) [IMPORTANT: Fits Japan Built Models ONLY, VIN starts with 'J'],Highlander (2020-2025), Prius (2016-2025), Prius AWD-E (2019-2022), Prius Prime (2017-2024), RAV4 (2019-2025), RAV4 Prime (2021-2024), Sienna (2021-2025), Venza (2021-2024), Grand Highlander (2024-2025), GR Corolla (2023-2025).
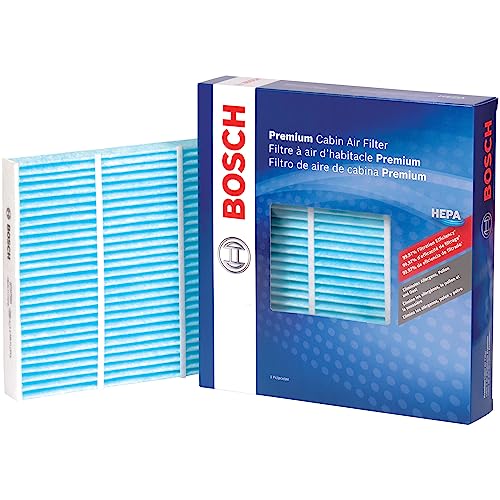
High Efficiency Particulate Cabin Air Filters Are Designed To Trap Microscopic Pollutants Including Pollen, Mold And Common Allergens
Essential Tools Required
Changing the cabin air filter requires minimal gear. Here is what you should have on hand:
- Your Hands: Most steps involve squeezing tabs or clips.
- Flathead Screwdriver (Optional): Useful for gently prying the dampener arm if it is difficult to detach by hand.
- Flashlight: To see inside the dark filter housing area.
- Vacuum Cleaner: To remove leaves or debris that may have fallen into the blower fan area.
Having the correct replacement cabin air filter is vital. The standard Toyota OEM part number for most modern RAV4s is 87139-0R030 (or the charcoal-activated version 87139-58010). Always verify fitment for your specific year before purchasing.
Safety Gear Recommendations
Before you start, it’s smart to prioritize safety:
- Safety Glasses: Dust and debris can fly out when you pull the old filter.
- Gloves: Keep your hands clean and protect them from sharp plastic edges or gross grime on the old filter.
Step-by-Step Guide to Accessing Your Cabin Air Filter
Accessing the cabin air filter in your Toyota RAV4 is a straightforward process. Follow these steps to reach the housing:
- Open the Glove Box: Clear out any contents so they don’t spill.
- Detach the Dampener Arm: Look for a small piston-like arm on the right side of the glove box. Slide it off its mounting pin. You may need to pinch the tip or use a flathead screwdriver to gently pop it off.
- Lower the Glove Box: Push the sides of the glove box inward (squeeze them toward each other) to release the stops. This allows the glove box to swing down completely, revealing the filter housing behind it.
Once the glove box is lowered, you will see a white or black rectangular cover. This is the air filter housing.
[Amazon Products Picked for You]
Bosch HEPA Premium Cabin Air Filters are designed and tested to meet High Efficiency Particulate Air (HEPA) standards based on ISO 29463-3:2011 and provide filtration efficiency of 99.97% at 0.3 microns

Compatible Auto List: Our cabin air filter is compatible with Toyota: Avalon (2019-2022), Camry (2018-2026), Corolla (2019-2026), Corolla Cross(2022-2026), CROWN(2023-2026), Highlander (2020-2026), Prius (2016-2026), Prius AWD-E (2019-2022), Prius Prime (2017-2024), RAV4 (2019-2025), RAV4 Prime (2021-2024), Sienna (2021-2026), Venza (2021-2024), Grand Highlander (2024-2026), GR Corolla (2023-2026), Crown Signia (2025-2026), C-HR (Japan Built Models Only) (2018-2022).

Compatible Auto List: Our cabin air filter is compatible with Toyota: 4Runner (2010-2024), Avalon (2005-2018), Camry (2007-2017), Corolla (2009-2019), Corolla iM (2017-2018), Highlander (2008-2019), Land Cruiser (2008-2011,2013-2021), Matrix (2009-2014), Mirai (2016-2020), Prius (2010-2015), Prius C (2012-2019), Prius Plug-In (2012-2015), Prius V (2012-2018), RAV4 (2006-2018), Sequoia (2008-2022), Sienna (2011-2020), Tundra (2007-2021), Venza (2009-2016), Yaris (2007-2018).
How to Remove the Old Cabin Air Filter Safely
Now that you have exposed the housing, removing the old unit is simple.
[Amazon Products Picked for You]

Compatible with Toyota Avalon (2019-2022), C-HR (Japan Built Models Only)(2018-2022), Camry (2018-2026), Corolla (2019-2025), Corolla Cross (2022-2025), Crown (2023-2025), Crown Signia (2025-2026), GR Corolla (2023-2025), Grand Highlander (2024-2026), Hiace (2020-2024), Highlander (2020-2025), Hilux (2017-2025), Prius (2016-2025), Prius AWD-E (2019-2022), Prius Prime (2017-2024), RAV4 (2019-2025), RAV4 Prime (2021-2024), Sienna (2021-2025), Venza (2021-2024)

[Vehicle Fitment]: For Toyota: 4Runner (2010-2024), Avalon (2005-2018), Camry (2007-2017), Corolla (2009-2019), Corolla iM (2017-2018), Highlander (2008-2019), Land Cruiser (2008-2011,2013-2021), Matrix (2009-2014), Mirai (2016-2020), Prius (2010-2015), Prius C (2012-2019), Prius Plug-In (2012-2015), Prius V (2012-2018), RAV4 (2006-2018), Sequoia (2008-2022), Sienna (2011-2020), Tundra (2007-2021), Venza (2009-2016), Yaris (2007-2018).

Replacement for 2019–2022 Avalon, 2018–2025 Camry, 2019 Corolla (2.0L L4 ONLY - For 2019 Corolla 1.8L L4, BE-285), 2020–2025 Corolla, 2022–2025 Corolla Cross, 2023–2025 GR Corolla, 2023–2025 Crown, 2025 Crown Signia, 2020–2025 Highlander, 2024-2025 Grand Highlander, 2016–2025 Prius, 2019–2024 Prius AWD-e, 2017–2024 Prius Prime, 2021–2025 Sienna, 2019–2025 RAV4, 2021–2024 RAV4 Prime, 2021–2024 Venza
Release The Filter Case
Locate the locking tabs on the sides of the filter cover (usually on the right or both sides). Pinch these tabs to unlock the cover and pull it straight out.
With the cover removed, you will see the exposed edge of the filter. Gently pull the old filter out, keeping it level to prevent leaves, bugs, or dust from falling into the blower motor fan below. Inspect the old filter; if it is gray, clogged, or full of debris, it is definitely time for a change.
What to Look for in a Replacement Filter?
When selecting a replacement cabin air filter for your Toyota RAV4, prioritize high filtration efficiency. You have a few main options:
- Standard Particulate Filter (OEM): Great for basic dust and pollen (Part # 87139-0R030).
- Activated Carbon / Charcoal: Excellent for absorbing odors, smoke, and exhaust fumes (Part # 87139-58010).
- HEPA Filters: Trap smaller particles and allergens, ideal for sensitive passengers.
- Reusable Options: Filters like K&N can be washed and reused, offering long-term savings, though they require maintenance.
Tips for Installing Your Toyota RAV4 Cabin Air Filter
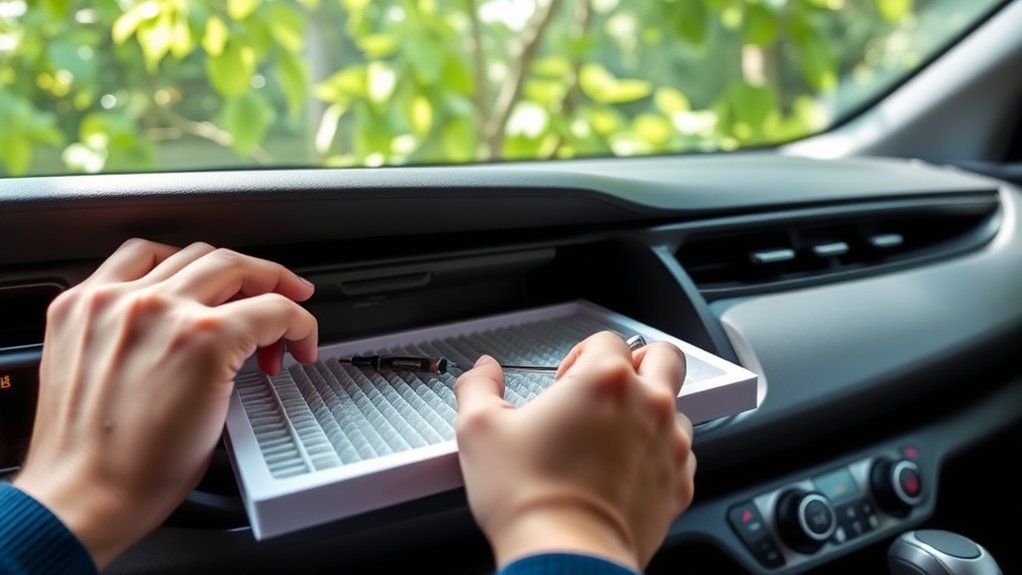
To guarantee peak performance, follow these essential installation tips:
- Check Orientation: This is the most critical step. Look for the “UP” or “AIR FLOW” arrows on the new filter.
- If the arrow says “UP”, ensure it points toward the roof.
- If the arrow says “AIR FLOW”, it should typically point DOWN (as air flows from the cowl down into the blower). Note: Always compare with the markings on your old filter or the housing cover to be certain.
- Secure the Tabs: When replacing the cover, listen for a distinct “click” to ensure the tabs are locked. This prevents air leaks.
- Seat the Case: Ensure the filter is pushed all the way in so the cover fits flush without forcing it.
Common Mistakes to Avoid During Installation
Even with proper installation tips in mind, avoid these common pitfalls:
- Incorrect Airflow Direction: Installing the filter upside down restricts airflow and can make your AC noisy.
- Forcing the Dampener Arm: When reassembling, be gentle with the dampener arm. If you pull too hard, you can snap the plastic clip.
- Ignoring Debris: Failing to vacuum out the housing before inserting the new filter can leave leaves rattling around in your fan.
How to Maintain Your Cabin Air Filter After Installation?
Maintaining your cabin air filter is essential for superior air quality. As of 2026, Toyota generally recommends inspecting your filter every 15,000 to 20,000 miles (or every service interval).
If you drive in dusty conditions, on dirt roads, or in areas with heavy pollen, check it every 10,000 miles. If you have a reusable filter, follow the manufacturer’s cleaning instructions carefully using their specific cleaning kit.
Enhancing Air Quality: The Importance of Regular Filter Changes
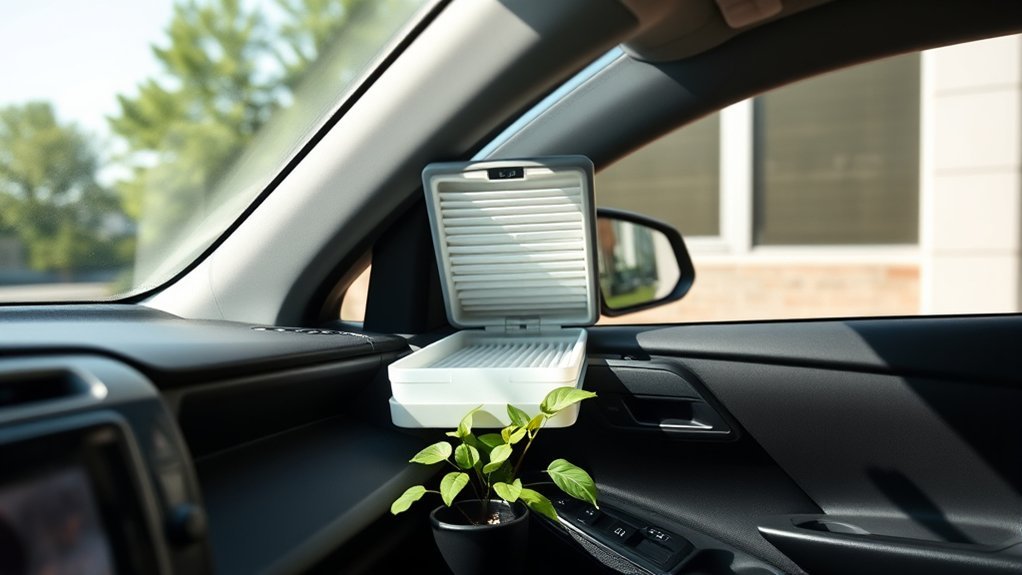
Consistent maintenance leads to significant benefits:
- Reduces Pollutants: Keeps PM2.5 particles, soot, and allergens out of your lungs.
- Prevents Foggy Windows: A clean filter improves airflow, which helps the defroster clear condensation faster.
- Extends System Life: Reduces the load on the blower motor, preventing premature failure.
Don’t neglect this vital maintenance task; it directly impacts your comfort and health while driving.
Related Guides
Frequently Asked Questions
How Often Should I Change the Cabin Air Filter?
You should generally change your cabin filter every 15,000 to 30,000 miles or every 12 months. If you notice reduced airflow or bad smells, change it sooner regardless of mileage.
What Symptoms Indicate a Clogged Cabin Air Filter?
Common signs include weak airflow from the vents (even on high speed), persistent musty odors, slower window defrosting, and increased dust settling on the dashboard.
Can I Use a Generic Air Filter Instead of OEM?
Yes, reputable aftermarket brands like K&N, Bosch, or FRAM are often compatible. However, ensure they meet OEM specifications (Part # 87139-0R030) for fitment to prevent air leaks.
Will Changing the Filter Improve HVAC Performance?
Absolutely. A fresh filter removes restriction, allowing the blower fan to move air more freely. This results in faster cooling in summer and quicker heating in winter.
Where Can I Purchase a Replacement Cabin Air Filter?
You can purchase replacement filters at online retailers like Amazon, or local stores like AutoZone and O’Reilly Auto Parts. For genuine parts, visit a Toyota dealership or authorized online parts distributor.
Conclusion
Keeping your cabin air filter fresh is essential for a pleasant driving experience. By following these straightforward steps, you can easily guarantee that the air you breathe inside your Toyota RAV4 stays clean and comfortable. Take 10 minutes to check your filter today—your lungs and your car’s AC system will thank you.
