
Replacing the 12V battery in a Toyota RAV4 is a straightforward job you can do at home in under an hour. You just need a few basic tools and the right battery for your trim. This guide walks you through each step from locating the battery to resetting your electrical systems afterward.
Key Takeaways
- The 12V battery sits in the engine bay on the driver’s side. Bring your VIN when buying a replacement to get the right fit.
- You’ll need a 10 mm socket, a 12 mm socket, and a ratchet. A wire brush and baking soda help clean corroded terminals before you start.
- Always disconnect the negative terminal first and reconnect it last. Getting this order wrong can cause sparks or damage electronics.
- Use a 10 mm socket to remove the negative terminal nut and a 12 mm socket to remove the retaining bracket before lifting the old battery out.
- After installing the new battery, reset the clock, radio, and power windows. Check the TPMS if your RAV4 has it.
- Inspect terminals for corrosion every six months. Clean them with a baking soda solution and a wire brush to extend battery life.
Locate the 12V Battery in Your Toyota RAV4

Open the hood and look toward the driver’s side of the engine bay. The 12V battery is a rectangular box with a red cable (positive) and a black cable (negative) attached to it. Some models have a plastic cover over it.
Before you shop for a replacement, take a photo of the existing battery label and note your VIN. This helps you pick the correct size and type. If you have a hybrid RAV4 or one with an auto start-stop system, it may need a different battery than the standard model. You can verify the right part through Toyota’s owner portal.
When you’re ready to work, disconnect the negative terminal first. This is the most important safety step.
Tools Needed for Battery Replacement
Gather these before you start: a 3/8 ratchet, a 1/4 ratchet, a 3/8 extension, a 10 mm socket, and a 12 mm socket. The Toyota OEM True Start H5 battery is the recommended fit for most non-hybrid 2019 RAV4 models.
Keep a flat screwdriver nearby in case a terminal is stuck. You’ll also want a wire brush to clean any corrosion off the terminals before the new battery goes in. A smartphone or camera is handy for photographing the current battery setup so you install the replacement the right way around.
Cleaning Battery Terminals for Optimal Performance
Corrosion on battery terminals blocks electrical flow and causes starting problems. Look for blue or white fuzzy buildup as a sign that cleaning is overdue.
Disconnect the negative terminal first. Then mix water with baking soda and use a wire brush to scrub the corrosion off both terminals. For stubborn buildup, a flat screwdriver can help loosen the terminal before you remove it.
Rinse with clean water and dry thoroughly. When reattaching, connect the positive terminal first, then the negative. Check that both are snug.
How to Easily Remove Your Old Battery

Once the terminals are clean, you’re ready to remove the battery. Locate the 12V battery in the engine bay on the driver’s side.
Disconnect the negative terminal first using the 10 mm socket. Then remove the 12 mm screw on the retaining bracket that holds the battery in place. With the bracket off, slide the battery side to side to free it from its tray and lift it out carefully.
Car batteries are heavy and contain acid, so handle with care. Dispose of the old battery at a local auto parts store or recycling center. Check the EPA’s guidelines for used lead-acid batteries to find a proper disposal option near you.
Installing the New Battery: What You Need to Know
Place the new battery in the tray with the positive terminal facing the front of the vehicle and the negative terminal toward the rear. Getting the orientation right matters; installing it backward can damage the vehicle’s electronics.
| Step | Action | Notes |
|---|---|---|
| 1. Position Battery | Place the new battery in the tray | Confirm positive terminal is forward |
| 2. Secure Battery | Use the retaining bracket | Start the 12 mm screw by hand |
| 3. Connect Terminals | Attach positive terminal first | Verify a secure connection |
| 4. Finish Up | Connect negative terminal last | Check for terminal safety |
Tighten the retaining bracket snugly but don’t overtighten. Too much force can crack the battery casing or strip the threads. Once both terminals are connected, give them a gentle tug to confirm they’re secure.
How to Reset Electrical Systems After Battery Replacement?
After a battery swap, a few systems need to be reset manually. Start with the clock and radio, since these lose their settings when the battery is disconnected.
For the power windows, fully open each window, then fully close it using the door switch. This restores the auto-up feature. If your RAV4 has a keyless start system, insert the key fob into the ignition and turn it to the ON position for a few seconds to reprogram it.
If your vehicle has a tire pressure monitoring system (TPMS), you may need to reset it by driving above a set speed for a few minutes, or by using a TPMS reset tool. Check your owner’s manual for the exact procedure, as it varies by model year and trim.
Battery Maintenance Tips for Longevity

A little routine care goes a long way toward getting the most out of your new battery.
Regular Terminal Cleaning
Inspect the terminals every six months for corrosion (the blue or white fuzzy buildup). Disconnect the negative terminal first, then scrub both terminals with a wire brush and a baking soda-water mix. Check that the connections are tight, since loose terminals cause electrical issues over time.
After cleaning, apply a thin layer of petroleum jelly to the terminals. This slows future corrosion. Keep the battery area free of dirt and debris as well.
| Action | Purpose |
|---|---|
| Disconnect Negative Terminal | Prevents electrical shock |
| Clean with Wire Brush | Ensures good electrical contact |
| Apply Petroleum Jelly | Prevents future corrosion |
Check Battery Fluid Levels
On non-sealed batteries, check the electrolyte level twice a year, ideally before winter and summer when battery demands are highest. The fluid should sit between the minimum and maximum markings on the case.
If the level is low, top it off with distilled water only. Never use tap water. Also check for corrosion around the terminals during this inspection, since buildup can affect fluid levels and overall performance.
Common Mistakes to Avoid When Changing Your Battery
Forgetting Terminal Order
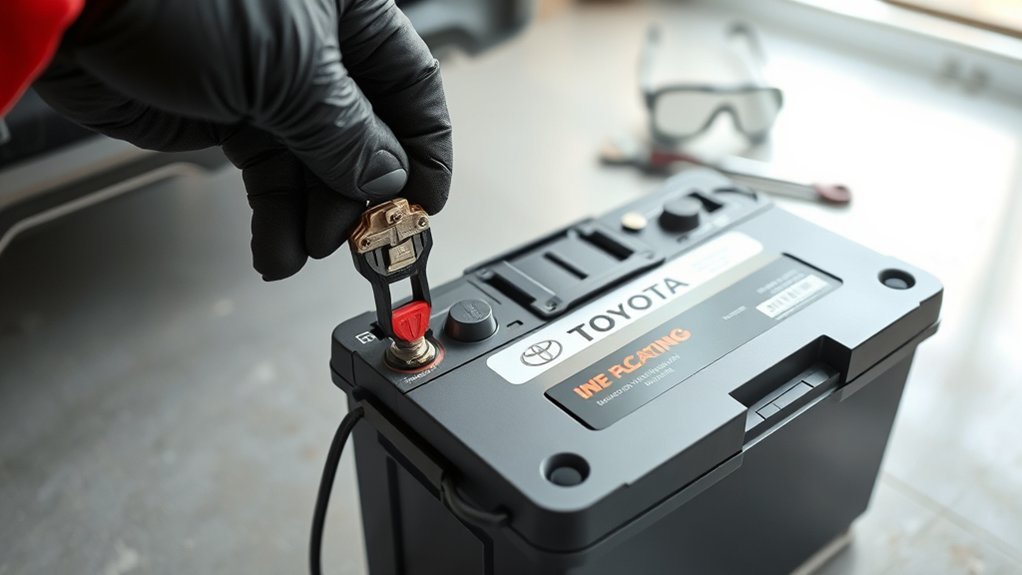
Always disconnect the negative terminal first. If you remove the positive terminal first, you risk short circuits, sparks, or damage to your vehicle’s electronics.
When reconnecting, attach the positive terminal first, then the negative. If a terminal is stuck, use a flat screwdriver to gently loosen it. Don’t force it or you risk cracking the terminal post. After installation, tug both terminals lightly to confirm they’re seated properly.
Ignoring Corrosion Clean-Up
Skipping the corrosion cleanup is a common mistake. Even a thin layer of buildup increases resistance and reduces battery performance. It can also cause starting problems right after you install a brand-new battery.
Check both terminals for corrosion before disconnecting. Dissolve any buildup with a baking soda and water mixture before you remove anything.
| Action | Tool Needed | Result |
|---|---|---|
| Inspect terminals | Visual check | Identify corrosion |
| Clean corrosion | Wire brush | Ensure proper connection |
| Disconnect battery | Wrench | Safe terminal removal |
| Install new battery | None needed | Extend new battery lifespan |
Related Guides
Frequently Asked Questions
How Often Should I Replace My Toyota RAV4 Battery?
Plan to replace the battery every 3 to 5 years. Regular inspections help you catch early signs of wear before you end up stranded.
What Signs Indicate My Battery Needs Replacement?
Watch for a battery warning light, dim headlights, or slow engine cranking. Any of these is a signal to get the battery tested.
Can I Jump-Start My RAV4 With a Dead Battery?
Yes. Use proper jump-start techniques and follow the correct cable connection order to avoid damage to either vehicle’s electronics.
Is It Safe to Use a Different Battery Brand?
A different brand is fine as long as it matches your RAV4’s specs (group size, CCA rating, and terminal placement). Check your owner’s manual or ask at an auto parts store.
Will Changing the Battery Affect My Car’s Warranty?
Replacing the battery with a compatible part generally does not void your warranty. Keep your receipt and use a battery that meets Toyota’s specifications to stay covered.
Conclusion
Changing your Toyota RAV4’s battery is a manageable DIY job. Follow the steps in order, use the right tools, and don’t skip the terminal cleaning. With a proper install and a little routine maintenance, your new battery should last years without trouble.
