Last updated: September 16, 2026
Before replacing an O2 sensor on a Toyota RAV4, scan the vehicle and identify the exact bank and sensor position, model year, engine, and emissions configuration. Do not replace a sensor from symptoms or a trouble code alone. Wiring damage, connector problems, intake or exhaust leaks, and catalytic-converter faults can produce similar symptoms or related codes.
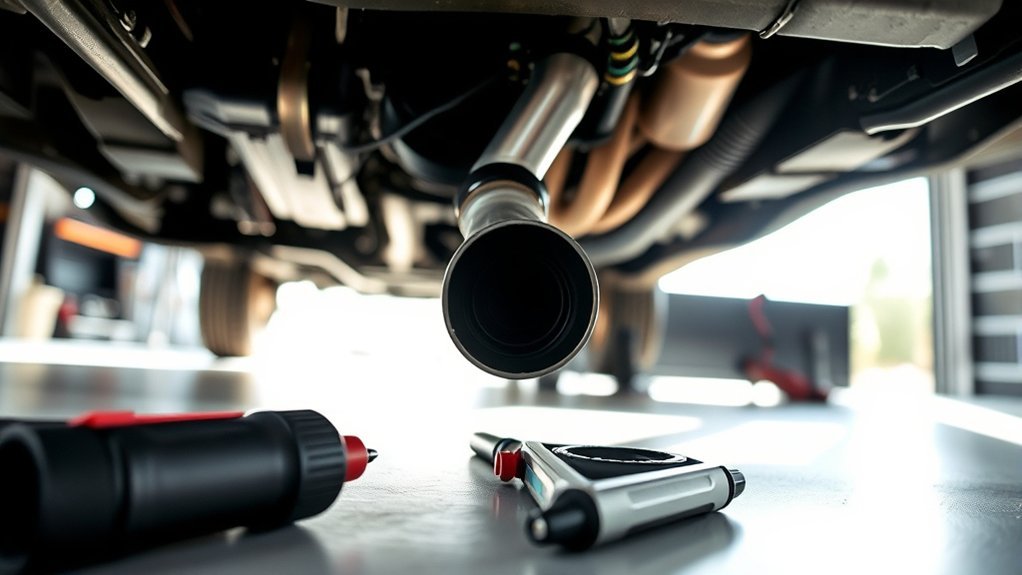
On many gasoline RAV4s, Sensor 1 is an upstream air/fuel-ratio (A/F) sensor located before the catalytic converter, while Sensor 2 is a downstream heated oxygen sensor used primarily to monitor catalyst operation. The number and location of sensors vary by generation and engine, so verify the exact application before ordering parts or starting the repair.
Fitment note:
Key Takeaways
- Scan and record the stored and pending diagnostic trouble codes before replacing an O2 or A/F sensor.
- Identify the exact position, such as Bank 1 Sensor 1 or Bank 1 Sensor 2, before buying a replacement.
- On many RAV4 applications, Sensor 1 is an upstream air/fuel-ratio sensor and Sensor 2 is a downstream heated oxygen sensor.
- A trouble code does not automatically prove the sensor itself is defective; inspect wiring, connectors, and relevant intake or exhaust leaks first.
- A slotted oxygen-sensor socket is commonly used, but socket size, access method, heat-shield hardware, and torque specification can vary by application.
- Check the new sensor manufacturer’s instructions before using anti-seize. Do not add more if the threads are already coated.
- Hand-start the new sensor to avoid cross-threading, then tighten it to the correct specification for the exact sensor/application.
- After the repair, reconnect the harness correctly, check for returning DTCs, and verify readiness or live data as appropriate.
What Are the Symptoms of a Failing RAV4 O2 Sensor?
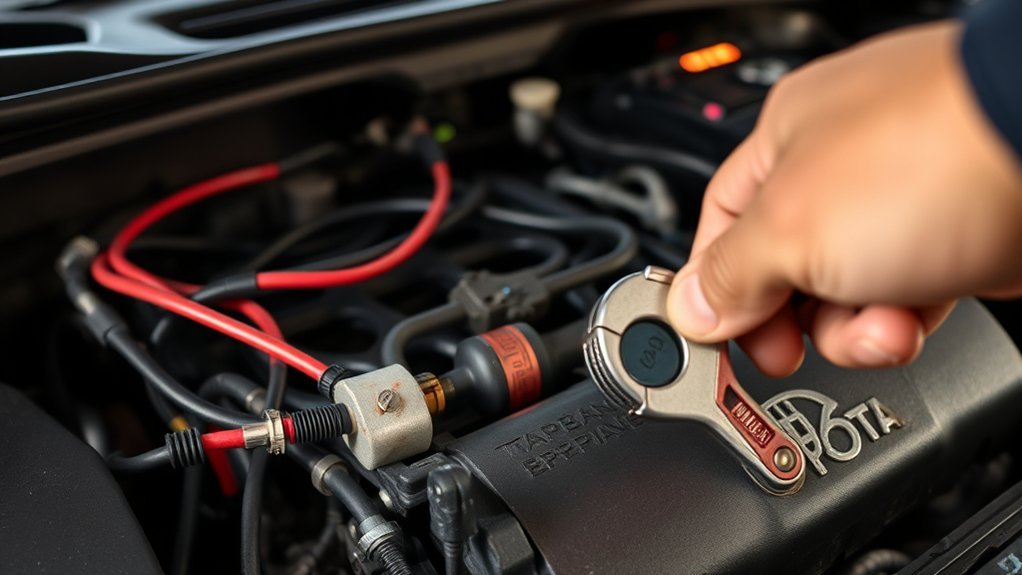
A failed or slow oxygen or air/fuel-ratio sensor can contribute to a Check Engine Light, increased fuel consumption, poor throttle response, rough running, or failed emissions testing. However, these symptoms are not specific enough to diagnose the sensor by themselves.
A rough idle, stalling, hard starting, or poor fuel economy can also come from ignition faults, vacuum leaks, fuel-delivery problems, contaminated sensors, exhaust leaks, wiring faults, or other engine-management problems. Treat symptoms as a reason to scan and test the vehicle, not as proof that the O2 sensor should be replaced.
A Check Engine Light or poor fuel economy can point toward an oxygen-sensor problem, but diagnosis should confirm the sensor or circuit before parts are replaced.
Start with an OBD-II scan. Record all stored and pending codes and, if your scan tool supports it, save the freeze-frame data showing engine conditions when the fault was detected. Do this before clearing codes or disconnecting the battery.
How Do You Know Which RAV4 O2 Sensor to Replace?
The diagnostic code and Toyota’s service information should identify the affected circuit or sensor position. Toyota commonly uses Bank and Sensor terminology:
| Scan-tool position | What it generally means | Typical role |
|---|---|---|
| Bank 1 Sensor 1 | Sensor closest to the engine on Bank 1, before the catalyst | Often an upstream A/F-ratio sensor that helps the ECM control fuel mixture |
| Bank 1 Sensor 2 | Sensor farther downstream on Bank 1, after the catalyst | Usually a heated oxygen sensor used to monitor catalyst operation |
| Bank 2 Sensor 1 or 2 | A sensor on the second cylinder bank where the engine/exhaust layout uses Bank 2 | Position depends on the engine and exhaust layout |
Do not assume every four-cylinder RAV4 has exactly two sensors or that every RAV4 uses the same layout. Some older configurations use additional sensors, while V6 applications use Bank 1 and Bank 2 terminology. Confirm the exact configuration through Toyota Technical Information System (TIS), the repair manual for your model, or VIN-specific parts information.
Also remember that a sensor-related DTC can point to a heater circuit, wiring fault, connector problem, signal fault, or mixture condition. Inspect the harness and connector before condemning the sensor. If a code is related to a lean/rich condition or catalyst efficiency rather than a direct sensor circuit fault, further diagnosis is especially important.
Where Is the O2 Sensor on a Toyota RAV4?
The exact location depends on the RAV4’s model year, engine, and sensor position. In general, the upstream Sensor 1 is located in the exhaust path before the catalytic converter and close to the engine. The downstream Sensor 2 is located farther along the exhaust after the catalytic converter.
Access can be from the engine bay, underneath the vehicle, or through an area partially covered by a heat shield or underbody panel. Do not remove a heat shield simply because another RAV4 procedure required it. First trace the sensor wiring to its connector and confirm that the sensor position matches the diagnostic code.
The electrical connector normally uses a locking tab and may also be secured to a bracket or clip. Release the connector by the housing rather than pulling on the wires. Check for damaged insulation, melted wiring, loose terminals, moisture, or green corrosion before installing a new sensor.
What Tools Do You Need to Replace a RAV4 O2 Sensor?
Tool requirements vary with the sensor location, but a typical job may require:
- An OBD-II scan tool capable of reading stored and pending codes
- A slotted oxygen-sensor socket or suitable sensor wrench; 22 mm/7/8 inch is common on many applications, but verify yours
- A ratchet, extensions, and possibly a breaker bar
- A torque wrench covering the required sensor torque
- The sockets or tools required for any model-specific heat shield or underbody fasteners
- A small pick or screwdriver for connector locks or harness clips
- Penetrating oil for a seized or corroded sensor
- Safety glasses and mechanic’s gloves
- Wheel chocks, a suitable floor jack, and rated jack stands if underbody access is required
Check the replacement sensor before buying additional anti-seize. Some sensors arrive with the threads already coated. NTK’s oxygen-sensor installation guidance specifies applying anti-seize when it is not already present and tightening the sensor according to the applicable installation specification.
Safety Tips Before You Start
Work only when the exhaust manifold, catalytic converter, pipes, and heat shields are completely cool to the touch. Cooling time varies with ambient temperature and how the vehicle was driven, so do not rely on a fixed 30-minute waiting period.
Park on a level surface, apply the parking brake, and chock the wheels when appropriate. If the sensor can only be reached from underneath, raise the vehicle at the approved lifting points and support it with correctly rated jack stands. Never work under a vehicle supported only by a jack.
Wear safety glasses because rust, penetrating oil, and debris can fall while the sensor is being loosened. Gloves also help protect against sharp heat shields and exhaust components.
If your service procedure instructs you to disconnect the 12-volt battery, record the DTCs and freeze-frame information first. Battery disconnection or code clearing may reset diagnostic readiness information and other learned values. On RAV4 Hybrid and plug-in hybrid models, stay clear of orange high-voltage wiring and follow Toyota’s model-specific safety procedures.
Removing the Heat Shield: A Step-by-Step Guide
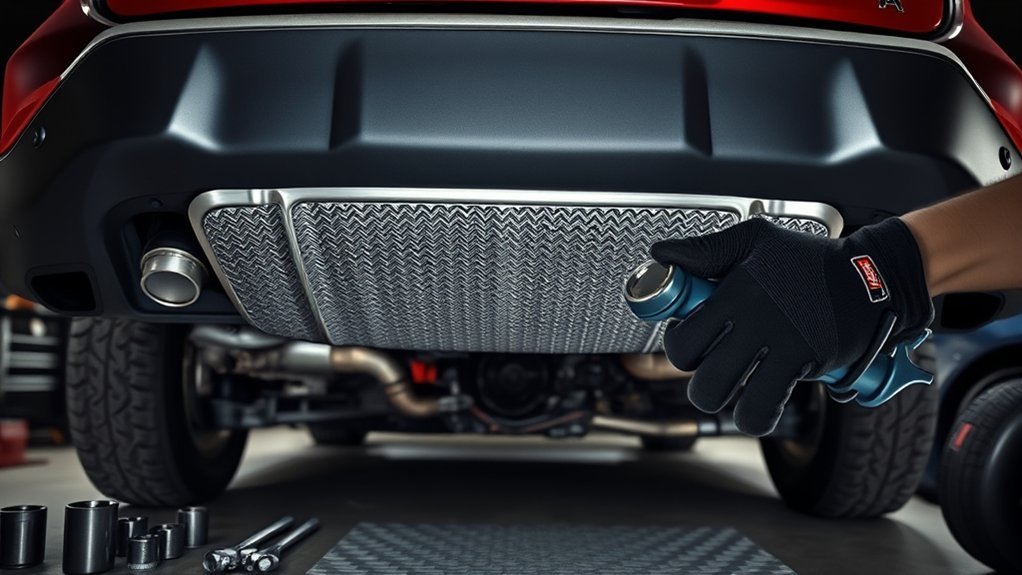
Not every RAV4 oxygen-sensor replacement requires heat-shield removal. If a shield blocks access to the confirmed sensor or connector, use the service information for your exact model to identify the correct fasteners and removal sequence.
- Make sure the exhaust is completely cool.
- Identify the heat shield that actually blocks access to the sensor.
- Apply penetrating oil to corroded shield fasteners if needed and allow it time to work.
- Remove the fasteners with the correct-size tool while supporting the shield so it does not bend or fall.
- Set the shield and hardware aside in their original orientation for reassembly.
Do not assume every RAV4 uses four 12 mm heat-shield bolts. Fastener size, quantity, and access vary by generation and engine.
How to Remove the Old RAV4 O2 Sensor
Once you have confirmed the correct sensor and gained access to it, note the original harness routing before disconnecting anything. The replacement lead should later follow the same route so it stays away from hot exhaust parts and moving components.
- Disconnect the electrical connector: Release the locking tab and any harness clips without pulling on the wires.
- Inspect the wiring: Look for melted insulation, abrasion, corrosion, loose terminals, or evidence that the harness contacted the exhaust.
- Apply penetrating oil if needed: Put it around the threaded sensor bung and allow it time to penetrate corrosion.
- Fit the sensor socket: Pass the sensor wire through the slot and fully seat the tool on the sensor hex.
- Break the sensor loose: Use steady, controlled pressure. Avoid jerking the tool or loading the exhaust pipe sideways.
- Unthread the sensor: Once loose, finish removing it carefully while preventing the lead from twisting around nearby parts.
- Inspect the bung: Check the exhaust threads for damage or heavy corrosion before installing the replacement.
If the sensor is severely seized, stop before enough force is applied to strip the bung, crack the manifold, or damage surrounding exhaust parts. A repair shop can use controlled heat and thread-repair techniques when ordinary removal is no longer safe.
How to Properly Install Your New O2 Sensor
Before installation, compare the new sensor with the old one. Confirm the connector style, wire length, thread size, sensor position, and part fitment for your exact RAV4. Do not assume an upstream A/F sensor and downstream O2 sensor are interchangeable.
Prepare New O2 Sensor
- Keep the sensing tip clean: Remove any shipping protector only as directed by the sensor manufacturer, and do not touch or contaminate the sensing element.
- Check the threads: If the replacement sensor already has anti-seize applied, do not add more. If the manufacturer instructs you to add supplied sensor-safe anti-seize, apply it only to the threads and keep it away from the sensor tip.
- Check the seal: Use the gasket or sealing washer supplied with the sensor if that sensor design requires one.
Proper Tightening Technique
Start the sensor into the exhaust bung by hand. It should turn several threads without excessive resistance. If it binds immediately, stop and realign it rather than forcing the threads.
After hand-threading, use the oxygen-sensor socket and tighten the sensor to the specification for the exact vehicle and sensor. Do not substitute “as tight as possible” or a subjective snug fit for a known torque specification. Verify the vehicle-specific procedure through Toyota service information and follow any installation instructions supplied with the replacement sensor.
Secure All Connections
Route the replacement sensor lead exactly where the original harness ran, keeping it away from exhaust heat, sharp edges, rotating parts, and suspension components.
- Reconnect the sensor harness: Align the connector correctly and press it together until the locking tab engages.
- Reinstall harness clips and brackets: Do not leave the wire hanging close to the exhaust.
- Reinstall anything removed for access: This may include shields, underbody panels, brackets, or other model-specific components.
How Do You Verify the Repair After Replacing the O2 Sensor?
Before starting the engine, check the work area one more time. Confirm the sensor is tightened correctly, the connector is locked, the harness is routed safely, and all removed shields or brackets are installed.
If the 12-volt battery was disconnected as part of the applicable procedure, reconnect it correctly. Start the engine and listen for an exhaust leak around the sensor bung. Check that no harness or component is contacting the hot exhaust.
Proper Sensor Connection
Use your scan tool to confirm that the vehicle communicates normally and to check stored, pending, or permanent DTCs. If your scanner can display live data, monitor the relevant sensor information according to the diagnostic procedure for your specific engine.
A warning light that returns does not automatically mean the new sensor is defective. Recheck the connector, wiring, exhaust for leaks, applicable fuses or heater circuits, and the original diagnosis.
Secure Heat Shield Bolts
If a heat shield was removed, hand-start its fasteners before tightening them. This reduces the chance of cross-threading a small fastener or trapping the shield out of position.
Tighten the shield using the model-specific procedure. Make sure the shield does not touch the sensor wire and that no harness clip was left underneath or against the exhaust.
Test for Error Codes
An OBD-II scanner is useful before and after an oxygen-sensor repair.
- Before repair: Record stored and pending codes plus freeze-frame data.
- After repair: Check that the connector and circuit are operating normally and note whether the original DTC remains.
- Clear codes only when appropriate: Clearing diagnostic information is not a repair by itself and can reset emissions-readiness monitors.
- Drive and recheck: Allow the applicable Toyota monitor to run under the required operating conditions, then scan again for stored or pending faults.
If the same code returns, continue diagnosis instead of repeatedly replacing sensors. A wiring fault, connector issue, exhaust leak, incorrect replacement part, mixture problem, or catalytic-converter fault may still be present.
Common RAV4 O2-Sensor Diagnostic Mistakes
Replacing a Sensor Just Because a Code Mentions O2
A code describing an oxygen-sensor circuit is a starting point. Depending on the code, the problem may be the sensor, its heater, wiring, connector, ECM circuit, or a condition affecting the exhaust reading. Follow the code-specific diagnostic path before replacing parts.
Ordering by “Upstream” or “Downstream” Alone
Use the exact Bank/Sensor designation, model year, engine, and VIN-specific fitment. This is especially important on RAV4 generations that use more than one bank or more than two exhaust sensors.
Assuming P0420 Means the Downstream Sensor Is Bad
P0420 is a catalyst-efficiency code. The ECM compares information from sensors before and after the catalytic converter to evaluate catalyst performance. A sensor or exhaust leak can affect diagnosis, but replacing the downstream sensor solely because P0420 appeared is not a reliable repair strategy.
Adding Anti-Seize to an Already Coated Sensor
Inspect the replacement part first. Follow the sensor manufacturer’s instructions rather than automatically coating every new sensor.
Clearing the Codes Before Recording Them
Save the codes and freeze-frame information first. That information can be valuable if the problem turns out to be wiring, mixture-related, intermittent, or unrelated to the sensor itself.
Frequently Asked Questions
How Often Should I Replace My O2 Sensor?
There is no single mileage at which every Toyota RAV4 O2 or A/F sensor should automatically be replaced. Modern sensors may operate for 100,000 miles or more, but contamination, wiring damage, exhaust leaks, and engine problems can cause earlier failure. Follow the maintenance information for your exact vehicle and replace a sensor when diagnosis confirms it is faulty rather than using a generic mileage rule.
Can I Drive With a Faulty O2 Sensor?
A RAV4 with a steady Check Engine Light and otherwise normal operation may often be driven cautiously long enough to arrange diagnosis or repair, but a confirmed sensor fault can increase emissions and fuel consumption and may affect fuel control. Do not keep driving if the Check Engine Light is flashing, the engine is misfiring badly, power drops severely, or another condition makes the vehicle unsafe.
What Tools Do I Need for This Replacement?
Typical tools include an OBD-II scanner, an oxygen-sensor socket or wrench, a ratchet and extensions, a torque wrench, penetrating oil, safety glasses, and gloves. If underbody access is required, use wheel chocks, a suitable jack, and correctly rated jack stands. Verify the sensor-socket size and any heat-shield fasteners for your exact RAV4 before starting.
Will Replacing the O2 Sensor Improve Fuel Efficiency?
It can if a confirmed faulty upstream sensor was causing incorrect fuel-control information. However, replacing a good sensor will not improve fuel economy, and problems such as vacuum leaks, ignition faults, fuel-delivery issues, tire pressure, driving conditions, or other engine faults may be responsible for poor mileage.
How Much Does an O2 Sensor Replacement Typically Cost?
Costs vary significantly by model year, sensor position, part choice, labor rate, and location. As of September 3, 2026, RepairPal’s Toyota RAV4 estimate lists an average oxygen-sensor replacement at approximately $551 to $607 before taxes, fees, location adjustments, or related repairs. Obtain a vehicle-specific estimate for your exact RAV4.
What Is the Difference Between the Upstream and Downstream RAV4 Sensors?
On many gasoline RAV4 applications, the upstream Sensor 1 is an air/fuel-ratio sensor positioned before the catalytic converter and used heavily for fuel-control feedback. The downstream Sensor 2 is generally a heated oxygen sensor after the catalytic converter that helps the ECM monitor catalyst operation. Exact terminology and layout depend on the model year and engine.
Does P0420 Mean My RAV4 O2 Sensor Is Bad?
No. P0420 means the ECM detected catalyst efficiency below its expected threshold for Bank 1. The diagnosis involves the catalytic converter, upstream and downstream sensor information, exhaust integrity, and engine operating conditions. Test the system before replacing an O2 sensor or catalytic converter.
Conclusion
A Toyota RAV4 O2 sensor replacement can be a manageable DIY repair, but identifying and diagnosing the correct sensor is more important than simply removing the first sensor you can reach. Start by recording the DTC and freeze-frame data, identify the exact Bank/Sensor position, inspect the wiring and exhaust, and verify the replacement part against your model year, engine, and VIN.
Once the fault is confirmed, work on a completely cool exhaust, use the correct sensor tool, hand-start the replacement, follow the specified torque and anti-seize instructions, route the harness exactly as intended, and scan the vehicle again after reassembly. If the original code returns, continue diagnosis rather than automatically replacing another sensor.
