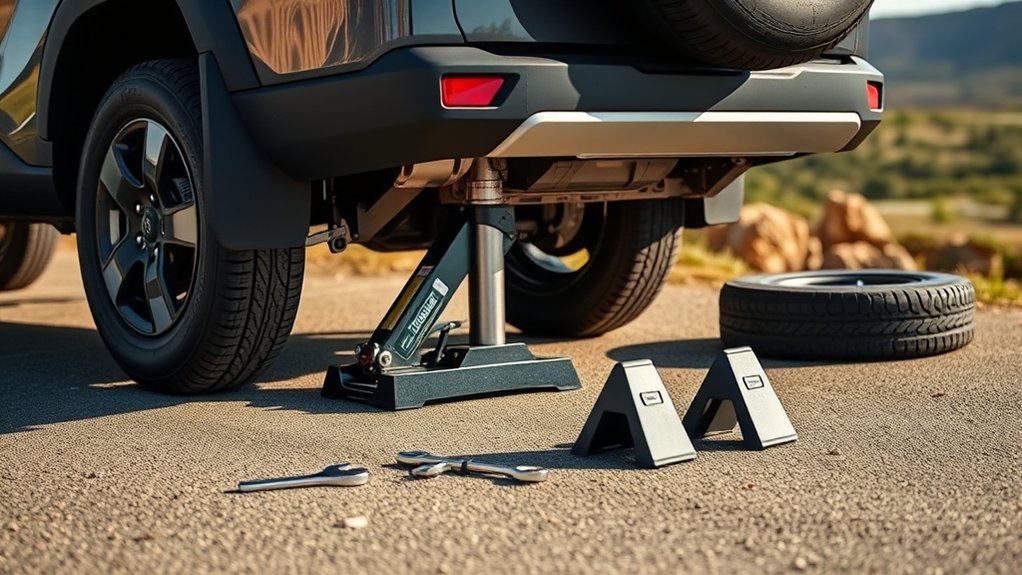
Getting a flat tire in your Toyota RAV4 is stressful, but you can handle it safely if you slow down, park in the right place, and use the correct factory jack points. This guide walks you through the tools, setup, jacking process, lug nut pattern, spare tire checks, driving limits, and repair decisions.
Last updated: July 4, 2026
Quick Answer
To change a tire on a Toyota RAV4, park on a flat safe surface, turn on hazard lights, set the parking brake, chock the opposite wheel, loosen the lug nuts, lift only at the correct jack point, install the spare, hand-tighten the nuts, lower the vehicle, and torque the nuts to your owner’s manual specification.
Key Takeaways
- Move away from traffic first. A perfect tire change is not worth doing in an unsafe spot.
- Use your exact Toyota RAV4 owner’s manual to confirm jack points, spare tire instructions, and lug nut torque.
- Loosen lug nuts before lifting the vehicle, then tighten them in a star pattern after the spare is installed.
- Never get under a RAV4 supported only by the factory scissor jack.
- Drive on a compact spare only as a temporary fix and follow the speed, distance, and pressure limits printed on the spare tire label.
At a Glance
| Time Required | About 20 to 40 minutes if the tools are present and the lug nuts are not seized. |
| Difficulty | Beginner to moderate. The hardest parts are safe parking, loosening tight lug nuts, and placing the jack correctly. |
| Tools Needed | Spare tire, factory jack, jack handle, lug wrench, wheel-lock key if equipped, wheel chocks, tire pressure gauge, gloves, and flashlight. |
| Cost | Usually $0 at the roadside if your RAV4 has its spare and factory tools. Tire repair or replacement costs come later. |
Deal tip: Want a better kit than the factory lug wrench? Our garage tool deals for October Prime Day include a TEKTON socket set, an EPAuto torque wrench and a magnetic work light.
Before You Start: Make the RAV4 Safe
Before you touch the jack or lug wrench, focus on the scene around you. Pull as far away from traffic as you safely can, choose firm level ground, turn on your hazard lights, and keep passengers away from the traffic side of the vehicle.
Shift the RAV4 into Park, set the parking brake, and shut off the engine. If you have wheel chocks, place them around the wheel diagonally opposite the flat tire. If you do not have chocks, use a solid object only if it is stable and cannot roll.
Warning: Do not change a tire on a narrow shoulder, soft dirt, a steep slope, or near fast-moving traffic. Call roadside assistance if you cannot create a safe work area.
Use your exact Toyota owner’s manual to confirm the jack points, tool layout, spare tire instructions, and lug nut torque for your RAV4 model year. Toyota changes details by year, trim, and market, so the manual for your specific vehicle matters.
How to Change a Flat Tire on a Toyota RAV4
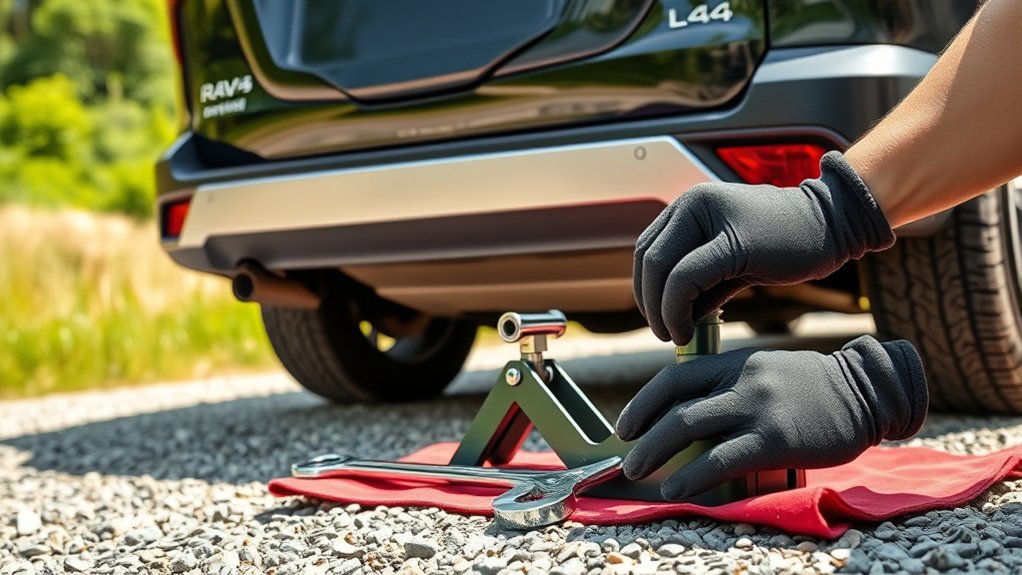
Start by finding the spare tire, jack, jack handle, and lug wrench. In many RAV4 models, these items are stored in or near the rear cargo area, but you should confirm the exact location in your owner’s manual before an emergency happens.
- Park safely. Stop on firm, level ground away from traffic, turn on hazard lights, shift to Park, and set the parking brake.
- Check the spare. Confirm the spare is inflated, undamaged, and marked for use on your vehicle.
- Loosen the lug nuts. While the flat tire is still on the ground, loosen each lug nut about one turn counterclockwise. Do not remove them yet.
- Place the jack. Position the scissor jack only at the correct RAV4 jack point shown in your owner’s manual.
- Lift the vehicle. Raise the RAV4 until the flat tire clears the ground.
- Remove the flat. Remove the loosened lug nuts, pull the flat tire straight off, and keep the lug nuts where they cannot roll away.
- Install the spare. Align the spare wheel with the studs, push it fully against the hub, and hand-thread each lug nut.
- Snug in a star pattern. Tighten the lug nuts lightly in a crisscross pattern while the vehicle is still raised.
- Lower and torque. Lower the RAV4 until the tire touches the ground, then tighten the lug nuts to the torque value in your owner’s manual using a torque wrench.
- Drive carefully to service. Stow the flat tire and tools, then get the damaged tire inspected or replaced as soon as possible.
Pro Tip: Practice finding your spare, jack, wheel-lock key, and jacking points at home. It is much easier to learn in daylight than on the roadside.
Essential Tools for Changing a Tire on Your Toyota RAV4
The factory tools can handle a basic roadside spare tire installation, but a few extra items make the job safer and easier. Keep them organized so you do not have to unload the whole cargo area in an emergency.
| Tool | Purpose | Notes |
|---|---|---|
| Scissor jack | Raises the vehicle enough to remove the wheel | Use only at the approved jack point. |
| Lug wrench | Loosens and tightens lug nuts | Use the correct size so you do not round the nuts. |
| Spare tire | Replaces the flat tire temporarily or, if full-size, according to your manual | Check pressure and the sidewall label before driving. |
| Wheel-lock key | Removes locking lug nuts if your RAV4 has them | Keep it with the jack kit, not loose in the cabin. |
| Tire pressure gauge | Checks the spare and road tires | The NHTSA recommends checking all tires, including the spare, at least once a month when cold. |
| Wheel chocks | Help prevent vehicle movement | Place them at the wheel diagonally opposite the flat tire. |
| Gloves and flashlight | Improve grip and visibility | Especially helpful at night or in rain. |
A breaker bar can help with tight lug nuts at home, but it is not always practical on the roadside. Avoid using an adjustable wrench on lug nuts because it can slip and round the nut. If the factory wrench will not fit, stop and call for help.
Locating the Correct Jacking Points on Your RAV4
The correct jack point is the reinforced area designed to hold the vehicle’s weight while you change a tire. On many RAV4 models, the emergency jack points are near the lower body pinch welds by the wheels, but you should always verify the exact location in your owner’s manual.
Use the jack point shown in your specific RAV4 owner’s manual. A jack placed under the wrong part of the body can slip, bend metal, or create a serious injury risk.
Place the scissor jack on firm ground directly under the correct point. The jack should stand straight, not tilted. If the ground is gravel, mud, sand, ice, or a sloped shoulder, do not lift the vehicle there.
Before raising the vehicle, look again at the jack, the wheel chocks, and the surrounding traffic. A small pause here can prevent the most dangerous tire-changing mistakes.
Step-by-Step Guide to Using a Scissor Jack Safely
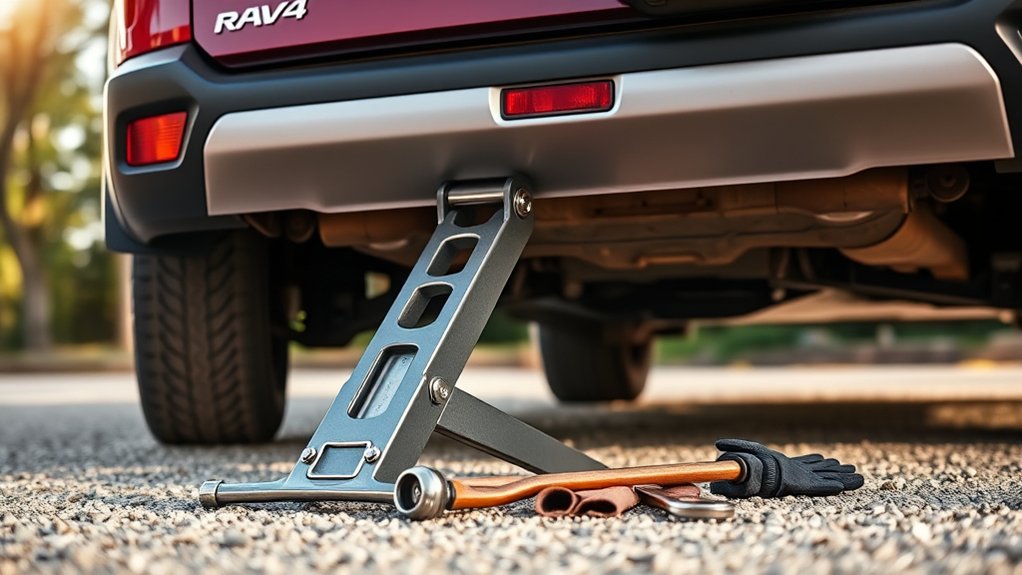
A scissor jack is meant for short emergency tire changes. It is not a repair stand, and it is not safe for work under the vehicle.
Identify Jacking Points Clearly
Find the jack point for the flat tire before you raise the RAV4. The approved point should match the illustration in your owner’s manual. If you cannot identify it with confidence, do not guess.
Set the jack saddle against the correct reinforced point and keep the base flat on the ground. If the jack starts leaning as you raise the vehicle, lower it and reset it.
Proper Jacking Technique Essentials
Turn the jack handle slowly and raise the RAV4 only high enough for the flat tire to clear the ground. Raising the vehicle higher than necessary makes it less stable.
Keep your hands and feet away from the underside of the tire and body. Remove the wheel while standing or kneeling to the side, not with your body under the vehicle.
Note: The factory jack is for emergency wheel changes only. Never crawl under the RAV4 unless it is supported by properly rated jack stands on a safe surface.
How to Loosen and Remove Lug Nuts Properly

Loosen the lug nuts while the flat tire is still touching the ground. The tire’s contact with the ground helps keep the wheel from spinning while you apply force.
Proper Tool Selection
Use the lug wrench from your RAV4 tool kit or a correctly sized socket. Push downward with steady pressure when possible instead of jerking the wrench. If your RAV4 has locking lug nuts, install the wheel-lock key fully before applying force.
If a lug nut will not move, do not jump on the wrench or use a loose-fitting tool. You may damage the lug nut, wheel stud, or wheel. Call roadside assistance if the nut is seized or the tool does not fit.
Star Pattern Technique
A star pattern spreads clamping force more evenly across the wheel. For a five-lug wheel, loosen one lug nut, then move to a non-adjacent nut across the wheel. Continue around the wheel in a crisscross pattern.
After you install the spare, use the same pattern to snug the lug nuts by hand and then tighten them with a torque wrench after the vehicle is lowered. Do not fully tighten one nut before the others are seated.
Safety Precautions Required
Only loosen the lug nuts about one turn before lifting the RAV4. Removing them too early can let the wheel shift unexpectedly.
| Safety Step | Why It Matters |
|---|---|
| Loosen before lifting | Keeps the wheel from spinning while you break the nuts loose. |
| Use the right wrench or socket | Helps prevent rounded lug nuts and damaged wheel studs. |
| Keep lug nuts clean | Dirt on threads can make proper tightening harder. |
| Tighten in stages | Seats the wheel evenly against the hub. |
| Use final torque | The correct torque helps keep the wheel secure without overstressing the studs. |
Aligning and Installing the Spare Tire Correctly
Lift the spare tire with both hands and align the holes with the wheel studs. Push the wheel straight onto the hub until it sits flat. If it does not sit flat, remove it and check for dirt, rust flakes, or misalignment.
Thread each lug nut by hand first. This helps prevent cross-threading. Once every lug nut turns smoothly by hand, snug them with the lug wrench in a star pattern while the RAV4 is still raised.
Lower the vehicle until the spare tire touches the ground and cannot spin. Then tighten the lug nuts in a star pattern to the torque value listed in your owner’s manual. If you do not have a torque wrench on the roadside, tighten them firmly with the factory wrench and have the torque checked as soon as possible.
After tightening, lower the RAV4 fully, remove the jack, and reinstall any wheel cover only if it fits the spare correctly. Stow the flat tire, jack, handle, lug wrench, and wheel-lock key before driving.
How to Ensure Your Spare Tire Fits Properly
Your spare must match the vehicle’s required bolt pattern, wheel fitment, load needs, and usage limits. The safest way to confirm this is to use the spare supplied for your RAV4 or a replacement that matches Toyota’s requirements for your exact model.
Before installing the spare, check the sidewall and label. Compact spare tires often have temporary-use wording, special pressure requirements, and speed limits. Full-size spares may have fewer limits, but they still need correct pressure, tread depth, and condition.
The U.S. Tire Manufacturers Association recommends using the driver’s door label or owner’s manual for recommended tire pressure and checking tires at least monthly when cold. That includes the spare.
Do not use a spare that is flat, cracked, badly worn, visibly damaged, or not made for your RAV4. If the spare is unsafe, call roadside assistance instead of trying to “make it work.”
Tips for Driving Safely With a Spare Tire

A spare tire is a way to reach service, not a reason to delay the repair. Drive gently, avoid sudden steering or hard braking, and leave extra space around your RAV4.
If your RAV4 has a compact temporary spare, follow the speed and distance limits printed on the spare tire label and in your owner’s manual. Many compact spares are limited to 50 mph, but the label on your tire is the rule you should follow.
Keep your route simple. Avoid high-speed highways when you can, skip heavy cargo or towing, and go directly to a tire shop, Toyota dealer, or safe repair location.
Pay attention to warning lights and handling changes. A compact spare can affect traction, braking feel, and stability systems because it may not match the size and grip of the regular tire.
After Installation Checklist
Before you drive away, take two minutes to check your work. This is where many roadside mistakes happen.
- Confirm every lug nut is installed and tightened in a star pattern.
- Check that the spare sits flat against the hub.
- Make sure the jack and tools are removed from under the vehicle.
- Check the spare tire pressure if you have a gauge.
- Stow the flat tire and tools so they cannot slide while driving.
- Drive slowly at first and listen for clunks, scraping, or vibration.
- Have the lug nut torque checked with a torque wrench as soon as possible.
Note: Tire pressure monitoring systems do not replace manual pressure checks. NHTSA recommends checking tire pressure with a gauge because warning lights may not appear until a tire is significantly underinflated.
Repair or Replace the Flat Tire?
Do not assume the flat tire can be repaired. A tire professional needs to remove it from the wheel and inspect the inside, especially if you drove on it while it was low or flat.
According to USTMA tire repair guidance, repair may be an option only when damage is limited to the tread area and the puncture is no larger than 1/4 inch. A plug alone is not considered a proper complete repair; the tire needs a proper internal inspection and repair method.
Replace the tire if the puncture is in the sidewall or shoulder, the tire has cracks or bulges, the tread is worn to 2/32 inch, or the tire was damaged by driving while underinflated. When replacing tires, match the size, load index, and speed rating recommended by Toyota or the tire manufacturer.
Top 5 Mistakes to Avoid When Changing a Tire
Changing a RAV4 tire is manageable, but these mistakes can turn a simple roadside job into a safety problem.
- Changing the tire in an unsafe location. Move away from traffic first. If you cannot, call for help.
- Using the wrong jack point. The wrong lift point can bend the body or let the jack slip.
- Forgetting to loosen lug nuts before lifting. Break them loose while the tire is still on the ground.
- Tightening lug nuts in a circle. Use a star pattern so the wheel seats evenly.
- Treating the spare as a normal tire. A compact spare is temporary and must follow the label’s pressure, speed, and distance limits.
Related Guides
Frequently Asked Questions
How often should I check my spare tire’s air pressure?
Check your spare tire pressure at least once a month when the tire is cold. Also check it before long trips. Use the pressure listed on the spare tire label, the driver’s door label, or your RAV4 owner’s manual.
Can I use a regular tire as a spare?
You can use a full-size tire as a spare only if it matches the size, load rating, speed rating, wheel fitment, and condition required for your RAV4. If it does not match Toyota’s specifications, do not use it.
What should I do if my lug wrench won’t fit?
Stop before you damage the lug nuts. Check whether your RAV4 has a wheel-lock key, confirm you are using the correct socket or wrench, and call roadside assistance if the tool still does not fit. Do not use an adjustable wrench on lug nuts.
Is it safe to drive long distances on a donut spare tire?
No. A compact donut spare is meant for temporary use. Follow the speed and distance limits on the spare tire label and in your owner’s manual, then get the regular tire repaired or replaced as soon as possible.
How do I know if my tire is beyond repair?
A tire is usually beyond repair if the damage is in the sidewall or shoulder, the puncture is larger than 1/4 inch, the tire has bulges or cracks, the tread is at 2/32 inch, or it was driven while flat. Have a trained tire technician inspect it.
Where are the jack and spare tire in a Toyota RAV4?
Many RAV4 models store the spare and tire-changing tools in or near the rear cargo area, but the exact layout can vary by model year and equipment. Check your owner’s manual before you need them.
Do I need a torque wrench after installing the spare?
Yes, a torque wrench is the best way to tighten lug nuts to the manufacturer’s specification. If you cannot torque them on the roadside, tighten them firmly with the factory wrench and have the torque checked as soon as possible.
Conclusion
Changing a tire on your Toyota RAV4 is easier when you follow a calm, safe order: protect yourself first, confirm the correct jack point, loosen the lug nuts before lifting, install the spare carefully, and tighten everything in a star pattern. The spare gets you moving again, but it is not the end of the job. Check pressure, drive gently, and get the damaged tire inspected as soon as possible.
Sources
- Toyota Manuals and Warranties — official owner’s manual portal for model-specific RAV4 instructions.
- NHTSA Tire Safety Ratings and Awareness — tire pressure, tread depth, TPMS, and tire safety guidance.
- USTMA Tire Care Essentials — tire pressure, spare tire checks, tread depth, and tire maintenance basics.
- USTMA Tire Repair Basics — tire repair limits and proper repair requirements.
- USTMA Replacing Tires — replacement tire size, load index, and speed rating guidance.
