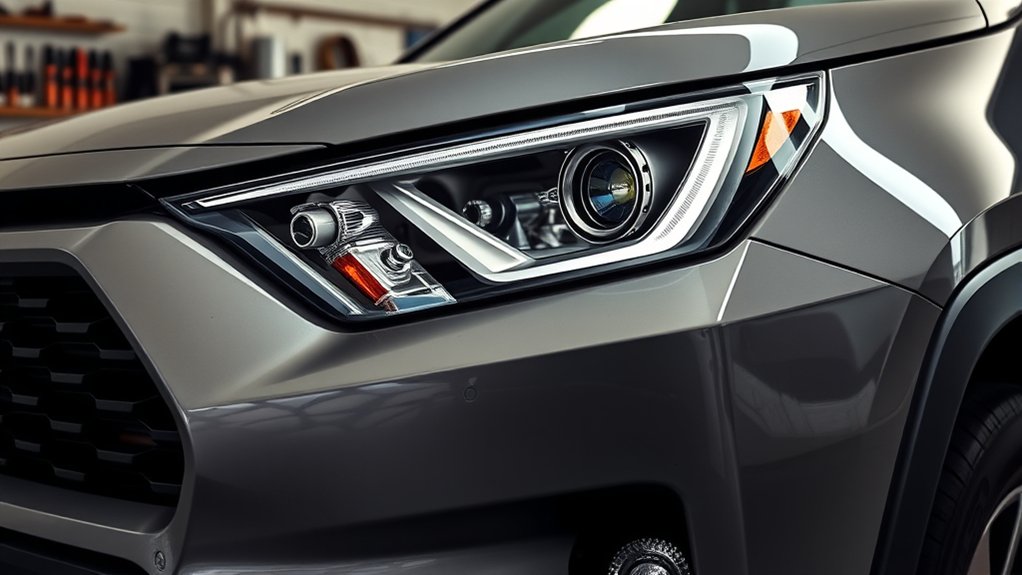
Replacing a Toyota RAV4 headlight assembly is a doable DIY job for many owners, but the exact steps vary by model year, trim, lamp type, and front-bumper design. Before you remove a single clip, confirm the replacement assembly by VIN, support the vehicle safely, protect the painted bumper cover, and plan to check headlight aim before driving at night.
Quick Answer
To replace a Toyota RAV4 headlight assembly, confirm the correct left or right assembly for your model year, remove the needed bumper-cover fasteners, unplug the wiring harness, transfer any required bulbs or caps, install the new assembly, test every light, reattach the bumper, and adjust the beam aim.
Key Takeaways
- Check the part by VIN, model year, trim, lamp type, and driver/passenger side before you buy.
- Many RAV4 headlight assembly jobs require loosening or partially removing the front bumper cover for access.
- Disconnect connectors gently, release locking tabs fully, and never pull a harness by the wires.
- Test low beams, high beams, turn signals, parking lights, and daytime running lights before final bumper reassembly.
- After installation, check headlight aim so you improve visibility without creating glare for other drivers.
At a Glance
| Time Required | About 1.5 to 3 hours for a careful DIY job, depending on model year and clip condition. |
| Difficulty | Moderate. The wiring is simple, but bumper-cover clips and alignment require patience. |
| Tools Needed | Socket set, trim-clip removal tool, Phillips screwdriver, plastic pry tool, gloves, eye protection, painter’s tape, blanket, flashlight, and jack stands if the vehicle is raised. |
| Cost | Part cost varies widely by model year, halogen/LED type, OEM vs aftermarket source, and whether the assembly includes bulbs or modules. Check current VIN-specific pricing before ordering. |
Essential Steps to Replace Your RAV4 Headlight Assembly
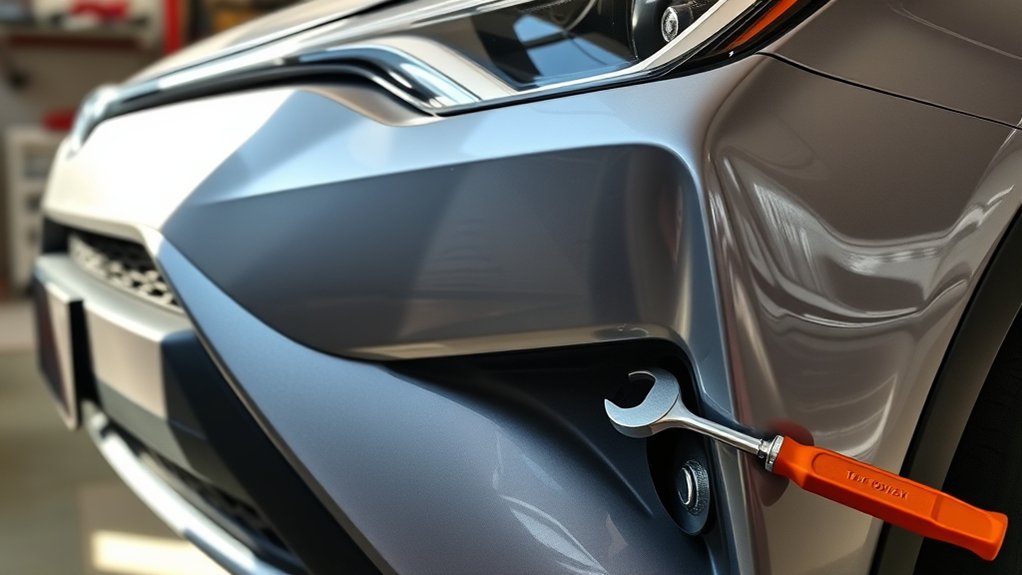
The safest way to replace a RAV4 headlight assembly is to treat the job as three smaller tasks: confirm fitment, remove only the bumper-cover hardware needed for access, and test the lights before you put everything back together.
Start by checking your Toyota owner’s manual and vehicle-specific information. Toyota publishes manuals by vehicle, and that matters because RAV4 headlight layouts differ across generations and trims.
Next, confirm the replacement part. Match the model year, trim, driver or passenger side, halogen or LED configuration, daytime running light style, and connector layout. If you are buying Toyota parts, use the VIN-based lookup from an authorized source because Toyota Genuine Parts are listed by vehicle fitment.
Once you have the correct assembly, protect the bumper and fender edges with painter’s tape. Remove the upper, lower, and wheel-well fasteners needed to loosen the bumper cover. Then disconnect the headlight wiring harness, remove the headlight mounting bolts, slide the old assembly out, and install the new one in the same position.
Before final reassembly, reconnect the 12-volt battery if you disconnected it, test all front lighting functions, and check that the beam pattern is not aimed too high. U.S. lighting rules cover original and replacement lamps, so the goal is not just a bright light. The goal is a correctly fitted, compliant, properly aimed lamp that helps you see without adding glare.
Warning: Never work under a vehicle supported only by a jack. Use a level surface, chock the wheels, support the RAV4 with rated jack stands if you raise it, and keep your hands clear of pinch points around the bumper cover.
Confirm Fitment Before You Start
Many headlight replacement problems begin before the repair starts. A headlight assembly can look correct online but still have the wrong connector, mounting tab, bulb style, or LED module for your RAV4.
Check these details before you order or install the part:
- Model year and generation: A 2012 RAV4 assembly will not fit the same way as a 2022 RAV4 assembly.
- Side: Driver-side and passenger-side assemblies are not interchangeable.
- Lamp type: Match halogen, projector, LED, adaptive, or daytime running light design.
- Trim and market: Limited, XLE, Adventure, Hybrid, Prime, and market-specific versions may use different lighting parts.
- Connectors and modules: Some assemblies reuse bulbs or caps, while others include sealed LED components or control modules.
- Mounting tabs: Compare every tab and guide pin before installing. One missing tab can cause poor beam aim or bumper gaps.
If the old assembly was damaged in a collision, inspect the bracket and radiator support area before installing the new light. A bent bracket can make a correct headlight look misaligned.
Note: If your RAV4 has LED, adaptive, or advanced lighting features, the assembly may need calibration or a scan-tool check after replacement. Use a professional if warning lights remain after installation.
Tools and Parts You Should Have Ready
Gather your tools before loosening the bumper cover. This keeps the job clean and helps you avoid losing clips or scratching painted panels.
- Replacement Toyota RAV4 headlight assembly that matches your VIN and side
- Socket set, including commonly used 10 mm sockets where applicable
- Ratchet, short extension, and small hand tools
- Phillips screwdriver and flat plastic pry tool
- Trim-clip removal tool
- Painter’s tape and a clean blanket for the bumper cover
- Gloves and safety glasses
- Small containers or labeled bags for screws and clips
- Replacement bumper clips if old clips are brittle or broken
- Flashlight or work light
You may also need replacement bulbs, dust caps, gaskets, or control modules depending on the assembly you buy. Compare the old and new assemblies on a bench before installing anything on the vehicle.
Follow These Safety Precautions Before Starting Your Replacement
Before you begin, park the RAV4 on a flat surface, set the parking brake, and let the front lighting components cool. Wear safety glasses and gloves because bumper clips, splash shields, and broken tabs can have sharp edges.
Turn the vehicle off and remove the key or keep the smart key away from the vehicle. If your service information recommends it, disconnect the negative terminal of the 12-volt battery before unplugging the headlight wiring harness. This lowers the chance of a short while you work around connectors.
If you drive a RAV4 Hybrid or RAV4 Prime, do not touch orange high-voltage cables or components. Headlight assembly work is normally around the 12-volt lighting system, but collision damage or unfamiliar wiring is a good reason to stop and use a qualified technician.
Keep fasteners organized by location. Toyota bumper covers often use a mix of screws, bolts, and push clips, and forcing the wrong fastener into the wrong spot can crack plastic or leave the bumper loose.
Step-by-Step Guide to Remove the Old Headlight Assembly
Exact fastener locations vary, but the general removal process is similar on many RAV4 models. Work slowly and do not force the bumper cover. If a section will not move, look for a hidden clip or screw.
- Open the hood. Remove the upper radiator-cover clips or top bumper fasteners that block headlight access.
- Protect the paint. Apply painter’s tape along the bumper-to-fender edges and headlight edges.
- Remove wheel-well fasteners. Turn the front wheels for access, then remove the screws or clips that hold the liner and bumper edge.
- Remove lower fasteners. Take out the bolts or clips that connect the bumper cover to the splash shield or lower panel.
- Release the bumper sides. Pull gently near the fender edge after all fasteners are out. Use a plastic tool if needed, not a metal screwdriver against painted surfaces.
- Support the bumper cover. You may only need to loosen one side, but if the cover comes farther off, set it on a blanket and unplug any fog light, parking sensor, or camera wiring first.
- Remove headlight mounting bolts. Many RAV4 headlight assemblies use bolts near the top and side. A 10 mm socket is common, but verify your fasteners before applying force.
- Slide the assembly forward. Guide it out carefully so the locating pin and tabs clear the bracket without scraping the bumper or fender.
Do not yank the assembly out while the wiring is still connected. The harness should be released first or supported so the wires are not stretched.
How to Disconnect the Old Headlight and Wiring
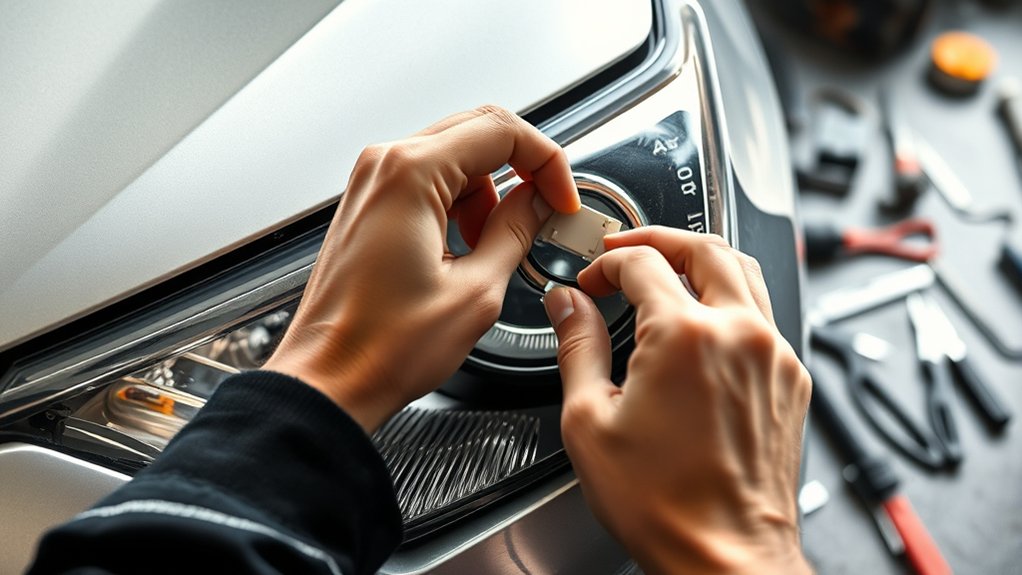
Once the headlight mounting bolts are removed, disconnect the wiring before fully removing the old headlight assembly. Some connectors use gray or black locking tabs, while others use squeeze tabs or sliding locks.
- Press or lift the connector lock only in the direction it is designed to move.
- Pull from the connector body, not from the wires.
- Release wiring harness clips from the headlight housing before sliding the assembly out.
- Take a quick phone photo of the connector layout before unplugging multiple connectors.
- Inspect each connector for bent pins, corrosion, melted plastic, or loose terminals.
If the new assembly does not include bulbs or modules, transfer the old parts only if they are in good condition and compatible. Do not touch the glass on halogen bulbs with bare fingers because skin oil can shorten bulb life.
Pro Tip: Put each fastener group in a labeled bag: upper clips, wheel-well screws, lower shield bolts, and headlight bolts. Reassembly becomes much easier when every fastener goes back where it came from.
How to Install Your New RAV4 Headlight Assembly
Compare the new and old assemblies side by side before installation. The mounting tabs, locating pin, rear covers, wiring sockets, and lens shape should match. If anything is different, stop before forcing the part into place.
Slide the new headlight assembly into the opening and align the plastic guide pin with its bracket. The assembly should sit naturally against the mounting points. If you have to push hard to make a bolt hole line up, check for a trapped harness, bent bracket, or wrong part.
Install the mounting bolts by hand first to avoid cross-threading. Once all bolts are started, tighten them evenly. Use the Toyota service-manual torque value when available. If you do not have the spec, snug the bolts carefully without crushing plastic tabs.
Reconnect the wiring harness until every connector clicks or locks in place. Reinstall harness clips so the wiring does not rub against the radiator support, bumper cover, or sharp brackets.
Before reinstalling all bumper fasteners, test the lights:
- Low beams
- High beams
- Turn signals and hazard lights
- Parking lights
- Daytime running lights, if equipped
- Fog lights or sensors, if they were unplugged during bumper removal
If one function does not work, fix it now. It is much easier to reach the connectors before the bumper cover is fully secured.
Tips for a Secure Bumper Reattachment
Reattaching the bumper cover is not just cosmetic. Poor bumper alignment can stress the new headlight tabs, create uneven panel gaps, and leave splash shields loose.
- Start at the center or main guide points, then work outward toward the fenders.
- Make sure the bumper cover sits under or over each guide tab exactly as it did before removal.
- Snap the side clips in gently. A hard slap can crack old plastic retainers.
- Reinstall the lower splash-shield fasteners before tightening everything fully.
- Check that the bumper-to-fender gaps match on both sides.
- Replace broken push clips instead of reusing loose clips.
After the bumper cover is back in place, close the hood slowly and check the gap around the headlight, hood edge, bumper, and fender. Uneven gaps usually mean a guide tab is not seated or a hidden clip is misaligned.
How to Align Your Headlights After Installing?
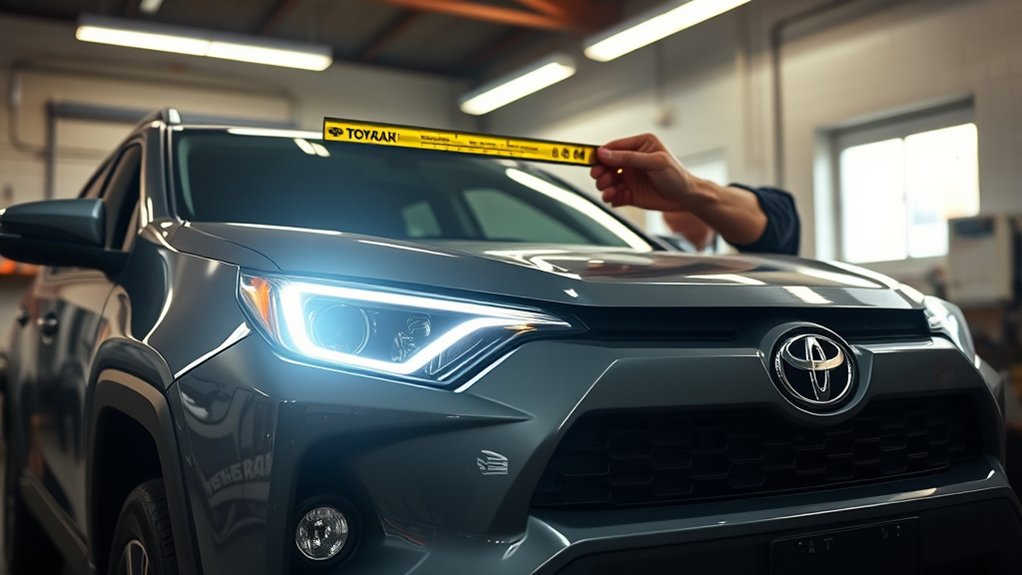
Headlight alignment is one of the most important parts of this repair. A new assembly can work perfectly and still be unsafe if the beam is aimed too high, too low, or too far to one side.
Properly aimed low beams should help you see the road ahead without shining directly into the eyes of oncoming drivers.
For a basic DIY check, park on level ground facing a flat wall or garage door. Set tire pressure correctly, remove unusual cargo weight, and keep the vehicle at normal ride height. Measure from the ground to the center of each headlight lens, then mark that height on the wall with tape.
Back the RAV4 straight away from the wall, commonly about 25 feet when space allows. Turn on the low beams and compare the beam cutoff to your marks. The exact target position can vary by vehicle and lighting system, so use your owner’s manual or service information when available.
Use the headlight adjustment screw only for small corrections. Do not raise the beam simply because you want more distance. Organizations that evaluate headlight safety, including the Insurance Institute for Highway Safety, emphasize both visibility and glare control. If the cutoff pattern looks scattered, uneven, or impossible to adjust, the assembly may be seated incorrectly or the replacement part may not match your RAV4.
If you are unsure about the aim, have a repair shop use a professional headlamp aimer. This is especially important after collision repair or LED/adaptive headlight replacement.
Common Mistakes to Avoid During Headlight Replacement
Most headlight assembly replacement problems come from rushing the job. Avoid these mistakes before they create a second repair.
Skipping Connector Checks
A loose connector can make a brand-new headlight look defective. Before reinstalling the bumper cover, inspect every connector and confirm it locks in place.
- Check for corrosion, bent pins, or melted plastic.
- Make sure harness clips are reattached to their brackets.
- Keep wiring away from sharp metal edges and hot areas.
- Verify each lighting function before final reassembly.
Improper Bumper Alignment
The bumper cover should not be used to pull the headlight into position. If the bumper gap is uneven, loosen the fasteners and reseat the cover instead of forcing clips to line up.
Look for consistent gaps between the headlight, hood, bumper, and fender. If one side sits higher than the other, a locating pin, side bracket, or lower splash-shield fastener may be out of place.
Neglecting Headlight Adjustment
Any time you replace a headlight assembly, check the aim. Even a small difference in mounting position can change the beam pattern.
Poor aim can reduce your visibility or create glare for oncoming traffic. Federal lighting standards such as 49 CFR 571.108 address lamps, reflective devices, and associated equipment, including replacement lighting equipment. That makes correct fitment and aim part of a safe repair, not an optional finishing touch.
Troubleshooting After Installation
If the headlight does not work correctly after installation, do not assume the new assembly is bad. Work through the likely causes first.
| Problem | Likely Cause | What to Check |
| No light on one side | Loose connector, blown fuse, bad bulb, or wrong assembly | Reseat connector, inspect fuse, confirm bulb/module transfer, compare part numbers. |
| Flickering light | Weak connection, poor ground, incompatible aftermarket lighting | Inspect harness pins, grounds, battery connection, and part compatibility. |
| Condensation inside lens | Damaged seal, missing rear cap, blocked vent, or defective assembly | Check caps, vents, seals, cracks, and warranty options. |
| Beam will not align | Wrong assembly, bent bracket, broken tab, or poor seating | Loosen and reseat the assembly, inspect support brackets, and compare mounting tabs. |
| Dash warning remains | LED/adaptive system fault, module issue, or calibration need | Scan for codes and use a technician if the system requires calibration. |
When to Seek Professional Help for Headlight Issues
Professional help is the safer choice if you see flickering lights, repeated fuse failures, melted connectors, accident damage, broken mounting brackets, or warning messages after replacement.
You should also use a technician if your RAV4 has LED, adaptive, or advanced lighting features that require calibration. Modern headlight systems can involve control modules and sensor-based functions, not just a simple bulb and reflector.
If the vehicle is still under warranty, ask your Toyota dealer or warranty provider before installing aftermarket parts. The wrong part or poor installation can create fitment, electrical, or coverage problems.
Finally, avoid non-compliant lighting retrofits. Swapping in an LED or HID kit that was not designed for your headlight housing can scatter light and increase glare. AAA testing has also shown that headlight condition and performance affect nighttime visibility, especially on roads without overhead lighting.
Replace the Assembly or Just the Bulb?
You do not always need a full headlight assembly. If the lens is clear, the tabs are intact, and only one replaceable bulb has failed, a bulb replacement may be enough.
A full assembly replacement makes more sense when the lens is cracked, water enters the housing, mounting tabs are broken, the reflector is damaged, the assembly was hit in a collision, or the lamp is a sealed LED unit that cannot be serviced with a simple bulb change.
If the lens is only cloudy, restoration may improve output for a while, but it will not fix internal moisture, damaged reflectors, broken mounts, or failed LED electronics. Inspect the assembly closely before choosing the cheaper repair.
Related Guides
Frequently Asked Questions
What tools do I need for a Toyota RAV4 headlight assembly replacement?
You usually need a socket set, trim-clip removal tool, Phillips screwdriver, plastic pry tool, gloves, safety glasses, painter’s tape, and a blanket to protect the bumper cover. A 10 mm socket is common on many Toyota jobs, but verify your fasteners before starting.
Do I have to remove the bumper to replace a RAV4 headlight assembly?
Many RAV4 models require loosening or partially removing the front bumper cover to reach the headlight mounting bolts. The exact amount of bumper removal depends on the model year, trim, and lamp design.
How much does a new RAV4 headlight assembly cost?
Cost varies by model year, side, halogen or LED design, OEM vs aftermarket source, and whether modules or bulbs are included. Check current pricing with your VIN before buying so you do not order the wrong assembly.
Can I replace only one headlight assembly?
Yes, you can replace one assembly if only one side is damaged or failed. After installation, compare brightness and beam aim on both sides. If the older side is cloudy or weak, it may still reduce nighttime visibility.
How long does the replacement process take?
A careful DIY replacement often takes about 1.5 to 3 hours. Plan extra time if clips are brittle, the bumper cover has never been removed, or the headlight assembly needs adjustment after installation.
Should I disconnect the battery before replacing the headlight assembly?
Disconnecting the negative 12-volt battery terminal is a smart precaution when unplugging lighting connectors, especially if your service information recommends it. Keep the smart key away from the vehicle and avoid touching hybrid high-voltage components.
Do new headlights need to be adjusted after installation?
Yes. Always check headlight aim after replacing an assembly. Even a small change in mounting position can affect visibility and glare. Use your service information or have a shop aim the lights if the beam pattern looks uneven.
Conclusion
Replacing your Toyota RAV4 headlight assembly is manageable when you slow down, confirm the right part, protect the bumper cover, and test the lights before final reassembly. The most important steps are simple: match the assembly by VIN and lamp type, release clips without forcing them, reconnect the wiring securely, and check headlight aim afterward.
If the bumper will not align, the beam pattern looks wrong, connectors are damaged, or your RAV4 uses advanced LED or adaptive lighting, get professional help. A correct headlight repair should restore visibility, preserve clean bumper fitment, and avoid glare for other drivers.
Sources
- Toyota Manuals and Warranties — supports checking model-specific owner information before service.
- Toyota Genuine Parts — supports VIN/model-based part fitment guidance.
- eCFR 49 CFR 571.108, Standard No. 108 — supports replacement lamp and lighting compliance context.
- Insurance Institute for Highway Safety: Headlights — supports visibility, glare, and proper low-beam aim guidance.
- AAA Headlight Limitations Testing — supports the importance of headlight condition and nighttime visibility.
