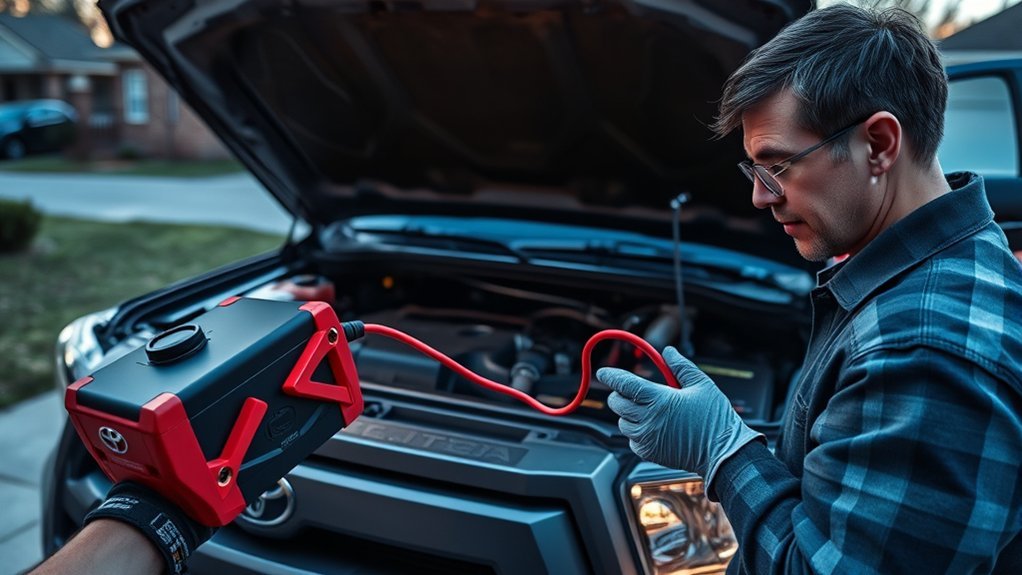
To jump-start a Toyota Tundra safely, use a compatible 12-volt donor or jump pack, connect positive to positive, connect the donor negative terminal, and make the final negative connection to the Tundra ground point specified in the owner’s manual. Conventional and i-FORCE MAX Tundras do not always use the same under-hood connection points, so confirm the procedure for your exact model year before attaching a clamp.
Last updated: September 22, 2026.
Reviewed by: [VERIFY: add the real automotive reviewer’s name and relevant credentials]
Quick Answer
Connect the first red clamp to the Tundra’s positive battery terminal or the model-specific positive jump point, the second red clamp to donor positive, one black clamp to donor negative, and the final black clamp to the Toyota-specified metal ground on the Tundra. On an i-FORCE MAX model, use the under-hood jump-starting point identified in the owner’s manual and confirm a successful start by the READY indicator. Remove the clamps in exact reverse order.
Key Takeaways
- Use only a compatible 12-volt donor vehicle or a jump pack whose manufacturer rates it for your Tundra’s engine, battery, and expected temperature.
- Do not jump a battery that is cracked, leaking, swollen, frozen, smoking, or producing a strong sulfur odor.
- Attach the final black clamp to the approved ground point, not directly beside the discharged battery.
- On an i-FORCE MAX Tundra, use the model-year under-hood jump-starting point and do not touch orange high-voltage components. A silent gasoline engine does not mean the start failed; look for the READY indicator.
- A successful jump does not fully recharge a deeply discharged battery. Charge and test it afterward.
At a Glance
| Time Required | About 10 to 20 minutes for the jump-start procedure; charging and testing take longer |
| Difficulty | Easy to moderate, provided the battery is undamaged and the terminals are accessible |
| Tools Needed | Compatible 12-volt donor or suitable jump pack, manufacturer-rated jumper cables, safety glasses, gloves, flashlight, and optional multimeter |
| Cost | No service cost when suitable equipment is already available; roadside assistance, cables, testing, or replacement may add cost |
Warning: Do not attempt a jump-start if the battery is cracked, leaking, swollen, frozen, smoking, or producing a strong rotten-egg odor. Keep flames, cigarettes, sparks, jewelry, loose clothing, and cables away from the battery, cooling fan, belts, pulleys, and fuel-system parts. On an i-FORCE MAX model, do not touch orange high-voltage cables or components.
Confirming Battery Issues Before Jump-Starting
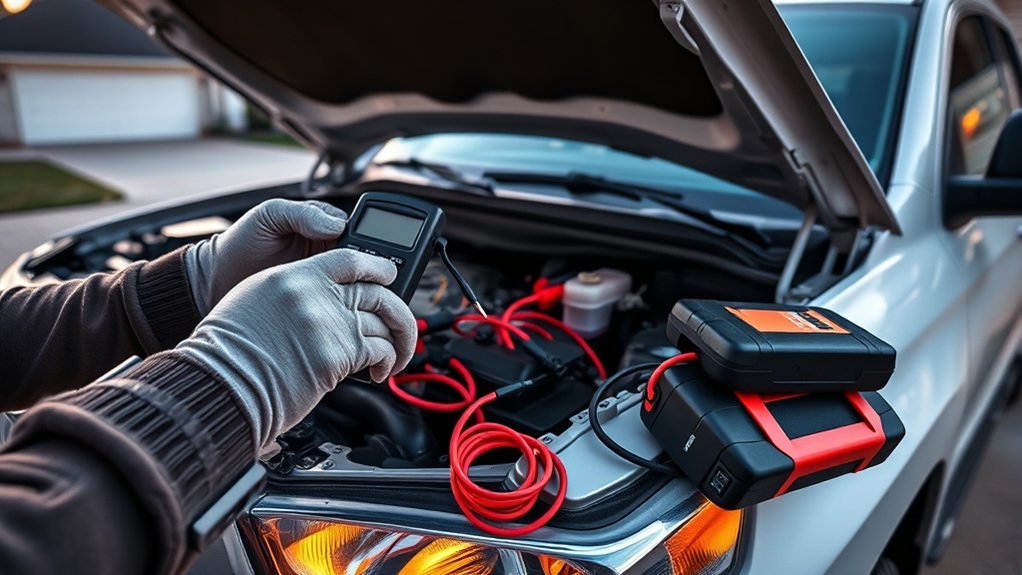
Rapid clicking, dim interior lights, a slow crank, or no electrical response can point to a discharged battery. However, these symptoms do not prove that the battery itself has failed. Loose terminals, corrosion, damaged cables, a faulty starter, parasitic electrical drain, or a charging-system problem can cause similar symptoms. If the Tundra still will not start after a correct jump attempt, use the Toyota Tundra won’t-start troubleshooting checklist instead of repeating the jump indefinitely.
A single solid click may indicate a poor connection or starter problem. If the engine cranks at normal speed but does not start, the cause may involve fuel, ignition, security, or engine controls rather than the battery.
Inspect the battery case and terminals before touching the cables. Stop if you see cracks, wet electrolyte, severe swelling, smoke, or other physical damage. Light terminal corrosion can restrict current, but do not perform aggressive cleaning while jumper cables are attached.
You can use a multimeter as a preliminary check after the battery has rested. A conventional charged 12-volt lead-acid battery commonly reads about 12.6 volts or more, but voltage alone does not show whether it can deliver adequate cranking current. A battery can display acceptable voltage and still fail a proper load or conductance test. For model-specific instructions, use Toyota’s manual and warranty library.
When You Should Not Jump-Start the Tundra
Call roadside assistance or a qualified technician instead of connecting cables when:
- The battery is cracked, leaking, swollen, frozen, smoking, or unusually hot.
- You smell a strong sulfur or rotten-egg odor.
- The vehicle is stopped in an unsafe traffic location.
- You cannot positively identify the terminals or approved ground point.
- The donor source is not a compatible 12-volt system.
- The donor vehicle’s manual prohibits its use for jump-starting another vehicle.
- The cables have exposed conductors, burned clamps, loose jaws, or damaged insulation.
- The Tundra was recently flooded or has visible electrical damage.
What Tools Do You Need to Jump-Start a Toyota Tundra?
Gather the correct equipment before positioning the vehicles. The starting load of a full-size pickup can expose the limits of thin, damaged, or poorly rated cables.
[Amazon Products Picked for You]

Strong And Safe Clamps: The TOPDC Jumper Cables booster cable has four giant alligator clamps with strong jagged teeth and springs for excellent grip force. The jaws are strong and make connections easy. And the High Peak Jumper Cables has insulating rubber material to prevent electric shock and protect the safety of users. The clamps are engineered with reinforced structure and well-designed jaws that provide a firm, secure grip on both top-post and side-terminal batteries, ensuring long-lasting durability and ease of use.

20 Feet Jumper Cables:The TOPDC heavy duty jumper cables for cars are 20 feet long and can easily connect from one car battery to another without tangling (Tangle-Free Design). Suitable for 12V & 24V vehicles including freight hauling vehicles, diesel trucks, mini vans, large car SUVs, mid-size cars, and explicitly compatible with motorcycles/ATVs

Strong And Safe Clamps: The TOPDC Jumper Cables booster cable has four giant alligator clamps with strong jagged teeth and springs for excellent grip force. The jaws are strong and make connections easy. And the High Peak Jumper Cables has insulating rubber material to prevent electric shock and protect the safety of users
Essential Jump Start Equipment
- A compatible 12-volt power source: Use a donor vehicle whose manual permits jump-starting or a portable jump pack rated for your Tundra’s engine and expected temperature.
- Properly rated jumper cables: Use a cable set whose manufacturer rates it for the vehicle and starting load. Thin, damaged, or poorly clamped cables can create excessive voltage drop and heat.
- Safety glasses and protective gloves: These help protect your eyes and skin from sparks, damaged insulation, and battery electrolyte.
- A flashlight: Good lighting reduces the chance of confusing the positive and negative terminals.
- An optional multimeter: It can provide a preliminary voltage reading but cannot replace a complete battery and charging-system test.
Safety Gear Recommendations
Wear safety glasses with side protection and gloves that are suitable for automotive work. Remove metal jewelry that could bridge a terminal and grounded metal. Tie back loose clothing and hair before working near the engine compartment.
Keep the area ventilated and free from cigarettes, flames, or other ignition sources. Lead-acid batteries can release flammable hydrogen gas during charging and jump-starting. The final ground connection is placed away from the discharged battery to reduce the chance of a spark beside it.
Proper Cable Specifications
Thin cables can lose voltage and heat under a heavy starting load. Toyota does not publish one universal jumper-cable gauge for every Tundra model year, so use a quality cable set whose manufacturer rates it for your vehicle and starting load. Strong insulated clamps and intact low-resistance conductors matter more than relying on one gauge number alone.
Longer cables generally add electrical resistance, and conductor material can change how much current a cable can carry for a given size. Follow the cable manufacturer’s vehicle or engine-displacement rating rather than assuming that one cable length or gauge fits every Tundra.
Inspect the entire cable set before use. Do not use it if the clamps are loose, springs are weak, insulation is cut, metal conductors are exposed, or the cable has burned areas.
How Should You Prepare the Tundra and Donor Vehicle?
- Move both vehicles to a safe, ventilated location on firm, level ground.
- Position them close enough for the cables to reach without stretching, but do not let the vehicles touch.
- Place both transmissions in Park and apply both parking brakes.
- Turn off the engines or power systems, headlights, climate control, audio, heated seats, chargers, and other accessories.
- Open both hoods and identify the donor positive and negative terminals plus the Tundra’s model-specific positive connection and approved grounding point. On an i-FORCE MAX Tundra, use the under-hood jump-starting point shown in the owner’s manual rather than touching high-voltage components.
- Route the cables where they cannot contact cooling fans, belts, pulleys, exhaust parts, or fuel lines.
- Confirm that the donor system is 12 volts and that its owner’s manual permits the procedure.
Note: Do not assume an electric vehicle, hybrid, commercial truck, or vehicle with multiple batteries is a suitable donor. Check the donor vehicle’s manual before making any connection.
What Is the Correct Jumper-Cable Order on a Toyota Tundra?
With both vehicles turned off and all accessories disabled, connect the cables in this order:
- Red to the Tundra: Attach one red clamp to the positive (+) battery terminal or designated positive jump point specified for your model year. On an i-FORCE MAX model, use the under-hood jump-starting terminal identified in the owner’s manual.
- Red to the donor: Attach the other red clamp to the positive (+) terminal of the donor battery.
- Black to the donor: Attach one black clamp to the donor battery’s negative (-) terminal.
- Black to the Tundra ground: Attach the final black clamp to the solid, stationary, unpainted metal ground point identified in the Tundra’s owner’s manual. Keep it away from the discharged battery, fuel lines, cooling fan, belts, and other moving parts.
Check each clamp before starting either vehicle. The jaws should contact clean metal securely, and the cables should not cross moving or hot components. Never allow the clamps to touch one another after any clamp has been connected.
Pro Tip: Remember the connection order as positive on the disabled vehicle, positive on the donor, negative on the donor, and ground on the disabled vehicle.
How Do You Start the Tundra After Connecting the Cables?
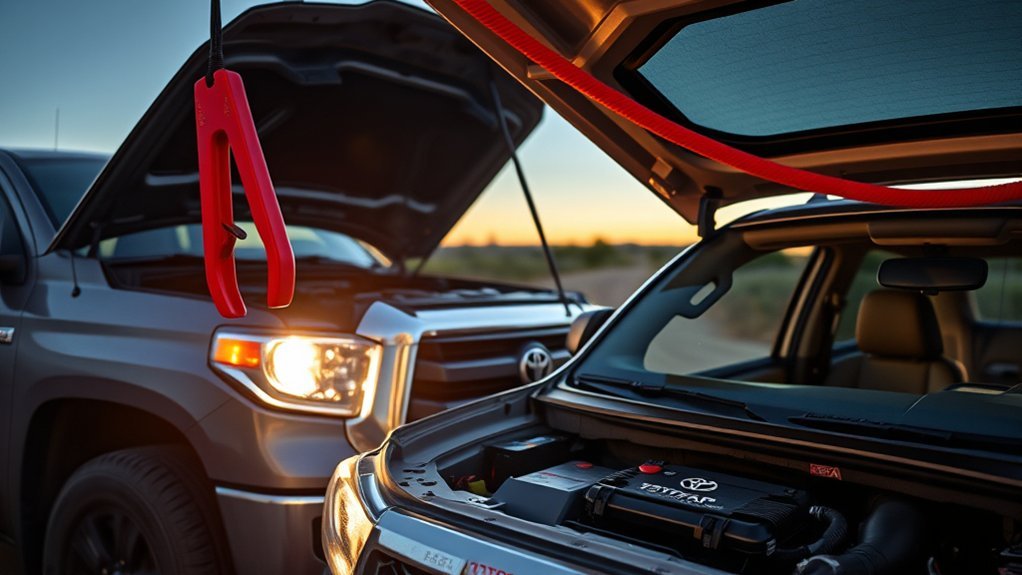
- Follow the donor vehicle’s manual and your Tundra’s model-year procedure for donor-engine operation. Some Toyota procedures call for a brief charging period before the start attempt; do not improvise with aggressive revving.
- Try to start the Tundra normally. Keep each attempt brief. If it does not start, stop cranking, wait at least a minute, and recheck the clamps and cable routing.
- If the Tundra still does not start after a few controlled attempts, stop. Repeated cranking can overheat the starter, cables, and connections.
- On a conventional Tundra, confirm that the engine is running steadily.
- On an i-FORCE MAX Tundra, confirm that the READY indicator is illuminated. The gasoline engine may remain silent even though the hybrid system has started.
- Allow the started Tundra to stabilize for a few minutes before disconnecting the cables.
Watch for smoke, melting insulation, excessive sparking, hot cables, warning messages, or unusual odors. Turn both vehicles off and step away if any of these signs appear.
How to Safely Disconnect Jumper Cables
Once the Tundra is running normally or displaying READY, remove the cables in exact reverse order. Keep the clamps separated and prevent them from contacting bodywork, engine parts, or each other.
Reverse Connection Order
- Remove the black clamp from the Tundra’s metal ground point.
- Remove the black clamp from the donor battery’s negative terminal.
- Remove the red clamp from the donor battery’s positive terminal.
- Remove the red clamp from the Tundra’s positive terminal or designated jump point.
Close any protective terminal covers that were opened. Check that no tools, cables, or loose objects remain in either engine compartment before closing the hoods.
Secure Cable Storage
Let the cables cool if they became warm. Wipe away moisture or dirt, then coil them loosely rather than bending them sharply. Store the clamps where they cannot touch each other or another conductor.
Use a dry storage bag or dedicated truck compartment. Inspect the insulation, clamp jaws, springs, and cable-to-clamp connections after each use. Replace the set if you find exposed wire, burned insulation, corrosion, or loose components.
Jump-Starting With a Portable Jump Pack
A suitable portable jump pack can remove the need to position a second vehicle. Its capacity and starting-current rating must match the Tundra’s engine, battery type, and expected temperature.
- Read the jump pack instructions and verify that it is charged and set for a 12-volt vehicle.
- Turn the Tundra and all accessories off.
- Connect the red clamp to the positive terminal or designated positive jump point.
- Connect the black clamp to the approved ground point specified by Toyota and the jump-pack manufacturer.
- Turn the pack on or enable boost mode only as its instructions direct.
- Start the Tundra with a brief attempt.
- After the Tundra starts or displays READY, turn the pack off.
- Remove the black clamp first, followed by the red clamp.
- Recharge the jump pack after use and inspect its cables before storing it.
Warning: Do not use an override or force-start mode unless the jump-pack instructions specifically permit it for your battery condition. Some override modes disable reverse-polarity and low-voltage protections.
[Amazon Products Picked for You]

POWERFUL CAR BATTERY JUMP STARTER: The ET03 car battery jump starter can easily jump-start all 12V common vehicles with up to 8.0L gas and 7.0L diesel engines in seconds with its peak current reaching 4000 amps. Supports 50 jump starts at most on a single charge and suitable for lawnmowers, motorcycles, passenger cars, trucks, and even boats, etc.

【Powerful Battery Starter】The OXILAM car jump starter delivers a powerful peak current of 6000A, capable of quickly reviving a dead car battery in just seconds—even in extreme temperatures. A single full charge provides up to 60 jumpstarts. 2024 upgraded jumper cables can safely start all gas engines and 12L diesel engines, including 12v vehicles, motorcycles, pickups, RVs, tractors, trucks, vans, ATVs, snowmobiles, yachts, and many more. Say goodbye to being stranded due to a dead battery

4000A&88.8Wh Jump Starter - Megavolt24 is equipped with a powerful 88.8Wh battery. this car battery jump starter is well-suited for 12V vehicles like cars, trucks, boats, and larger vehicles. wolfpack effectively restores your vehicle's power in emergency situations, supporting both gasoline and diesel engines with a capacity of under 10 liters
Troubleshooting a Tundra That Will Not Start
| What You Notice | Possible Cause | Next Step |
|---|---|---|
| No lights and no click | Very low battery, loose terminal, poor cable connection, or open circuit | Stop and inspect the terminals, clamps, cable condition, and approved ground point |
| Rapid clicking | Low available voltage or excessive resistance at a connection | Wait, reseat the clamps with both vehicles off, and use properly rated cables or a stronger pack |
| One solid click | Starter, solenoid, connection, or battery-current problem | Avoid repeated attempts and arrange a battery, cable, and starter diagnosis |
| Engine cranks normally but will not start | Fuel, ignition, immobilizer, sensor, or engine-control issue | A longer jump is unlikely to help; check warnings and obtain diagnostic service |
| Starts and then stalls | Charging-system fault, severely discharged battery, poor connection, or another engine problem | Do not continue driving; arrange charging-system and battery testing |
| Cable becomes hot, smokes, or melts | Wrong polarity, short circuit, undersized cable, damaged cable, or poor clamp contact | Turn both vehicles off, move away, and do not reconnect the equipment |
| Hybrid model is silent but READY is on | Normal i-FORCE MAX operation | Treat READY as confirmation that the hybrid system has started |
[Amazon Products Picked for You]
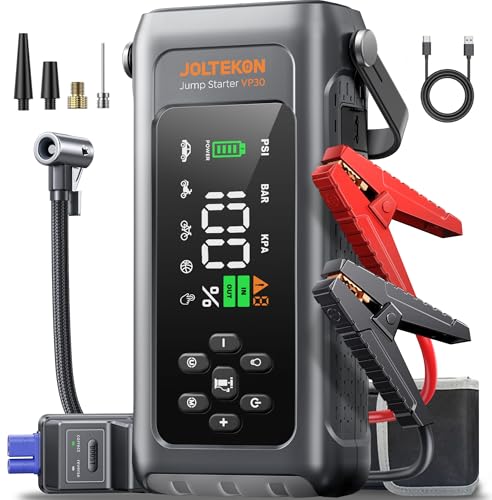
【8-IN-1 CAR BATTERY JUMP STARTER】This 12V Jump Box highlights highly integrated advanced functions but is more portable, transcending general battery booster. It's a portable car jump starter, tire pump, pressure gauge, portable power bank, flashlight, SOS signal, white strobe, red strobe as triangle warning light. Portable, versatile and must-have kit, your ultimate companion for emgencies, adventures and daily use!

HIGH-PERFORMANCE JUMP STARTING - The car jumper starter portable pack has a 45C high-rate lithium battery and 37WH capacity that can start 6.0 L gas/3.0 L diesel engines and other 12 V vehicles like motorcycles, cars, SUVs, pickups, or lawnmowers.This jump starter's powerful 1500 A peak suit current quickly starts low-voltage and fully-drained batteries, stocking stuffers for men and women.
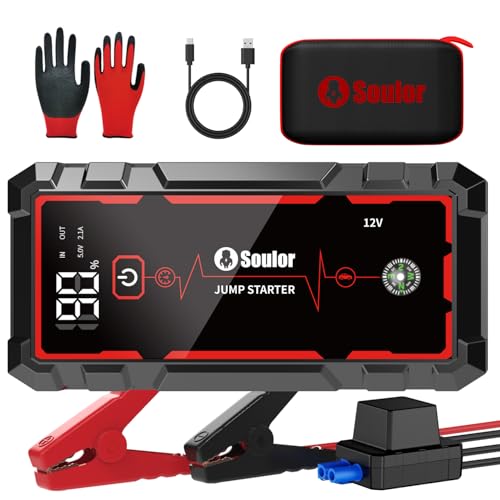
Dead Battery Jump Starting:It can jump-start 12V vehicles (cars, motorcycles, etc.) up to 40 times on a single full charge. Operates stably in extreme temperatures from -4°F to 140°F, ensuring consistent performance when you need it most. The built-in Forced Start function enables successful ignition even when the car battery is severely depleted, keeping you prepared for any roadside emergency.
How to Properly Maintain Your Toyota After a Jump Start
A successful jump gets the Tundra running, but it does not confirm that the battery is healthy or fully charged. If the truck has repeated low-voltage symptoms, see the Toyota Tundra battery maintenance guide for inspection and charging context.
- Drive continuously only as an interim recovery step: A 20- to 30-minute drive may restore enough charge for another start in some cases, but it is not a reliable measure of full state of charge. Avoid unnecessary electrical loads when practical and safe.
- Properly recharge a deeply discharged battery: Use a compatible charger or have the battery professionally charged and tested. Driving alone may require far longer than 20 to 30 minutes to restore a deep discharge.
- Test the battery: Arrange a proper battery test that measures starting ability, not just open-circuit voltage.
- Test the charging system: Have the alternator, battery cables, grounds, and charging voltage checked if the cause of discharge is unknown.
- Look for the original cause: Check for lights left on, accessories connected overnight, loose terminals, corrosion, infrequent driving, or an abnormal parasitic draw.
- Monitor the next few starts: Slow cranking or another dead battery soon afterward indicates that further testing is needed.
If the battery must be replaced, return the old lead-acid battery to a battery retailer, dealership, or approved hazardous-waste collection program. Do not place it in household trash or curbside recycling.
Signs It’s Time to Call a Mechanic for Jump Start Issues
Stop attempting jump-starts and arrange professional help when the Tundra repeatedly loses charge, starts and stalls, produces unusual electrical behavior, or will not respond to correctly connected and properly rated equipment. For a broader symptom-by-symptom path, see the Toyota Tundra won’t-start troubleshooting checklist.
| Sign | What It May Indicate | Recommended Action |
|---|---|---|
| Repeated jump-starts | Weak battery, parasitic drain, loose connection, or charging problem | Complete battery and charging-system test |
| Dimming or erratic electronics | Low system voltage, poor ground, alternator issue, or damaged wiring | Professional electrical diagnosis |
| Slow cranking or one solid click | Battery-current, cable, starter, or solenoid fault | Battery, voltage-drop, and starter testing |
| Starts and quickly stalls | Charging-system or engine-management problem | Do not continue driving; arrange service |
| Persistent heavy terminal corrosion | Leakage, poor terminal sealing, overcharging, or neglected connections | Battery and charging-system inspection |
| Smoke, heat, swelling, leaking, or sulfur odor | Battery damage, short circuit, overheating, or overcharging | Move away and request emergency roadside or professional assistance |
Frequently Asked Questions
Where do you put jumper cables on a Toyota Tundra?
Connect red to the Tundra’s positive battery terminal or designated positive jump point, red to the donor’s positive terminal, black to the donor’s negative terminal, and the final black clamp to the approved stationary metal ground on the Tundra. On an i-FORCE MAX model, use the under-hood jump-starting point specified for that model year. Check the owner’s manual for the exact locations.
Can jump-starting damage a Toyota Tundra’s alternator or electronics?
A correctly performed jump-start should not normally damage the charging system. Reversed polarity, incompatible voltage, touching clamps, poor connections, or ignoring manufacturer instructions can damage fuses, wiring, control modules, batteries, or charging components.
Should you rev the donor vehicle while jump-starting?
Only follow a higher-engine-speed instruction when the donor vehicle’s manual calls for it. Aggressive revving is not a universal requirement, and donor hybrids or modern charging systems may use a different procedure. Let the donor idle as its manufacturer directs.
What should you never do while jump-starting a Tundra?
Never reverse polarity, use an unknown or 24-volt source, let the vehicles touch, allow connected clamps to contact each other, smoke near the battery, lean over a damaged battery, route cables near moving parts, or continue when cables become hot or begin smoking.
Can you jump-start an i-FORCE MAX Tundra?
Yes. The 12-volt system can be jump-started using the model-year Toyota procedure. Current i-FORCE MAX manuals direct you to an under-hood jump-starting point rather than the high-voltage system. Do not touch orange high-voltage components. The READY indicator confirms that the hybrid system has started even when the gasoline engine remains silent.
How long should you drive after jump-starting a Tundra?
A continuous 20- to 30-minute drive may restore enough charge for another start in some cases, but it does not prove the battery is fully charged. A deeply discharged battery should be properly charged and tested; driving alone can take much longer to restore a deep discharge.
Conclusion
You can jump-start a Toyota Tundra safely when the battery is undamaged, the power source is compatible, and you follow the correct clamp order. Connect both positive terminals first, connect the donor negative terminal, and place the final black clamp on Toyota’s approved ground point.
After the Tundra starts, remove the cables in reverse order and arrange a battery and charging-system test if the cause of discharge is unclear. On an i-FORCE MAX model, use the READY indicator to confirm that the hybrid system is operating. Stop immediately and request professional help if you notice battery damage, smoke, hot cables, leaking electrolyte, or an unusual odor.
Sources
- Toyota Manuals and Warranties — model-year Tundra and Tundra Hybrid emergency instructions
- Toyota Tundra Quick Reference Guide — i-FORCE MAX starting behavior and READY-indicator guidance
- OSHA Battery Charging and Changing Standard — ignition-source, parking-brake, accessory, and remote-ground precautions
- Interstate Batteries Jump-Start Guide — battery-condition checks, cable sequence, and post-jump testing guidance
- AAA Jump-Start Guide — reverse-order disconnection and short-term post-jump driving guidance
- U.S. Environmental Protection Agency Battery Guidance — handling and recycling used lead-acid batteries