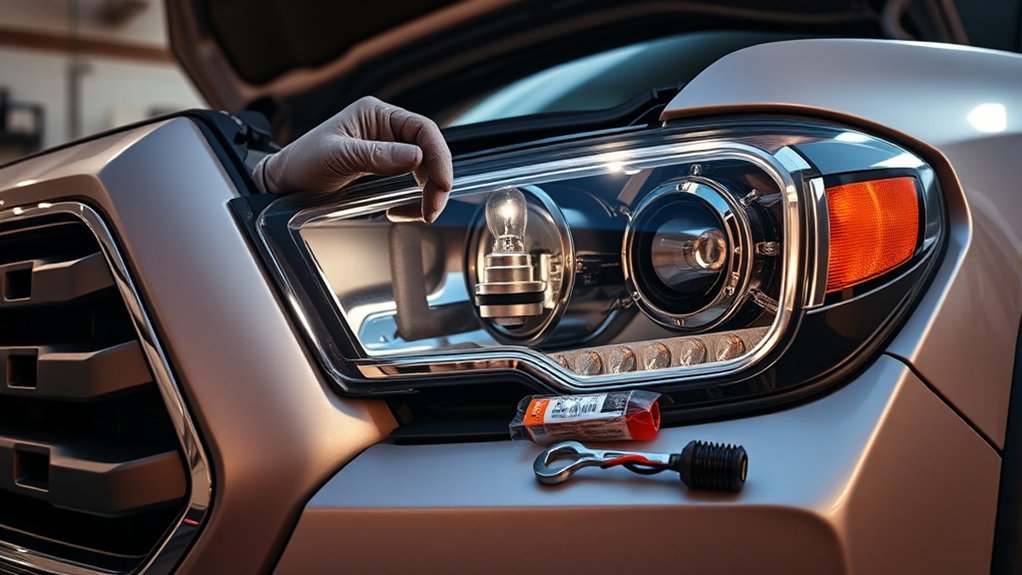
Replacing a Toyota Tacoma headlight bulb is usually a manageable driveway repair, but the correct method depends on the truck’s year, trim, and headlamp design. Some bulbs use a twist-lock base, others sit behind a rubber boot and spring clip, and factory LED headlamps may not contain a normal replaceable bulb. Identify your system before removing anything.
Quick Answer
Turn off the Tacoma, let the headlamp cool, and verify the exact replacement bulb from the owner’s manual or old bulb. Unplug the connector, release the bulb using its twist-lock or spring-clip retainer, install the matching bulb without touching its glass, restore the seal, and test both the light and beam pattern.
Key Takeaways
- Confirm the bulb designation for your exact Tacoma before buying a replacement. H11 and HB2/9003/H4 bulbs are not interchangeable.
- Identify whether your bulb uses a twist-lock base, a rubber boot and spring clip, or a factory LED assembly.
- Hold a halogen bulb by its base. Fingerprints and other contamination can create hot spots and shorten its service life.
- Reseat the O-ring or dust boot completely to keep water and dust out of the headlamp.
- Use the bulb type and wattage designated for the housing. A brighter or LED capsule is not automatically compatible or road-legal.
At a Glance
| Time Required | About 15–30 minutes for a serviceable bulb with normal access |
| Difficulty | Beginner to intermediate, depending on access and retainer style |
| Tools Needed | Gloves, safety glasses, flashlight, and an optional plastic trim tool |
| Cost | The cost of one or two correct replacement bulbs; prices vary by bulb type, performance level, and brand |
What You Need: The Correct Bulb, Tools, and Safety Gear
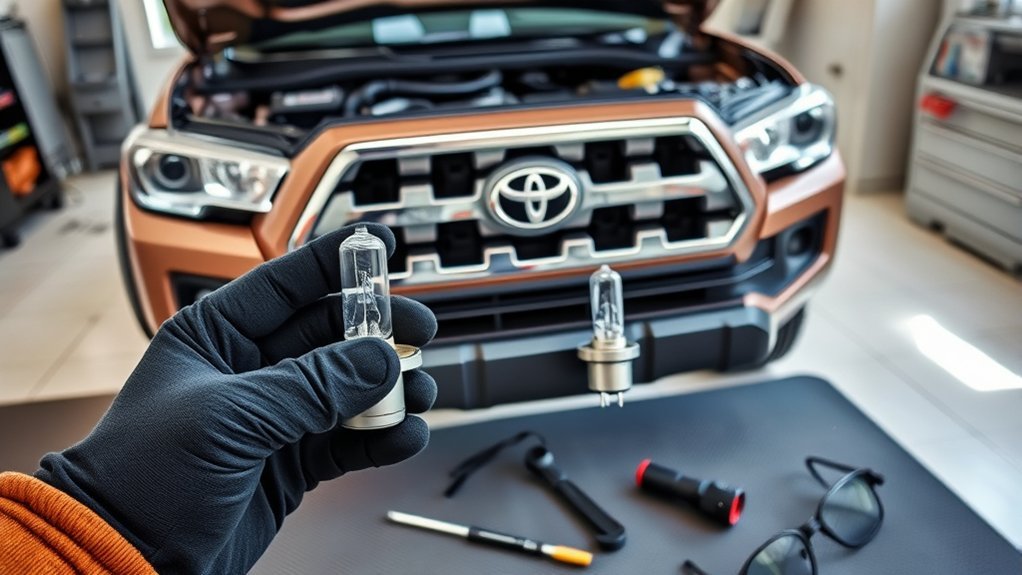
Start by identifying the headlamp system on your exact Tacoma. Toyota used different headlamp designs across model years and trims, so a bulb that fits one Tacoma may not fit another. Check the lighting section of your Toyota owner’s manual, read the designation printed on the old bulb, or inspect the permanent marking near the bulb opening.
You may see designations such as H11 or HB2/9003/H4 on replaceable halogen systems. These names do not describe interchangeable bulbs. Each type has its own base, indexing tabs, connector arrangement, filament position, and retaining method.
Some Tacoma trims have factory LED headlamp assemblies. An integrated LED headlamp may not contain a conventional bulb that you can remove from behind the housing. If you cannot find a replaceable-bulb procedure in the manual, do not pry open the assembly. A Toyota service department or qualified lighting technician may need to diagnose or replace the lamp assembly.
[Amazon Products Picked for You]

【Huge Improvement in Visibility】-AUTOONE H11 led bulbs are equipped with high luminous efficacy CSP chips. And 1:1 halogen h11 bulbs’ beam pattern, spread out the light more to help in the side and front vision but no endangering other drivers. Safer and bright upgrade for fog lights or drl

Lights Dim Over Time, Replace In Pairs: Your lights are a pair, one is never turned on without the other. If one bulb burns out, the other isn't far behind. Replace your 9003 XtraVision Halogen bulbs in pairs for optimum performance.
Supplies and tools
- The exact bulb designation and wattage specified for your headlamp
- Clean nitrile or mechanic’s gloves
- Safety glasses
- A flashlight
- A clean lint-free cloth
- Isopropyl alcohol for cleaning a halogen capsule if you accidentally touch it
- An optional plastic trim tool for a stubborn access clip
Warning: Turn off the headlights and ignition, remove the key or keep the smart key away from the truck, and let the bulb cool before touching it. Halogen capsules become hot enough to burn skin. Never install a bulb with a different base or higher wattage merely because an adapter makes it fit.
You normally do not need to disconnect the battery for a simple bulb replacement. Disconnect the negative terminal only when the procedure for your exact model requires battery movement or removal. Do not loosen or shift the battery simply to gain a little more hand room.
Identify the Headlight Bulb and Retainer Style
Look behind the headlamp before pulling or rotating the bulb. The connector and retainer tell you which basic procedure to follow.
| System | What You Will See | Removal Method |
|---|---|---|
| Twist-lock bulb | A plastic bulb base with an electrical connector and sealing O-ring | Unplug the connector, rotate the bulb to unlock it, and withdraw it |
| Boot and spring clip | A three-wire connector, flexible rubber cover, and wire retaining spring | Unplug the connector, remove the boot, release the spring, and pull the bulb straight out |
| Factory LED assembly | No normal removable halogen capsule or owner-service bulb procedure | Follow the model-specific manual or arrange professional diagnosis |
Note: Do not judge the system by bulb appearance alone. Check the designation molded or printed on the base. Federal replacement-light-source standards use bulb-specific bases, keys, tabs, seals, and electrical connections to preserve proper fit and performance.
Quick 5-Step Toyota Tacoma Headlight Bulb Replacement
- Verify the replacement. Match the new bulb’s designation, connector, base, and wattage to the specified bulb and the one you remove.
- Prepare the truck. Park on level ground, turn off the ignition and lights, open the hood, and let the headlamp cool.
- Release the old bulb correctly. Unplug the connector, then use either the twist-lock procedure or the boot-and-spring-clip procedure described below.
- Install and seal the new bulb. Hold it by the base, align its tabs, lock the retainer, and fully reseat the O-ring or rubber boot.
- Test the repair. Check low beam, high beam when applicable, beam shape, connector security, and the housing for moisture.
Access and Remove the Driver- or Passenger-Side Bulb
Open the hood and locate the rear of the affected headlamp. Work from the side that gives your hand the clearest path. Access varies by model and engine-bay layout, so avoid assuming that the driver side always requires battery movement or that the passenger side is always easier.
If an intake duct, washer-fluid neck, or small plastic cover blocks access, remove only the part described in the vehicle-specific procedure. Keep every fastener organized. Do not force your hand between the battery terminal and metal bodywork.
Removing a twist-lock bulb
- Find the electrical connector attached to the bulb base.
- Press the connector’s locking tab and pull on the connector body. Do not pull the wires.
- Grip the bulb base and rotate it in the unlocking direction. A short turn is normally enough.
- Withdraw the bulb without striking the glass capsule against the housing.
- Inspect the connector, sealing surface, and bulb opening for corrosion, heat damage, dirt, or moisture.
Removing a bulb behind a rubber boot and spring clip
- Grip the electrical connector and pull it straight off the bulb terminals.
- Remove the rubber dust boot by its edge. Note which side faces outward.
- Observe how the spring clip is latched before moving it.
- Press the clip inward and move it sideways to release it from its hook.
- Swing the clip away and pull the bulb straight out by its metal or plastic base.
Pro Tip: Take a clear phone photo before releasing the connector, boot, or spring clip. The photo gives you a reliable reference for bulb orientation, connector routing, and the clip’s latched position.
If a spring clip falls loose, stop and inspect its pivots rather than bending it. A clip that is distorted, detached from the housing, or badly corroded may require headlamp removal or professional repair.
Install the New Bulb: Orientation, Retainer, and Wiring
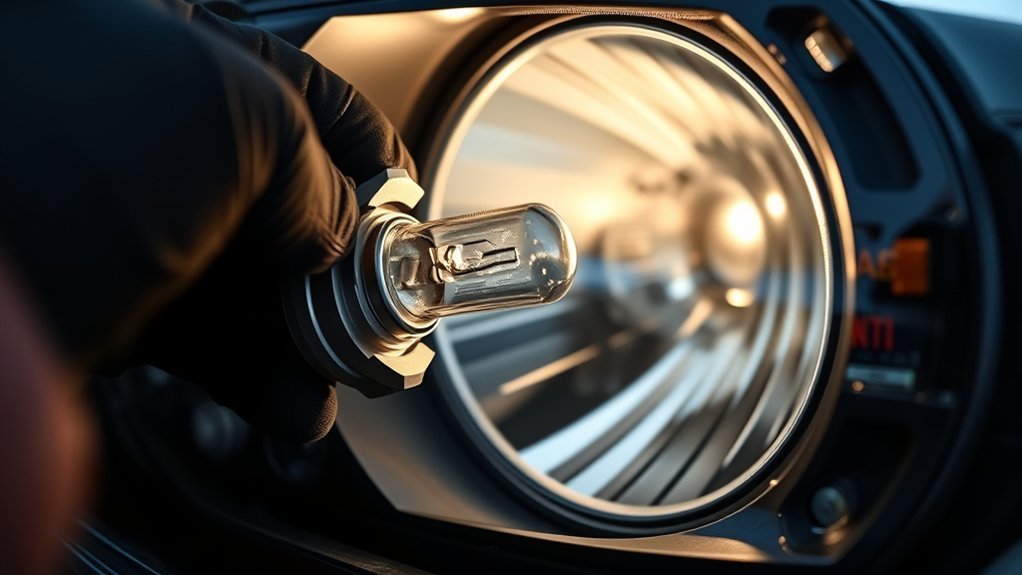
Compare the new bulb with the old one before installation. The base, tabs, connector, seal, and bulb designation should match. Do not modify a tab, file the base, stretch a connector, or add an adapter to make a different bulb fit.
Wear clean gloves and hold a halogen bulb by its base. If you touch the glass, clean it with a lint-free cloth lightly dampened with isopropyl alcohol. Let it dry completely before installation.
Installing a twist-lock bulb
- Inspect the O-ring. It should be clean, undamaged, and seated evenly on the bulb base.
- Align the keyed tabs with the openings in the headlamp.
- Insert the bulb fully without forcing it.
- Rotate the base in the locking direction until it stops securely.
- Reconnect the wiring harness until its lock clicks or seats firmly.
Installing a boot-and-spring-clip bulb
- Align the bulb’s tabs with the matching recesses in the reflector opening.
- Seat the bulb flat against the mounting surface. It should not rock or tilt.
- Swing the spring clip over the bulb and latch it under its hook.
- Reinstall the rubber boot in its original orientation. Press around its full edge to create an even seal.
- Push the electrical connector onto the bulb terminals until it is fully seated.
The bulb should remain fixed when you gently touch its base. Any movement suggests that a tab, spring clip, or twist-lock base is not fully engaged.
Test the Headlight and Beam Pattern
Before reinstalling any access panels, turn on the low beams and confirm that the new light works. Check the high beam too if the replaced bulb provides both functions.
Park the Tacoma on level ground facing a wall or garage door. Compare the repaired side with its appearance before replacement or with the opposite lamp. The exact left and right patterns may not be identical, but the new bulb should not produce obvious upward glare, random scatter, a dark patch, or a sharply different cutoff.
If the pattern changed after the repair, do not immediately turn the headlamp aiming screw. First switch off the lights, let the bulb cool, and check whether the bulb is tilted, partially locked, or resting on top of an alignment tab. A poorly seated bulb is more common than a suddenly altered headlamp aim.
The bulb, reflector, lens, mounting position, and aim work together as one lighting system. A bulb that illuminates is not necessarily installed correctly.
Troubleshoot Common Bulb, Connector, and Beam Problems
| Symptom | Likely Cause | What to Do |
|---|---|---|
| New bulb does not light | Loose connector, defective bulb, blown fuse, damaged socket, or incorrect bulb | Reseat the connector, verify the designation, inspect the fuse and socket, and test with a known-good matching bulb |
| Bulb flickers | Loose terminal, corrosion, heat-damaged connector, or incompatible electronic replacement | Inspect the terminals and wiring. Replace a damaged connector and remove incompatible conversion hardware |
| Scattered or uneven beam | Bulb is tilted, not fully locked, incorrectly oriented, or incompatible with the housing | Remove and reseat the correct bulb before changing headlamp aim |
| Spring clip will not latch | Bulb tabs are misaligned or the clip is bent or detached | Remove the bulb, align it correctly, and inspect the clip without forcing it |
| Bulb will not rotate into place | Incorrect bulb, misaligned tabs, damaged O-ring, or debris in the opening | Compare the old and new bases, clean the opening, and align every tab before trying again |
| Condensation appears | Dust boot or O-ring is not sealed, housing vent is blocked, or the housing is cracked | Reseat the seal and inspect the housing. Persistent droplets or standing water need further diagnosis |
| Connector is brown, brittle, or melted | Excess heat, loose terminals, corrosion, or an incorrect higher-wattage bulb | Stop using the lamp until the connector and cause of overheating are repaired |
[Amazon Products Picked for You]
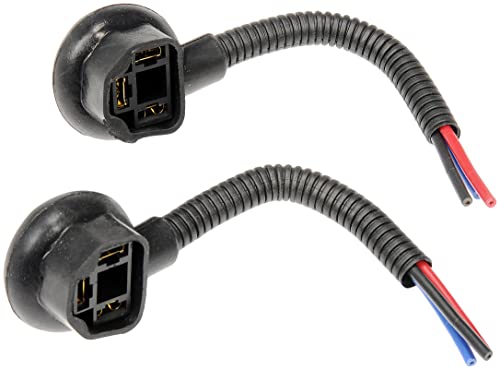
Ideal replacement - this headlight socket matches the fit and terminal count of the original equipment socket

🌈 Durable Materials: Our fog light connector is made of superior quality ABS plastic, with excellent performance of high temperature resistance and waterproof. Built-in high purity copper core ensures stability and long service life, so that your car always maintains excellent lighting effects.

Reliable Material: The plastic housing has good heat and impact resistance, not easy to deform and provide protection for the internal electrical components, while the nylon material has good toughness and abrasion resistance, they together create a reliable product quality
Common Mistakes to Avoid
- Buying by vehicle name alone: Match the exact model year, trim, headlamp option, and bulb designation.
- Pulling before checking the retainer: Twist-lock and spring-clip systems release differently.
- Pulling on the wires: Release the locking tab and grip the connector body.
- Touching halogen glass: Hold the base or clean the capsule before use.
- Installing the bulb at an angle: Every alignment tab must sit in its recess.
- Leaving the boot or O-ring loose: An incomplete seal allows moisture and dust into the housing.
- Adjusting headlamp aim to hide a seating problem: Reseat the bulb first.
- Using a higher-wattage capsule: Additional heat can damage wiring, connectors, reflectors, and lenses.
LED and Brighter Bulb Upgrades
A brighter package label does not guarantee a better or safer beam. The filament or light-emitting surface must sit at the position for which the reflector and lens were designed. Moving that light source can create dark areas on the road and excessive glare above the cutoff.
For a straightforward repair, use a replacement with the designated bulb type and wattage. In the United States, Federal Motor Vehicle Safety Standard No. 108 regulates original and replacement headlighting equipment. It evaluates headlamp performance with the replaceable light source designated for that system.
An LED capsule may also introduce a cooling fan, heat sink, external driver, polarity requirement, radio interference, or a dust-cover fit problem. If you want LED lighting, a compliant complete headlamp assembly engineered and tested for your Tacoma is safer than assuming a capsule retrofit will reproduce the original beam.
[Amazon Products Picked for You]

【Experience a 15X Brighter Night】Transform your drive with our advanced h11 fog light bulbs. Each h11 light bulbs combo, equipped with 12 high-performance chips, delivers a blinding 80,000 lumens per set. Powered by latest upgraded Z10 technology which provide unparalleled road illumination—turning night into day for a safer, more confident, and utterly superior driving journey. Special Bulb

Precision-Focused Safety Beam: The newly upgraded Termitor H4/9003 exterior light bulbs feature enhanced light projection, delivering a sharply defined focused beam with distinct boundaries. It significantly enhances illumination without causing glare to oncoming vehicles, providing a safer driving experience for you and others.
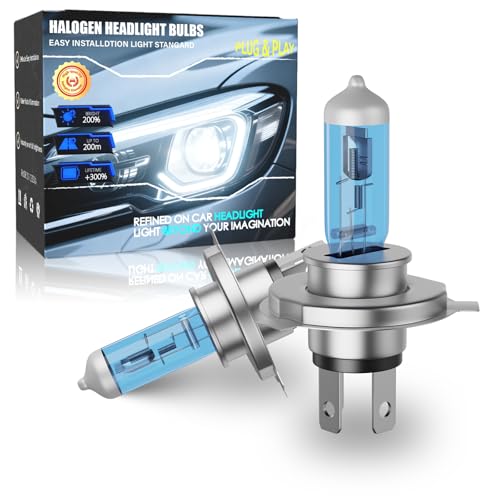
[Product Composition]: This product Fit for 1997-2015 Toyota Tacoma, this 2-bulb set includes 2*9003/H4 high low beam bulbs,totally 2 Halogen headlight bulbs in the package.
Related Guides
Frequently Asked Questions
Can I install brighter aftermarket bulbs without affecting the housing?
Not automatically. Use the bulb designation and wattage specified for the headlamp. A higher-wattage bulb can overheat the connector or reflector, while a bulb with a different light-source position can create glare or weak road illumination. Choose a compliant like-for-like bulb or a complete headlamp assembly designed for the truck.
Will replacing one bulb require headlight realignment?
Usually not when the replacement matches the original and sits fully in the mounting recess. Check the beam after installation. If the cutoff or light distribution changes, reseat the bulb before touching the headlamp’s aiming adjuster.
Do LED replacement bulbs cause dashboard warnings or flickering?
They can, depending on the truck and the bulb’s electronic driver. Possible symptoms include flickering, failure to illuminate, radio interference, or an electrical warning. Even when an LED lights normally, its beam pattern and road-use compliance still depend on compatibility with the headlamp housing.
How long do replacement H11 or HB2/9003/H4 bulbs last?
Service life varies by bulb design, operating voltage, vibration, usage, and manufacturer. High-output halogen bulbs often trade some longevity for greater performance. Use the rated life and warranty published for the specific bulb rather than relying on a universal hour estimate.
Are H11 and H4 bulbs interchangeable with adapters?
No. An adapter may create a physical or electrical connection, but it does not make the bulbs optically equivalent. H11 and HB2/9003/H4 bulbs use different bases and light-source arrangements. Install only the designation specified for the headlamp.
Should I replace both Tacoma headlight bulbs at the same time?
You can replace only the failed bulb, but replacing halogen bulbs as a matching pair can provide more consistent color and output when both bulbs are the same age. Keep the working old bulb as an emergency spare if it remains clean and undamaged.
What should I do if moisture appears after bulb replacement?
Turn off the lamp and inspect the dust boot or bulb O-ring. Reseat the seal evenly and check the housing for cracks or a blocked vent. Light temporary fogging may clear, but droplets, repeated condensation, or standing water require further inspection.
Conclusion
You can replace a serviceable Toyota Tacoma headlight bulb safely once you identify the exact bulb and retaining system. Match the original designation and wattage, release the connector without pulling its wires, seat the new bulb squarely, and restore every seal. Finish by checking operation, beam shape, connector temperature, and moisture before driving at night.
Stop and arrange professional service if the truck has an integrated LED assembly, the connector is melted, the spring retainer is damaged, the housing contains standing water, or the correct bulb still does not operate.
Sources
- Toyota Manuals and Warranties — vehicle-specific owner’s manuals and lighting procedures
- 49 CFR 571.108, Federal Motor Vehicle Safety Standard No. 108 — requirements for original and replacement headlighting equipment
- 49 CFR Part 564, Replaceable Light Source Information — bulb interchangeability, designation, base, connector, seal, and performance requirements
