
Replacing your Toyota Tacoma’s windshield wiper blades is usually a simple job, but buying the correct fit matters more than following a universal size chart. Confirm your truck’s model year, blade lengths, and arm connector first. Then protect the windshield, replace one blade at a time, and test the new blades with washer fluid.
Quick Answer
Toyota Tacoma wiper-blade size and connector can vary by model year, so verify fitment before buying. Switch the truck and wipers off, protect the windshield, lift one arm, release the old blade, lock the correct replacement into place, lower the arm gently, and test it on a wet windshield.
Key Takeaways
- Do not assume every Tacoma uses 26-inch and 18-inch blades. Verify both sides for your exact model year or VIN.
- Match the replacement blade to the arm connector, not only the blade length.
- Place a folded towel beneath the raised arm so bare metal cannot strike the windshield.
- Confirm the adapter is locked with a visual check and gentle tug before lowering the arm.
- Test with washer fluid or a wet windshield and stop immediately if the blades collide, lift, or strike the trim.
At a Glance
| Time Required | About 10–20 minutes |
| Difficulty | Easy |
| Tools Needed | Correct-fit blades, microfiber cloth, folded towel or cardboard pad, and optional gloves |
| Cost | Varies by brand, blade design, fitment, and whether you replace one or both blades |
Check the Correct Toyota Tacoma Wiper Blade Size and Connector
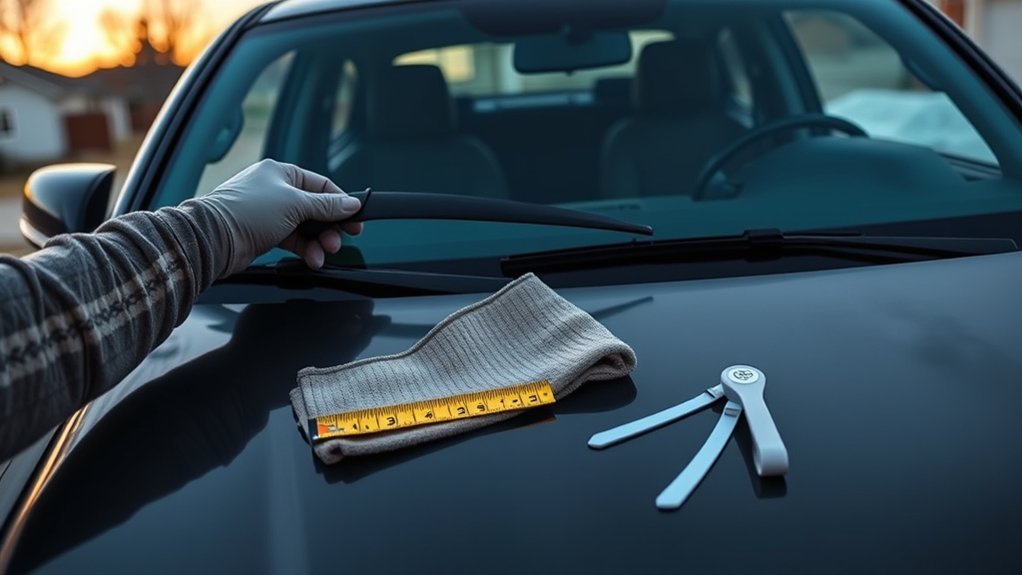
A 26-inch driver blade and 18-inch passenger blade may fit certain Tacoma applications, but that pair is not a safe specification for every model year. Confirm your truck before ordering through the Toyota owner’s manual portal, Toyota’s official parts catalog, or a reputable manufacturer blade-size finder.
Enter the exact year, make, and model. Use the full VIN when the parts catalog offers that option. Check the driver and passenger positions separately because the two blades often have different lengths.
| Fitment detail | Why it matters | How to confirm it |
|---|---|---|
| Model year | Tacoma generations and applications can use different blade lengths or adapters. | Check registration, VIN records, or the owner’s manual. |
| Driver and passenger sizes | The two front positions may require different lengths. | Use a vehicle-specific catalog and compare the removed blades. |
| Arm connector | A correct-length blade will not install safely with an incompatible adapter. | Inspect the existing arm and check the new blade’s application guide. |
| Adapter orientation | Some replacement blades include several adapters or a preinstalled adapter. | Follow the diagrams supplied with that exact blade. |
Note: Measuring the old blade can provide a useful cross-check, but it does not prove the old blade was correct. Give priority to a year-specific or VIN-specific application listing.
Prepare the Truck, Tools, and Windshield
Park on a level surface where you can stand safely beside the front of the truck. Switch the wipers off, turn off the engine, and remove the key or keep the smart key away from the vehicle. Make sure the blades are resting in their normal parked position.
Gather the correct replacement blades, a clean microfiber cloth, and a folded towel or piece of thick cardboard. Gloves are optional but can protect your hands from sharp adapter edges.
- Inspect the replacement package. Confirm the listed vehicle application, side position, length, and required adapter.
- Check the arm and old blade. Look for corrosion, a bent arm, a damaged connector, or loose pivot movement.
- Check hood clearance. Lift the arm only as far as it moves naturally. If the hood or cowl blocks it, consult the manual for your model year rather than forcing the arm.
- Work on one side at a time. Leaving the other blade installed gives you a reference for adapter direction and blade orientation.
Warning: After removing a blade, the spring-loaded metal arm can crack the windshield if it snaps down. Place a folded towel or cardboard pad on the glass beneath the arm and keep control of the arm throughout the job.
Identify the Wiper Arm Connector
Look closely at the joint where the blade meets the metal arm. Do not pull until you have found the release tab, button, latch, or pin. Replacement-blade packaging may use slightly different names for similar connectors, so follow the instructions supplied with the blade whenever they differ from general guidance.
| Connector | Visual cue | Typical release method |
|---|---|---|
| J-hook or U-hook | The end of the arm curves back like a hook. | Press or lift the adapter latch, slide the blade toward the open end of the hook, and guide it free. |
| Pinch-tab or top-lock | One button or two tabs sit near the top or sides of the adapter. | Press the specified button or tabs and pull the blade straight in the direction shown by the adapter instructions. |
| Side-pin | A small metal pin enters the side of the blade adapter. | Release the retaining latch, align the opening, and slide the adapter off the pin without twisting the arm. |
Pro Tip: Take a close photo of the old adapter before removing it. The image gives you a quick reference if the new blade includes several adapter positions.
Replace the Toyota Tacoma Wiper Blades Step by Step
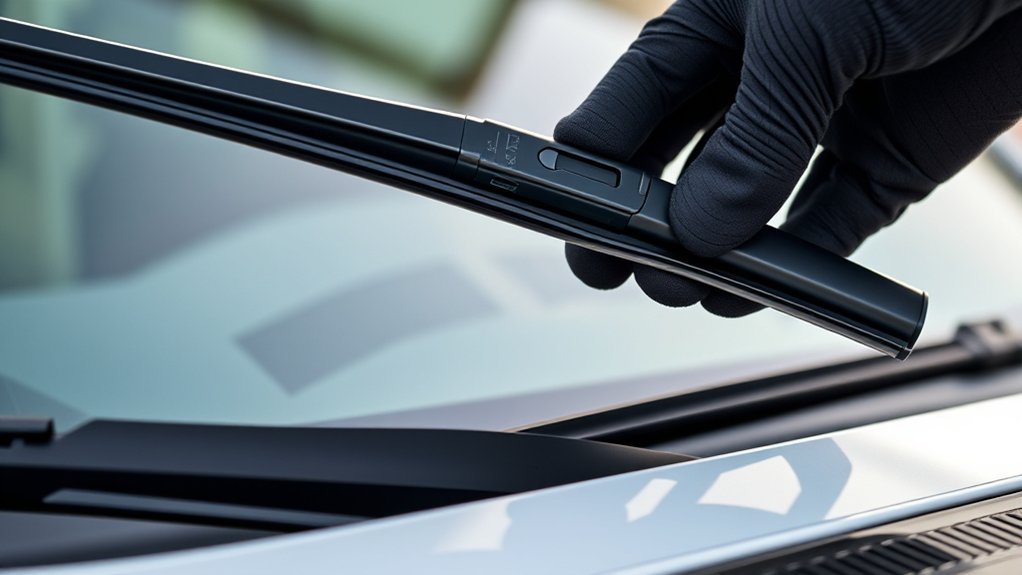
-
Confirm the wipers are switched off. The blades should be parked, the engine should be off, and the arm should not be able to move unexpectedly.
-
Lift one wiper arm carefully. Hold the arm near the blade connection and raise it only until it remains supported by its spring. Do not pull past natural resistance.
-
Protect the glass. Place the folded towel or cardboard pad beneath the arm before releasing the old blade.
-
Release the old blade. Press the connector’s tab, button, or latch. Slide the blade in the required direction while supporting both the blade and arm. Never force or sharply twist the metal arm.
-
Prepare the new blade. Select the correct adapter if the package includes several options. Remove any shipping protector from the rubber wiping edge or connector only when the manufacturer instructs you to do so.
-
Install and lock the replacement. Align the adapter with the arm and slide or press it into place until the latch closes. Many adapters click, but a visible closed latch is more important than sound alone.
-
Perform a gentle tug check. Hold the arm and pull lightly on the blade in the removal direction. It should remain securely attached without excessive play.
-
Lower the arm slowly. Guide it onto the windshield instead of allowing it to drop. Repeat the process on the other side.
A replacement blade is correctly fitted only when its adapter is fully locked and the blade clears the intended area without striking the other blade, windshield trim, hood, or cowl.
Test the New Wiper Blades Safely
Do not test new blades on a dusty, dry, or frozen windshield. Apply washer fluid or wet the glass first. Start at the lowest wiper setting, observe one complete cycle, and then test the remaining speeds if the sweep looks normal.
Check that both blades:
- remain attached throughout the full sweep;
- move without striking each other, the cowl, or surrounding trim;
- park in their normal positions;
- maintain even contact with the glass;
- clear washer fluid without severe streaking, hopping, or chatter; and
- do not make the motor sound unusually strained.
If either blade collides with another part, turn the wipers off immediately. Recheck the blade length, adapter, orientation, and arm position before testing again.
Troubleshoot Common Wiper-Blade Problems
| Symptom | Likely cause | What to do |
|---|---|---|
| Streaks or haze | Dirty glass, residue on the wiping edge, damaged rubber, or an unremoved protector | Clean the windshield and blade edge. Check for packaging material, cuts, bends, or hardened rubber. |
| Chatter, squeaking, or skipping | Dry glass, contamination, incorrect blade orientation, poor adapter seating, or worn arm tension | Wet and clean the glass, recheck the adapter, and inspect whether the blade sits squarely against the windshield. |
| Blade lifts or flaps | Wrong adapter, open latch, incompatible blade, or damaged arm | Stop using the wipers. Reinstall the correct adapter or replace damaged components. |
| Blades hit each other or surrounding trim | Incorrect blade length, reversed side placement, or a shifted arm | Turn the system off and verify both side-specific applications. Seek service if an arm has moved on its pivot. |
| Wipers do not move or the motor strains | Frozen blades, an obstruction, a linkage fault, or another mechanical or electrical problem | Switch the system off. Clear ice and obstructions without forcing the arms. Arrange diagnosis if normal movement does not return. |
Maintain the Blades for Clearer Visibility
- Clean the glass and wiping edges: Use a clean damp cloth whenever dirt, insects, road film, or pollen builds up.
- Inspect the rubber regularly: Replace a blade that is split, hardened, permanently bent, noisy, skipping, or unable to clear water effectively.
- Use washer fluid: Avoid running the blades repeatedly across dry, gritty glass.
- Defrost before operating: Never switch on blades that are frozen to the windshield. Loosen them only after the glass and rubber have thawed.
- Consider the weather: Leaving the arms raised before snow is a debated practice. High wind can damage exposed arms, so do not treat raised parking as a universal rule.
- Inspect before long trips: Test washer-fluid flow and blade performance before driving in expected rain or snow.
Related Guides
Frequently Asked Questions
How do you change Toyota Tacoma wiper blades step by step?
Verify the model-year-specific blade fitment, switch the wipers and truck off, lift one arm, protect the glass, release the old blade, attach and lock the replacement, perform a gentle tug check, lower the arm slowly, and test both blades with washer fluid.
Can I replace the blades without removing the complete wiper arms?
Yes. A normal blade replacement releases only the blade and adapter from the end of the metal arm. Removing the complete arm from its pivot is a different repair that may involve a retaining nut, alignment marks, and a puller. Do not remove the complete arm unless it is damaged or another repair requires it.
How do you replace windshield wiper blades on a Toyota?
Confirm the correct fitment for the exact Toyota model and year. Protect the glass, identify the installed connector, release the old adapter, and install the replacement according to its connector instructions. Verify that the latch is closed before lowering the arm and testing the sweep.
How do you get the windshield wiper blades off a 2019 Toyota Tacoma?
Switch the truck and wipers off, raise one arm carefully, and place a towel beneath it. Inspect the adapter on the installed blade, press its release tab or latch, and slide the blade in the indicated direction. Adapter designs can differ between replacement brands, so follow the blade’s diagram rather than forcing it.
What size wiper blades does my Toyota Tacoma need?
The correct driver and passenger sizes depend on the Tacoma’s model year and application. Do not rely on a Tacoma-wide 26-inch and 18-inch recommendation. Check Toyota’s parts catalog, your exact owner information, or a reputable year-make-model fitment tool before buying.
How often should Tacoma wiper blades be replaced?
Replace them when they streak after cleaning, skip, chatter, split, harden, lose contact, or no longer clear water safely. Sun, ice, heat, road grime, and frequent use can shorten blade life, so condition is more useful than a fixed calendar deadline.
Why will the new wiper blade not click into place?
The blade may have the wrong adapter, the correct adapter may be facing the wrong direction, or a latch may still be closed. Recheck the application and package diagram. Do not force the connector, trim plastic parts, or operate a blade that has not locked securely.
Sources
- Toyota Manuals and Warranties — vehicle-specific owner information and operating guidance
- Genuine Toyota Parts and Accessories — vehicle and VIN-based parts lookup
- Rain-X Blade Size Finder — year, make, and model fitment verification
- Bosch Wiper Blades — blade designs, applications, and manufacturer information
- 49 CFR §571.104 — federal requirements for windshield wiping and washing systems
Conclusion
A safe Toyota Tacoma wiper-blade replacement begins with the correct model-year fitment, not a universal size assumption. Verify both blade positions and the connector, protect the windshield, replace one side at a time, and confirm that each adapter is fully locked.
Finish by testing the blades with washer fluid and watching a complete sweep. Recheck the installation if either blade streaks, chatters, lifts, collides, or parks incorrectly. Regular cleaning and condition-based replacement will help preserve clear visibility in rain, road spray, and winter weather.
