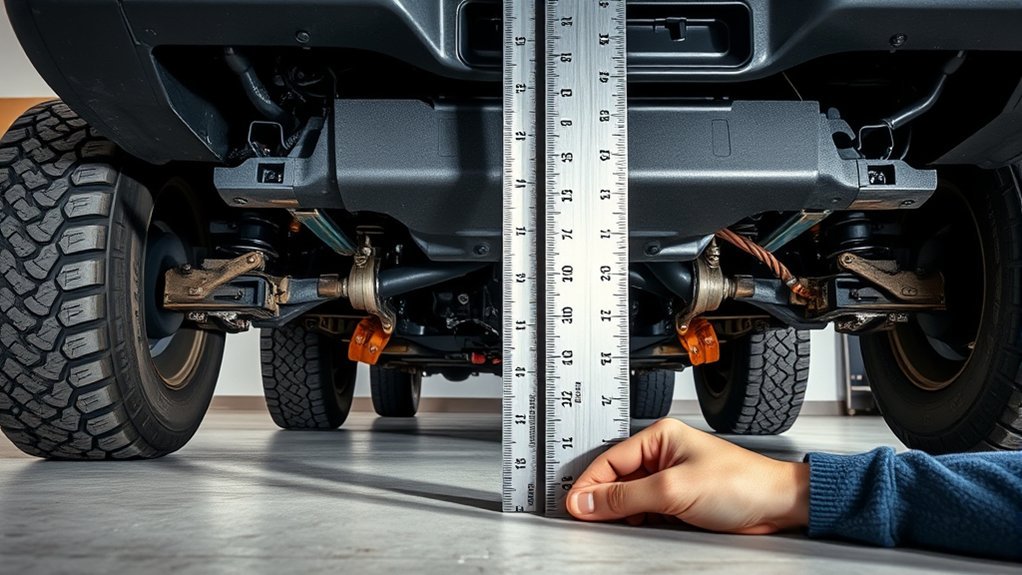
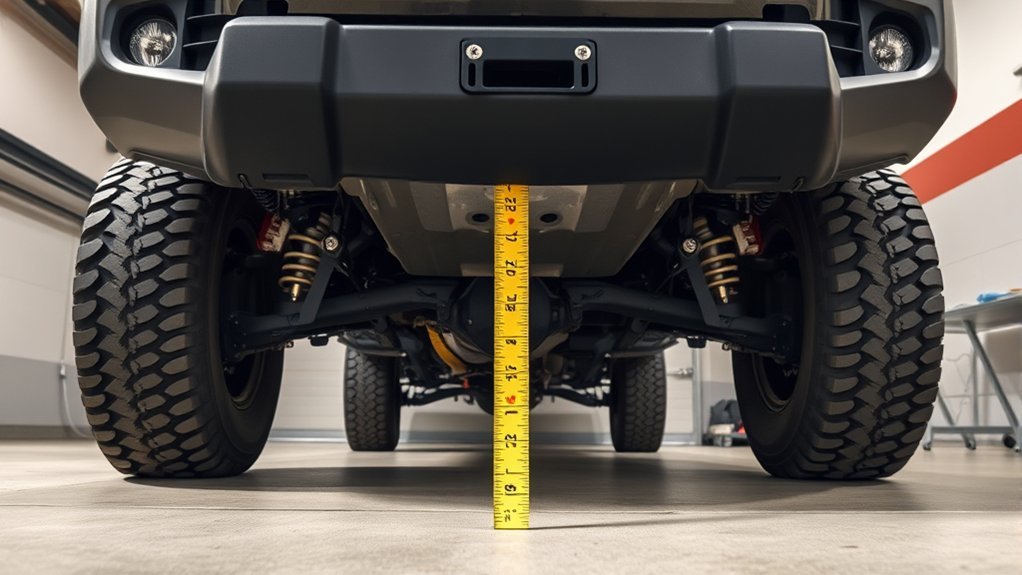
To measure Toyota Tacoma ground clearance correctly, park on a hard, level surface, set the cold tires to the door-placard pressure, keep the wheels straight, and measure vertically to the lowest rigid points at the front, center, axles, and rear. Record the exact component, tire pressure, load, and vehicle configuration so you can compare the result with the correct factory definition or repeat the measurement after modifications.
Last updated: September 19, 2026 — corrected the 2024 Tacoma running-clearance example, clarified federal running-versus-axle clearance definitions, and added a practical angle-measurement method.
Quick Answer
Park your Tacoma on a hard, level surface with cold tires set to the door-placard pressure. Keep the wheels straight, apply the parking brake, and chock a wheel. Measure vertically from the ground to each likely low point, including the skid plates, crossmembers, differential housings, exhaust, hitch, and bumpers.
Key Takeaways
- Tacoma ground clearance varies by model year, trim, drivetrain, tire package, load, and measurement definition.
- Under the federal definition, running clearance excludes unsprung weight, while axle clearance is measured separately to the lowest point on the axle differential.
- Approach clearance is measured ahead of the front tires, while departure clearance is measured behind the rear tires.
- A suspension lift can raise frame and belly clearance, but it does not raise a solid rear axle’s differential away from the ground.
- Larger tires increase clearance by about half the increase in actual tire diameter, provided they fit without rubbing.
At a Glance
| Time Required | 10 to 20 minutes |
| Difficulty | Easy |
| Tools Needed | Tape measure, rigid ruler or square, straightedge, tire-pressure gauge, flashlight, wheel chock, notepad, and an optional digital angle finder for approach/departure checks |
| Cost | No cost when you already have the tools; otherwise, cost varies by the measuring and safety equipment purchased |
How Do You Measure Tacoma Ground Clearance in 1 Minute?
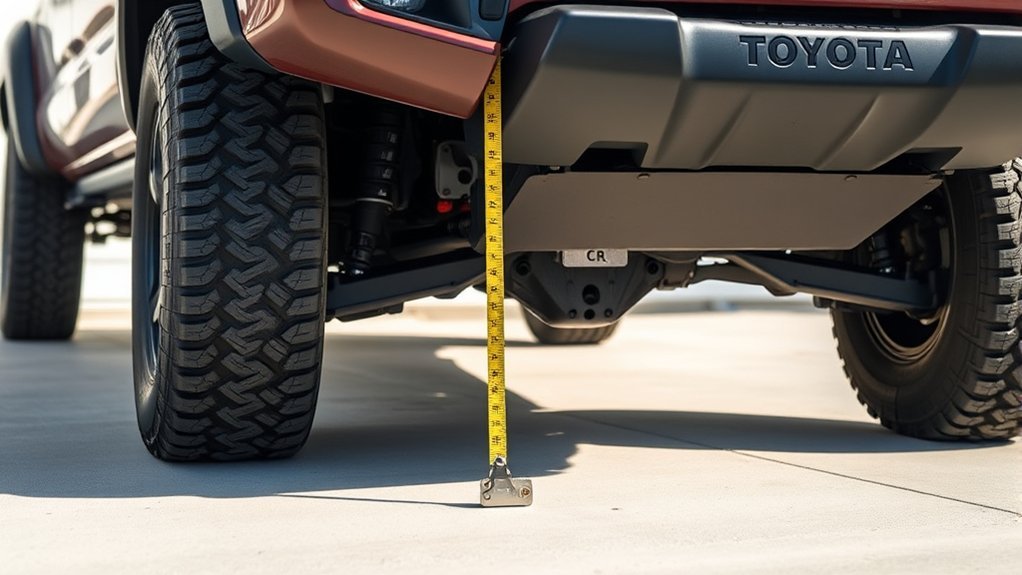
For a fast check, park your Tacoma on level pavement, straighten the front wheels, and set the cold tire pressure to the value on the driver-side Tire and Loading Information Label. The correct pressure is the vehicle manufacturer’s placard value, not the maximum pressure printed on the tire sidewall. You can review the same guidance in the NHTSA TireWise guide.
- Apply the parking brake, place the transmission in Park or in gear, and chock a wheel.
- Use a flashlight to locate the lowest rigid component under the front, center, axles, and rear.
- Hold a rigid ruler or tape vertically between the ground and each component.
- Record the smallest measurement and the exact component that produced it.
- Repeat the check with your normal cargo if you want real-world trail clearance.
This quick process gives you a practical minimum-clearance measurement. A full check should also separate axle clearance, belly clearance, and the dimensions that control approach, departure, and breakover angles.
Tools and Level-Surface Checklist
Small setup differences can change the result. Use the same tools, tire pressure, wheel position, load, and measurement locations every time you check the truck.
[Amazon Products Picked for You]
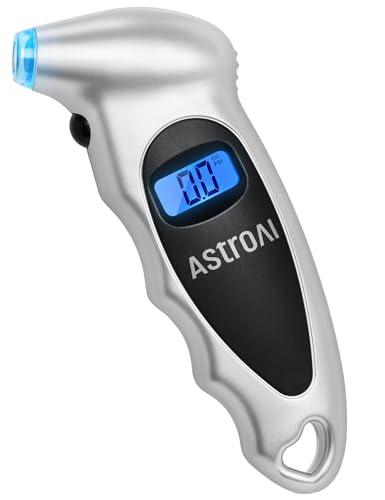
Accurate, Dependable Readings: Factory‑calibrated to ±1 PSI, so you can confidently match your vehicle’s recommended PSI (check the door jamb sticker). Ideal for monthly checks and road trips — consistent results every time, cold or warm.

PROCESS LEVEL ACCURACY: Each ETENWOLF’s digital tire pressure gauge is calibrated manually to ANSI B40.7 Grade 2A(plus-minus 1 PSI).Presta valve adapter not included, if used for bicycles, it must be purchased separately

RUGGED DESIGN: The stainless steel components prevent rust and corrosion while the precision-crafted nozzle seamlessly seals onto the valve stems for highly accurate readings (±2% span). We also provide 4 valve stem caps for convenient replacement.
Required Measuring Tools
- Tape measure or rigid ruler: A rigid ruler, carpenter’s square, or locking tape is easier to hold vertically.
- Straightedge or level: Use it to check the local floor surface and extend an awkward measurement point.
- Tire-pressure gauge: Check all four tires while they are cold.
- Flashlight: Identify skid plates, differential housings, crossmembers, exhaust parts, brackets, and the receiver hitch.
- Wheel chock: Prevent unintended movement while you work beside the truck.
- Notepad or phone: Record the date, load, pressure, tire size, and exact measurement points.
- Optional digital angle finder: Use it with a straight board when you want a practical approach or departure angle instead of only a calculated estimate.
Surface, Tire, and Load Setup
Use a hard garage floor, paved driveway, or shop floor that is level in both directions. Soft soil, gravel, a sloped driveway, or a wheel resting on a raised joint can distort the reading.
Measure tire pressure before driving or after the truck has been parked long enough for the tires to cool. Use the pressure listed on the vehicle placard or in the owner’s manual for your exact Tacoma. Toyota provides a model-specific manual lookup.
Choose one of these load conditions and write it down:
- Baseline measurement: Normal vehicle equipment, no passengers, and no removable cargo. Use this for repeatable before-and-after comparisons.
- Operating measurement: Driver, passengers, recovery gear, camping equipment, bed rack, rooftop tent, tools, or other cargo normally carried on a trip.
Preparation and Safety Steps
Warning: Do not crawl beneath a truck supported only by a jack. A jacked vehicle is also at a different ride height, so it will not provide a valid normal-clearance measurement. Complete the check from beside the truck with a ruler, straightedge, flashlight, or helper.
Set the parking brake, place the transmission in Park or in gear, turn off the engine, straighten the wheels, and position a chock against a tire. Remove loose objects that could fall or move while you inspect the underside.
Photograph each measurement point before recording it. This helps you use the same location after installing tires, armor, springs, shocks, or other parts.
Where to Measure: Front, Center, Axles, and Rear
Ground clearance is not one interchangeable number. The federal definitions in 49 CFR §523.2 define running clearance as the distance from the surface to the vehicle’s lowest point while excluding unsprung weight. The same regulation defines axle clearance separately as the vertical distance to the lowest point on the axle differential, and it gives separate geometric definitions for approach, departure, and breakover angles.
| Measurement | Where to Check | What It Tells You |
| Practical minimum clearance | The lowest rigid component anywhere under the truck | The smallest obstacle height that may contact the truck on flat ground |
| Running or belly clearance | Skid plates, frame crossmembers, transfer-case protection, exhaust, and other sprung components between the axles | How much room the center of the truck has over rocks, ridges, and ruts |
| Axle clearance | The lowest point on the front or rear differential and axle assembly | The clearance that mainly changes with tire radius rather than a normal suspension lift |
| Approach clearance | The lowest rigid point forward of the front-tire contact area, such as the bumper, air dam, recovery point, or front skid | The steepest ramp or ledge the front can approach without contact |
| Departure clearance | The lowest rigid point behind the rear-tire contact area, including the bumper, hitch, spare-tire carrier, exhaust, or recovery point | The steepest slope the rear can leave without dragging |
Note: Under 49 CFR §523.2, running clearance excludes unsprung weight, while axle clearance is measured to the lowest point on the axle differential. Do not compare a published running-clearance figure directly with a tape measurement to the bottom of the rear differential unless the published specification uses the same definition.
Step-by-Step: Measure Tacoma Clearance Correctly
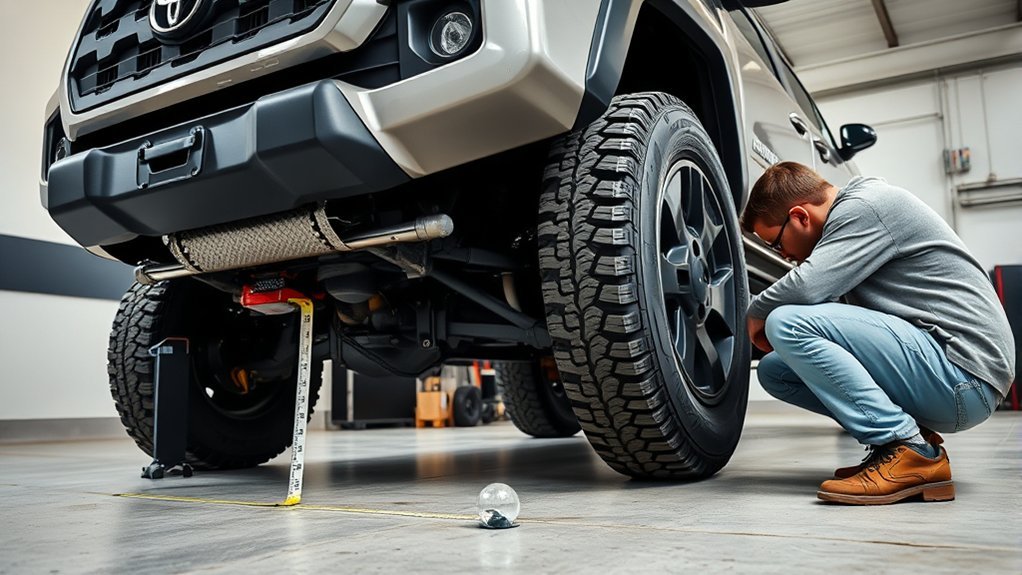
- Verify the vehicle configuration. Record the year, trim, cab, bed length, drivetrain, suspension package, tire size, and aftermarket changes.
- Prepare the surface and tires. Park on level pavement, straighten the wheels, and set cold pressure to the vehicle placard.
- Record the load. Note passengers, fuel level, cargo, bed equipment, bumpers, winch, sliders, skid plates, and roof accessories.
- Check the front overhang. Measure the lowest rigid point ahead of the front tires. This may be a bumper edge, air dam, skid plate, or recovery point.
- Check the center. Measure skid plates, frame crossmembers, transmission or transfer-case protection, catalytic-converter guards, and exhaust parts between the axles.
- Check axle clearance. Measure vertically to the lowest point on each differential or axle assembly.
- Check the rear overhang. Measure the receiver hitch, bumper, exhaust, recovery points, and other parts behind the rear tires.
- Check both sides. A heavy fuel load, uneven cargo, spring wear, tire-pressure difference, or bent component can create side-to-side variation.
- Repeat the smallest readings. Measure each likely limiting point at least twice before recording the final value.
Pro Tip: Place a small piece of removable painter’s tape beside each measurement point and label it “front,” “center,” “axle,” or “rear.” Your next measurement will be much easier to reproduce.
Record Repeatable Measurements
A clearance number has limited value without the conditions that produced it. Record enough detail to repeat the measurement after maintenance or modifications.
Wheel Position and Measurement Consistency
Keep the steering centered unless you are deliberately checking clearance with the wheels turned. Measure vertically rather than following the angle of a skid plate or suspension arm.
Use the same reference point each time. “Rear differential” is not specific enough if one measurement was taken at the drain-plug boss and another was taken at the housing edge.
Standardize Tire Pressure and Load
Record the cold pressure in all four tires, not a general estimate. Different front and rear placard pressures may apply to some vehicle configurations, so do not assume every tire should have the same value.
Use this simple log:
| Item | What to Record |
| Vehicle | Year, trim, cab, bed, and drivetrain |
| Tires | Brand, model, labeled size, measured pressure, and tread condition |
| Load | Passengers, cargo, fuel level, armor, rack, tent, tools, and accessories |
| Position | Wheels straight or turned, exact component, and left, center, or right location |
| Measurements | Front overhang, center belly, front axle, rear axle, and rear overhang |
How Do You Measure Tacoma Approach, Departure, and Breakover Angles?
You can estimate the truck’s geometric angles from vertical clearance and horizontal distance. For a practical owner check, place a straight board from the tire’s ground-contact area to the lowest limiting front or rear component, then read the board’s angle from level with a digital angle finder. The formulas below are useful when you want to calculate the same geometry from measured height and horizontal run.
These calculations assume flat surfaces, straight wheels, the truck at the recorded load and tire pressure, and a correctly identified limiting component. For trim-specific published angle figures, see the site’s Toyota Tacoma approach and departure angles guide.
Approach Angle
Measure the vertical height from the ground to the limiting front component, then measure the horizontal run from the front tire’s ground-contact tangent to that component.
Approach angle ≈ arctan(front height ÷ front horizontal run)
Departure Angle
Use the lowest limiting point behind the rear tire, such as a receiver hitch, bumper, exhaust tip, or recovery bracket.
Departure angle ≈ arctan(rear height ÷ rear horizontal run)
Breakover Angle
If the limiting center point is exactly halfway between the axles, use:
Breakover angle ≈ 2 × arctan((2 × center clearance) ÷ wheelbase)
If the point is not centered, measure its horizontal distance to the front axle contact point as a and to the rear axle contact point as b:
Breakover angle ≈ arctan(center clearance ÷ a) + arctan(center clearance ÷ b)
These are useful estimates, but they may not match a manufacturer’s published angle because the manufacturer may use a standardized load condition, tire radius, tow-package configuration, or defined component exclusions.
Why Your Numbers Differ From Factory Specifications
Factory Definition and Configuration
Toyota Tacoma specifications vary by generation, trim, cab, bed, drivetrain, suspension, tires, and equipment. As one example, Toyota listed the 2024 i-FORCE MAX Tacoma at up to 11.5 inches of running ground clearance, with the TRD Pro reaching up to a 35.7-degree approach angle, 24.6-degree breakover angle, and 22.6-degree departure angle. Those figures should not be applied to every Tacoma. See Toyota’s official 2024 Tacoma i-FORCE MAX overview.
The 2025 lineup also includes several grades with different shocks, tires, drivetrains, bed lengths, and off-road equipment. Check the specification for the exact truck rather than relying on a general Tacoma number. Toyota’s 2025 Tacoma overview illustrates the range of available configurations.
Tire Wear and Size
Tire size directly affects axle and differential clearance. The approximate theoretical diameter of a metric tire can be calculated as:
Theoretical tire diameter (in.) = wheel diameter (in.) + 2 × [(section width in mm × aspect ratio ÷ 100) ÷ 25.4]
Using that formula, a 265/70R16 tire has a theoretical diameter of about 30.6 inches. A 265/75R16 tire is about 31.6 inches. The approximate radius increase is therefore 0.52 inch, which can add roughly that amount of clearance.
Actual mounted diameter varies by tire manufacturer, model, rim width, pressure, and load. Check the tire maker’s published specifications instead of relying only on the size printed on the sidewall.
Tread wear reduces clearance by approximately the amount of tread depth lost from the radius. It does not reduce ground clearance by the full change in tire diameter. NHTSA recommends replacing tires when tread reaches 2/32 inch and checking tread and pressure regularly.
Added Armor, Skid Plates, and Accessories
Armor affects clearance in two different ways. First, a skid plate may hang below the original component and become the new lowest point. Second, bumpers, winches, sliders, bed racks, tents, and cargo add sprung weight that can compress the suspension.
No single sag figure applies to every Tacoma. The amount depends on the weight, where it is mounted, the spring rate, the suspension condition, and the load already carried. Measure hub-to-fender height and underbody clearance before and after installation.
Suspension Sag and Uneven Load
Passengers and cargo may lower the front and rear by different amounts. A winch and steel bumper mainly affect the front axle, while a drawer system, rooftop tent, trailer tongue weight, or bed cargo may affect the rear more heavily.
A side-to-side difference can result from uneven cargo, fuel-tank placement, tire-pressure differences, spring wear, or a damaged component. Redistribute removable cargo and repeat the measurement before assuming the frame or suspension is bent.
How Modifications Affect Tacoma Ground Clearance
| Modification | Likely Clearance Effect | Important Limitation |
| Suspension lift | Raises the frame, belly, bumpers, and many mounted components relative to the wheels | Does not normally raise a solid rear differential farther from the ground |
| Larger tires | Raise axle, differential, frame, and body clearance by about half the increase in actual diameter | May rub and may affect gearing, braking, speedometer accuracy, alignment, and spare-tire fit |
| Body lift | Raises the body and may improve bumper clearance | Does not raise the frame, axles, differentials, or most drivetrain components |
| Skid plates | Protect vulnerable parts and help the truck slide over some obstacles | May become the new lowest point and reduce the measured gap locally |
| Armor and cargo | Can lower sprung components through suspension compression | The change depends on actual weight, placement, spring rate, and existing payload |
| Receiver hitch or rear bumper | May provide recovery or towing capability | Can reduce departure angle even when center clearance is unchanged |
Do not assume a lift keeps factory geometry unchanged. Suspension changes can affect alignment, control-arm position, CV angles, driveshaft angles, headlight aim, braking behavior, and driver-assistance sensors. Use a kit designed for your exact Tacoma and have the finished installation inspected and aligned.
[Amazon Products Picked for You]

Give your Tacoma the Perfect Blend of Performance, Protection, and Style from Rough Country.

Level Up Your Stance & Clearance: Eliminate factory rake and add extra height to confidently clear obstacles - giving your Tacoma a tougher, trail-ready look without overdoing it.
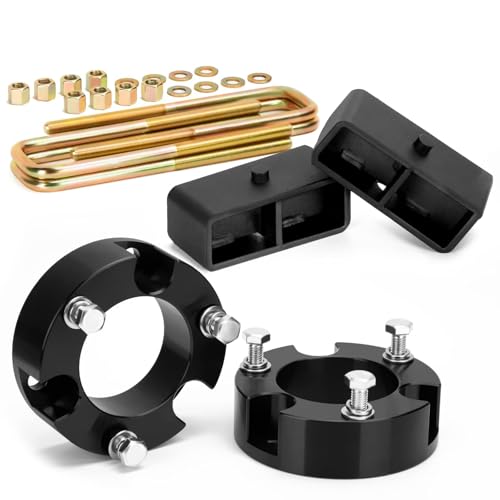
Fitment: Compatable with 2005-2023 Tacoma 2WD 4WD (6 lugs only) NOTE: The Lift amount of the front lift spacer does NOT equal spacer thickness owing to the suspension geometry. An alignment is recommended after the installation of this item.
Troubleshooting Common Discrepancies
- Your number is lower than the published specification: Confirm that you are comparing running clearance with running clearance rather than measuring the differential. Check tire size, pressure, load, skid plates, hitch parts, and accessories.
- One side is lower: Check tire pressures, cargo distribution, spring condition, and whether one wheel is sitting on a raised or depressed area.
- The center is lower after installing armor: Measure the thickness and mounting position of the new skid plate. The plate may protect the component while becoming the new contact surface.
- A lift did not increase rear differential clearance: This is normal with a solid rear axle. Taller tires are the usual way to increase the differential-to-ground distance.
- Larger tires did not add the expected amount: Compare actual loaded tire radius, not only the labeled size. Pressure, rim width, tread design, and vehicle weight affect mounted dimensions.
- The truck sits lower with travel gear: Weigh the load, confirm that axle and payload ratings are not exceeded, and consider springs designed for the actual sustained load.
When Measurements Mean You Need a Lift or Other Changes
Choose a modification based on the component that contacts obstacles. A general lift is not the correct answer to every clearance problem.
- Rear differential contacts rocks: A suspension lift will not normally raise a solid rear differential. Properly fitted larger tires may help.
- Center skid or crossmember contacts ridges: A suspension lift, higher-clearance skid design, careful tire increase, or better wheel placement may help.
- Front bumper or air dam contacts slopes: Review the front overhang, bumper shape, removable air dam, tire size, and suspension height.
- Receiver hitch drags: A higher-clearance hitch or bumper design may improve departure angle more effectively than increasing center clearance.
- The rear sags only when loaded: Confirm the payload and axle ratings, redistribute weight, and use load-appropriate springs rather than selecting a lift by height alone.
- Tires rub during steering or suspension travel: Verify wheel offset, tire dimensions, alignment, caster, liner clearance, bump-stop position, and full-articulation fit before driving off-road.
Test any change gradually on controlled terrain. Recheck brake hoses, wiring, steering clearance, driveline angles, fastener torque, alignment, and tire contact after installation.
[Amazon Products Picked for You]

Compatibility: Fit for 2005-2023 Toyota Tacoma (2005-2018:Only fits 6 lug vehicle. TRD models not compatible with 3" and 3.5" front spacers.)

Boost Your Tacoma's Performance: Elevate your 2005-2023 Toyota Tacoma 4WD with a 3.5-inch lift, enhancing ground clearance while maintaining factory ride quality for smooth on- and off-road adventures.

FITS: 2005-2023 Toyota Tacoma 4X4 4WD SR5 TRD (6 LUG MODELS ONLY - will NOT fit 5 lug models) (Diff Drop Not Recommended for TRD PRO Models)
Frequently Asked Questions
Where do you measure ground clearance on a truck?
Measure vertically from level ground to the lowest rigid point. Check the front overhang, center underbody, differentials, axle components, and rear overhang separately because each measurement describes a different limitation.
What is the ground clearance of a Toyota Tacoma?
It varies by model year, trim, drivetrain, tire package, suspension, and measurement definition. Toyota listed up to 11.5 inches of running ground clearance for the 2024 i-FORCE MAX Tacoma, including the TRD Pro example, but that maximum does not apply to every Tacoma. Check the specification for your exact vehicle.
How can you tell whether a Tacoma is lifted?
Inspect the shocks, springs, spacers, control arms, blocks, leaf packs, and related brackets. Compare hub-to-fender measurements with an equivalent stock configuration and review installation records. Larger tires alone do not prove that the suspension is lifted.
Does a suspension lift increase rear differential clearance?
Not on a conventional solid rear axle. The lift raises the frame and body relative to the axle, but the differential remains tied to the wheel centers. A larger actual tire radius can increase differential clearance.
Do larger tires add their full diameter difference to ground clearance?
No. Ground clearance increases by approximately half the difference in actual tire diameter because only the radius lies between the axle center and the ground.
Should you measure a Tacoma loaded or unloaded?
Measure it both ways when possible. Use a consistent unloaded baseline for modification comparisons, then repeat the check with your normal passengers and cargo to learn the clearance available during actual use.
Conclusion
Accurate Tacoma ground-clearance measurement starts with a level surface, cold tires at the placard pressure, straight wheels, a recorded load, and clearly identified components. Measure front overhang, belly, axles, differentials, and rear overhang separately instead of relying on one generic number.
Compare your results only with specifications that use the same definition and apply to your exact model year and configuration. When you need more clearance, address the component that is actually making contact. Tires, suspension lifts, skid plates, bumpers, and load-support changes solve different problems.
Sources
- Toyota USA Newsroom: Legendary Performance, Modern Power: 2024 Toyota Tacoma with i-FORCE MAX — verified 11.5-inch maximum running clearance and TRD Pro approach, breakover, and departure-angle example
- Toyota USA Newsroom: The 2025 Toyota Tacoma Is Ready for Adventure — grade, tire, suspension, and configuration differences
- Toyota Manuals and Warranties — model-specific owner’s manuals and vehicle information
- NHTSA TireWise — cold tire pressure, placard location, tread, and tire-maintenance guidance
- 49 CFR §523.2 through Cornell Legal Information Institute — definitions of approach angle, departure angle, breakover angle, axle clearance, and running clearance
