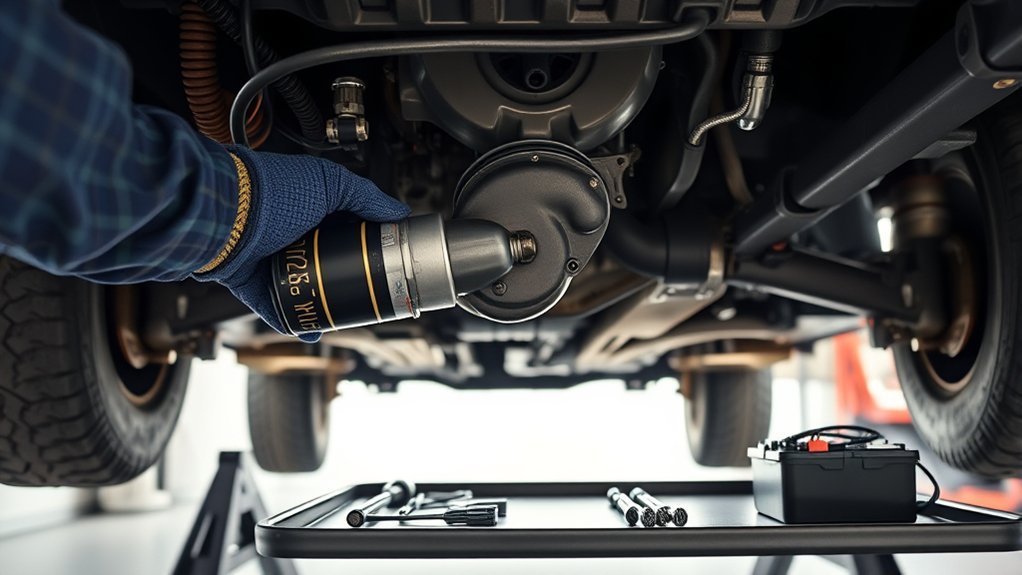
Replacing a Toyota Tacoma starter is manageable for an experienced DIYer, but the exact location, access path, fastener sizes, and torque specifications vary by model year, engine, transmission, and drivetrain. Diagnose the starting system first, confirm the replacement starter matches your VIN, and use Toyota’s model-specific service information before loosening any mounting hardware.
Quick Answer
To replace a Toyota Tacoma starter, confirm the battery and cables are healthy, disconnect the negative battery terminal, gain safe access to the starter, label and remove its electrical connections, remove the mounting bolts, and install the matching replacement. Reconnect everything to Toyota’s specifications, then test for smooth, consistent cranking.
Key Takeaways
- A click or no-crank condition does not prove the starter is bad. Test the battery, terminals, grounds, starter relay or fuse, and the park-neutral or clutch interlock first.
- Starter location and access vary across Tacoma generations and engines. Use your VIN and Toyota repair information to confirm the procedure.
- Disconnect the negative battery cable before touching the starter’s high-current power connection.
- Support the truck with rated jack stands if you must work underneath it. Never rely on a hydraulic jack alone.
- Use the vehicle-specific torque specifications instead of guessing or copying values from a different Tacoma.
At a Glance
| Time Required | About 1 to 3 hours for many conventional gasoline models; rust, shields, drivetrain layout, and access can add time. |
| Difficulty | Intermediate. You need safe lifting skills, basic electrical awareness, and the ability to work in tight spaces. |
| Tools Needed | Safety glasses, gloves, wheel chocks, socket set, ratchet, extensions, torque wrench, multimeter, penetrating oil, and jack stands if underbody access is required. |
| Cost | Varies by year, engine, new or remanufactured starter, labor rate, and local taxes. Get a VIN-specific parts quote before buying. |
Note: This procedure is a general guide for conventional gasoline-powered Tacoma models. Hybrid and newer powertrains can use different starting hardware and service procedures. Check the Toyota Technical Information System or a model-specific repair manual before beginning.
Confirm the Starter Is Actually Faulty
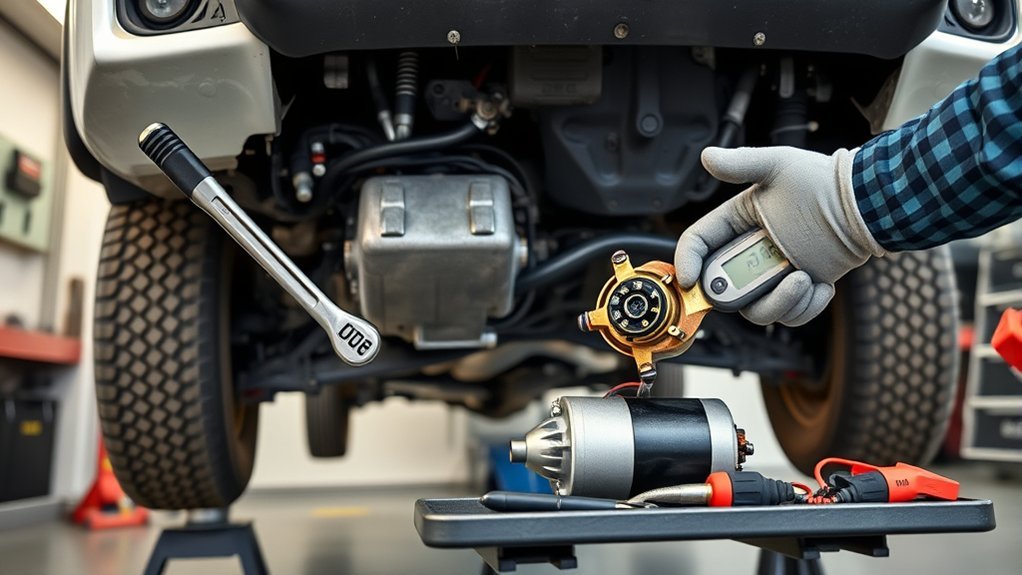
A failing starter can cause a single click, intermittent cranking, slow cranking, grinding, or no response when you turn the key or press the start button. However, a weak battery, corroded cable, poor ground, damaged relay, blown fuse, ignition-switch fault, or park-neutral or clutch interlock problem can create similar symptoms.
Dashboard lights alone do not diagnose a starter. Many warning and indicator lights illuminate during the normal key-on check, while a battery warning light usually requires charging-system diagnosis. Use the vehicle-specific owner’s manual to interpret any light that stays on after the engine starts.
Diagnostic Checks Before Replacement
- Check battery condition: Inspect for a cracked case, swelling, leakage, loose terminals, or heavy corrosion. Charge and test the battery if its condition is uncertain.
- Inspect the cables and grounds: Make sure the positive cable, negative cable, engine ground, and starter connections are clean and tight.
- Try the other transmission position: On an automatic Tacoma, try starting in both Park and Neutral. On a manual Tacoma, press the clutch fully while the transmission is in Neutral.
- Check the starter circuit: Inspect the relevant fuse and relay, then verify that the starter receives the correct control signal during a start request.
- Perform a voltage-drop test: Excessive resistance in the positive or ground side can prevent cranking even when the battery tests well.
Warning: The starter power cable is connected directly to the battery. Disconnect the negative battery terminal before touching the starter, and keep tools away from the positive terminal and grounded metal.
Essential Tools for a Starter Replacement
Gather the tools before lifting the truck. Fastener sizes differ by application, so bring a complete metric socket set instead of relying on one list. Some older Tacoma procedures may involve 12 mm or 14 mm fasteners, while another application can use different hardware.
- Safety glasses and mechanic’s gloves
- Wheel chocks
- Metric sockets, ratchet, extensions, and a suitable breaker bar
- Torque wrench covering the required specification range
- Combination wrenches
- Trim or clip tool for splash shields
- Needle-nose pliers and a long screwdriver for connector access
- Multimeter or automotive test light for diagnosis
- Penetrating oil for corroded fasteners
- Floor jack and rated jack stands if the service procedure requires underbody access
- Wire brush or battery-terminal cleaning tool
- Phone or labels for documenting wire locations
Pro Tip: Compare the replacement starter with the original before installation. Match the mounting ears, terminal positions, electrical connector, pinion, and any brackets or heat shields.
[Amazon Products Picked for You]

Made from drop forged and heat treated chrome vanadium steel (50BV30) with a corrosion-resistant black phosphate finish, providing the durability for a hard use.

METRIC & STANDARD SOCKET SET: LLNDEI 3/8-inch Impact socket set includes both metric and standard sizes and 1/4-inch bits and full complement of extensions and to fit any and all measurements you encounter on the job or home repair!

【Premium CR-V Steel】Made from drop forged and heat treated chrome vanadium steel (50BV30) with black phosphate finish.
Locate the Starter and Plan the Access Route
The starter normally mounts near the engine and transmission junction, but the side of the vehicle and the best access route vary. Depending on your Tacoma, you may need to remove a wheel, inner fender liner, skid plate, splash shield, intake part, or another component.
Confirm the exact path with your year, engine, transmission, and drivetrain selected in a repair manual. Do not assume that a video for a 2006 4.0-liter four-wheel-drive Tacoma applies to a four-cylinder, a later V6, or a newer-generation truck.
Step-by-Step Guide to Removing the Old Starter
[Amazon Products Picked for You]

【Car Starter Part Number】17671N, 17671, 17697, 17707, 28100-07010, 28100-07010-84, 28100-0W070, 28100-62050, 228000-3750, 228000-3961, 228000-5300, 281006205084, 410-52127, 10461683, SX3743, 280-0150, 280-0375, 280-0167, 9622809-375, 446685, 446780, 446693, 91-29-5285 automotive replacement starter motor.【Starter Motor Specs】① Volts: 12V; ② Power Rating: 1.4KW; ③ Number of Teeth: 9; ④ Rotation: CW (Clockwise).【Installation Tips】1. Starter shall have good positioning contact with the engine block or gearbox without oil stain. 2. When fixing the screws, remember to tighten them crosswise to avoid the offset of the installation center. 3. After the starter is fixed, do not pry it with tools.

Replacement Part Numbers: 117668, 1-17668, 17213, 17536, 17666, 17666S, 17668, 17668N, 17668S, 17668SN, 17668SV, 21173, 2280002570, 228000-2570, 2280002571, 228000-2571, 2280002572, 228000-2572, 2280002610, 228000-2610, 2280002611, 228000-2611, 2280002612, 228000-2612, 2280002613, 228000-2613, 2280003740, 228000-3740, 2280003742, 228000-3742, 2280003743, 228000-3743, 2446684, 244-6684, 2446686, 244-6686, 2446689, 244-6689, 2800151, 280-0151, 2800176, 280-0176, 2800177, 280-0177, 281000010084
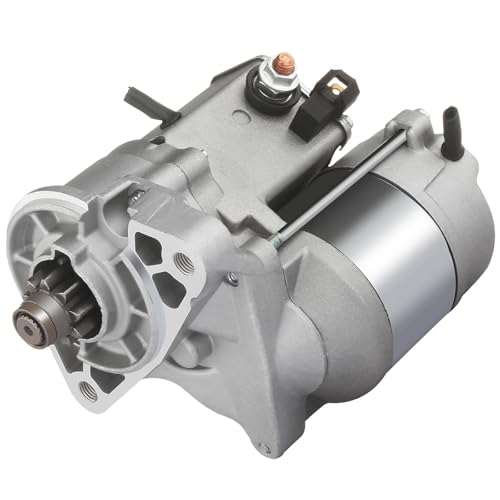
Vehicle Fitment- Fit For Toyota Tacoma 1995-2007 2.7L L4,For Toyota Tacoma 1995-2004 2.4L L4,For Toyota 4Runner 1996-2000 2.7L L4,For Toyota T100 1994-1998 2.7L L4
1. Prepare the Truck Safely
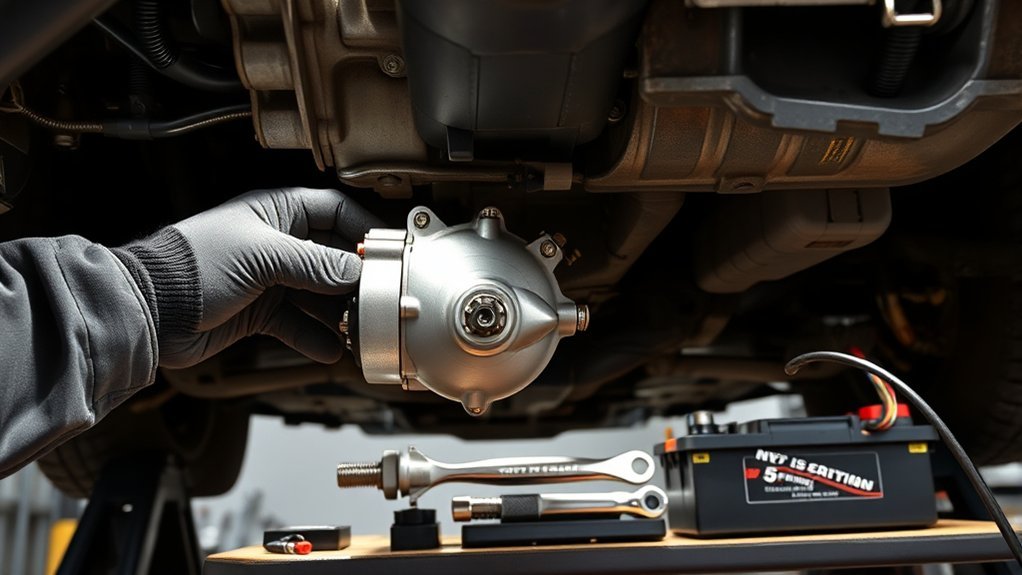
Park on a level surface, set the parking brake, shift an automatic transmission into Park, or place a manual transmission in gear after shutting the engine off. Chock the wheels and let the exhaust cool. Save radio presets or other settings that may be lost when the battery is disconnected.
If you must raise the Tacoma, lift it only at approved points and place it securely on rated jack stands. Give the truck a careful stability check before going underneath.
2. Disconnect the Battery
Remove the negative battery cable and position it so it cannot spring back onto the terminal. If the service procedure requires removing the positive cable, disconnect it only after the negative cable is isolated.
3. Remove the Required Access Components
Remove only the wheel, shield, liner, skid plate, bracket, or intake component identified by the model-specific procedure. Keep clips and fasteners organized so each piece returns to its original location.
4. Label and Disconnect the Starter Wiring
Photograph the starter before disconnecting anything. Release the small control-wire connector without pulling on its wire. Remove the protective cap from the main power terminal, loosen the retaining nut, and move the cable aside without bending it sharply.
5. Remove the Starter Mounting Bolts
Support the starter with one hand while loosening its mounting bolts. Use straight, fully seated tools to avoid rounding the fasteners. Apply penetrating oil and allow time for it to work if corrosion is present.
Do not strike a loaded ratchet or use an unstable pipe extension. If a bolt begins to round, feels cross-threaded, or threatens to break, stop and use the correct extraction method or seek professional help.
6. Remove and Inspect the Old Starter
Work the starter out without forcing nearby wiring, hoses, or exhaust parts. Check the mounting surface, cable eyelet, connector, and ground path for heat damage, looseness, oil contamination, or corrosion. Inspect the ring-gear teeth through the opening when they are visible.
| Removal Stage | Main Check |
|---|---|
| Battery disconnected | Negative cable cannot contact the terminal. |
| Electrical leads removed | Connector locks and cable eyelets are undamaged. |
| Mounting bolts removed | Starter is supported and surrounding parts are protected. |
| Starter out | New and old units match before installation. |
Installing the New Starter
[Amazon Products Picked for You]
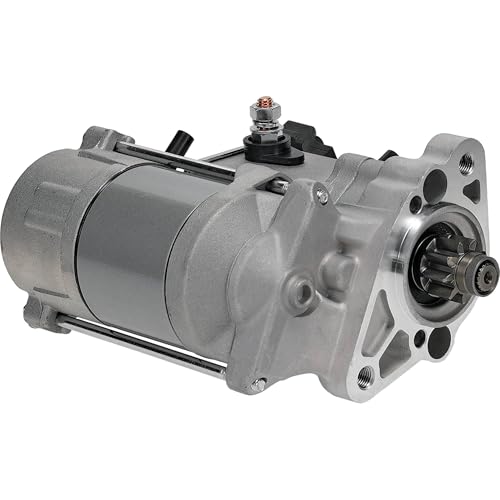
PEAK PERFORMANCE: This starter delivers reliable power for enhanced starting. Its high-quality build and materials ensure efficient operation, guaranteeing the reliable performance you require.

Compatibility: Starter motor fits for Toyota 4Runner 3.4L 1996-2001, for T-100 PICKUP 3.4L 1995-1998(Mfd in USA, 1.2kw; Mfd in Japan, Standard, 1.4kw), for Tacoma 3.4L 1995-2004, for Tundra 3.4L 2000-2004 (Note:All only for manual transmission)
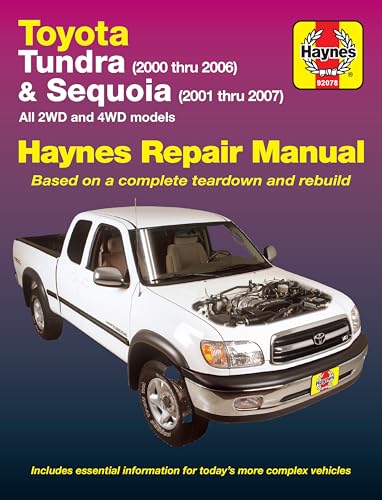
Complete Repair Coverage: Step-by-step repair procedures specific to your vehicle — from routine maintenance like oil changes and air filter replacement to complex engine and transmission repairs
1. Check the Fit and Alignment
Place the new starter against the mounting surface and confirm that it sits flush without prying or forcing. The mounting holes, nose housing, solenoid position, and terminals should match the original unit. Transfer any approved bracket, shield, or protective cap when required.
2. Install the Mounting Bolts
Start every mounting bolt by hand to prevent cross-threading. Tighten the bolts evenly, then use a calibrated torque wrench and the exact specification for your Tacoma. Do not substitute a guessed torque value from another year or engine.
3. Reattach the Electrical Connections
Install the main power cable on the correct terminal and tighten its nut to the vehicle-specific specification. Refit the terminal cover, then connect the smaller control wire until its lock engages. Route both leads exactly as before so they cannot touch the exhaust, steering, suspension, or a sharp edge.
4. Reassemble the Access Components
Reinstall every shield, liner, skid plate, wheel, bracket, and intake component removed for access. Tighten wheel fasteners and structural hardware to the applicable specifications. Lower the truck only after confirming that no tool or loose part remains underneath.
5. Reconnect the Battery
Reconnect the positive terminal first if it was removed, then reconnect the negative terminal. Make sure the terminals are clean, fully seated, and secure. Restore any saved settings after the starter test is complete.
Testing Your New Starter
Before the first test, verify that the transmission is in Park or Neutral, the parking brake is set, and nobody is near moving engine parts. On a manual truck, place the transmission in Neutral and press the clutch fully.
Listen for Noises
Turn the key or press the start button and listen. A correct installation should produce prompt, smooth cranking without grinding, repeated clicking, scraping, or a starter that continues running after you release the control.
| What You Hear | What to Check |
|---|---|
| Rapid clicking | Battery charge, terminal tightness, cable resistance, and grounds. |
| One solid click | Battery load capacity, power and ground voltage drop, starter fit, and possible engine or ring-gear resistance. |
| Grinding | Stop immediately. Check starter compatibility, mounting alignment, loose bolts, and ring-gear damage. |
| No sound | Control connector, fuse, relay, ignition request, park-neutral switch, clutch switch, and security system. |
| Smooth cranking | Confirm the engine starts consistently and no cable or warning-light issue remains. |
Check Electrical Connections
If cranking is weak or intermittent, switch the ignition off and recheck the battery terminals, engine grounds, starter power cable, and control connector. Look for a cable that is loose, pinched, misrouted, or touching a hot surface.
Monitor Engine Response
Start the engine several times with brief pauses between attempts. The starter should engage and release consistently. Once the engine runs, check the instrument panel. Investigate any warning light that remains on instead of assuming it is related to the new starter.
What to Test After Installation?
- Cold and warm starts: Confirm the truck cranks normally after sitting and again after reaching operating temperature.
- Park and Neutral operation: An automatic truck should follow its normal starting interlock behavior.
- Manual-transmission interlock: Confirm the engine cranks only under the conditions specified in the owner’s manual.
- Charging-system behavior: If the battery warning light stays on or the battery repeatedly discharges, test the charging system separately.
- Fastener and cable inspection: After a few drive cycles, inspect accessible connections for looseness, rubbing, or heat damage.
A new starter cannot compensate for a weak battery, excessive cable resistance, a damaged ring gear, or a fault in the starter-control circuit.
Common Problems After Starter Replacement
The New Starter Clicks but Does Not Crank
Load-test the battery and perform voltage-drop tests on the positive and ground paths. Confirm the starter sits flush and the engine turns normally. A new part can also be defective, especially if the diagnosis was based only on noise.
The Starter Does Not Respond
Check the small control connector first. Then inspect the related fuse, relay, ignition request, transmission interlock, clutch switch, and security or immobilizer condition using the correct wiring diagram.
The Starter Grinds or Stays Engaged
Stop using the starter immediately. Verify part compatibility, mounting alignment, bolt tightness, ring-gear condition, and the control circuit. Continued operation can damage the starter and ring gear.
The Engine Cranks but Will Not Start
The starter is doing its job if it turns the engine at normal speed. Diagnose fuel, ignition, compression, immobilizer, and engine-control faults instead of replacing the starter again.
Maintenance Tips for Your Tacoma’s Starter System
A conventional starter does not have a routine replacement interval. Its life depends on battery condition, cable resistance, heat, contamination, starting frequency, and mechanical wear.
- Keep the battery charged and test it when cranking becomes slower than normal.
- Clean and tighten battery terminals and ground connections when corrosion or looseness appears.
- Repair oil or coolant leaks that can contaminate the starter or its wiring.
- Do not hold the starter engaged for long periods. Allow it to cool between unsuccessful attempts.
- Investigate grinding, delayed engagement, or intermittent no-crank symptoms early.
- Keep records of battery, cable, alternator, relay, and starter repairs so repeated faults are easier to trace.
When to Call a Professional
Use a qualified technician if you cannot safely support the truck, the starter is blocked by major drivetrain or exhaust components, a mounting bolt is seized or broken, the wiring is heat-damaged, or the diagnosis requires advanced voltage-drop, immobilizer, or network testing. Professional help is also appropriate when the new starter grinds, remains engaged, or fails in the same way as the original.
Frequently Asked Questions
How long does it take to replace a Toyota Tacoma starter?
Many conventional Tacoma starter replacements take about one to three hours, but access, corrosion, engine choice, drivetrain layout, and technician experience can change the time significantly.
What should be done before beginning a starter replacement?
Confirm the battery and cables are healthy, check the starter fuse, relay, and interlock circuit, identify the exact replacement part by VIN, review the model-specific repair procedure, cool the exhaust, chock the wheels, and disconnect the negative battery cable.
Was 2006 the worst year for the Toyota Tacoma?
No authoritative source designates one Tacoma model year as the universal “worst.” Condition, maintenance, configuration, climate, and unresolved recalls matter more than a broad label. Check the truck’s VIN through the Toyota recall lookup and NHTSA recall search.
How much does it cost to replace a starter in a Toyota Tacoma?
The total depends on the model year, engine, starter brand, new or remanufactured construction, local labor rate, access time, and whether damaged cables or hardware also need replacement. A VIN-specific written estimate is more reliable than a universal price range.
Can a bad battery mimic a failed starter?
Yes. A weak battery or high resistance at a terminal, cable, or ground can cause slow cranking, rapid clicking, a single click, or no crank. Test the battery and starting-circuit voltage drop before replacing the starter.
Conclusion
Replacing a Toyota Tacoma starter is safest and most reliable when you diagnose the complete starting circuit first. Use the correct part, disconnect the battery, support the truck properly, preserve the original wire routing, and tighten fasteners to Toyota’s model-specific specifications. After installation, confirm consistent engagement, smooth cranking, and normal warning-light behavior before considering the repair complete.
Sources
- Toyota Manuals and Warranties — owner information and vehicle-specific manual access.
- Toyota Technical Information System — Toyota repair manuals, wiring diagrams, service bulletins, and diagnostic information.
- Toyota Warning Lights — guidance to use the vehicle-specific owner’s manual when interpreting indicators.
- Toyota Safety Recall and Service Campaign Lookup — VIN-specific Toyota recall and campaign checks.
- National Highway Traffic Safety Administration Recall Search — VIN, license-plate, and model-based safety recall information.
