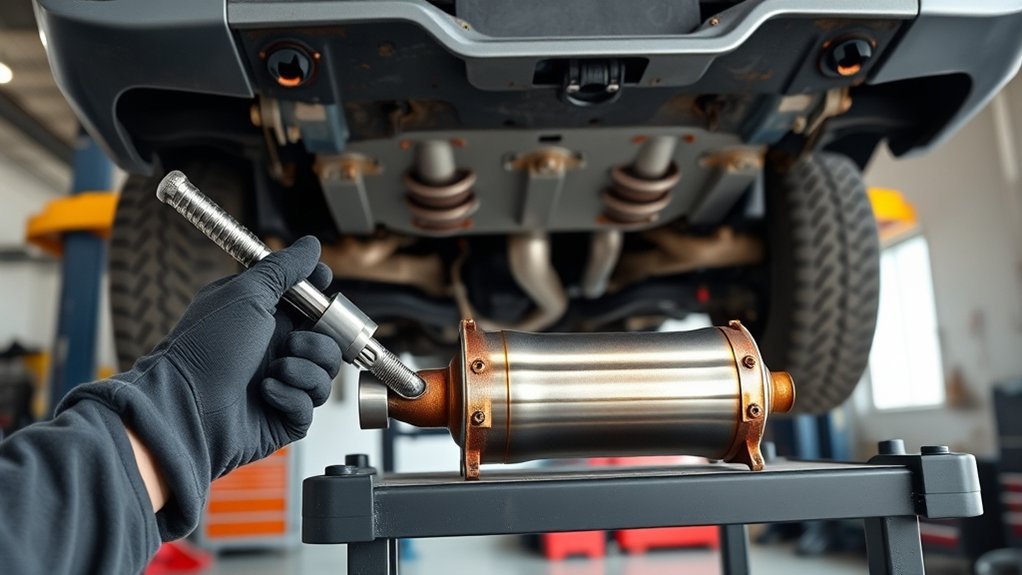
To replace a catalytic converter on a Toyota Tacoma, first diagnose why the original unit failed and identify a VIN- and emissions-correct replacement. Let the exhaust cool, support the truck on rated jack stands, disconnect the oxygen-sensor wiring, remove the old converter, install new gaskets and legal hardware, then check for leaks and returning trouble codes. On a 1998 Tacoma, the engine, drivetrain, emissions label, and converter position can change the assembly, so do not order the part by model year alone.
Last updated: September 19, 2026
Author:
Quick Answer
Confirm the converter with the VIN and under-hood emissions label before buying parts. A P0420 code alone does not prove the converter is bad, so check for exhaust leaks, misfires, fuel-control faults, and sensor problems first. For installation, cool and support the truck safely, preserve the original oxygen-sensor locations, use new seals and legal application-correct hardware, tighten to Toyota or converter-manufacturer specifications, then verify there are no leaks or returning codes.
Key Takeaways
- A check engine light or code such as P0420 does not prove the converter is bad. Test for exhaust leaks, misfires, fuel-control problems, and faulty sensor data first.
- Match the replacement to the Tacoma’s year, engine, emissions family, and converter location. California requires an application-specific converter approved for that vehicle.
- Never work beneath a truck supported only by a jack, and never touch or cut the exhaust until it is fully cool.
- Use new gaskets and hardware, keep oxygen sensors in their original locations, and follow Toyota or converter-manufacturer torque specifications.
- A replacement can restore lost performance only when the old converter was restricted or inefficient. No fixed fuel-economy gain is guaranteed.
At a Glance
| Time Required | Plan on several hours for an accessible bolt-on unit; seized fasteners, damaged pipes, difficult sensor removal, or welding can extend the job |
| Difficulty | Intermediate to advanced, especially on a rusted first-generation Tacoma |
| Tools Needed | Floor jack, rated jack stands, wheel chocks, metric sockets and wrenches, breaker bar, torque wrench, oxygen-sensor socket, penetrating oil, eye protection, gloves, and an OBD-II scan tool |
| Cost | As of September 3, 2026, RepairPal lists an average Tacoma catalytic-converter replacement at $1,169–$1,252 and a 1998 Tacoma estimate at $1,408–$1,454, excluding taxes, fees, and location adjustments. Actual quotes vary by engine, emissions certification, converter location, rust, and related repairs |
Understanding the Role of the Catalytic Converter
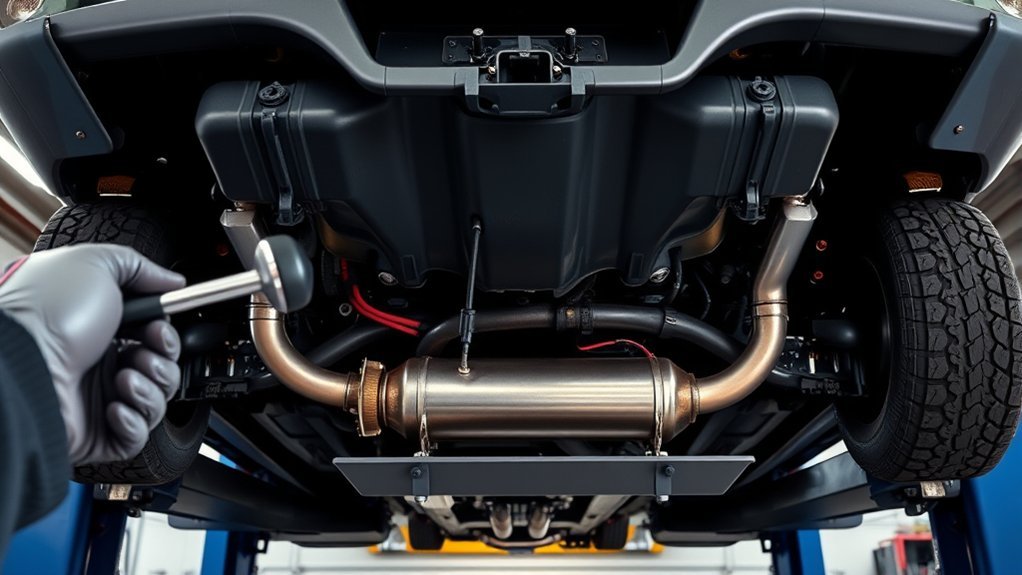
The catalytic converter is part of the Tacoma’s emissions-control system. Inside its metal shell, catalyst materials help convert carbon monoxide, unburned hydrocarbons, and nitrogen oxides into less harmful exhaust compounds.
The converter treats exhaust after combustion. It cannot correct a misfire, an overly rich fuel mixture, oil burning, coolant entry, or another engine fault that sends damaging material into it.
A healthy converter should not create a noticeable restriction. A melted, broken, or contaminated substrate can reduce exhaust flow, weaken acceleration, increase heat, trigger the malfunction indicator light, and raise emissions.
Replacing the converter without correcting the cause of failure can damage the new part. Diagnose ignition, fuel-control, oil-consumption, coolant-loss, and exhaust-leak problems before installation.
Does P0420 Mean the Toyota Tacoma Catalytic Converter Is Bad?
No. A P0420-type catalyst-efficiency code means the engine computer detected catalyst performance below its expected threshold; it does not identify the converter as the only failed part. Common warning signs that justify diagnosis include poor acceleration, reduced power at higher engine speed, a rattling converter, unusual exhaust odor, excessive underbody heat, a failed emissions inspection, or a stored catalyst-efficiency code.
These symptoms are not conclusive on their own. A fuel-system fault, ignition misfire, restricted or damaged exhaust, leaking flange, sensor fault, oil burning, or coolant entry can either mimic converter failure or damage the converter itself.
Diagnostic checkpoint: Before buying a converter, document active and pending codes, inspect for exhaust leaks, review fuel trims and misfire data, and compare upstream and downstream sensor behavior with the engine fully warm.
Checks to Complete Before Replacement
- Scan all codes and freeze-frame data. Repair active misfire, fuel-trim, temperature, or oxygen-sensor faults first.
- Inspect for exhaust leaks. Leaks near the manifold, flanges, flex sections, or oxygen sensors can distort readings.
- Review live sensor data. Compare upstream and downstream oxygen-sensor behavior with the engine fully warm.
- Check for restriction. A technician may use exhaust backpressure, intake vacuum, or temperature testing when restriction is suspected.
- Find contamination sources. Correct oil burning, coolant entry, rich operation, or repeated misfires before fitting a new converter.
Which Catalytic Converter Fits a Toyota Tacoma?
A 1998 Toyota Tacoma was offered with different engines and emissions configurations. Do not order a converter from the model year and trim name alone. Match the part to the VIN, engine size, drivetrain, converter position, and the Vehicle Emission Control Information label under the hood.
The California Air Resources Board explains how to locate the test group or engine family. That identifier helps confirm the original emissions equipment and the standards the truck was built to meet.
If the truck is registered in California, use a new original-equipment converter or a new aftermarket unit with a valid CARB Executive Order for that exact application. CARB says approved aftermarket converters are vehicle-specific and should be matched by make, model, model year, engine size, and test group or engine family. California also prohibits the sale or installation of used converters for on-road replacement.
Warning: Do not install a test pipe, hollow converter, oxygen-sensor spacer, or any part intended to defeat emissions monitoring. Federal law prohibits tampering with required emissions controls, and state rules may be stricter.
[Amazon Products Picked for You]
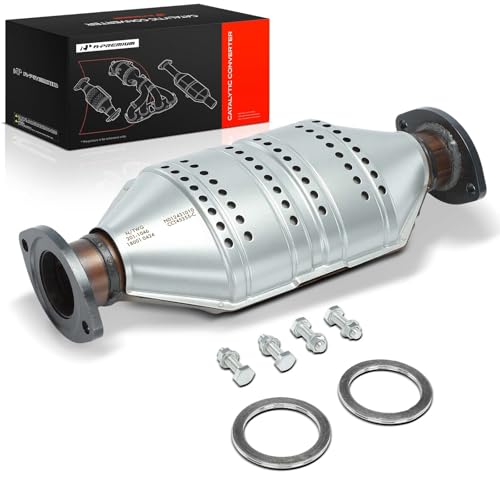
[Vehicle Fitment]: Compatible with Toyota Tacoma 1995-2000 L4 2.7L/V6 3.4L

[Vehicle Fitment]: Compatible with Toyota Tacoma 2000-2004 V6 3.4L

【Vehicle Fitment】- Catalytic Convertor Compatible with Toyota Tacoma 2000 2001 2002 2003 2004 L4 2.7L. Make sure to research the part's fit for your vehicle before purchasing. Enter your vehicle's information (year, make, model, engine, and trim) to verify compatibility and review the qualifier notes
What Tools Do You Need for Tacoma Catalytic Converter Replacement?
Prepare the tools before raising the truck. A rust-free bolt-on repair may need only hand tools, while a corroded system can require heat, cutting, welding, or professional exhaust equipment.
[Amazon Products Picked for You]

Fits Most Vehicles: Compatible with most domestic and imported cars, trucks, and SUVs equipped with rubber mounts, as well as their exhaust systems. Suitable for muffler replacements, exhaust repairs, and custom exhaust systems

Restore Damaged Exhaust Pipes Without Replacement:Repair dented, bent, and deformed exhaust pipe ends quickly without replacing the entire exhaust section. The Prokomon exhaust pipe expander helps restore round pipe openings for easier installation and better connections.
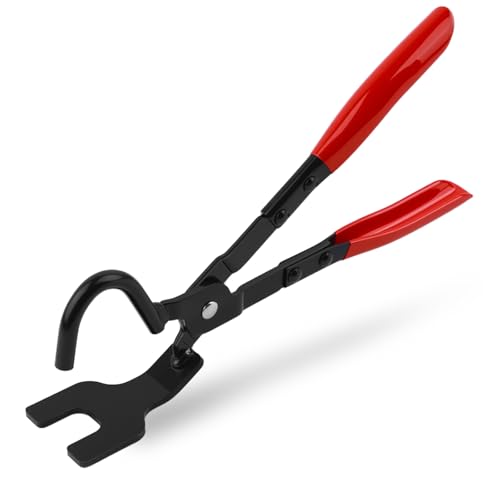
Exhaust Repair Easily and Fast: This rubber hanger removal pliers is suitable for the quick removal of those often very stubborn tailpipes, exhaust pipes and mufflers. In a matter of minutes you will be able to remove rubber hangers that you could not remove with your bare hands for hours. A really wise investment.
Socket Sizes and Hand Tools
Do not assume one socket-size list fits every 1998 Tacoma. Engine choice, emissions package, replacement pipes, corrosion, and past repairs can change the hardware, so inspect the truck first and bring a complete metric set.
- Metric socket and combination-wrench set
- Ratchet, extensions, universal joint, and breaker bar
- Torque wrench covering the required specification
- Oxygen-sensor socket or suitable crowfoot wrench
- Penetrating oil, wire brush, and anti-seize only where the part maker permits it
- Floor jack, rated jack stands, and wheel chocks
- Safety glasses, mechanic’s gloves, and hearing protection
- OBD-II scan tool and a bright work light
- New application-correct gaskets, springs, bolts, and nuts
When Power Tools Help
An impact wrench can speed up removal, but excessive force can snap studs or damage flanges. Use six-point sockets and controlled torque. Vice grips may help on already damaged hardware, although a dedicated extractor usually grips more securely.
A grinder or reciprocating saw should be a last resort. Confirm the location of fuel lines, brake lines, wiring, heat shields, and the floor before cutting. Have a fire extinguisher nearby and avoid sparks around fuel vapor or penetrating-oil residue.
Pro Tip: Apply penetrating oil to accessible fasteners several hours before disassembly. Lightly brushing exposed threads first helps the oil reach the rusted joint.
First-hand note:
Removing Your Old Catalytic Converter: Step by Step
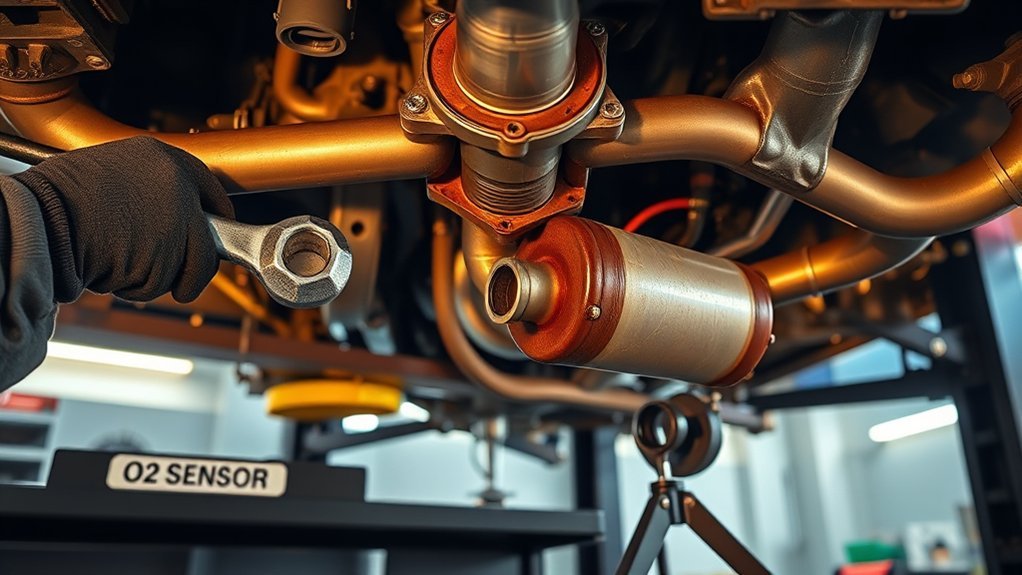
- Park and cool the truck. Work on level pavement, set the parking brake, chock the wheels, and let the exhaust cool completely. Waiting several hours or overnight is safest.
- Record diagnostic information. Save trouble codes and freeze-frame data before disconnecting the battery or clearing memory.
- Raise and support the Tacoma. Lift only at approved points and place rated jack stands beneath proper support locations. Gently test stability before going underneath.
- Locate the correct converter. Compare the existing assembly with the replacement, including flange shape, pipe bends, oxygen-sensor ports, heat shields, and flow direction.
- Disconnect oxygen-sensor wiring. Release connectors from their brackets. If a sensor must come out, turn the sensor body without twisting its wire.
- Soak and clean the fasteners. Apply penetrating oil and remove loose rust. Support the exhaust so it cannot drop or strain nearby components.
- Remove shields and fasteners. Use the correct six-point socket. Loosen hardware gradually and evenly. Cut seized hardware only when safe access and replacement parts are available.
- Remove the converter. Lower the assembly carefully. Remove old gaskets and inspect the mating flanges, studs, hangers, pipes, and sensor threads for damage.
Warning: Never work under a vehicle held only by a hydraulic jack. If rust has weakened the frame or approved support area, stop and have a qualified shop assess the truck before lifting it.
When Should You Stop and Use a Repair Shop?
Stop the DIY repair if the approved lifting points are weakened by rust, a flange or stud is cracking, safe removal requires welding or cutting near fuel or brake lines, or you cannot positively identify the correct emissions-approved converter. A qualified exhaust or Toyota repair shop is also the better choice when an active misfire, rich-running condition, oil burning, or coolant loss has not yet been diagnosed, because those faults can damage the replacement converter.
Installing the New Catalytic Converter
- Compare both assemblies. Confirm overall length, flange orientation, sensor-port locations, heat shields, markings, and emissions approval before installation.
- Prepare the mating surfaces. Remove old gasket material and loose rust without thinning or gouging the flanges.
- Install new gaskets and hardware. Do not reuse crushed sealing rings, distorted springs, or severely corroded fasteners.
- Position the converter. Keep the flow direction correct and place oxygen sensors in their original locations. Start every fastener by hand.
- Align the exhaust. Check pipe clearance around the frame, crossmembers, floor, driveshaft, wiring, and heat shields before tightening.
- Tighten to the correct specification. Use the applicable Toyota repair information or the converter maker’s instructions. Do not substitute a generic torque value.
- Reinstall the oxygen sensors. Use anti-seize only if the sensor or converter manufacturer specifies it, and keep compound away from the sensing tip.
- Reconnect all brackets and wiring. Keep harnesses away from hot pipes and moving parts.
Toyota’s Technical Information System provides factory repair manuals and diagnostic information for supported Toyota vehicles. Use the exact procedure and torque data for the truck’s configuration.
Troubleshooting Common Installation Issues
[Amazon Products Picked for You]

【QUALITY】Exhaust flange is made of high quality 304 stainless steel, corrosion and abrasion resistant, long service life.

[High-Quality Materials]: The split flange is made of high-quality galvanized carbon steel, making it sturdy and durable with excellent oxidation resistance and long-term service life.
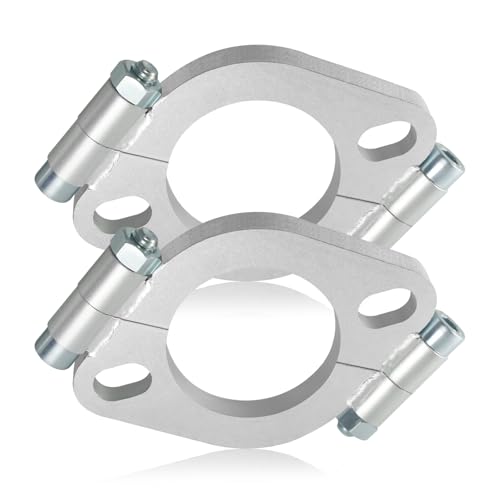
Thickness of Split Flange: 0.3 inch; Internal Diameter: 2 inch; Fits Pipe Outer Diameter (OD): 2 inches (Not for expanded/flared pipe, measure your pipe OD before order)
Rusted or Broken Fasteners
Stop if a stud begins to twist with the nut or a flange starts to crack. Additional penetrating oil, controlled heat, a nut splitter, or professional extraction may prevent damage that turns a bolt-on repair into a welding job.
Exhaust Leak After Installation
A ticking sound, exhaust smell, soot mark, or abnormal sensor reading can indicate a leak. Let the system cool, then check gasket orientation, flange alignment, cracked pipes, loose hardware, and uneven spring tension.
Check Engine Light Returns
Read the new code rather than assuming the replacement failed. Recheck exhaust leaks, oxygen-sensor connectors, damaged wiring, fuel trims, misfire counters, engine temperature, oil consumption, and coolant loss.
Converter Overheats or Glows
Shut the engine off and do not continue driving. A glowing converter can indicate raw fuel entering the exhaust because of a severe misfire or rich condition. Continued operation can melt the substrate and create a fire hazard.
Post-Installation Checks
- Lower the Tacoma and remove all tools from underneath it.
- Start the engine outdoors or in a properly ventilated area.
- Listen for leaks without touching the exhaust.
- Verify that no wiring, shields, or pipes are contacting hot or moving parts.
- Check scan data and confirm that repaired faults do not return.
- After a short drive and full cool-down, inspect the flanges again for soot, looseness, or contact.
Do not erase readiness monitors immediately before an emissions inspection. Clearing codes resets the monitors, and the vehicle may need normal drive cycles before testing can be completed.
Performance After Catalytic Converter Replacement
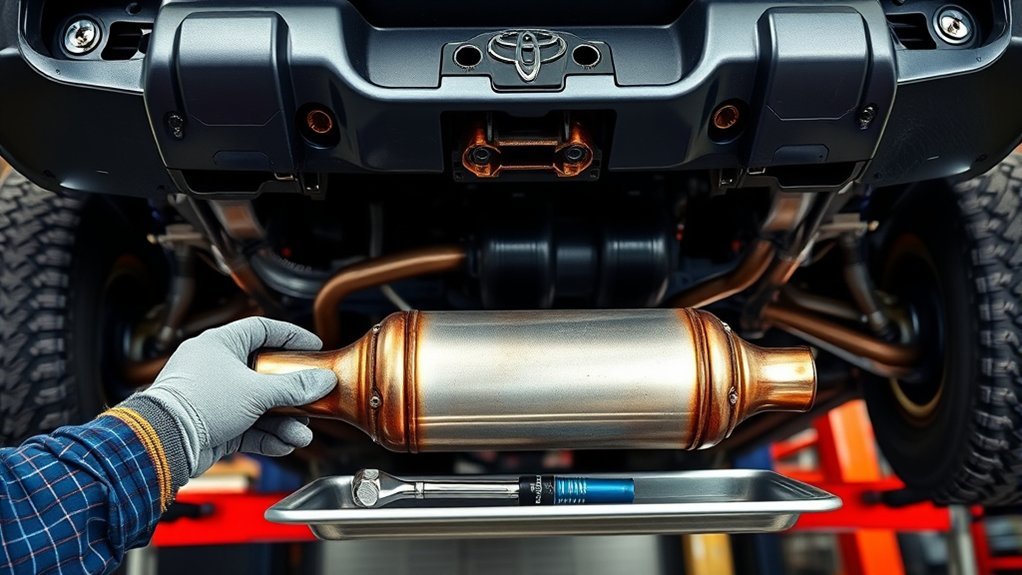
If the old converter was physically restricted, replacing it can restore exhaust flow, throttle response, and power that the truck had lost. If the old unit was not restricted, you should not expect a noticeable power increase.
Fuel-Economy Expectations
A failing converter or the engine problem that damaged it can reduce fuel economy. Correct diagnosis and repair may restore normal mileage, but a universal 10% to 15% improvement is not supported. Results depend on the original fault, driving conditions, engine health, tires, load, and maintenance.
Exhaust Flow and Emissions
An application-correct converter should treat exhaust without creating harmful restriction. Proper sealing also prevents outside air from entering near the sensors and reduces exhaust leakage beneath the cab.
| Possible Result | When You May Notice It |
|---|---|
| Restored acceleration | The old converter was clogged or melted |
| Quieter exhaust | The old shell, flange, or substrate was damaged |
| Normal fuel economy | The converter restriction and its root cause were both repaired |
| Lower tailpipe emissions | The correct converter is operating with a healthy engine and working sensors |
| No major change in power | The previous converter was not restricting exhaust flow |
Better Engine Performance
A new converter does not create extra engine power by itself. It can restore normal operation when the old unit caused backpressure. Functional oxygen sensors and a properly controlled air-fuel mixture are still essential for drivability, emissions, and converter life.
How to Protect the New Catalytic Converter
After installation, focus first on protecting the repair. Keep the ignition and fuel systems maintained, repair oil or coolant consumption promptly, and investigate a flashing check engine light immediately.
A catalytic-converter shield or properly installed anti-theft device may deter theft, especially on a truck with high ground clearance. Make sure the device does not trap excessive heat, contact the exhaust, or interfere with inspection and service.
Engine or exhaust modifications are separate from converter replacement and must not disable required emissions controls. Any modification should preserve the vehicle’s emissions-control function and comply with federal, state, and local requirements where the Tacoma is registered.
Related Guides
Frequently Asked Questions
How much does it cost to replace a catalytic converter on a Toyota Tacoma?
The total varies by model year, engine, emissions certification, converter location, part type, local labor, rust, and related repairs. As of September 3, 2026, RepairPal lists an average Tacoma catalytic-converter replacement at $1,169–$1,252 and a 1998 Tacoma estimate at $1,408–$1,454, before taxes, fees, and location adjustments. Request a written VIN-based quote because California-approved or original-equipment assemblies and rust-related work can change the total substantially.
What should I do before replacing a catalytic converter?
Save the diagnostic codes, inspect for exhaust leaks, review oxygen-sensor and fuel-trim data, repair misfires or rich operation, check for oil or coolant contamination, identify the exact emissions family, and confirm that the replacement is legal for the vehicle.
How many hours does catalytic converter replacement take?
Plan on several hours for an accessible bolt-on repair. Severe corrosion, broken studs, damaged flanges, welded joints, or difficult sensor removal can extend the job substantially.
Can an oxygen sensor cause a catalyst-efficiency code?
Yes. A slow, biased, contaminated, or incorrectly wired sensor can contribute to misleading data. Exhaust leaks and fuel-control faults can also affect the comparison between upstream and downstream sensor signals, so testing should come before parts replacement.
Do I need to weld the replacement converter?
Not when an application-correct direct-fit assembly replaces the original bolt-on section and the surrounding pipes and flanges remain usable. Welding may be necessary when the truck has a universal converter, damaged pipe, missing flange, or previous exhaust modification.
Do I need to replace the oxygen sensors with the catalytic converter?
Not automatically. Test the sensors and wiring first, and replace a sensor only when diagnosis shows it is faulty or it cannot be removed without damage. Keep each working sensor in its original upstream or downstream location, and follow the sensor or converter maker’s installation instructions.
Can I drive a Toyota Tacoma with a P0420 code?
Do not treat P0420 as a diagnosis or ignore it indefinitely. If the check engine light flashes, power drops sharply, the converter glows or overheats, or exhaust fumes enter the cab, stop driving and correct the underlying problem. If the light is steady and the truck otherwise runs normally, arrange diagnosis soon so exhaust leaks, sensor faults, misfires, fuel-control problems, or converter deterioration can be identified before more parts are damaged.
Conclusion
A successful Toyota Tacoma catalytic converter replacement begins with diagnosis and correct part identification. Let the exhaust cool, support the truck securely, preserve the original sensor locations, install new seals and hardware, and use vehicle-specific torque data. If you cannot verify the emissions application, safe lifting points, or tightening specifications—or if corrosion turns the job into cutting or welding—use Toyota service information or a qualified repair shop before proceeding.
Sources
- U.S. Environmental Protection Agency: Clean Air Act Title II — federal motor-vehicle emissions law and prohibited acts
- California Air Resources Board: Aftermarket Catalytic Converters — California approval and application requirements
- California Air Resources Board: Locating the Test Group or Engine Family — finding the emissions identifier on the under-hood label
- California Air Resources Board: Installer’s Checklist — diagnosis, location, oxygen-sensor, and one-for-one installation requirements
- Toyota Technical Information System — factory repair manuals, diagnostics, and model-specific service information
- RepairPal: Toyota Tacoma Catalytic Converter Replacement Cost — national and model-year cost estimates, last updated September 3, 2026
