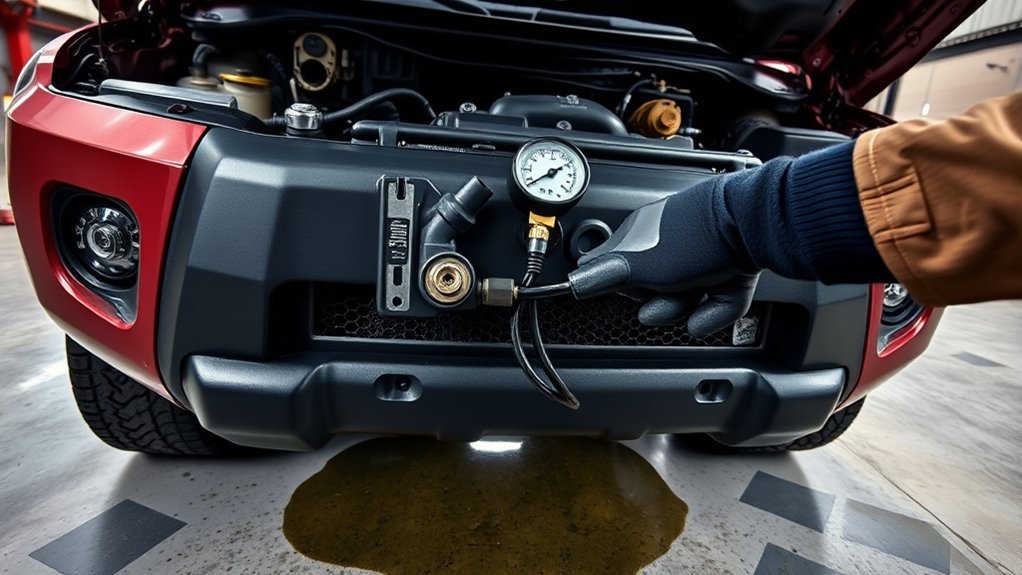
A Toyota Tacoma coolant leak can start as a damp hose connection and turn into an overheating engine if you keep driving. Let the engine cool completely, identify the exact leak source, and repair the failed part instead of repeatedly topping off the reservoir. Because Tacoma cooling systems vary by model year and engine, confirm the coolant specification, pressure limit, torque values, and bleeding procedure in your exact owner’s or repair manual.
Quick Answer
To find a Toyota Tacoma coolant leak, inspect the cold engine for wet areas or dried residue, then pressure-test the system without exceeding its rated pressure. Replace the leaking hose, clamp, cap, reservoir, radiator, pump, gasket, or housing. Refill with the coolant specified for your model year, bleed the system correctly, and recheck for leaks.
Key Takeaways
- Never remove a radiator or pressurized coolant cap while the engine is hot.
- A falling coolant level, dried pink or white residue, damp components, cabin odor, steam, or overheating can point to a leak.
- Pressure testing can expose slow leaks, but you must use the correct adapter and stay within the system’s rated pressure.
- Use the coolant and sealing method listed for your exact Tacoma year, engine, and repair location.
- Stop driving if the temperature warning appears, the gauge rises abnormally, or steam comes from under the hood.
At a Glance
| Time Required | 15–30 minutes for a cold visual inspection; one hour or more for pressure testing and a simple external repair |
| Difficulty | Beginner for inspection; intermediate for accessible hoses or clamps; advanced for pumps, manifolds, heater cores, or internal engine leaks |
| Tools Needed | Gloves, eye protection, flashlight, drain pan, clean rags, hand tools, cooling-system pressure tester, and the correct coolant |
| Cost | Low for some clamps or accessible hoses; much higher for a radiator, water pump, heater core, intake-area repair, or internal engine damage |
Warning: Hot coolant can spray from a pressurized system and cause severe burns. If the Tacoma is overheating or steaming, pull over safely, shut off the engine, keep clear of the steam, and wait until the system is completely cool. Do not continue driving an overheating truck.
Understanding Coolant Leaks in Your Toyota Tacoma
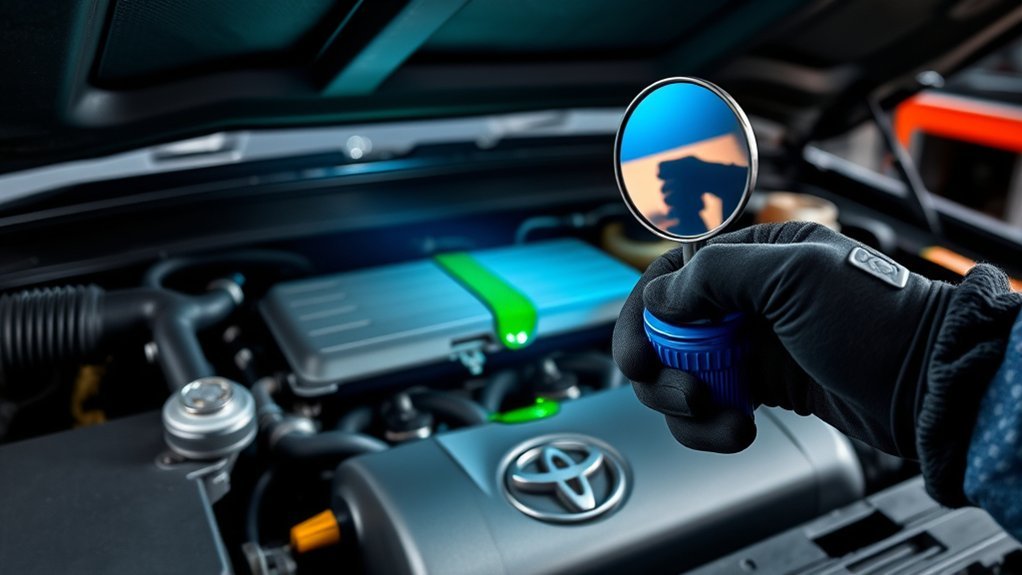
Your Tacoma’s cooling system moves coolant through the engine, radiator, hoses, thermostat area, heater circuit, and other passages. A leak lowers the fluid level and may let air enter the system. Either condition can reduce heat transfer and lead to unstable temperatures or overheating.
Common leak sources include hose ends, clamps, the radiator, expansion reservoir, cap seals, thermostat housing, water pump, heater hoses, heater core, and engine gaskets. The layout and common failure points differ across Tacoma generations and engines, so avoid assuming that a repair shown for another year matches your truck.
A leak is not fixed just because the reservoir has been topped off. Repeated coolant loss means the system needs diagnosis.
Inspect the truck promptly when the level falls. A small external seep can become a larger leak as hoses, seals, and plastic parts heat and cool.
What Signs Indicate Coolant Leaks You Shouldn’t Ignore?
Some coolant leaks leave a clear puddle. Others evaporate on hot parts, leak only under pressure, enter the passenger compartment, or escape internally. Look at several symptoms together instead of relying on fluid color or smell alone.
Visible Puddles Under Vehicle
Check the ground after the truck has been parked, then trace any wet area upward with the engine cold. Coolant color is not a reliable identification method because products and contamination vary. Engine oil, transmission fluid, air-conditioning water, and windshield-washer fluid can also appear under the truck.
Dried coolant may leave crusty pink, red, white, or pale residue around a hose neck, seam, pump vent, or fitting. A clean paper towel can help show the color and texture, but do not taste or intentionally smell the fluid.
| Sign | Possible Meaning | Next Step |
|---|---|---|
| Puddle or wet trail | Active external leak | Trace the highest wet point |
| Dried crust or staining | Slow seep or past leak | Clean, pressure-test, and recheck |
| Repeatedly low reservoir | External or internal coolant loss | Inspect and test before driving far |
| Wet passenger carpet or film on glass | Possible heater-core or heater-hose leak | Limit heater use and arrange diagnosis |
| Temperature rise or steam | Cooling-system failure or severe coolant loss | Stop safely and shut off the engine |
Overheating Engine Symptoms
A rising temperature gauge, a coolant-temperature warning, reduced cabin heat, bubbling in the reservoir, or steam can indicate low coolant or poor circulation. These symptoms can also come from a stuck thermostat, failed fan, damaged belt, restricted radiator, bad cap, or water-pump problem.
Do not depend on the check-engine light to identify a coolant leak. The light may appear if overheating causes a related fault, but many leaks will not trigger it. Treat the temperature display and visible steam as the urgent warnings.
Persistent white exhaust after the engine is fully warm, unexplained misfires, milky contamination under the oil cap, or rapid pressure buildup from a cold start can suggest an internal leak. Condensation alone can also create temporary white vapor, so these signs require proper testing rather than a quick conclusion.
Sweet Smell Around Engine
Hot coolant and its additives can produce a noticeable chemical or sweet-like odor. The smell may be strongest near the radiator, firewall, passenger vents, or a wet engine component. Odor alone does not identify the exact source.
Keep children and animals away from any spill. Many automotive coolants contain ethylene glycol, and improper storage or disposal can poison people and animals. Absorb the spill, collect contaminated material, and follow local household hazardous-waste rules.
Common Toyota Tacoma Coolant Leak Locations
Start with the accessible parts, then move toward areas that require tools or component removal.
- Reservoir and cap: Look for cracks, damaged cap seals, overflow marks, and brittle hose connections.
- Upper and lower radiator hoses: Inspect the full hose, clamp area, and plastic or metal neck for swelling, cuts, chafing, or residue.
- Radiator seams and drain area: Check the core, side tanks, lower corners, drain plug, and areas struck by road debris.
- Water pump: Look around the pump body, gasket surface, and vent or weep area. A leak may spread along the engine and appear below the actual source.
- Thermostat and coolant housings: Inspect mating surfaces, pipe O-rings, and nearby fittings.
- Heater circuit: Check hoses at the firewall, cabin odor, damp carpet, and greasy film on the inside of the windshield.
- Engine oil-cooler or turbo-related coolant lines, when equipped: The components differ by engine and model year.
- Internal gaskets or castings: Suspect these only after external leaks and simple causes have been checked.
Pro Tip: Clean old residue before testing. Fresh wetness on a clean surface makes it much easier to separate the true source from coolant that has run downward or been blown rearward while driving.
Essential Tools for Diagnosing Coolant Leaks
You can complete a basic inspection with gloves, eye protection, a flashlight, clean rags, and a drain pan. A small inspection mirror can help you view the back of housings and hose connections.
A cooling-system pressure tester is useful when a leak appears only after the system warms up. Use the adapter that fits your Tacoma, follow the tester instructions, and never exceed the cap or service-manual pressure specification. Pressure-test only when the engine is cool.
UV dye and a compatible lamp can help with very slow external leaks, but use a dye approved for automotive coolant. A combustion-gas test, cylinder leak-down test, or cooling-system vacuum-fill tool may help with difficult cases. These tests require correct technique and are often better handled by a technician.
Keep replacement tools and parts matched to the job. Some repairs need hose-clamp pliers, torque tools, line-disconnect tools, or access to model-specific service information.
[Amazon Products Picked for You]

【TROUBLESHOOTING & SAVING MONEY】28pcs universal radiator pressure tester and vacuum refill kit with functions of leak detection, temperature measurement, liquid filling, etc. If you use the coolant pressure tester, the tester can quickly and easily solve any problems related to radiator pressure, making your job easier and faster.Note: Please select the corresponding adapter according to the user manual; otherwise, leakage may occur. If a suitable adapter is not available, please use a universal adapter, which is suitable for all vehicle models.

[ Multi-function]: Our radiator pressure tester kit can test the leakage in the radiator system, replace the coolant and remove air bubbles. You can use the tester to quickly and easily solve any problems related to radiator pressure, making your work easier and faster.

【33PCS Comprehensive Tool Set】Includes: 17pcs color codes radiator caps, 3pcs aluminum adapters, 2pcs radiator cap test connectors, 1pc universal adapter, 1pc pressure testing pump with gauge, 1pc vacuum purge & refill tool, 2pcs clear hoses, 1pc thermometer, 2pcs EU & US air intake joints,1pc padiator cap wrench, a set of O-rings, 1pc user manual and a storage case.
How to Fix Coolant Leaks: A Simple Step-by-Step Guide
[Amazon Products Picked for You]

Comprehensive Tool Set: Orion Motor Tech's 19 pcs coolant pressure tester kit makes detecting internal & external pressure leaks in your vehicle's cooling system easy, including 15 adapters, a manual vacuum pump, a probe thermometer, a wrench, and O-rings

Comprehensive Tool Set: Orion Motor Tech's 31 pcs coolant pressure tester kit includes 22 adapters, a universal adapter, a vacuum pump, a vacuum purge & refill tool, a probe thermometer, a wrench, EU & US air intake joints, O-rings, and hoses
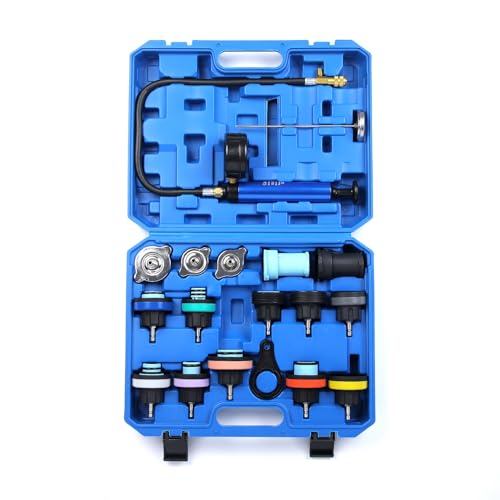
Color Coded Set: The color-coded design of this cooling system pressure tester kit makes it convenient to select the suitable adapter without any mess. With 18 pieces, it's perfect for testing cooling systems on most vehicles.
1. Let the Engine Cool Completely
Park on level ground, set the parking brake, and switch off the engine. Wait until the engine and cooling system are fully cool. Place a drain pan under the likely leak area and wear gloves and eye protection.
2. Confirm the Coolant Level and Specification
Check the reservoir against its cold-level marks. Do not open a pressurized cap while the system is hot. Before adding coolant, use your exact model-year manual to confirm the specified product and mixture.
For example, Toyota’s 2023 Tacoma maintenance guide specifies Genuine Toyota Super Long-Life Coolant or a similar high-quality ethylene-glycol coolant that meets the listed chemistry requirements. That statement should not be treated as a universal specification for every Tacoma ever built.
3. Inspect From Top to Bottom
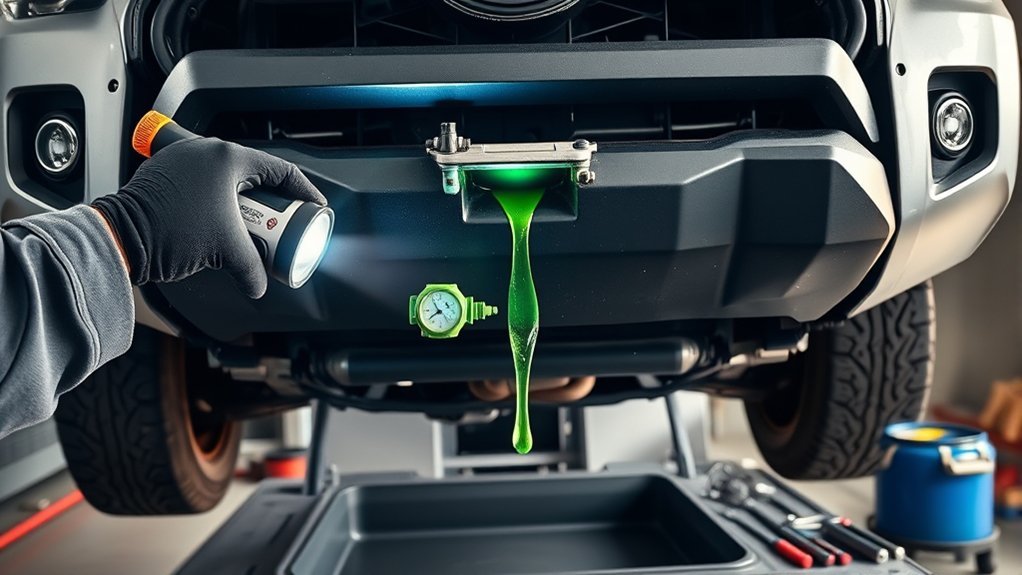
Use a flashlight to inspect the reservoir, cap area, radiator, hose ends, clamps, heater hoses, thermostat area, water pump, and visible coolant pipes. Find the highest fresh wet point because leaking coolant often travels downward before dripping.
Check nearby parts for rub marks or impact damage. A new hose will fail again if it still touches a sharp bracket, pulley, or hot exhaust component.
4. Pressure-Test the Cold System
Attach the correct tester adapter and raise pressure only to the value allowed by the cap, tester instructions, or service manual. Watch the gauge and inspect for fresh seepage. A pressure drop without a visible external leak can point to a hidden heater-core leak, internal leak, tester-connection leak, or cap problem.
Release pressure slowly through the tester before removing it. Never pressure-test a hot system or use shop air directly on the cooling system.
5. Repair the Failed Part
- Loose or damaged clamp: Reposition or replace it with the correct type and size. Do not overtighten a clamp on a plastic neck.
- Cracked, swollen, or soft hose: Drain coolant below the connection, replace the hose, and inspect both mating necks.
- Reservoir or cap leak: Replace the damaged component with the correct pressure-rated part.
- Radiator leak: Replace a cracked tank, damaged seam, or leaking core unless a qualified radiator specialist confirms a reliable repair.
- Water-pump or housing leak: Follow the engine-specific procedure, torque sequence, gasket instructions, and belt or timing-component precautions.
- Heater-core or internal engine leak: Arrange professional diagnosis unless you have the required tools and experience.
A bottled stop-leak product is not a substitute for replacing a failed component. It may temporarily slow some leaks, but it can also complicate diagnosis or affect narrow passages. Use it only when the product manufacturer and the vehicle service information allow it, and treat it as an emergency measure rather than a completed repair.
6. Refill and Bleed the System
Close drains and reconnect all parts. Add the correct coolant slowly. Follow the model-specific bleeding procedure because trapped air can cause poor heater output, unstable coolant levels, or overheating. Some engines need a vacuum-fill tool or a specific warm-up sequence.
Never mix coolants based only on color. If the existing fluid is unknown or contaminated, a proper drain and refill may be safer than topping it off with an incompatible product.
7. Verify the Repair
Run the engine only after confirming the system is filled. Watch the temperature display, check cabin heat, and look for leaks as the engine warms. Let the truck cool again, then recheck the reservoir level and inspect the repaired area.
A stable pressure test, normal operating temperature, consistent heater output, and no fresh residue provide stronger confirmation than a single dry inspection.
Selecting Gaskets and Sealants for Effective Coolant Leak Repairs
The correct sealing method depends on the joint. Some locations use a molded gasket or O-ring, while others use a service-manual-specified formed-in-place gasket. Adding RTV to a joint designed for a dry gasket can cause leaks or squeeze excess material into a coolant passage.
Do not assume Toyota 1282B FIPG is correct for every Tacoma coolant repair. Verify the product, bead size, surface preparation, assembly window, cure time, and torque procedure for the exact engine and joint.
[Amazon Products Picked for You]

Non-Corrosive Formula - Ultra Black Maximum Oil Resistance Silicone Gasket Maker Is Sensor-safe; With A Non-Corrosive Formula Designed For Superior Adhesion To Oily Surfaces And Long Term Durability

Sensor-safe, noncorrosive RTV silicone gasket material formulated specifically for water pumps and thermostat housings.Fit Type: Universal Fit

Designed specially for high-torque and high vibration applications
OEM Gasket Benefits
- Correct dimensions: A model-specific gasket or O-ring is more likely to match the groove, bolt pattern, and compression requirements.
- Material compatibility: The part must tolerate the specified coolant, pressure, and temperature range.
- Reliable installation data: Factory service information provides the required torque sequence and sealing instructions.
- Lower repeat-repair risk: Correct fit and preparation reduce the chance of pinching, rolling, or over-compressing a seal.
A quality aftermarket part may also work when it meets the correct specifications. Compare the part by vehicle identification, engine, and repair location rather than by appearance alone.
Sealant Application Techniques
Drain the coolant below the joint and remove old gasket material without gouging the mating surface. Clean and dry the surface with products allowed by the service procedure. Oil, coolant, corrosion, and old silicone can prevent proper adhesion.
Apply only the specified bead size and route. Assemble within the stated time, tighten fasteners in sequence to the correct torque, and respect the cure or refill time. More sealant is not better.
Inspect nearby wiring and connectors after a leak. Coolant contamination can damage terminals, loom, or sensors even after the mechanical leak is fixed.
Why Regular Cooling System Maintenance Matters
Routine checks help you catch seepage, damaged hoses, and low coolant before the engine overheats. Inspect the cold reservoir level and visible hoses during normal maintenance, before towing, and before a long trip.
Do not follow a universal “flush every 30,000 miles” rule. Toyota’s 2023 Tacoma maintenance guide lists the first engine-coolant replacement at 100,000 miles or 120 months, then every 50,000 miles or 60 months when using the specified long-life coolant. Other Tacoma years, engines, markets, coolant histories, and repair conditions may use different intervals, so check the guide for your truck.
Toyota also calls for inspection of hoses and connections for corrosion and leaks. Replace damaged parts instead of tightening every clamp blindly, since overtightening can harm plastic fittings and hose ends.
Note: A coolant change interval is scheduled maintenance. A leak, contamination, overheating event, component replacement, or unknown coolant mixture can require service sooner.
What to Do After Fixing Coolant Leaks: Gaskets and Sealants
After the repair, remove spilled coolant from the engine and underbody so old residue does not look like a new leak. Collect drained coolant in a sealed, labeled container. Do not pour it onto the ground, into a storm drain, or down a household drain.
Use this post-repair checklist:
- Confirm every hose, connector, shield, and fastener is installed correctly.
- Verify the coolant level when the engine is cold.
- Bleed trapped air using the procedure for the exact engine.
- Pressure-test the cold system again when appropriate.
- Check for heat from the cabin heater and normal temperature behavior.
- Inspect the repair after the first full heat cycle and again after several drives.
- Recheck engine oil and exhaust symptoms if an internal leak was suspected.
If the coolant level continues to fall, stop treating the repair as complete. Recheck the cap, hidden hoses, heater core, water pump, and internal-leak possibilities.
When to Call for Professional Help With Coolant Issues
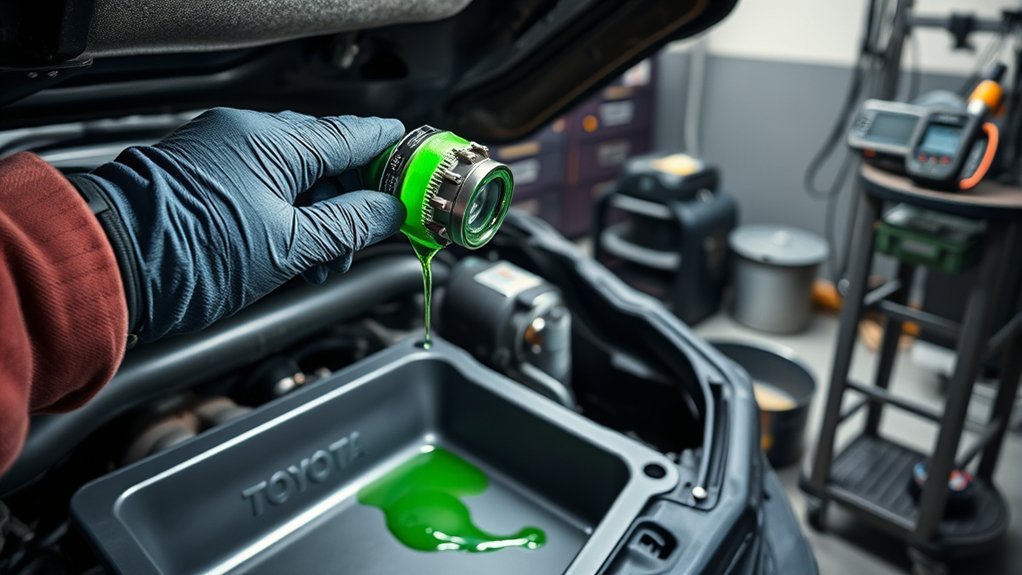
Call a qualified technician or arrange a tow when the truck overheats, repeatedly loses coolant, or needs a repair beyond your tools and experience.
- The temperature warning appears, the gauge rises abnormally, or steam is visible.
- Coolant disappears without an external leak.
- White exhaust continues after warm-up, the engine misfires, or oil and coolant appear contaminated.
- The passenger carpet is wet or the windshield develops an oily film.
- The pressure test falls but the leak remains hidden.
- The repair involves a water pump, heater core, intake-area pipe, cylinder head, or engine disassembly.
- A plastic neck, housing, or mounting surface is cracked or distorted.
- The truck has overheated more than once.
Before paying for a repair, ask the shop to identify the confirmed leak source, explain the test used, list the coolant specification, and state whether overheating may have caused secondary damage.
You can also check Toyota’s recall and service-campaign lookup with the truck’s VIN. A general model-year reputation list cannot tell you whether your specific Tacoma has an open campaign.
Related Guides
Frequently Asked Questions
How do I find a coolant leak when I cannot see where it starts?
Let the engine cool, clean old residue, inspect from the top down, and pressure-test the system with the correct adapter and pressure limit. Check the radiator, cap, reservoir, hose ends, water pump, thermostat area, heater circuit, and hidden pipes. UV dye may help with a slow external leak.
What year was the worst year for the Toyota Tacoma?
No official source names one Tacoma model year as the universal “worst.” Problems vary by engine, configuration, maintenance history, climate, and individual VIN. Check the Toyota or NHTSA VIN lookup for open recalls and review the service history of the specific truck instead of relying on a single ranking.
How do mechanics find a coolant leak?
A mechanic may combine a cold visual inspection, cooling-system and cap pressure tests, UV dye, scan data, a combustion-gas test, cylinder testing, and inspection of the heater circuit. The test choice depends on whether the suspected leak is external, hidden, or internal.
How do I diagnose and fix a Toyota Tacoma coolant leak?
Inspect the cold system, confirm the coolant level, pressure-test within the rated limit, and identify the exact failed part. Replace that part using the model-specific procedure, refill with the specified coolant, bleed trapped air, and verify the repair after a complete heat cycle.
Can I drive a Tacoma with a small coolant leak?
Driving is risky because a small leak can suddenly worsen or introduce air into the system. Do not drive if the temperature rises, coolant is pouring out, the reservoir empties, or steam appears. A tow is safer when you cannot confirm that the engine will remain at normal temperature.
Should I use stop-leak in a Toyota Tacoma?
Do not treat stop-leak as a normal repair. It may slow certain leaks temporarily, but it does not restore a cracked part, failed pump, damaged gasket, or loose connection. Confirm that the product is compatible with the vehicle and coolant before emergency use, then repair the actual fault.
Sources
- Toyota Manuals and Warranties — access to model-year-specific owner and maintenance information.
- 2023 Toyota Tacoma Warranty and Maintenance Guide — coolant type, inspection guidance, and scheduled replacement interval for the 2023 model.
- Toyota Recall and Service Campaign Lookup — VIN-based campaign information.
- NHTSA Recall Lookup — recalls, investigations, complaints, and manufacturer communications.
- U.S. EPA Household Hazardous Waste Guidance — safe handling and disposal principles for hazardous household fluids.
- ATSDR Public Health Statement on Ethylene Glycol and Propylene Glycol — exposure and poisoning risks associated with antifreeze chemicals.
Conclusion
A Toyota Tacoma coolant leak needs a confirmed source, not repeated top-offs or a guessed sealant. Work only on a fully cooled system, repair the failed component, use the coolant and procedure specified for your model year, and verify the result after the engine completes a heat cycle. Stop driving and seek professional help when the truck overheats, loses coolant rapidly, or shows signs of an internal leak.
