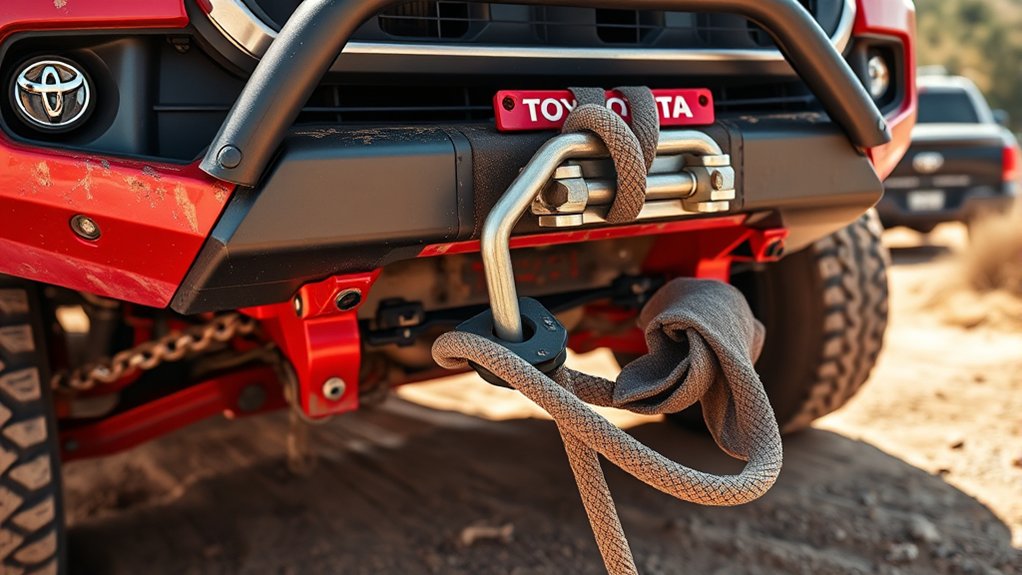
Toyota Tacoma recovery points give you a designated place to connect properly rated recovery equipment when your truck becomes stuck. Their design, capacity, mounting method, and permitted pull direction can differ by model year, trim, bumper, and manufacturer. Before using one, verify the exact hardware on your Tacoma and follow every vehicle, recovery-point, winch, shackle, rope, and strap instruction.
Quick Answer
Toyota Tacoma recovery points are safe only when designed for your exact model year, trim, bumper, and pull direction, then installed to the manufacturer’s instructions. Toyota lists standard front and optional rear recovery hooks on the 2024 Tacoma, while aftermarket ratings vary. Never recover from a tow ball, transport tie-down, suspension part, or unrated bumper opening.
Key Takeaways
- No single material or load rating applies to every Tacoma recovery point.
- Confirm the model year, trim, bumper, bed step, mounting hardware, and allowed pull direction before installation.
- The complete recovery system is limited by its lowest-rated compatible component.
- Use only marked, undamaged recovery gear and inspect every component before each recovery.
- Keep people outside the line of pull and follow the winch or kinetic-recovery equipment manufacturer’s procedure.
- Never attach a recovery strap or rope to a tow ball, transport tie-down, suspension component, or unknown anchor.
At a Glance
| Time Required | About 30 to 90 minutes for many bolt-on kits; longer when bumper, bed-step, or trim components require removal |
| Difficulty | Moderate and safety-critical |
| Tools Needed | Socket and wrench set, calibrated torque wrench, wheel chocks, eye protection, work gloves, trim tools when required, and the kit’s instructions |
| Cost | Varies by model year, trim, material, rating documentation, finish, and required relocation hardware |
Warning: Vehicle recovery stores substantial energy in ropes, straps, cables, and hardware. A failed component can become a dangerous projectile. Stop when you cannot confirm the anchor, rating, compatibility, condition, or correct recovery method. Use a qualified recovery professional when the truck is unstable, near traffic, close to a drop-off, submerged, damaged, or heavily buried.
Understanding the Importance of Recovery Points for Your Tacoma
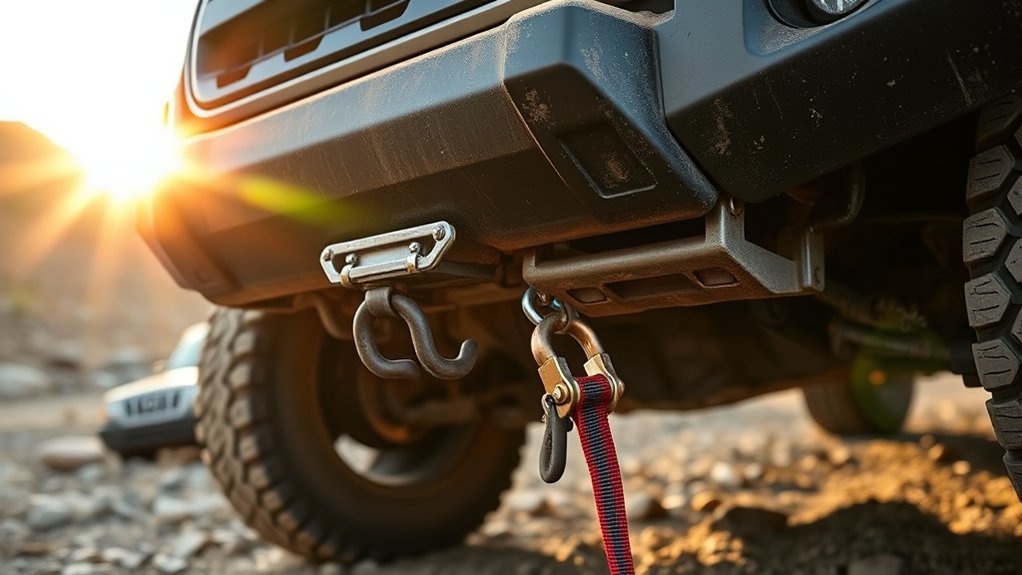
A recovery point transfers pulling force into a part of the vehicle structure that its designer has approved for that purpose. A properly engineered point has documented vehicle fitment, specified hardware, installation instructions, and limits covering capacity and pull direction.
The term recovery point should not be applied to every loop or opening under your Tacoma. Some components are intended only for transport tie-down, towing during a limited roadside procedure, bumper mounting, or accessory attachment. Unless the vehicle or component manufacturer explicitly approves a part for recovery, do not connect a winch line, kinetic rope, snatch strap, or recovery strap to it.
Toyota’s official overview of the 2024 Tacoma describes standard front and optional rear recovery hooks. It separately identifies specialized rear hardware on Trailhunter and TRD Pro configurations. That means you must confirm what your individual truck has rather than assuming every 2024 or newer Tacoma uses the same recovery-point design.
Recovery Point, Tow Hook, Tie-Down, and Tow Ball Differences
| Component | What It May Be Designed For | Recovery Rule |
|---|---|---|
| Rated recovery point | Controlled vehicle recovery within documented limits | Use only with compatible, rated equipment and an approved pull direction. |
| Factory tow or recovery hook | A manufacturer-defined towing or recovery procedure | Check the model-specific owner’s manual for purpose and limits. |
| Transport tie-down loop | Securing a vehicle during transport | Do not use for recovery unless the vehicle manufacturer expressly authorizes it. |
| Receiver recovery insert | Recovery through an approved receiver setup | Use a purpose-built, rated insert and compatible shackle only when the receiver and vehicle manufacturer permit it. |
| Tow ball or ordinary ball mount | Pulling a compatible trailer with the correct coupler | Never use as a vehicle-recovery anchor. |
Key Features of Toyota Tacoma Recovery Points You Should Know
A recovery point should be evaluated as part of a complete system rather than by appearance or material alone. Focus on documented fitment, rating terminology, pull direction, chassis attachment, compatible connectors, hardware, and installation instructions.
Documented Load Rating and Pull Direction
Do not assume that an advertised number is a working load limit. Depending on the product, a number may represent a working load limit, minimum breaking strength, proof-test value, or another test result. These terms are not interchangeable.
Confirm all of the following in the manufacturer’s documentation:
- The exact model year, cab, bed, trim, bumper, and accessory fitment
- Whether the stated value is a working load limit or breaking-strength figure
- The approved direction or range of pull angles
- Whether side loading is prohibited
- Whether one point or two points may be loaded
- Whether a bridle or equalizer strap is permitted
- The required shackle size and contact-surface limits
- The installation hardware, torque values, and thread condition
Your recovery system is limited by its lowest-rated or least-compatible component, not the largest number printed on one part.
Some aftermarket Tacoma products may advertise an 11,000-pound value, but that figure applies only to the exact product, test definition, mounting configuration, and direction identified by its manufacturer. It is not a universal Toyota Tacoma recovery-point rating.
Vehicle-Specific Bolt-On Installation
A bolt-on design can reduce fabrication, but it does not make fitment universal. The point should mount to the locations identified by its manufacturer with the supplied grade, size, quantity, and orientation of hardware.
Before ordering or installing a kit, check for possible conflicts involving:
- Factory or aftermarket rear bumpers
- Factory bed steps or step-relocation brackets
- Trailer hitches and electrical connectors
- Exhaust outlets and heat shields
- Parking sensors, cameras, radar units, and wiring
- Skid plates, frame braces, and suspension modifications
- Prior collision damage, corrosion, or altered mounting holes
A bed-step relocation bracket is not automatically required for every Tacoma. Install one only when the recovery-point manufacturer identifies it for your exact configuration.
Material, Construction, and Corrosion Protection
Recovery points may use engineered steel, aluminum, or another specified material. CNC machining and 7075 aluminum can describe a particular aftermarket product, but material alone does not prove safe capacity. Geometry, fasteners, mounting area, load path, testing, heat treatment, manufacturing quality, and permitted pull direction also affect performance.
An anodized or coated finish may help protect the surface, but inspect beneath and around the point for corrosion, gouges, elongation, cracks, deformation, coating loss, or movement. Replace or professionally evaluate a component when damage exceeds the manufacturer’s limits.
Note: A laser-engraved rating is useful only when it is legible, traceable to the manufacturer, and understood correctly. Keep the product instructions and purchase record so you can confirm what the marking represents.
Overview of 2024 Toyota Tacoma Rear Recovery Points
Toyota describes the 2024 Tacoma as having standard front and optional rear recovery hooks. The manufacturer also describes Trailhunter as having robust rear recovery points integrated with its ARB-developed rear bumper, while TRD Pro receives a high-clearance ARB rear metal bumper with red recovery hooks.
Those descriptions establish that factory recovery hardware differs by trim and equipment. They do not establish one universal material, capacity, shackle opening, or installation procedure for every Tacoma.
Use Toyota’s model-specific manuals and warranty portal to locate the correct owner information. Also verify the vehicle by VIN, because dealer-installed equipment, production changes, regional packages, and previous modifications may affect what is present.
Pro Tip: Photograph the recovery point, mounting hardware, rating marks, and instructions after installation. Store the photos and documents on your phone so you can verify compatibility and limits on the trail.
Step-by-Step Installation Guide for Tacoma Recovery Points
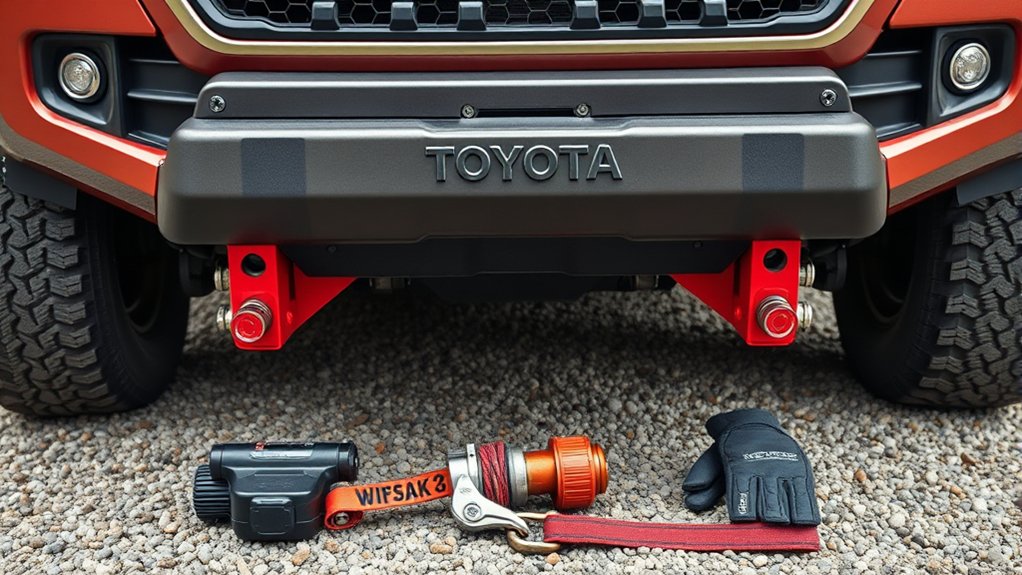
The following process is a general preparation and verification checklist. It does not replace the recovery-point manufacturer’s instructions or Toyota’s service information. Do not proceed without the exact hardware diagram and torque specifications for your kit.
- Verify the exact application. Match the product to your Tacoma’s model year, trim, cab, bed, bumper, hitch, bed step, and other relevant accessories.
- Read all instructions before disassembly. Identify every supplied fastener, spacer, washer, bracket, torque value, pull-direction limit, and reinspection requirement.
- Prepare a safe work area. Park on a level surface, shift into Park, set the parking brake, switch off the engine, chock the wheels, and keep the key away from the truck.
- Support the vehicle correctly when required. Never work beneath a vehicle supported only by a jack. Use the approved lifting and support points specified for your Tacoma.
- Inspect the mounting area. Stop if you find cracks, severe corrosion, distorted holes, missing captive nuts, stripped threads, collision damage, or previous unauthorized drilling.
- Remove interfering components only as directed. Protect wiring, sensors, cameras, exhaust parts, and painted surfaces. Keep removed factory hardware organized.
- Position the recovery point. Install the specified spacers, brackets, washers, and bolts in the documented orientation. Hand-start all fasteners to avoid cross-threading.
- Confirm alignment and clearance. The point should sit flush as designed without trapping wiring or contacting the bumper, exhaust, hitch, step, or moving components.
- Torque the hardware correctly. Use a calibrated torque wrench and the manufacturer’s sequence and values. Do not guess. Do not lubricate threads or add thread-locking compound unless the instructions require it.
- Complete a final inspection. Confirm that all hardware is present, the point is fully seated, markings remain visible, and no nearby part was damaged or left loose.
- Mark and document the fasteners. A paint witness mark can make movement easier to spot, but it does not replace torque inspection.
- Reinspect as directed. Follow the product manufacturer’s initial-use and periodic torque-check schedule. Inspect the system again after a hard recovery or impact.
Warning: Do not substitute bolts, add larger washers, drill the frame, stack spacers, alter the point, or change mounting locations based only on an online review. Obtain written instructions or an approved update from the manufacturer.
When Professional Installation Is the Safer Choice
Use a qualified technician or off-road fabrication professional when the mounting instructions are incomplete, torque values are unavailable, the chassis is damaged or corroded, holes do not align, structural drilling or welding is proposed, or accessories interfere with the specified installation.
Professional help is also appropriate when you cannot identify whether existing loops are recovery points or transport hardware. A technician should still follow the vehicle and component manufacturers’ documentation rather than inventing a mounting method.
Top Recovery Gear for Off-Roading
Your recovery point is only one part of the system. Select every connector, rope, strap, winch component, and anchor for the intended method. Keep manufacturer labels and instructions legible, and do not exceed the lowest applicable limit.
| Equipment | Typical Purpose | Check Before Use |
|---|---|---|
| Soft shackle | Lightweight connection between compatible components | Rating, abrasion, cuts, heat damage, knot or closure condition, and edge compatibility |
| Steel shackle | Rated connection where its shape and pin fit correctly | Working load marking, pin engagement, deformation, cracks, corrosion, and side-loading restrictions |
| Winch line | Controlled static pulling | Winch compatibility, damaged strands, abrasion, crushing, heat exposure, spooling, and termination condition |
| Kinetic recovery rope or snatch strap | Manufacturer-approved dynamic recovery using controlled stretch | Exact rating, vehicle compatibility, age, contamination, cuts, stitching, storage history, and trained use |
| Tree-saver strap | Protecting a suitable tree during an approved winch setup | Tree suitability, local rules, strap rating, stitching, abrasion, and connector compatibility |
| Recovery boards and shovel | Reducing resistance before pulling | Placement, tire path, spinning-tire hazards, and manufacturer instructions |
| Gloves and communication equipment | Hand protection and coordinated operation | Fit, condition, radio or hand-signal plan, and one designated recovery leader |
Static Winching Versus Kinetic Recovery
Winching applies a controlled pull through a winch line. Kinetic recovery intentionally uses a purpose-built rope or strap that stretches and transfers energy between vehicles. The methods require different equipment, planning, and operator knowledge.
Do not use an ordinary tow strap as a kinetic rope. Do not perform a dynamic recovery unless both vehicles’ recovery points and every connecting component are approved for that method. When the manuals do not authorize dynamic loading, use a lower-energy method or call a professional.
Using a Bridle or Equalizer Strap
A bridle can distribute force between two points only when the vehicle and recovery-point manufacturers permit both points to be loaded together. The setup also changes the force and angle at each connection.
Do not assume that two points automatically double capacity. Confirm the permitted geometry, bridle angle, component ratings, and connector fit. A wide angle can increase the load carried by each bridle leg.
How to Winch Safely: Tips and Techniques
Safe winching starts before the line is connected. Read the winch manual, assess the terrain, reduce resistance where possible, and establish one clear plan. The operator should stop the recovery whenever a component shifts, the line rubs an unsafe surface, or communication fails.
- Stabilize the scene. Control traffic, keep bystanders away, assess slopes and drop-offs, and determine whether either vehicle could roll or slide.
- Reduce the required force. Dig around buried tires, clear obstacles, straighten the steering when appropriate, and use recovery boards when conditions permit.
- Inspect the complete system. Check the winch, line, fairlead, hook or termination, recovery point, shackles, straps, anchor, battery connections, and mounting hardware.
- Plan the line of pull. Keep the pull within every component’s approved direction and avoid dragging the line across sharp edges.
- Set an exclusion zone. Follow the winch manufacturer’s distance and positioning instructions. Keep everyone away from the line, connections, anchor, and possible vehicle path.
- Assign one recovery leader. Agree on radio commands or hand signals before loading the system.
- Take up slack slowly. Confirm that shackles, ropes, straps, and hooks remain correctly seated before applying more load.
- Operate from a protected position. Never straddle, step over, or stand beside a tensioned line. Keep hands away from the fairlead and drum.
- Pause and inspect. Stop immediately if you hear unusual sounds, see movement at a recovery point, lose visibility, or observe line damage.
- Unload and disconnect carefully. Confirm that both vehicles are stable and the system is no longer under tension before touching connectors.
A line damper or recovery blanket may be required by the winch or line manufacturer, but it does not make an unsafe setup safe. Synthetic rope, wire rope, hooks, and shackles can all cause injury if a loaded component fails.
Avoid These Common Recovery Mistakes
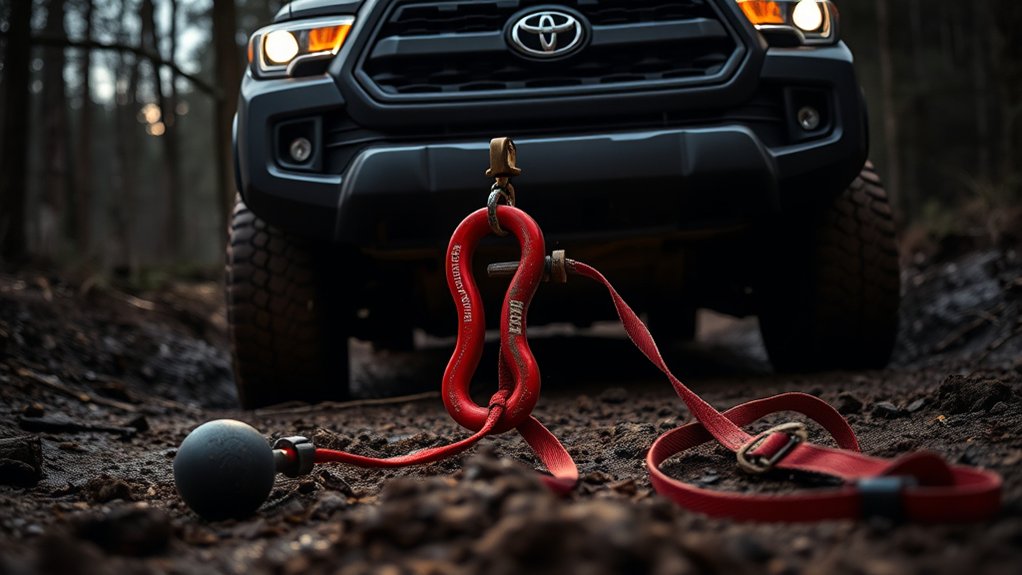
Most serious recovery mistakes involve an unknown anchor, mismatched equipment, excessive energy, poor communication, or people standing in the danger zone. Pause before every pull and verify the entire load path from the stuck vehicle to the anchor or recovery vehicle.
Ignoring Equipment Limitations
Do not mix capacity terms or rely on appearance. A large shackle may still be incompatible with a narrow aluminum point, and a highly rated rope does not strengthen an unrated vehicle attachment.
General rigging principles published by OSHA emphasize pre-use inspection, legible manufacturer markings, and staying within the stated safe working load. Although workplace rigging rules do not replace off-road recovery instructions, those inspection principles remain useful.
| Component | Stop or Remove From Service When You Find |
|---|---|
| Recovery point | Movement, cracks, deformation, elongated holes, damaged threads, missing hardware, severe corrosion, or chassis damage |
| Soft shackle or synthetic line | Cuts, glazing, melted fibers, severe abrasion, contamination, pulled fibers, damaged sleeves, or an uncertain history |
| Steel shackle or hook | Cracks, spreading, bending, damaged threads, a seized pin, missing latch where required, deep corrosion, or unreadable markings |
| Strap or rope | Cut webbing, broken stitching, chemical damage, heat damage, knots not specified by the manufacturer, or missing identification |
| Winch system | Loose mounting, electrical damage, abnormal noise, brake problems, line bunching, fairlead damage, or an unreliable control |
Poor Anchor Point Selection
Use only an attachment point that the vehicle or component manufacturer identifies for the planned recovery method. Do not connect recovery equipment to:
- A tow ball or ordinary ball mount
- An unrated transport tie-down loop
- A suspension arm, axle, steering component, or sway bar
- A bumper opening without documented recovery approval
- A trailer safety-chain loop unless its manufacturer specifically rates it for recovery
- A damaged, deeply corroded, modified, or unknown frame attachment
- A tree, post, rock, or structure whose suitability and legal use cannot be confirmed
Anchor selection also includes the terrain. A solid-looking object may fail, shift, uproot, or redirect the loaded line. When the anchor is uncertain, stop and use professional recovery assistance.
Standing Inside the Danger Zone
No person should stand over, beside, or in line with loaded recovery equipment. Keep spectators, pets, and unnecessary vehicles away. Consider every connector and anchor a potential failure point, and keep the likely path of both vehicles clear.
Using Too Much Speed or Slack
Rapid acceleration and excessive slack can create severe loads. A kinetic recovery should use only equipment designed for controlled stretch and should follow its manufacturer’s procedure. Static straps, winch lines, chains, and unknown hardware should not be shock-loaded.
How to Evaluate Tacoma Owner Reviews and Product Claims
Owner reviews can reveal practical details such as bumper clearance, installation access, finish durability, bed-step interference, or unclear instructions. They cannot establish engineering capacity or prove that a recovery point is safe for your truck.
Give more weight to products that provide:
- A named manufacturer and reliable contact information
- An exact Tacoma model-year and trim fitment list
- Clear photographs or diagrams of the chassis mounting location
- A documented capacity term rather than an unexplained large number
- Permitted pull directions and connector dimensions
- Complete hardware specifications and torque values
- Installation and inspection instructions
- Replacement criteria and warranty terms
- Written answers to fitment and safety questions
Treat comments requesting larger washers, extra spacers, drilling, or hardware substitutions as a reason to contact the manufacturer. Do not copy a reviewer’s modification unless the manufacturer has issued an approved instruction for your exact application.
Enhance Your Recovery Setup With Compatible Accessories
Accessories can make a recovery more controlled, but each item must match the point geometry and recovery method. A useful kit may include rated soft or steel shackles, a winch line or method-specific recovery rope, a tree-saver strap, recovery boards, a shovel, gloves, a tire-pressure gauge, a first-aid kit, and communication equipment.
Consider the following compatibility checks:
- A soft shackle should contact a smooth surface without sharp edges or an opening that pinches the fibers.
- A steel shackle should seat correctly without side loading, binding, or placing force on the pin threads.
- A recovery strap or rope should have intact labels and instructions that identify its intended method.
- A winch pulley or ring must suit the line type, diameter, and manufacturer’s configuration.
- A bridle must be approved for the two recovery points and planned angle.
- A receiver insert must be purpose-built and compatible with the receiver and vehicle.
- Recovery boards should be secured during transport and used without anyone standing in their possible path.
Pro Tip: Pack recovery gear by task and keep wet or muddy synthetic equipment separate until it can be cleaned, dried, and inspected. Record the purchase date and any hard recovery so aging or uncertain history does not go unnoticed.
Maintenance Tips for Your Recovery Points
Recovery-point maintenance involves more than cleaning the visible loop. Inspect the point, mounting hardware, nearby chassis, compatible shackles, straps, and ropes as one system.
Regular Inspection Schedule
Inspect recovery points before each off-road trip, before every recovery, after a hard pull, after an impact, and at the interval specified by the manufacturer. Check:
- Fastener witness marks and signs of movement
- Correct fastener count and visible thread engagement where applicable
- Cracks, bending, elongation, gouges, or coating damage
- Rust or corrosion around the point and chassis attachment
- Damage to nearby bumper, hitch, step, exhaust, wiring, or sensors
- Legibility of identification and rating markings
- Proper clearance for the intended shackle
- Any manufacturer-required torque recheck
A visual check cannot confirm bolt torque. Use the manufacturer’s specified inspection method and torque procedure. Repeated loosening, movement, or misalignment requires investigation rather than repeated tightening.
Cleaning and Corrosion-Care Tips
- Rinse away mud, sand, road salt, and debris with clean water.
- Use mild soap and a soft brush when needed.
- Avoid abrasive tools that can damage anodized or coated surfaces.
- Dry the point and the surrounding chassis area before storage.
- Use only manufacturer-approved corrosion protection or touch-up products.
- Keep drain paths and mounting areas clear of packed debris.
- Do not paint over cracks, identification marks, or evidence of movement.
- Do not apply lubricant, anti-seize, or thread-locking compound to mounting bolts unless the installation instructions specify it.
Note: Replace or professionally evaluate a recovery point after deformation, cracking, a major impact, an overload, or a recovery outside its approved direction. Straightening a bent point does not restore its original properties.
Frequently Asked Questions
Can I use aftermarket bumpers with ARB or other recovery points?
Only when the bumper, recovery point, chassis mounting system, hardware, and vehicle application are explicitly compatible. A brand name alone does not prove fitment. Obtain instructions for the exact bumper and recovery-point combination, including torque values and pull-direction limits.
How much weight can Tacoma recovery points safely handle?
No universal capacity applies to every Tacoma recovery point. Use the exact manufacturer’s documented rating, rating definition, installation, and permitted pull direction. The safe system limit also depends on the chassis attachment and every shackle, rope, strap, winch, and anchor in the load path.
Are recovery points compatible with all Tacoma models?
No. Fitment may change with the Tacoma generation, model year, trim, bumper, hitch, bed step, cab, bed length, exhaust, sensors, and previous modifications. Verify the exact application by the manufacturer’s fitment list and your vehicle information.
What tools are needed for recovery-point installation?
Many bolt-on installations require a socket and wrench set, calibrated torque wrench, wheel chocks, eye protection, gloves, and possibly trim tools. Use the exact tool sizes and procedures identified by the kit. Structural drilling, welding, damaged threads, or chassis repair should be handled by a qualified professional.
How often should I inspect my recovery points?
Inspect them before every recovery and off-road trip, after a hard pull or impact, and at the interval specified by the manufacturer. Check the point, hardware, chassis attachment, identification marks, corrosion, nearby components, and any required torque reinspection.
Can I recover a Tacoma through its trailer-hitch receiver?
Use a receiver only when the vehicle and receiver manufacturers permit the planned recovery and you have a compatible, purpose-built recovery insert and rated connector. Never attach a recovery rope or strap to a tow ball or ordinary ball mount.
Are the loops under my Tacoma recovery points?
Not necessarily. A loop may be intended for vehicle transport, towing, assembly, or another limited purpose. Use it for recovery only when Toyota or the component manufacturer clearly identifies it as an approved recovery attachment for your model and procedure.
Are soft shackles safer than steel shackles?
Both can be used safely when correctly rated, compatible, undamaged, and used as instructed. Soft shackles are lightweight and avoid adding a heavy metal connector, but they are vulnerable to sharp edges, abrasion, heat, and pinching. Steel shackles require correct seating and protection from side loading and damaged threads.
Conclusion
Reliable Toyota Tacoma recovery points are not defined by color, material, or one impressive capacity number. They are defined by documented fitment, an engineered load path, correct hardware, clear limits, compatible recovery gear, and disciplined inspection.
Confirm what your Tacoma actually has, install every component exactly as directed, and plan each recovery around the lowest-rated part of the system. Keep people outside the line of pull, never use a tow ball or unknown anchor, and call a professional when the vehicle, terrain, equipment, or recovery method creates uncertainty.
Sources
- Toyota USA Newsroom: 2024 Toyota Tacoma Is the Ultimate Adventure Machine — factory recovery-hook availability and Trailhunter/TRD Pro equipment descriptions
- Toyota USA Newsroom: Introducing the 2024 Tacoma Trailhunter — factory Trailhunter configuration and ARB-developed equipment context
- Toyota Owners: 2024 Tacoma Manuals and Warranties — model-specific owner-document access
- OSHA 29 CFR 1926.251: Rigging Equipment for Material Handling — general inspection, marking, condition, and safe-working-load principles