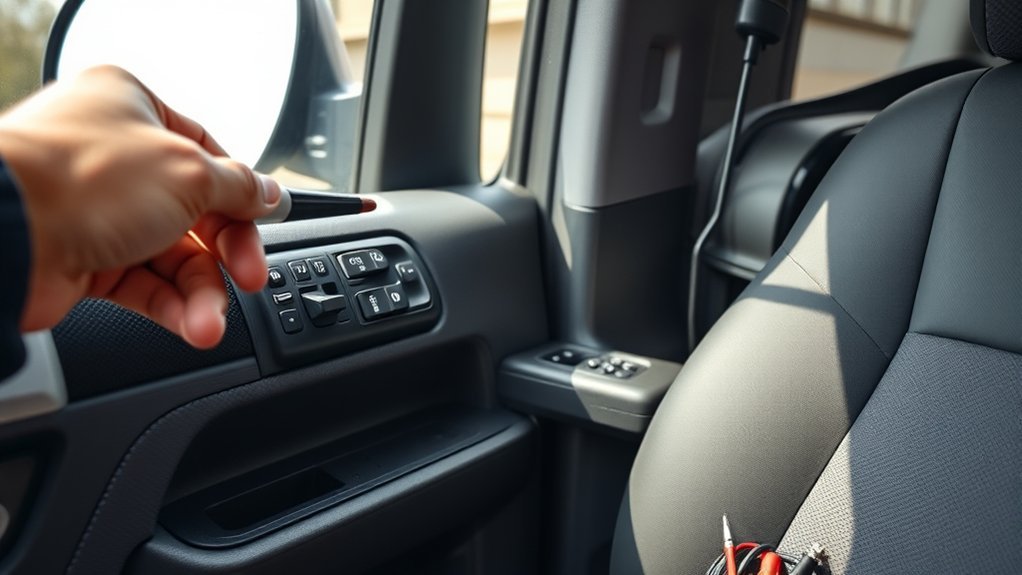
A Toyota Tacoma power window can stop working because of a simple setting, a blown fuse, damaged door wiring, a failed switch, a weak motor, or a broken regulator. The fastest way to find the fault is to identify which controls and windows have failed, then test the shared electrical circuit before replacing parts.
Quick Answer
If your Toyota Tacoma power window is not working, check the ignition mode, window-lock button, affected switches, and model-specific fuse first. If one window fails, inspect that door’s switch, wiring, motor, and regulator. If several windows fail, test the shared power feed, ground, and driver master-switch circuit before buying parts.
Key Takeaways
- Start with operating conditions, the window-lock button, battery condition, and the correct model-year fuse chart.
- One failed window usually points toward that door’s switch, wiring, motor, regulator, or glass channels.
- Several failed windows can indicate a shared fuse, power feed, ground, driver-door harness, master switch, or control problem.
- A 12-volt reading at one terminal does not prove that the switch or circuit works under load.
- Use fused test leads and a verified wiring diagram if you perform an advanced motor test.
- Confirm any auto-window initialization procedure in the owner’s manual for your Tacoma’s exact model year.
At a Glance
| Time Required | About 10–30 minutes for basic checks; longer if door-panel removal or circuit testing is required |
| Difficulty | Beginner for settings and fuse checks; intermediate for door access and electrical diagnosis |
| Tools Needed | Owner’s manual, flashlight, fuse puller, trim tool, digital multimeter, and model-specific wiring diagram |
| Cost | Basic checks may cost nothing if you own the tools; repair cost depends on the failed part and model year |
Warning: A power-window motor and regulator can move suddenly and pinch fingers. Keep hands, clothing, children, and pets clear of the glass and mechanism. Support the glass before loosening regulator hardware. Never apply battery power with bare or unfused wires, and do not probe yellow supplemental-restraint connectors.
Identifying Common Causes of Power Window Failures
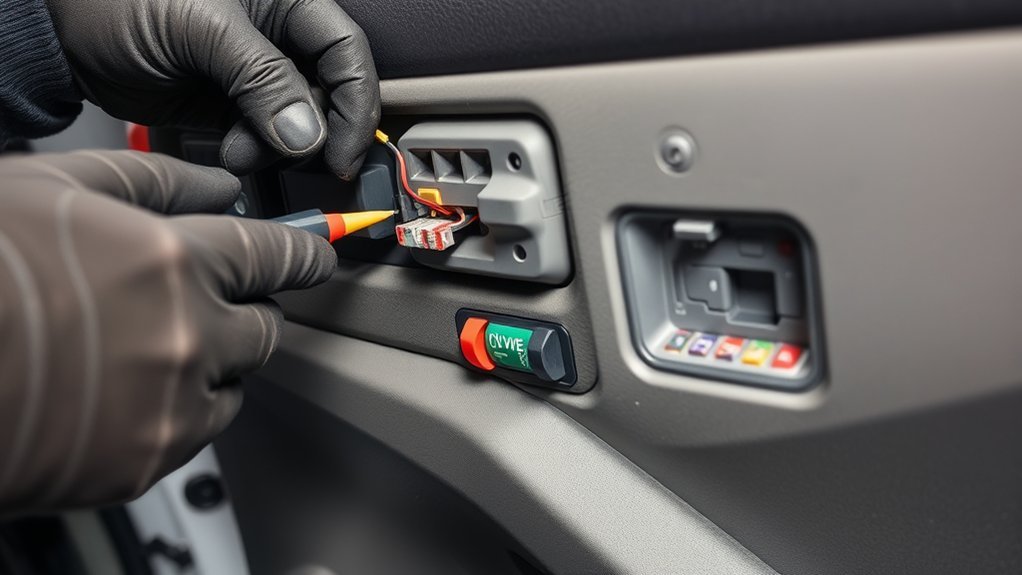
A Tacoma power-window problem can originate in the electrical circuit, the moving mechanism, or the glass channels. Identifying the pattern of failure will help you avoid replacing a working part.
- Incorrect operating condition: The ignition may be off, retained accessory power may have ended, or the passenger window-lock function may be active.
- Blown fuse: A short circuit, damaged wire, stalled motor, or overloaded mechanism may open a fuse.
- Failed switch: The local door switch or driver master switch may have worn or contaminated contacts.
- Damaged wiring or connector: Conductors can break inside a door-jamb boot, while moisture or corrosion can increase circuit resistance.
- Weak or failed motor: The motor may stop completely, work intermittently, or move the glass slowly.
- Broken regulator: A damaged cable, gear, guide, or attachment can let the motor run without moving the glass correctly.
- Binding glass: Dirt, ice, a deformed run channel, or misaligned glass can overload the motor.
- Initialization issue: On equipped models, the automatic up/down function may need initialization after battery disconnection or window-component service.
Slow operation does not automatically prove that the motor is bad. Binding glass, poor connections, low system voltage, and excessive voltage drop can produce similar symptoms.
Match the Symptom to the Likely Fault
| Symptom | Check First | Possible Faults |
|---|---|---|
| One window is completely dead | Try both the local switch and driver master switch | Local switch, master-switch channel, connector, wiring, motor, or regulator |
| All windows are dead | Ignition mode, shared fuse, battery voltage, and master-switch power and ground | Shared power feed, fuse, ground, master switch, driver-door harness, or control circuit |
| Passenger switches do not work | Window-lock button and operation from the driver controls | Normal lockout operation, local-switch feed, or master-switch problem |
| Motor can be heard, but glass does not move | Glass position and regulator movement | Broken regulator cable, stripped gear, detached glass, or failed guide |
| Glass moves slowly or stops partway | Tracks, weatherstrip, battery condition, and loaded voltage | Binding channel, weak motor, regulator drag, corrosion, or voltage drop |
| Glass tilts, drops, or rises crooked | Stop operating the window and inspect the mechanism | Regulator, guide, track, or glass attachment failure |
| Window works when the door moves | Driver-door jamb boot and connectors | Broken or nearly broken conductor, loose terminal, or damaged connector |
| Manual control works, but auto mode does not | Initialization procedure and obstruction detection | Lost initialization, binding glass, switch issue, or position-detection fault |
Before You Begin
Tacoma fuse names, connector terminals, automatic-window features, and initialization procedures vary by model year. Select your exact truck through the Toyota Manuals and Warranties portal before locating a fuse or performing a reset.
For connector pinouts, component-removal procedures, and loaded-circuit specifications, use the correct wiring diagram or repair manual. Toyota’s Technical Information System provides factory repair information and wiring diagrams for North American Toyota vehicles.
Gather a flashlight, fuse puller, trim-removal tool, and a digital multimeter. Advanced motor testing also requires a verified pinout and properly fused jumper leads.
Note: If the glass is frozen, tilted, loose, or partly outside its channel, stop using the switch. Repeated operation can overload the motor, damage the regulator, or let the glass fall inside the door.
Step-by-Step Troubleshooting for Non-Responsive Power Windows
[Amazon Products Picked for You]

🚗【Compatibility】This automotive power window control button compatible with 2002-2006 Toyota Camry (not the XLE), 2003-2008 Toyota Corolla/Matrix, 2004-2009 Toyota Sienna (14 Pins), 2005-2007 Toyota Tacoma, 2004-2006 Scion xA xB.

Compatible with: For Toyota Tacoma 2.7l L4 4.0l V6 2005 2006 2007 2008 2009 2010 2011 2012

For Toyota Tacoma 4dr 2012-2015 LED Lighting Power Window Switch Control With Auto Up/Down. NOTE: NOT Fit Access Cab
1. Confirm the Window Operating Conditions
Place the truck in the ignition mode required for window operation. If you recently switched the truck off, retained accessory power may end when a door opens or after its timed period expires.
Check the driver’s window-lock button. If the passenger-door switches do not work, release the lockout and test again. Also try the affected passenger window from the driver master switch.
If the starter cranks slowly, lights are unusually dim, or several electrical systems behave erratically, check battery condition before condemning a window component.
2. Identify How Many Windows Have Failed
One failed window points toward that door’s switch channel, connector, wiring, motor, regulator, or glass track.
Several failed windows point toward a shared fuse, power feed, ground, driver-door harness, master switch, or control circuit. Do not replace the master switch until its power, ground, and outputs have been tested.
Passenger switches that fail while the master controls still work may indicate an active lockout or a local-switch feed problem rather than failed motors.
3. Check for Ice, Dirt, and Mechanical Binding
Inspect the visible window channels and weatherstrip. Remove loose dirt with a soft brush or cloth. Do not force a frozen window or continue holding the switch when the glass stalls.
Watch the glass while operating the switch briefly. Stop if the glass tilts, twists, drops, or separates from its normal path.
4. Check the Correct Power-Window Fuse
Use the fuse chart in the owner’s manual or fuse-box cover for your exact Tacoma. Fuse locations and labels vary, so do not rely on a diagram for a different model year.
- Switch the ignition off before removing the fuse unless the model-specific instructions state otherwise.
- Remove the identified fuse with the supplied fuse puller.
- Inspect the element, then confirm continuity with a meter if the break is not obvious.
- Replace a failed fuse only with one of the same type and amperage.
- Operate the window briefly and check whether the replacement remains intact.
Warning: Never install a higher-amperage fuse. If the correct replacement blows again, stop testing. A shorted wire, stalled motor, damaged connector, or internal component fault may be drawing excessive current.
5. Compare the Master and Local Switches
For a passenger window, operate it from both the passenger switch and the driver master switch.
- If the window works from the master switch but not from the passenger switch, inspect the lockout setting, local switch, connector, and local feed.
- If neither switch operates the window, the fault may be in the master-switch channel, shared wiring, door connector, motor, regulator, or ground path.
- If several master-switch functions are intermittent, inspect the driver-door connector and harness before purchasing a switch assembly.
Do not spray household cleaners into a switch. If a connector is contaminated or corroded, use a product intended for electrical contacts and follow its directions.
6. Listen for Motor and Regulator Clues
Operate the switch for only a moment while listening inside the affected door.
- No sound: The motor may lack power or ground, the switch may not be sending an output, or the motor may have failed.
- A click with no movement: The motor or mechanism may be stalled, or the connection may fail under load.
- Motor sound with stationary glass: The regulator, cable, gear, guide, or glass attachment may be damaged.
- Grinding or snapping: Stop operating the window and inspect the regulator.
- Slow movement: Check for binding channels and voltage drop before replacing the motor.
7. Inspect Door-Jamb Wiring and Connectors
Open the affected door and inspect the flexible rubber wiring boot between the door and body. Repeated door movement can fatigue conductors inside this area, especially in a frequently used driver door.
Look for damaged insulation, stretched wiring, moisture, loose connectors, overheated terminals, and corrosion. A wire can be broken internally even when its insulation appears intact.
Pro Tip: If a window starts or stops when you move the door, gently flex the door-jamb boot while someone operates the switch. A change in operation strongly suggests an intermittent wire or terminal, but the circuit still needs proper testing before repair.
8. Access the Door Components Only When Needed
If the basic checks do not identify the fault, remove the door panel using the model-specific repair procedure. Hidden screws, clips, cables, courtesy lights, and connectors vary among Tacoma years and cab styles.
Do not pull the panel away forcefully. Disconnect connectors by releasing their locks, and keep the moisture barrier intact so water cannot enter the cabin or electrical connectors.
How to Test the Power Window Switch and Motor
[Amazon Products Picked for You]
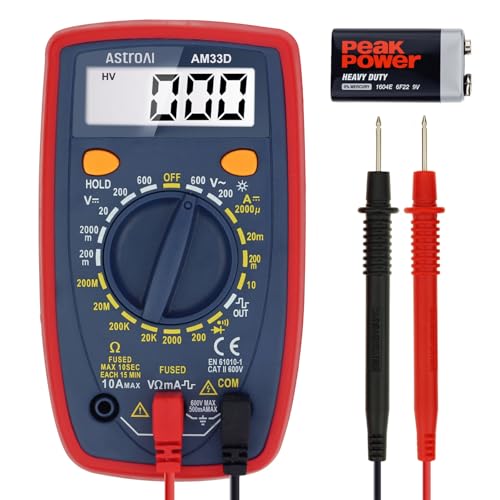
Additional Tips - The following incorrect operations may cause the multimeter not to show results: Firstly, the plugs of test leads are not fully inserted or not inserted into the correct sockets. Secondly, the manual rotary switch is not placed in the correct position. In addition, this meter can not test all AC Current and below 100mV AC Voltage. Please check the user manual carefully before measurement.

【PRECISE READOUTS & CLEAR DIGITAL DISPLAY】Bright LED display shows highly clear readings in any lighting condition, 0.1V resolution gives you reliable indication and shows you the voltage number easily & quickly. Bidirectional light emitting diode on the circuit board for easy battery load testing, red light indicates positive polarity, green light indicates negative polarity.

Versatile Digital Multimeter - Accurately measures AC/DC Current, AC/DC Voltage, Capacitance, Frequency, Duty Cycle, Resistance, Diode, Continuity and Temperature.
Set Up the Multimeter Correctly
For vehicle voltage checks, set the meter to DC volts. Connect the black lead to the COM jack and the red lead to the voltage jack. Fluke’s DC-voltage measurement guide also warns that placing the lead in a current jack while measuring voltage can create a short.
Back-probe only terminals identified by the correct wiring diagram. Avoid spreading connector terminals or piercing insulation unless the approved service procedure calls for it.
Test Switch Power and Ground
A reading near battery voltage at the switch’s supply terminal confirms only that voltage reaches that point. It does not prove that the switch is good.
Use the wiring diagram to verify:
- Power at the switch supply terminal
- A sound ground path where the circuit uses one
- The appropriate switched outputs while commanding the window up and down
- Correct operation under load, not only with the connector unplugged
A switch can pass voltage without carrying enough current to operate the motor. Corroded contacts and loose terminals can also produce a normal open-circuit reading but fail when the motor draws current.
Perform a Loaded Voltage-Drop Test
Voltage-drop testing checks the circuit while current is flowing. This is often more useful than a simple continuity test for finding corrosion, loose terminals, damaged conductors, and poor grounds.
Fluke’s automotive voltage-drop guide explains that excessive resistance can make a motor slow, intermittent, or completely inoperative. Compare all measurements with Toyota’s specifications for the exact circuit.
Test the power side and ground side while the window command is active. A significant loss across a wire, connector, switch, or ground indicates resistance in that section of the circuit.
Use Continuity Testing Safely
Switch the circuit off and isolate the wire before measuring resistance or continuity. Never use the meter’s resistance or continuity mode on an energized circuit.
A continuity beep may show that a path exists, but it does not prove that the wire can carry motor current. A partly broken or corroded conductor can pass a low-current meter test and still fail under load.
Interpret Voltage at the Motor Connector
Window motors commonly change direction when the control circuit reverses polarity, but the terminal arrangement varies. Use the correct wiring diagram and measure at the motor connector while commanding both directions.
- Correct power and ground reach the motor, but it remains silent: The motor is likely faulty or mechanically jammed.
- The motor receives power but moves weakly: Check voltage drop, glass binding, and regulator drag before replacing it.
- The motor runs but the glass does not move correctly: Inspect the regulator, cable, gear, guides, and glass attachments.
- No correct output reaches the motor: Work backward through the connector, wiring, switch, shared feed, and control circuit.
Direct Motor Testing Is an Advanced Step
A direct motor test bypasses the normal switch circuit and should not be your first test. Perform it only when you have the factory pinout, the glass is supported, the mechanism is clear, and you understand how polarity controls direction.
Use properly sized fused jumper leads. Apply power only briefly and keep your hands outside the regulator and glass path.
Warning: Do not guess at motor terminals or apply battery power to a connector that may include sensors or control electronics. Incorrect testing can short the circuit, damage a module, overheat wiring, or move the glass unexpectedly.
How to Reset or Initialize a Tacoma Auto Window
Initialization may be required when manual operation works but the automatic up/down feature does not, especially after battery disconnection or window-switch, motor, or regulator service.
A commonly used Toyota initialization pattern is to switch the ignition on, fully lower the affected window with its door switch, then fully raise it and continue holding the switch briefly after the glass closes. However, the direction, switch position, and hold time are not identical for every Tacoma.
- Confirm that the glass moves smoothly and nothing obstructs the channel.
- Use the switch installed in the affected door unless the model-specific manual directs otherwise.
- Follow the initialization sequence in the owner’s manual for the truck’s exact model year.
- Test manual movement, automatic movement, and any jam-protection behavior after initialization.
If the window reverses, binds, stops before closing, or loses initialization repeatedly, do not keep cycling it. Mechanical drag, a regulator problem, low voltage, or a position-detection fault may need diagnosis.
[Amazon Products Picked for You]

[Vehicle Fitment]: Compatible with Toyota Tacoma 1996-2000 (Extended/Standard Cab Pickup), Pickup 1994 1995 (Extended/Standard Cab Pickup), T100 1994-1998 (Standard Cab Pickup), T100 1995-1998 (Extended Cab Pickup), MR2 1994 1995 (Coupe), Tercel 1994 (Sedan) --- Front Left Driver Side

🚗【Compatibility】This window switch compatible with Toyota Tundra 2000-2006, Toyota Tacoma 2001-2011, Toyota Sienna 1998-2000, Toyota Solara 1999-2003, Toyota FJ Cruiser 2007-2011.
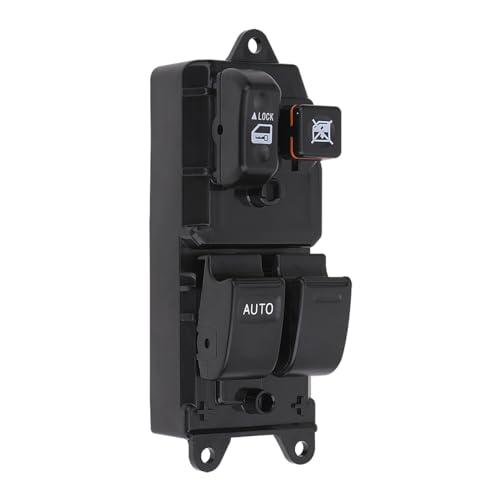
🚗【Compatibility】This automotive master window switch compatible with 2001 2002 2003 2004 2005 2006 2007 2008 2009 2010 2011 Toyota Tacoma, 2000-2006 Toyota Tundra, 1998-2000 Toyota Sienna , 1999-2003 Toyota Solara, 2007-2011 Toyota FJ Cruiser.
When to Have a Tacoma Power Window Diagnosed Professionally
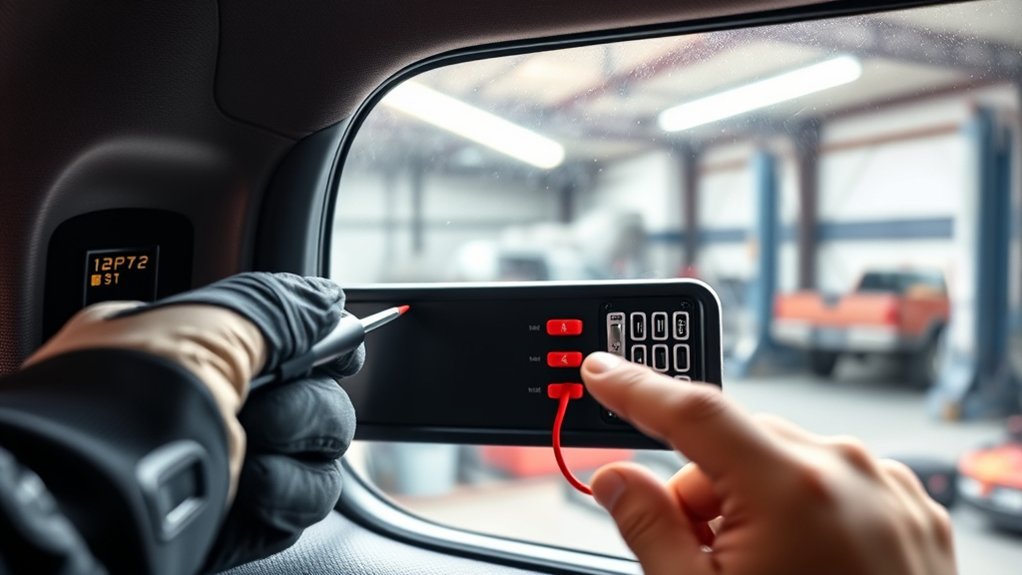
Basic settings, fuse checks, and visible inspections are reasonable owner-level tasks. Professional diagnosis becomes the safer choice when the glass or electrical system requires disassembly or loaded testing.
- The replacement fuse fails again: Repeated fuse failure indicates an overcurrent or short-circuit condition that should not be bypassed.
- The glass is loose or crooked: A failed regulator or attachment can let the glass fall inside the door.
- The mechanism grinds or snaps: Continued use can increase regulator and glass damage.
- Several windows fail together: Shared feeds, grounds, connectors, control circuits, or the master-switch assembly need systematic testing.
- The circuit has excessive voltage drop: A technician can isolate resistance without replacing parts by guesswork.
- Wiring insulation is melted or terminals are overheated: Stop using the circuit until the cause is repaired.
- You lack the correct wiring diagram or test equipment: Guessing at connector terminals can create additional faults.
- Initialization repeatedly fails: The system may have a mechanical or electrical problem rather than a lost setting.
Before paying for a repair, enter the truck’s VIN in the NHTSA recall lookup. The tool can show whether that specific vehicle has an unrepaired safety recall associated with its VIN.
Preventive Tips for Power Window Maintenance
Power-window components do not require an invented monthly service schedule. Condition-based care is more useful: keep the channels clean, respond to slow movement early, and avoid holding the switch after the glass stalls.
| Maintenance Task | When to Do It |
|---|---|
| Clean visible glass channels and weatherstrip | When dirt, leaves, sticky residue, or slow movement appears |
| Inspect switches and connectors | When operation becomes intermittent or a switch feels loose or abnormal |
| Inspect the door-jamb wiring boot | When the fault changes as the door opens or closes |
| Check battery and charging-system condition | When several electrical components become weak or erratic |
| Inspect the regulator and glass mounting | Immediately if the glass tilts, drops, rattles, grinds, or rises unevenly |
Operate the windows gently and stop if the glass is frozen or obstructed. Keep liquids away from the switches, and do not use force when a window stalls.
When replacing a switch, motor, or regulator, match the part to the VIN, model year, cab configuration, door position, and installed window features. Genuine Toyota or reputable equivalent parts can reduce fitment risk, but correct identification remains essential.
Frequently Asked Questions
Why is my Tacoma power window not working?
Possible causes include the ignition mode, window-lock setting, a blown fuse, a failed switch, damaged door wiring, a poor ground, a weak motor, a broken regulator, or binding glass. Determine whether one or several windows have failed before testing individual parts.
How do I reset my Tacoma window?
If manual movement works but automatic operation does not, the window may need initialization. Toyota procedures vary by model year and equipment. A common pattern involves fully lowering the window, fully raising it, and holding the switch briefly after closure, but you should use the sequence in your exact model-year owner’s manual.
How do I reset the Toyota auto-window function?
Confirm that the glass moves smoothly, switch the ignition to the required mode, and follow the model-specific initialization procedure. If the glass binds, reverses, or loses initialization repeatedly, inspect the channels, regulator, motor circuit, and position-detection system instead of repeatedly resetting it.
What causes a power window to stop working?
Common causes include loss of power, an open fuse, damaged wiring, poor connections, switch failure, motor failure, regulator damage, misaligned glass, frozen weatherstrip, and excessive resistance in the circuit. The failure pattern and electrical measurements determine which cause is most likely.
Why does my Tacoma window work from one switch but not the other?
If a passenger window works from the driver master switch but not from its local switch, check the window-lock setting, local switch, local connector, and switch feed. If it works locally but not from the master switch, test the master-switch channel and driver-door wiring.
How can I tell whether the motor or regulator is bad?
A motor that receives the correct loaded power and ground but remains silent is likely faulty or jammed. If you hear the motor but the glass stays still, tilts, drops, or grinds, the regulator, gear, guide, cable, or glass attachment is more likely damaged.
Conclusion
Start a Toyota Tacoma power-window diagnosis with the simple shared checks: ignition mode, window lock, battery condition, and the correct fuse. Next, compare switch operation and inspect the door-jamb wiring before removing the door panel.
Do not treat one voltage reading as proof that a switch works. Test the circuit under load and use the exact model-year wiring diagram. If the glass is loose, the correct fuse fails again, wiring overheats, or the mechanism grinds, stop operating the window and arrange professional diagnosis.
Sources
- Toyota Manuals and Warranties — model-specific owner’s manuals, fuse information, feature operation, and initialization guidance
- Toyota Technical Information System — factory repair manuals, wiring diagrams, service bulletins, and diagnostic information
- Fluke: How to Measure DC Voltage — correct meter setup, lead placement, and DC-voltage measurement practices
- Fluke: Diagnosing Automotive Voltage Drops — loaded-circuit testing, poor-ground diagnosis, and excessive-resistance symptoms
- National Highway Traffic Safety Administration Recall Lookup — VIN-based safety-recall information
