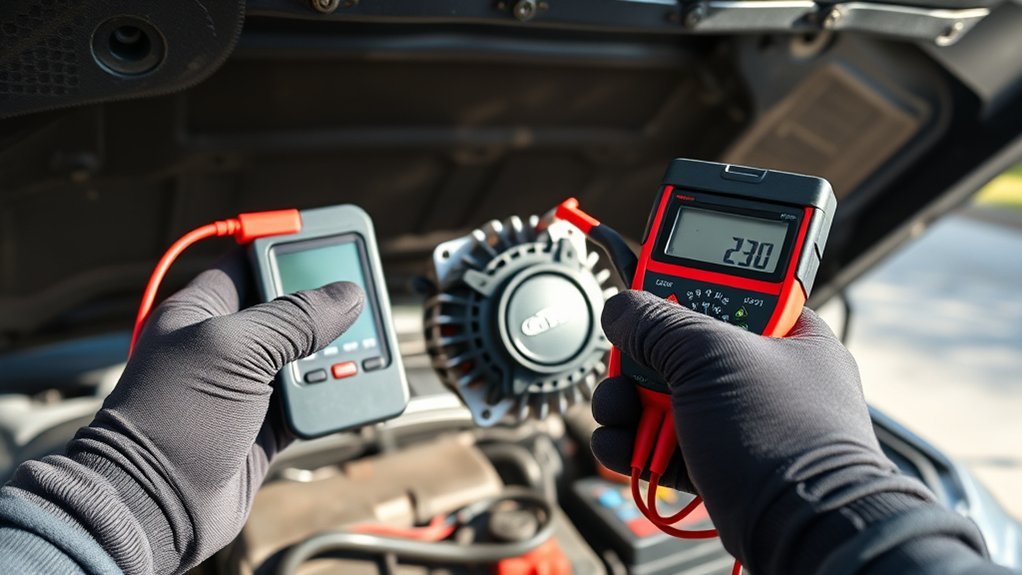
You can screen a gasoline Toyota Tacoma’s 12-volt charging system with a digital multimeter, but one voltage reading cannot prove the alternator is good or bad. Start with the battery, measure charging voltage at the battery posts, repeat the test under electrical load, and inspect the belt, fuses, cables, and grounds before replacing parts. Hybrid i-FORCE MAX models require model-specific procedures.
Last updated: September 19, 2026 — charging-voltage, voltage-drop, ripple-test, and 2026 Tacoma powertrain guidance rechecked against current Toyota, DENSO, and Fluke references.
Quick Answer
Set the multimeter to DC volts and test across the battery posts. A fully charged battery is about 12.6 volts with the engine off. With a conventional alternator running, a general guide is roughly 13.0 to 14.5 volts, but Tacoma specifications and computer-controlled charging behavior vary by model year.
Best diagnostic pattern: Compare three readings instead of chasing one “magic” voltage: rested battery voltage with the engine off, running voltage at idle, and loaded voltage around 1,500 to 2,000 rpm. If charging still looks low, check cable voltage drop before replacing the alternator.
Key Takeaways
- Test and charge the battery before judging the alternator.
- Measure at the battery posts first, not at an exposed alternator output stud.
- A normal-looking voltage at idle does not rule out weak output under load or excessive cable resistance.
- Low voltage can come from the battery, belt, fuse, wiring, grounds, regulator, or alternator.
- Use the service information for your exact Tacoma year and powertrain before condemning a component.
At a Glance
| Time Required | 20 to 30 minutes |
| Difficulty | Beginner for basic voltage checks; intermediate for voltage-drop testing |
| Tools Needed | Digital multimeter, safety glasses, gloves, and optional alligator-clip leads |
| Cost | No added cost if you already own a multimeter |
Warning: Keep hands, clothing, jewelry, meter leads, and tools away from the belt, pulleys, cooling fan, and hot engine parts. Never disconnect a battery cable while the engine is running, and do not place a standard multimeter directly in series with the alternator’s full output current.
Understanding the Tacoma Alternator and Its Function
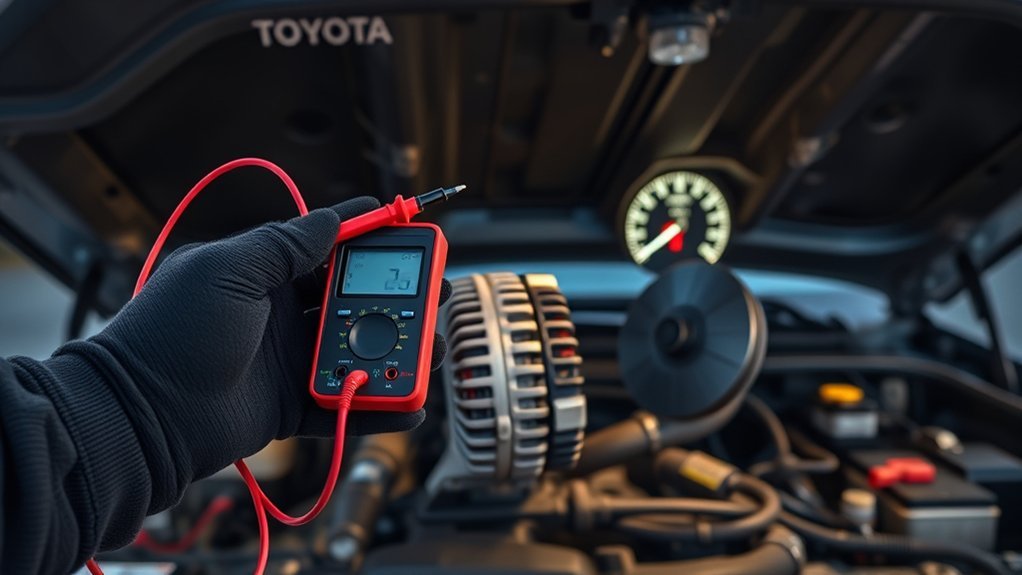
On a conventional gasoline Tacoma, the alternator converts mechanical energy from the engine into electrical energy. It powers the truck’s electrical loads and replenishes the 12-volt battery while the engine runs.
Inside the alternator, the stator produces alternating current. Rectifier diodes convert that current to direct current, while the voltage regulator or vehicle control system adjusts output to match battery condition, temperature, engine speed, and electrical demand.
Charging voltage is not fixed at one number. DENSO’s charging-system diagnostic guidance lists approximately 13.0 to 14.5 volts with the engine running, while its broader output test allows 13 to 15 volts and tells technicians to use the vehicle service manual for the correct specification.
A multimeter reading is a screening result, not a complete alternator diagnosis. Battery condition, wiring resistance, belt condition, electrical load, temperature, and the truck’s control strategy all affect the number you see.
Confirm Your Tacoma Powertrain Before Testing
This procedure is intended for Tacoma models that use a conventional 12-volt alternator. Toyota’s current Tacoma lineup includes both i-FORCE gasoline and i-FORCE MAX hybrid powertrains. Hybrid models use additional high-voltage components and different charging-system architecture.
Check your badge, VIN information, and Toyota Owner’s Manual. If your Tacoma is an i-FORCE MAX hybrid, do not assume a conventional alternator test applies. Use Toyota’s model-specific service procedure or have a qualified technician diagnose the system.
How to Spot a Failing Alternator?
A charging-system symptom points you toward testing, but it does not identify the failed part by itself. Watch for the following signs and possible causes:
| Symptom | What It May Mean |
|---|---|
| Battery or charging warning light | Low charging output, a belt problem, wiring fault, fuse issue, weak battery, or control-system fault |
| Dim or flickering lights | Low system voltage, loose terminals, poor grounds, or unstable alternator output |
| Slow cranking or repeated dead battery | Weak battery, parasitic drain, poor connections, or inadequate charging |
| Whining, grinding, or belt noise | Worn alternator bearing, pulley problem, misalignment, or incorrect belt tension |
| Burning-rubber or electrical odor | Slipping belt, overheated wiring, short circuit, or failing alternator |
| Engine stalls after a jump-start | The charging system may not be supporting the truck, but the battery and connections still need testing |
Toyota’s warning-light guidance identifies the charging-system warning light as a charging-system malfunction and directs owners to the Owner’s Manual for vehicle-specific details. A persistent charging-system warning deserves prompt attention.
[Amazon Products Picked for You]
Additional Tips - The following incorrect operations may cause the multimeter not to show results: Firstly, the plugs of test leads are not fully inserted or not inserted into the correct sockets. Secondly, the manual rotary switch is not placed in the correct position. In addition, this meter can not test all AC Current and below 100mV AC Voltage. Please check the user manual carefully before measurement.

Versatile Digital Multimeter - Accurately measures AC/DC Current, AC/DC Voltage, Capacitance, Frequency, Duty Cycle, Resistance, Diode, Continuity and Temperature.

Accurately Test Full Features: Accurately measures AC/DC voltage, DC current, resistance, continuity test, diode and batteries.
Essential Tools for Testing Your Alternator
Gather the following items before you start:
- Digital multimeter: Use an auto-ranging meter or one with a 20-volt DC range.
- Safety glasses and gloves: A battery can release gas, leak acid, or deliver very high short-circuit current.
- Alligator-clip leads: These can help keep the probes stable while your hands remain away from moving parts.
- Battery charger: Charge a low battery before judging alternator performance.
- Model-specific service information: Use Toyota’s manual or service data for your Tacoma’s exact limits and test conditions.
Pro Tip: Photograph or write down each reading, along with engine speed and which accessories were on. Comparing results is more useful than relying on one number.
[Amazon Products Picked for You]

Wide Application - The AstroAI M4K0R Multimeter accurately measures AC/DC voltage to 600V, Current to 10A, Resistance to 40MΩ. You can use it for continuity test, diode test, battery test and live wire test. Includes 1.5V, 9V and 12V battery test modes to easily test a wide variety of batteries. Multimeter light turns red for low voltage and green for enough voltage.

Smart Digital Multimeter: Thanks to its Smart Auto Mode, TESMEN TM-510 4000 counts smart digital multimeter allows you to quickly switch between all measurement tasks, including AC/DC voltage, resistance, and continuity, without selecting a mode or range. It makes measuring work easy, fast, and accurate
Smart Measurement: With smart auto ranging mode, the KM200s multimeter instantly recognizes and switches between AC/DC voltage, resistance, and continuity—no dial, no range, no guesswork. Measure faster, easier, and more accurately every time.
Safety Checks Before Testing
Park on level ground, set the parking brake, select Park or Neutral, and open the hood. Inspect the battery before connecting the meter.
- Do not test a battery with a cracked, swollen, frozen, leaking, or badly damaged case.
- Remove metal jewelry and keep tools from bridging the battery terminals.
- Inspect the belt for glazing, cracks, contamination, looseness, or obvious misalignment.
- Check that the battery terminals and visible ground connections are clean and tight.
- Keep the meter leads routed away from the fan, belt, and pulleys before starting the engine.
Step 1: Preparing Your Multimeter for the Test
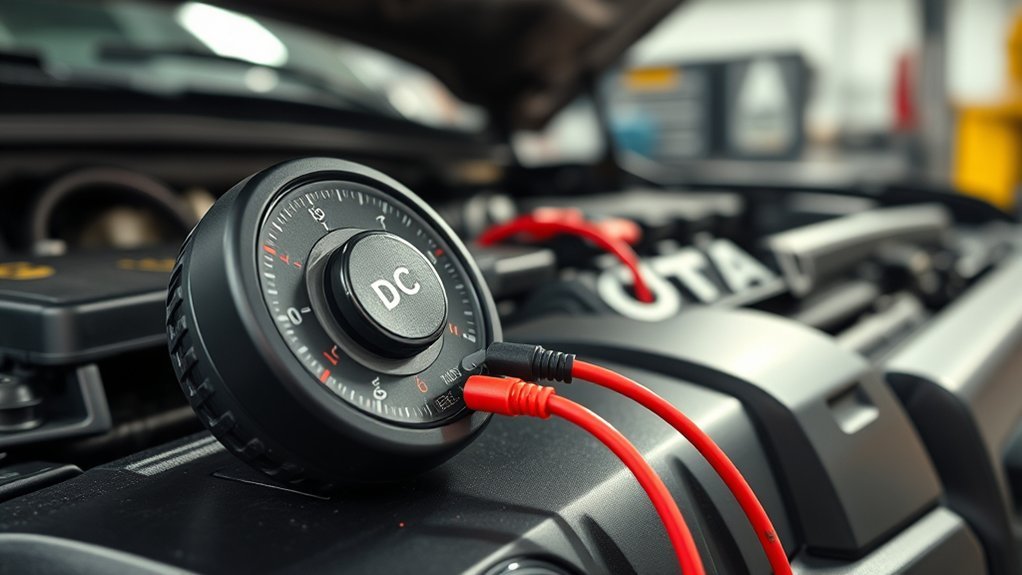
Plug the black lead into the COM jack and the red lead into the jack marked for volts, often labeled V or VΩ. Do not use the high-current amp jack for this voltage test.
Set the meter to DC volts. Choose auto-range or the 20-volt DC range. Touch the red probe to the battery’s positive post and the black probe to the negative post. If the display shows a minus sign, reverse the probes.
Confirm the leads are secure and the display responds normally before starting the truck.
Step 2: Measuring Battery Voltage Before Starting the Engine
Turn off the ignition, lights, blower, audio system, chargers, and other accessories. For the best open-circuit reading, let the battery rest after driving or charging. A recent charge can leave a temporary surface charge that makes the voltage look higher than the battery’s true resting state.
Measure directly on the battery posts, not on dirty cable clamps. Use these numbers only as a general guide:
- About 12.6 volts or slightly higher: The battery is near full charge under moderate temperatures.
- Around 12.4 volts: The battery is partially charged. It may still start the truck, but charging it first gives a cleaner alternator test.
- Below roughly 12.2 volts: Charge and test the battery before evaluating the alternator.
DENSO recommends visually inspecting, fully charging, and performance-testing the battery before diagnosing the charging system. A weak or damaged battery can distort the entire test.
Step 3: Test Alternator Output While Running
Leave the probes connected across the battery posts and start the engine. Keep the leads clear of moving parts. Let the engine settle at idle, then record the voltage.
For a conventional alternator system, a general running-voltage guide is approximately 13.0 to 14.5 volts. DENSO also describes a 13-to-15-volt range during an output test at about 2,000 rpm, then directs technicians to the vehicle service manual for the exact specification.
A steady reading in the low 12-volt range while the engine runs usually means the battery is supplying most of the electrical power. However, do not condemn the alternator yet. Check the battery, belt, fuses, fusible links, wiring, connections, grounds, and control system.
Note: Computer-controlled charging can raise or lower voltage as conditions change. Temperature, battery state of charge, engine speed, and electrical demand can all affect the reading.
Step 4: Understanding Your Multimeter Readings for Alternator Health
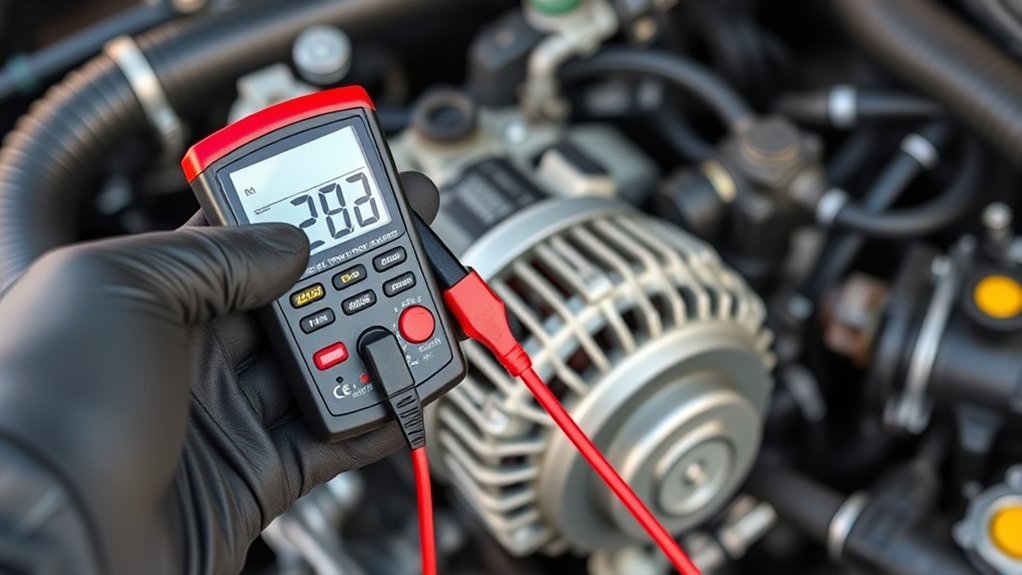
Interpret the reading in context instead of using a single pass-or-fail number.
| Condition | General Interpretation | Next Step |
|---|---|---|
| Engine off, about 12.6 V | Battery is near full charge | Continue with running and load tests |
| Engine running, about 13.0 to 14.5 V | Often normal for a conventional system | Confirm under load and compare with model-specific data |
| Engine running, sustained low 12 V range | Charging may be insufficient | Inspect battery, belt, fuses, wiring, grounds, and alternator |
| Above about 14.5 V | Possible regulation, battery, sensing, or connection problem | Stop prolonged testing and check service information |
| Reading jumps or flickers | Loose connection, belt slip, wiring fault, meter contact issue, or internal alternator problem | Repeat with secure probes and inspect the circuit |
Higher voltage is not automatically better. Excessive voltage can overcharge the battery and stress electronics. Likewise, a low reading does not prove the alternator itself has failed.
Test the Charging System Under Electrical Load
With the engine running, turn on the headlights, cabin blower, and rear-window defogger. If it is safe to do so, hold the engine near 1,500 to 2,000 rpm while a helper watches the meter.
The voltage should remain stable and within the specification for your Tacoma. A large drop into the battery-only range, especially when combined with dim lights or a warning lamp, suggests the system cannot support the load. The cause may be low alternator output, belt slip, excessive cable resistance, a weak battery, or an unusually high electrical demand.
Turn the accessories off after recording the result. Do not hold the engine at elevated speed longer than needed.
Perform Voltage-Drop Tests on the Charging Cables
A charging voltage can look low even when the alternator is producing power because resistance in a cable or connection wastes voltage. DENSO’s general troubleshooting guide uses 0.2 volt or less as a target for each side of the charging circuit during a loaded test.
Positive-Side Voltage Drop
- Set the meter to DC volts.
- Connect the red probe to the alternator output terminal and the black probe to the battery positive post.
- Run the engine near 2,000 rpm with major electrical loads on.
- A reading above the service limit points to resistance in the positive cable, fuse link, connection, or terminal.
Negative-Side Voltage Drop
- Connect the black probe to the alternator case or approved ground point.
- Connect the red probe to the battery negative post.
- Repeat the loaded test near 2,000 rpm.
- A high reading points to resistance in the engine ground, body ground, cable, or connection.
These checks place you close to moving and live components. Skip them and use a professional technician if you cannot make the connections safely.
Check for Excessive AC Ripple Carefully
Failed rectifier diodes can allow more alternating-current ripple into the 12-volt system. As a screening check, set a suitable multimeter to AC volts and measure across the battery while the engine runs.
Meter design and vehicle conditions affect the result, so do not apply one universal pass/fail number to every meter and Tacoma. Fluke’s 88V ripple-test guidance lists ≤0.05 V AC as desirable, 0.05–0.10 V AC as a caution range, and about 0.30–0.50 V AC or higher as a fault range under its stated test method. Use those values as screening guidance only and compare suspicious results with Toyota service data or a scope/bench test.
What to Do If Your Alternator Fails?
If the tests point to a charging-system fault, avoid replacing the alternator until you have checked the rest of the circuit. DENSO recommends a systematic diagnosis because battery, belt, fuse, cable, ground, and accessory-load problems can mimic alternator failure.
[Amazon Products Picked for You]

Catch Battery Problems Early: Featured in two videos by Project Farm, a popular YouTube channel with millions of subscribers, the ANCEL BA101 helps you quickly spot battery issues before they leave you stranded. It provides easy-to-understand readings for State of Health (SOH), State of Charge (SOC), voltage, current, CCA, plus cranking and charging system tests, so you can better understand your battery and help avoid unexpected breakdowns

[Car Battery Tester] You can easily test and inspect your 12V lead-acid battery with this TOPDON car battery tester. The SOH (State of Health), SOC (State of Charge), Voltage, Current, Rating, and numerous other understandable analytical data are provided by this battery tester. It is compatible with 100-2000CCA regular flooded, AGM flat plate/spiral, EFB, and GEL for their optimum performance.

🔥【A MUST HAVE TOOL IN YOUR GARAGE】 - With up-to-date testing technology, it provides a quick reading to determine whether a vehicle battery needs a jump or replacement and also the output status of the alternator. All you have to do is log in and play. Save your time and money.
Check Related Components First
- Battery: Charge it fully and have it load-tested or conductance-tested.
- Drive belt and tensioner: Look for wear, slip, contamination, misalignment, or weak tension.
- Battery terminals and grounds: Clean and tighten corroded or loose connections.
- Fuses and fusible links: Check the correct locations in the Owner’s Manual.
- Charging cables: Use voltage-drop testing to find hidden resistance.
- Aftermarket accessories: High-power lights, audio equipment, refrigerators, winches, or inverters can overload the system or introduce wiring faults.
- Control and sensing circuits: A regulator, battery sensor, wiring fault, or control-module issue may change alternator output.
Get a Professional Output Test When Needed
A basic multimeter checks system voltage, not the alternator’s maximum current capacity. A repair shop can use a charging-system analyzer, carbon-pile or electronic load tester, DC clamp meter, scan tool, and alternator bench tester to measure output under controlled conditions.
Professional testing is the better choice when the warning light stays on, voltage is excessive, the battery repeatedly goes flat, wiring becomes hot, you smell burning insulation, or the truck is a hybrid model.
Replace Alternator If Necessary
This page is for diagnosis, not removal and installation. If model-specific testing confirms the alternator is out of specification, use a unit that matches your Tacoma’s year, engine, connector, pulley, mounting points, and output rating. An OE Toyota part or a reputable OE-quality replacement can work when it meets the correct specification. For the repair workflow, see How to Replace a Toyota Tacoma Alternator.
Disconnect the negative battery terminal before removal, follow the service procedure, and torque fasteners and electrical connections correctly. After installation, fully charge and test the battery, inspect the belt, clear any stored faults as required, and repeat the charging and voltage-drop tests.
If the warning light remains on after replacement, stop replacing parts and diagnose the wiring, battery, fuse links, control circuits, and grounds.
Related Guides
Frequently Asked Questions
How do you check alternator current output with a multimeter?
A standard handheld multimeter should not be connected in series with the alternator’s full output. That can exceed the meter’s fuse and lead rating. Use a DC clamp meter around the output cable or a professional charging-system load tester. A normal multimeter is best used for voltage and voltage-drop checks.
How many ohms should a Tacoma alternator have?
There is no universal resistance value that proves a complete alternator is good. Rotor, stator, diode, and field-circuit tests depend on the alternator design, temperature, meter, and disconnection procedure. Use Toyota service data or an alternator bench tester instead of generic ohm limits.
What multimeter setting is used for alternator testing?
Use DC volts, with auto-range or the 20-volt range, for battery and charging-voltage tests. Use the millivolt or low DC-voltage range for cable voltage-drop tests. AC volts may be used only as a ripple screening check when your meter supports it.
How do you know if a Toyota Tacoma alternator is bad?
Look for several results that agree: a charged and tested battery, a good belt, intact fuses, clean connections, acceptable cable voltage drop, and charging output that remains outside Toyota’s specification under the required test conditions. One low reading at idle is not enough by itself.
What voltage should a Tacoma alternator produce?
For a conventional 12-volt alternator system, roughly 13.0 to 14.5 volts is a useful general guide, and some output tests use a broader 13-to-15-volt range. Your Tacoma’s correct result depends on model year, powertrain, temperature, battery condition, engine speed, and electrical load.
Can a weak battery make a Tacoma alternator test look bad?
Yes. A deeply discharged, damaged, or failing battery can distort charging-system readings and place unusually high demand on the alternator. Charge and test the battery first when resting voltage is low, then repeat the charging-system test before replacing the alternator.
Can you disconnect the battery while the engine is running to test the alternator?
No. Disconnecting the battery while the engine runs can create a damaging voltage surge and may harm the truck’s electronic modules. Use a multimeter, voltage-drop test, clamp meter, or professional charging-system analyzer instead.
Conclusion
Testing a Tacoma alternator starts with a healthy battery and a safe voltage check across the battery posts. Compare engine-off, idling, and loaded readings, then inspect the belt, fuses, cables, grounds, and control circuits. Use voltage-drop testing to separate an alternator problem from resistance in the wiring.
Do not replace the alternator because one reading falls outside a generic range. Confirm the result against the service information for your exact Tacoma, especially on newer computer-controlled or i-FORCE MAX hybrid models. A systematic diagnosis prevents unnecessary parts replacement and reduces the chance of another dead battery. If the alternator is confirmed faulty, continue with the Tacoma alternator replacement guide.
Sources
- DENSO Charging System Diagnosis — battery preparation, general running-voltage guidance, belt, fuse, wiring, and ground checks.
- DENSO Battery Visual Inspection and Performance Testing — battery inspection, full-charge voltage, and performance testing.
- DENSO Charging System Troubleshooting — loaded output testing and positive- and negative-side voltage-drop targets.
- Toyota Manuals and Warranties — model-specific Owner’s Manuals and service information access.
- Toyota Dashboard Warning Lights — warning-light guidance and directions to consult the Owner’s Manual.
- 2026 Toyota Tacoma — current gasoline and i-FORCE MAX hybrid powertrain availability.
- Fluke Alternator Ripple Voltage Test — AC-ripple screening method and meter-specific interpretation ranges.
