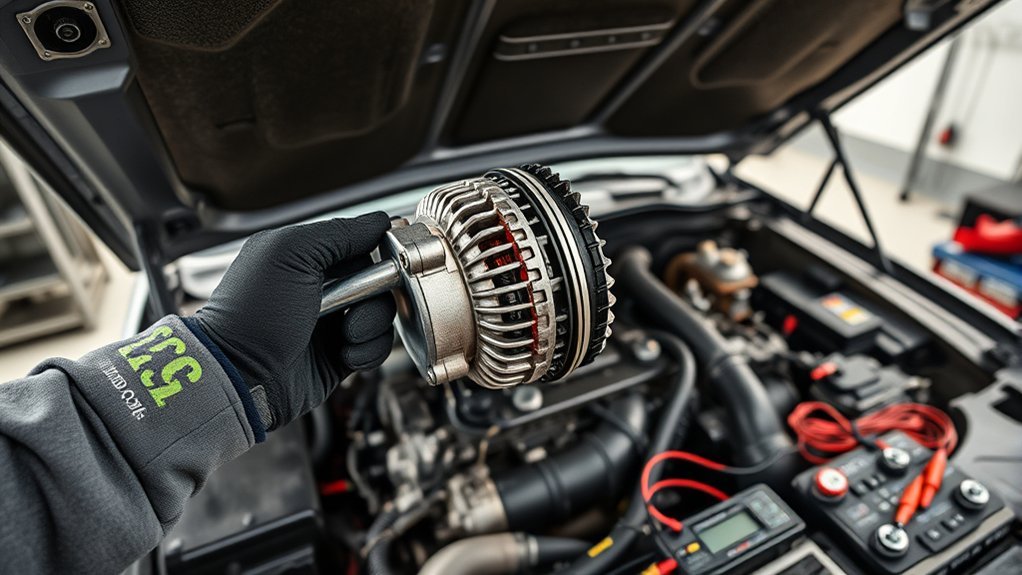
To replace a Toyota Tacoma alternator on a conventional belt-driven setup, first confirm the charging-system fault and VIN-matched part, disconnect the negative battery cable, record the belt routing, release belt tension, disconnect the alternator wiring, remove the model-specific fasteners, install and torque the replacement, reinstall the belt, and test charging operation. The exact access path and hardware vary by Tacoma year and engine, so use this as a workflow and Toyota’s repair information for the exact truck.
Last updated: September 19, 2026 — scope, hybrid safety, current cost benchmark, internal links, external-link attributes, and structured data reviewed.
Quick Answer
For a conventional, belt-driven Toyota Tacoma, verify the year, engine, diagnosis, and alternator fitment first. Disconnect the negative battery cable, record belt routing, release belt tension, disconnect the B+ cable and plug, remove the model-specific mounting hardware, install the matched unit, torque it to Toyota specifications, reinstall the belt, and test the complete charging system. Do not use this generic procedure for an i-FORCE MAX hybrid without Toyota’s hybrid-specific repair information.
Key Takeaways
- A dead battery or warning light does not prove the alternator has failed. Test the complete charging system first.
- Match the replacement by VIN, engine, amperage rating, connector, pulley, and mounting design.
- Disconnect the negative battery cable before touching the alternator output terminal or wiring.
- Use the belt-routing diagram and Toyota’s model-specific torque specifications during installation.
- Inspect the battery, belt, tensioner, idlers, cables, and connectors before returning the truck to service.
At a Glance
| Time Required | Plan several hours for a first DIY attempt. As one verified example, iFixit rates its 2005–2015 Tacoma 2.7L procedure at about 1 hour, but other engines and access layouts can take longer. |
| Difficulty | Intermediate. The job requires safe belt-tensioner control, electrical-terminal handling, and correct torque. |
| Tools Needed | Metric socket set, ratchet, proper breaker bar or serpentine-belt tool, torque wrench, multimeter, gloves, safety glasses, and any access-panel tools required for your engine. |
| Cost | Varies by model year, engine, part choice, core charge, and labor. RepairPal’s Tacoma estimate updated September 3, 2026 is $566–$724 before taxes, fees, location adjustments, and related repairs. |
Confirm This Guide Applies to Your Tacoma
This article provides a safe general workflow, not a substitute for your truck’s model-specific repair manual. Toyota Tacoma alternator placement and removal steps have changed across generations and engines.
Use the VIN and engine information to confirm the replacement part. A compatible unit must have the correct mounting ears, electrical connector, output terminal, pulley design, amperage rating, and belt alignment. DENSO’s installation-guide and fitment search uses year, make, model, engine, and trim information for this reason.
Warning: Do not apply this conventional alternator procedure to an i-FORCE MAX hybrid or any Tacoma with high-voltage warning labels unless Toyota’s model-specific repair information confirms the procedure. Toyota states that Tacoma i-FORCE MAX vehicles contain high-voltage DC and AC systems and warns against touching or removing orange high-voltage wiring or connectors. Use hybrid-specific service information and trained service support where required.
For exact access steps, connector procedures, belt routing, and torque values, use Toyota’s Technical Information System. Toyota TIS includes repair manuals and wiring diagrams for supported North American vehicles.
Why the Tacoma Year and Engine Change the Job
Published procedures show why one universal fastener list is unsafe. An iFixit guide for the 2005–2015 2.7L Tacoma removes two alternator bolts and uses a passenger-side wheel-well access cover. A 2016–2023 third-generation Tacoma walkthrough documents additional harness/bracket work and a hidden rear mounting bolt on that configuration. These examples are not interchangeable instructions; they show why you should identify the engine and follow the matching repair procedure before loosening hardware.
Recognizing Symptoms of a Failing Alternator
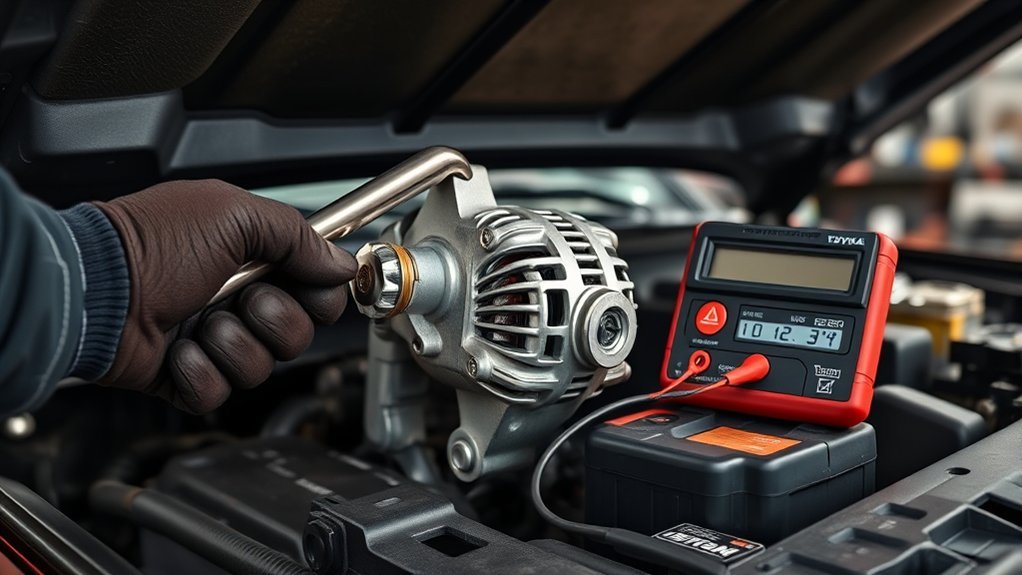
A failing alternator can produce several warning signs, but none of them confirms failure by itself. Similar symptoms can come from a weak battery, damaged belt, poor connection, blown fuse, wiring fault, or parasitic electrical draw.
- Charging-system warning: A battery-shaped or charging warning may remain on after the engine starts.
- Dim or changing lights: Headlights and interior lights may brighten or dim as engine speed or electrical load changes.
- Slow electrical accessories: Power windows, the blower motor, audio equipment, or other accessories may operate poorly.
- Repeated dead battery: The battery may lose charge again after being recharged or jump-started.
- Belt noise: Squealing can result from belt slip, pulley misalignment, a weak tensioner, or a seized accessory.
- Grinding or whining: Bearing or pulley damage may create noise near the alternator.
- Burning smell: A slipping belt, overheated wiring, or an internal electrical fault may produce an unusual odor.
Toyota recommends checking the applicable owner’s manual when a warning light appears. You can select the correct vehicle through Toyota’s warning-light information and manuals page.
Why a Dead Battery Does Not Prove Alternator Failure
A weak or sulfated battery may not accept or retain a charge even when the alternator works. Loose terminals, damaged grounds, a slipping belt, a faulty fusible link, or an electrical draw can create the same complaint.
Test the battery separately before replacing the alternator. A discharged battery should be charged with an appropriate battery charger before you judge charging-system performance.
Check the Charging System Before Replacement
- Inspect the battery terminals. Look for looseness, corrosion, damaged clamps, and broken cable strands.
- Inspect the drive belt. Check for missing ribs, cracks, glazing, contamination, fraying, and incorrect routing.
- Inspect the tensioner and idlers. Look for wobble, weak tension, rough bearings, and misalignment.
- Check relevant fuses and fusible links. Use the model-specific wiring diagram rather than guessing.
- Measure battery voltage with the engine off. This provides a starting reference but does not replace a battery load test.
- Start the engine and measure again. Compare the result with the specification and test procedure for your exact Tacoma.
- Apply electrical loads. Headlights, the blower, and the rear defogger can reveal weak output, but a professional charging-system tester gives a more complete result.
- Check for excessive voltage drop. Resistance in the positive cable or ground path can make a good alternator appear defective.
Warning: Never disconnect a battery cable while the engine is running to “test” the alternator. The resulting voltage surge can damage electronic modules, wiring, or charging-system components.
Essential Tools and Parts
Gather the tools before disconnecting the truck. The exact socket sizes depend on the model year and engine, so confirm them through the repair manual.
- Metric socket and wrench set
- Ratchet and suitable extensions
- Proper breaker bar or serpentine-belt tool
- Torque wrench covering the required specification range
- Digital multimeter
- Trim or clip-removal tools when access panels use plastic retainers
- Safety glasses and mechanic’s gloves
- Work light
- Battery-terminal cleaning tools if corrosion is present
- VIN-matched alternator
- Replacement belt, tensioner, idler, or damaged hardware when inspection shows a problem
Avoid using an improvised pipe or “cheater bar” on a small ratchet. A proper breaker bar or belt tool gives better control over the spring-loaded tensioner.
Preparing Your Toyota Tacoma for Alternator Replacement
- Park on a level surface and engage the parking brake.
- Shift into Park, or into gear on a manual-transmission truck.
- Switch off the ignition, remove the key, and keep the key fob away from the vehicle.
- Allow the engine and exhaust components to cool.
- Record radio presets or other settings that may be lost when power is disconnected.
- Photograph the belt routing and alternator wiring before removal.
- Locate the factory belt-routing diagram. Do not rely only on memory.
- Disconnect the negative battery cable and position it where it cannot spring back onto the terminal.
If the battery must be removed for access, disconnect the negative terminal first and the positive terminal second. During reinstallation, connect the positive terminal first and the negative terminal last.
Note: Some models may require removal of an engine cover, air duct, splash shield, skid plate, battery tray, or another access component. Remove only the components identified for your engine and reinstall all clips, shields, and fasteners afterward.
Step-by-Step Guide to Removing the Old Alternator
1. Document the Belt Routing and Gain Access
Compare your photograph with the factory diagram. Note which pulleys contact the ribbed side of the belt and which contact the smooth side.
Remove only the covers, ducts, shields, or brackets needed to reach the alternator and belt tensioner. Store each fastener with the component it secures.
2. Release the Serpentine Belt Tension
Fit the correct socket or belt tool onto the tensioner’s designated drive point. Move the tensioner slowly in the required direction and slide the belt off the alternator pulley.
Release the tensioner in a controlled motion. Do not let it snap against its stop. If the belt will be reused, avoid bending it backward, contaminating it with oil, or forcing it over a pulley flange.
3. Disconnect the Alternator Wiring
Confirm that the negative battery cable remains disconnected. Remove the protective boot from the alternator’s main output terminal, often marked B+.
Remove the output-terminal nut with the correct tool. Hold the cable by its terminal, not by the wire, and move it aside without sharply bending it.
Release the alternator’s electrical connector by pressing its locking tab. Do not pry aggressively or pull on the wires. Inspect the connector for heat damage, corrosion, broken locks, or loose terminals.
4. Remove the Alternator Fasteners
Support the alternator while removing its mounting fasteners. The number, size, direction, and location of these fasteners vary by Tacoma engine.
Keep track of bolt locations and any spacers, sleeves, brackets, or wire retainers. Do not assume bolts of similar appearance are interchangeable.
5. Remove the Old Alternator
Work the alternator out without striking nearby wiring, hoses, cooling components, or the radiator. If it remains stuck after all fasteners are removed, check for a hidden bracket or retained harness before applying force.
Do not use the pulley, electrical terminal, or plastic connector housing as a pry point.
Inspect Related Components Before Installation
An alternator can fail early when a damaged belt-drive component, poor cable connection, or weak battery remains in service. Inspect the surrounding system before installing the replacement.
- Battery: Check its state of charge, condition, age, and ability to pass a load or conductance test.
- Serpentine belt: Replace it if the ribs are damaged, glazed, contaminated, frayed, or badly worn.
- Tensioner: Check for weak spring force, rough movement, leakage where applicable, noise, or pulley wobble.
- Idler pulleys: Spin them by hand with the belt removed. Roughness, looseness, or noise indicates a problem.
- Alternator cables: Look for corrosion, overheated insulation, damaged terminals, and loose grounds.
- Mounting points: Clean dirt and corrosion that could prevent the alternator from sitting squarely.
Gates provides belt-drive application information, technical tips, and training material through its resource library.
Related Tacoma belt guides: If inspection points to the drive system rather than the alternator itself, see Toyota Tacoma serpentine belt wear and diagnosis and the Tacoma serpentine-belt replacement overview.
Installing the New Alternator
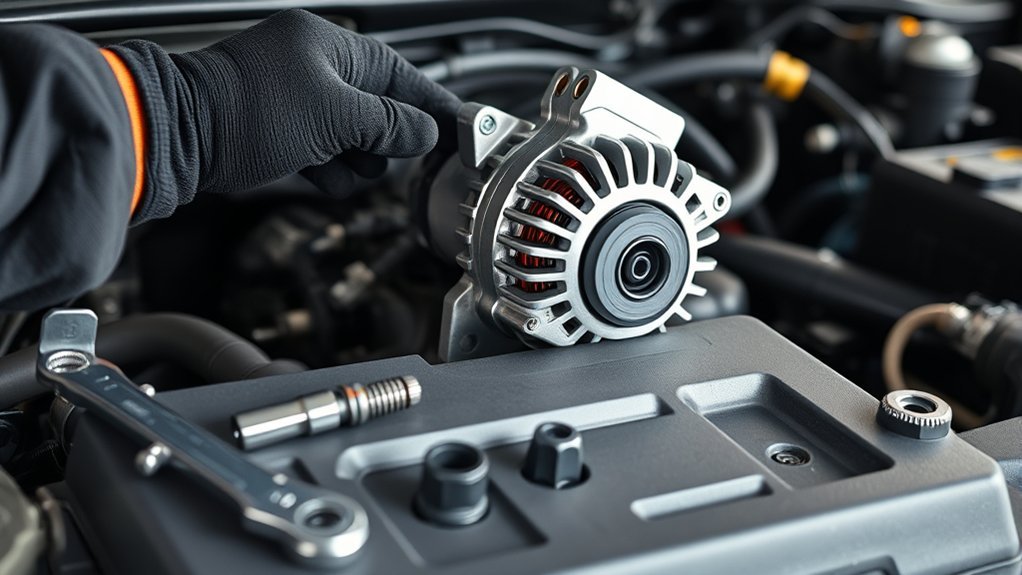
Before installation, compare the new and old alternators side by side. Confirm that the pulley grooves, mounting points, connector, output terminal, case clearance, and general clocking match.
Pro Tip: Measure or closely compare pulley offset before installation. A pulley that sits too far inward or outward can cause belt tracking problems, noise, and rapid belt wear.
- Position the alternator squarely in its mounting bracket.
- Start every mounting fastener by hand to avoid cross-threading.
- Install brackets, sleeves, spacers, and retainers in their original locations.
- Tighten the mounting fasteners evenly.
- Torque each fastener to the specification for the exact model year and engine.
- Reconnect the alternator plug until its lock clicks securely.
- Install the B+ cable in its original orientation.
- Torque the output-terminal nut to the specified value. Do not overtighten it.
- Reinstall the protective terminal boot so no exposed metal remains.
The output terminal passes through an insulated section of the alternator. Excessive torque or side loading can crack the insulator or damage the internal connection.
Reattach the Serpentine Belt and Restore Tension
Route the belt according to the factory diagram. Leave an easily reached smooth pulley or the alternator pulley until last when that routing method is appropriate.
| Step | Action | Final Check |
|---|---|---|
| 1 | Route the belt around each pulley. | Match the factory diagram. |
| 2 | Move the tensioner slowly with the proper tool. | Keep your fingers clear of pinch points. |
| 3 | Slip the belt over the final pulley. | Do not force it over a pulley flange. |
| 4 | Release the tensioner in a controlled motion. | Every rib must sit fully inside its pulley grooves. |
Inspect the entire belt path from above and below when possible. One rib hanging over a pulley edge can damage the belt within minutes.
Reconnect the Battery and Check the Installation
- Confirm that no tools, loose fasteners, or shop towels remain in the engine compartment.
- Verify that all wiring is secured away from the belt, pulleys, exhaust, and sharp edges.
- Reinstall every removed shield, duct, bracket, cover, and retainer.
- Reconnect the negative battery cable and tighten it securely without damaging the terminal.
- Turn the ignition on without starting and check for abnormal smoke, heat, or electrical odor.
- Start the engine while keeping hands, clothing, and tools away from rotating components.
- Watch the belt for smooth tracking.
- Check that the charging warning goes out as expected.
- Listen for squealing, grinding, knocking, or rubbing.
Test the New Alternator
Use a multimeter at the battery as an initial screening tool. Record the engine-off reading, then start the engine and observe how the voltage changes with the lights and blower switched on.
Do not judge the alternator from one universal voltage range. Output can change with battery state, temperature, engine speed, electrical load, and the truck’s charging-control strategy. Compare your readings with Toyota’s procedure for the exact model.
A complete test may include alternator output current, AC ripple, battery condition, cable voltage drop, stored diagnostic codes, and system behavior under load.
A new alternator will not correct a weak battery, slipping belt, damaged cable, poor ground, blown fuse, or faulty control circuit.
Troubleshooting After Installation
Stop the engine and inspect the work if you notice any of the following:
- The charging warning remains on.
- The belt walks toward a pulley edge.
- The belt squeals continuously.
- The alternator or output cable becomes unusually hot.
- You smell burning insulation or rubber.
- The voltage remains abnormal or unstable.
- The battery continues to discharge.
- A fuse or fusible link opens again.
Common causes include a loose connector, poor ground, damaged B+ cable, incorrect belt routing, pulley misalignment, weak tensioner, wrong alternator, defective replacement unit, discharged battery, or an unresolved control-circuit fault.
Seek professional diagnosis when the truck has damaged wiring, repeated fuse failure, severe corrosion, a seized fastener, inaccessible mounting hardware, a hybrid powertrain, or charging results that do not match the repair manual.
Tips for Cost-Effective Alternator Replacement
The lowest purchase price does not always produce the lowest total repair cost. Correct fitment, output capacity, warranty coverage, pulley alignment, and build quality matter more than an unsupported price comparison.
For a current U.S. benchmark, RepairPal lists an average Tacoma alternator-replacement range of $566–$724, with $152–$223 estimated for labor and $414–$501 for parts as of September 3, 2026. Treat that as a national estimate rather than a quote; year, engine, location, taxes, fees, and related repairs can change the total.
| Decision | What to Check | Why It Matters |
|---|---|---|
| Confirm the diagnosis | Battery, belt, tensioner, fuses, cables, grounds, and charging output | Prevents replacement of a working alternator |
| Verify fitment | VIN, engine, connector, output rating, mounting points, and pulley offset | Avoids repeat labor and belt-alignment problems |
| Compare new and remanufactured units | Warranty, testing process, included pulley, return policy, and manufacturer reputation | A stronger warranty or better testing may justify a higher price |
| Return the core | Receipt, return deadline, packaging, and seller requirements | Recovers the seller’s applicable core charge |
| Inspect related wear parts | Belt, tensioner, idlers, terminals, and battery condition | Reduces the chance of another breakdown or repeat disassembly |
Keep the old alternator until the new unit is installed and tested. You may need it for a core return, warranty comparison, or verification of connector and pulley differences.
Frequently Asked Questions
How do you change an alternator in a Toyota Tacoma step by step?
Confirm the diagnosis and part fitment, disconnect the negative battery cable, document the belt routing, remove any required access components, release belt tension, disconnect the B+ cable and electrical plug, remove the mounting fasteners, install and torque the matched alternator, reinstall the belt, reconnect the battery, and test the complete charging system.
How long does it take to replace a Toyota Tacoma alternator?
Plan several hours for a first DIY attempt because access varies by model. One documented 2005–2015 2.7L procedure is rated at about 1 hour, while other engines may require extra covers, brackets, or hidden fasteners. Use the repair procedure for your exact Tacoma rather than treating one time estimate as universal.
How do you check the alternator on a Toyota Tacoma?
Inspect the battery, terminals, grounds, drive belt, tensioner, fuses, fusible links, and alternator wiring first. Then compare engine-off and engine-running voltage, test the system under electrical load, and follow the applicable Toyota diagnostic procedure. A complete test may also measure output current, AC ripple, and cable voltage drop.
How do I know whether the alternator or battery is bad?
Charge and test the battery separately, then test alternator output and the cables between them. A battery that fails a load or conductance test may be defective even when the alternator works. A good battery that repeatedly discharges can point to charging-system trouble, a parasitic draw, or a wiring problem.
Can I replace a Tacoma alternator without a torque wrench?
A torque wrench is strongly recommended. Alternator mounting bolts must hold the unit squarely, while the B+ terminal nut must be tight enough for a sound connection without damaging its insulated stud. Use the torque values for the exact model year and engine.
How much does it cost to replace a Toyota Tacoma alternator?
RepairPal’s Tacoma estimate updated September 3, 2026 is $566–$724 before taxes, fees, location adjustments, and related repairs. Its breakdown lists $152–$223 for labor and $414–$501 for parts. Your exact year, engine, alternator choice, core charge, and local labor rate can move the total outside that range.
Can I drive a Tacoma with a charging-system warning?
Do not assume you have a predictable driving range. If the alternator or belt is not maintaining the 12-volt system, the battery can continue discharging until the truck stalls or electrical systems stop operating normally. Reduce electrical load, move to a safe location, and diagnose the charging system; use towing or professional service when continued operation is unsafe.
Conclusion
A successful Toyota Tacoma alternator replacement starts with diagnosis and correct fitment, not part removal. Verify the year, engine, VIN, connector, output rating, and pulley before installation. Disconnect the battery, control the belt tensioner safely, protect the B+ terminal, and use Toyota’s torque specifications.
After installation, inspect the belt alignment, reconnect the battery, and test the complete charging system. Stop and investigate any warning light, abnormal noise, heat, odor, belt movement, or unstable output before driving the truck.
Sources
- Toyota Technical Information System — model-specific repair manuals, wiring diagrams, diagnostics, and service information.
- Toyota Manuals and Warranties — vehicle-specific owner manuals and warranty information.
- Toyota Warning Lights — guidance for identifying warning lights and consulting the correct owner’s manual.
- DENSO Installation Guides — year, model, engine, trim, and product-specific fitment resources.
- Gates Resource Library — belt-drive application information, technical tips, and training materials.
- iFixit: 2005–2015 Tacoma 2.7L Alternator Replacement — a generation- and engine-specific access example and time estimate.
- Trail Tacoma: Third-Generation Alternator Replacement — a configuration-specific example showing additional brackets and a hidden rear fastener.
- RepairPal Tacoma Alternator Replacement Cost — current U.S. parts-and-labor estimate, updated September 3, 2026.
- Toyota 2024 Tacoma i-FORCE MAX Warranty & Maintenance Guide — hybrid high-voltage safety precautions.
- DENSO Alternator Removal & Installation — general alternator removal and installation safety workflow.
