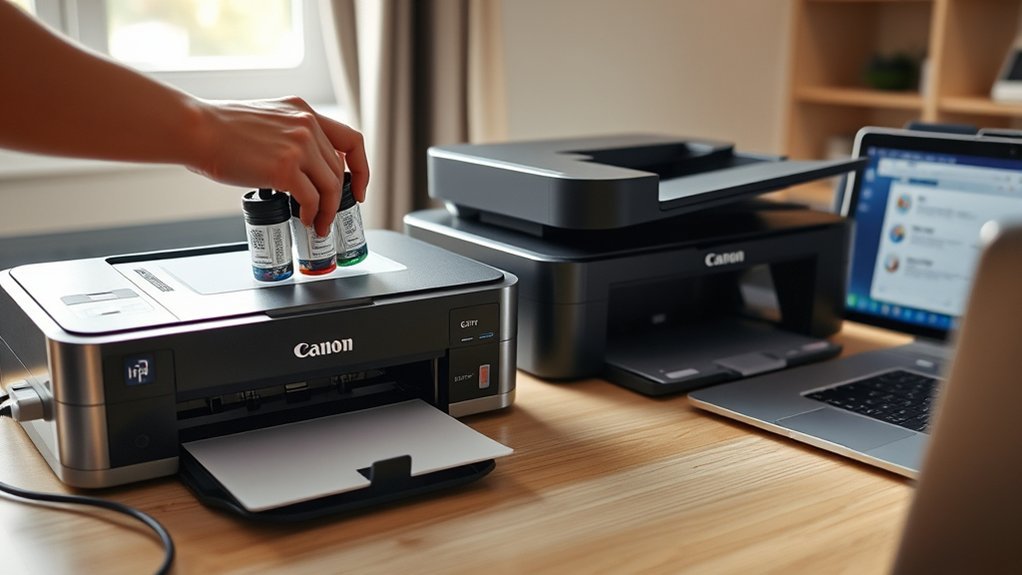
To set up a Canon PIXMA MegaTank G3270 or G4770, the user should unbox the printer, remove all packing materials, place it on a level surface, and connect the power cord. Next, fill the color coded ink tanks, load A4 or Letter paper, and install the correct Canon setup software from the support website. Then connect the printer to Wi-Fi using the Canon PRINT app or control panel. Additional setup details and fixes follow.
Unbox and Power On Your Canon G3270/G4770
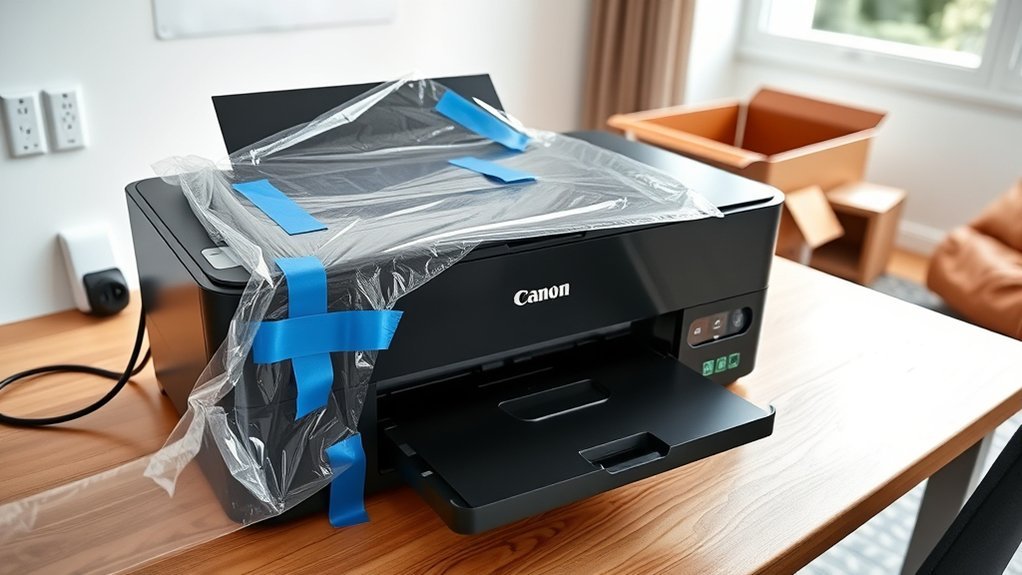
Begin by carefully unboxing the Canon PIXMA MegaTank G3270 or G4770 and removing all protective tape, foam, and packaging materials from the unit. Each exterior panel, tray area, and access point should be checked so nothing restricts movement. This deliberate unbox process clears the machine for controlled setup and prevents hidden packing pieces from interfering with startup.
Next, the printer should be placed on a stable, level surface near an electrical outlet, allowing straightforward access without spatial constraints. The power cord should then be connected to the rear port and plugged securely into the outlet.
To power on the device, the power button should be pressed once. Initialization should be allowed to complete without interruption. Readiness is indicated when the display illuminates and operational sounds begin.
After startup, the on-screen interface should be used to select the preferred language and advance to the next setup stage, establishing an efficient, independent starting point for operation.
Fill the Ink Tanks and Load Paper
With the printer powered on and initial settings selected, the next setup task is to fill the ink tanks and prepare the paper supply. Open the front cover and identify each tank compartment. Remove each ink bottle from its packaging, then twist off the cap carefully. Insert the bottle nozzle into the matching color-coded tank opening and allow ink to flow until the maximum fill line is reached; this prevents overfilling and unnecessary cleanup.
- There is relief in following the color labels exactly, avoiding spills and wasted ink.
- There is confidence in filling each tank to its marked limit, creating a stable starting point.
- There is freedom in pulling out the rear tray, adjusting guides for A4 or Letter paper, and bypassing guesswork.
- There is satisfaction in placing paper print-side up, aligning it squarely, and restoring the tray for reliable feeding.
This disciplined process supports a smoother user experience, without distractions, Cookies prompts, or setup confusion.
Download Canon G3270/G4770 Setup Software
Next, access the Canon support website and locate the download page for the Pixma G3270 or G4770. Before proceeding, verify that the browser supports TLS 1.2 or higher; without it, secure access may fail.
If prompted, review site preferences and use cookies only as needed to complete navigation. Then identify the exact printer model and prepare to download canon g3270/g4770 setup software.
Select the correct operating system, such as Windows or macOS, to guarantee compatibility. Canon provides setup files for major platforms, though availability may end five years after product discontinuation.
Follow the on-screen prompts carefully, since the software is supplied as is, without warranties or guarantees. Precision here prevents unnecessary dependence on repeated troubleshooting.
After the file downloads, open the installer and run the setup program. This installs the required printer drivers and Canon utilities, establishing the local software foundation needed for full device control and reliable printer operation.
Connect Your Canon G3270/G4770 to Wi-Fi
After the setup software is installed, the Canon G3270 or G4770 can be connected to the wireless network. First, verify the printer is powered on and positioned within Wi-Fi range.
Next, press and hold the Wi-Fi button until the alarm light flashes, signaling readiness for wireless setup. This enables cable-free functionality without relying on any third party utility.
Press and hold the Wi-Fi button until the alarm light flashes, indicating readiness for smooth wireless setup.
- Confirm power and signal to begin with confidence.
- Hold the Wi-Fi button and watch for the flashing alarm light.
- Use Canon PRINT for guided freedom on a phone or tablet.
- Print a network status sheet for final certainty.
Alternatively, the printer control panel can be used. Open Wireless LAN setup, choose the correct network, and enter the Wi-Fi password exactly.
The Canon PRINT app may also detect the printer and present on-screen prompts to complete pairing. To confirm success, print the network status sheet from the menu. This verification supports stable personalization across connected devices.
Fix Wi-Fi, Driver, and Ink Setup Issues
Resolve setup problems systematically by checking three areas in order: Wi-Fi connection, driver compatibility, and ink installation.
First, to fix Wi-Fi, confirm that the printer and the computer or mobile device are connected to the same wireless network. If the router supports WPS, press the WPS button and complete pairing from the printer for a secure link. If connection errors persist, power cycle the printer by unplugging it for several minutes, then reconnect it.
Next, verify the driver. Download the correct driver only from the Canon support website. Match the package to the exact operating system and version to avoid installation conflicts and blocked communication.
Finally, inspect ink setup. Confirm that each tank is filled correctly, seated securely, and free of any protective seal left in place before first use.
Check ink levels through the Canon PRINT app or the LCD panel to prevent quality loss and recurring setup faults.
Frequently Asked Questions
How Do I Set up My Canon Pixma Printer to My Computer?
To set up the Canon Pixma printer, one powers it on, connects via Wi-Fi or USB, completes driver installation steps, adds it through Canon software, and prints a test page to resolve printer connectivity issues.
How Do I Setup My Canon Printer for the First Time?
First-time setup typically takes under 20 minutes: unbox, power on, fill tanks, install compatible software, and complete wireless connectivity. This method empowers independent operation while reducing printer troubleshooting through precise on-screen prompts and network selection.
Is the Canon G3270 a Good Printer?
Yes, the Canon G3270 is generally considered good: evaluate print quality, confirm cost efficiency from high page yields, examine user reviews for reliability, and apply maintenance tips regularly to sustain independent, high-volume performance over time.
My Canon G327 Printer Won’t Connect to Wi-Fi. What Can I Do?
For Canon G327 Wi Fi Troubleshooting, one should verify Network Settings, confirm SSID credentials, restart printer and router, perform a Printer Reset if needed, then install any available Firmware Update to restore independent wireless connectivity.
Conclusion
With the Canon PIXMA MegaTank G3270 or G4770 unboxed, filled, powered on, connected to paper, software, and Wi-Fi, the setup process is complete. Each step supports reliable printing, scanning, and daily operation with fewer interruptions. If any issue appears, basic checks of network status, driver installation, and ink placement usually resolve it quickly. What guarantees the best long-term performance? Careful initial setup, accurate configuration, and routine verification of printer status and consumables.
