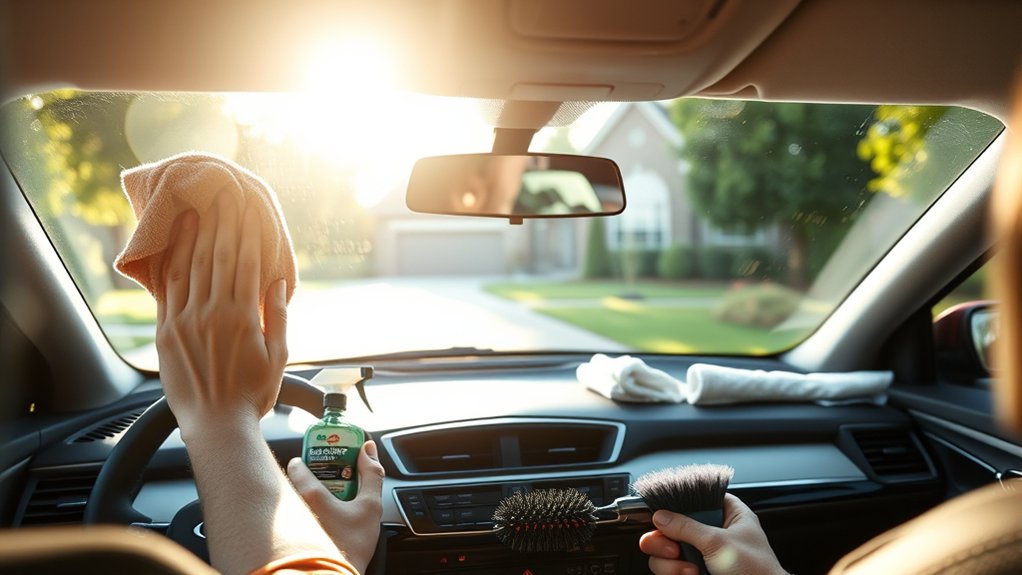
To clean a car’s inside windshield, the process starts with two microfiber cloths, ammonia-free glass cleaner, rubbing alcohol, gloves, and a reach tool. The vehicle should be parked in cool shade. Loose dust is removed first, especially around edges. Cleaner is sprayed onto the cloth, not the glass. The windshield is wiped in small sections. Greasy film is treated with alcohol. A dry microfiber towel buffs the glass clear, with further practical refinements ahead.
Get Your Windshield Cleaning Tools Ready
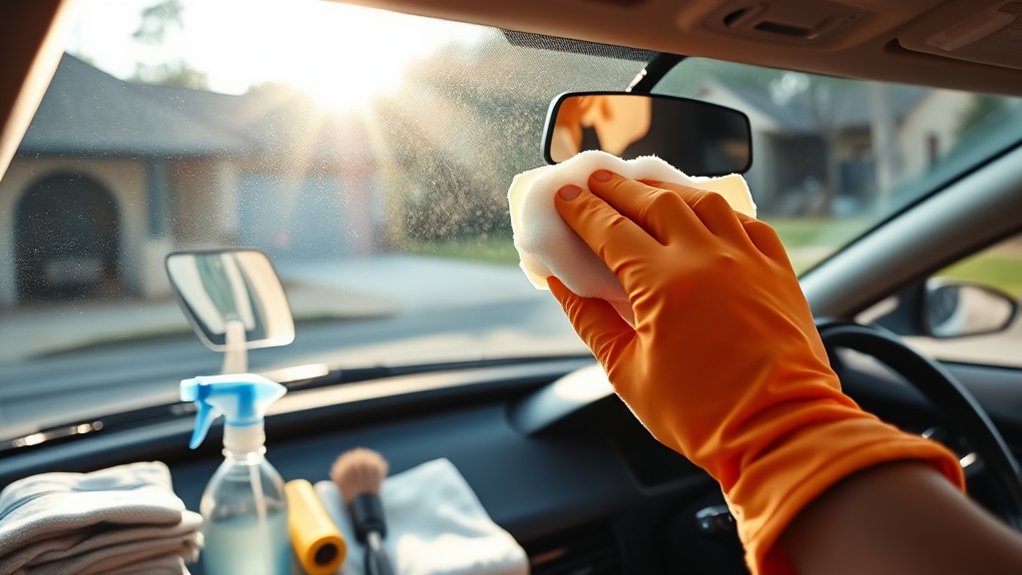
Assemble the required tools before any cleaning begins. A methodical setup removes friction and gives the process a sense of control.
Two high-quality microfiber cloths, preferably waffle weave, should be selected first. One can handle initial wiping, while the other remains dry for finishing, reducing streaks and lint. Among the cleaning products, an ammonia-free glass cleaner is the safest standard, especially where factory or aftermarket tint may be present.
Select two waffle-weave microfiber cloths and an ammonia-free glass cleaner to minimize streaks, lint, and risk to tinted windows.
A reach-and-clean tool should be prepared to access the lower corners and tight angles of the windshield without strain. Rubbing alcohol belongs in the kit as well, since it cuts through stubborn grease and helps restore clear visibility.
Protective gloves should also be worn to limit skin contact with chemicals and support a cleaner workflow. With these items ready in advance, the task becomes simpler, more efficient, and less constrained by awkward movement or preventable mistakes during the cleaning process itself.
Clean the Windshield in Cool Shade
A shaded spot should be selected before cleaning begins, as cooler conditions keep glass cleaner from drying too quickly and help prevent streaks.
Cleaning during the cooler hours of the day also improves product effectiveness and makes smudges easier to see in soft, diffused light.
This approach supports a cleaner finish while also reducing heat exposure to the vehicle’s interior surfaces.
Choose A Shaded Spot
Selecting a shaded location before washing the windshield reduces the risk of streaks caused by direct sun and excessive heat. In a shaded area, glass stays cooler, so cleaning solutions remain active longer and loosen grime and grease without flashing off. This makes the cleaning process more controlled, efficient, and less frustrating.
A sheltered spot also limits airborne dust and debris from settling on freshly cleaned glass, helping preserve clarity. Soft, indirect light improves visibility across the surface, making residue and missed sections easier to detect without harsh glare.
Better airflow in a cool, protected setting can also reduce discomfort and limit exposure to fumes from cleaning products. By choosing shade first, the person cleaning gains a calmer environment and more reliable results, free from avoidable setbacks and repeated wiping.
Clean During Cool Hours
Ideally, the windshield should be cleaned during the coolest part of the day, typically early morning or late afternoon, while the vehicle remains in full shade. This timing limits streaking because heat and direct sun cause cleaners to evaporate before they can be properly wiped away.
Cool shade gives cleaning products time to spread evenly, loosen grime, and dissolve greasy film with greater control. Lower temperatures also improve Windshield Cleaning by supporting better chemical performance and more consistent wiping results.
Calm weather matters as well, since drifting dust or debris can settle onto freshly cleaned glass and undermine clarity. Working in cooler conditions also reduces discomfort, allowing the task to feel less rushed and more deliberate.
For anyone seeking practical liberation from recurring smears, disciplined timing creates a clearer, easier finish every time.
Dust Off the Inside Windshield
Begin by wiping the inside of the windshield with a clean microfiber cloth to remove loose dust and debris without scratching the glass. This step helps Clean the Inside efficiently and prepares the surface for later treatment. A microfiber towel or similar cloth should move in small circular motions, lifting particles rather than smearing them across the glass.
| Area | Tool | Motion |
|---|---|---|
| Center | Microfiber cloth | Circular |
| Edges | Reach-and-clean tool | Circular |
Attention should then shift to the perimeter, where dust often hides. A reach-and-clean tool gives controlled access to corners and lower edges without awkward hand pressure. The interior should remain well-ventilated during the task, reducing exposure to airborne dust. Regular removal of loose buildup preserves visibility and prevents stubborn streaks from forming later. Done correctly, this simple dusting stage gives the driver a clearer view and greater freedom from distraction. It also supports safer driving in changing light conditions.
Spray Cleaner on the Cloth
Cleaner should be sprayed onto a clean microfiber cloth rather than directly onto the windshield to prevent overspray and reduce drips.
A light mist of an ammonia-free, automotive glass cleaner provides better control over product use and helps limit streaking.
This approach keeps the application precise while protecting tinted glass and improving cleaning efficiency.
Prevent Overspray
Spray the glass cleaner onto a microfiber cloth rather than directly onto the windshield to keep the amount controlled and prevent overspray on surrounding surfaces. This simple adjustment protects nearby trim, the dashboard, and upholstery from stray mist that may drip, stain, or discolor sensitive materials.
It also keeps the task contained, giving the user more freedom from mess and unnecessary cleanup. Applying cleaner onto the cloth creates a more deliberate contact point, helping spread the solution evenly across the glass without flooding adjacent areas.
The method supports cleaner passes, fewer streaks, and better removal of grime that clouds visibility. A clean section of microfiber should be rotated into use often so loosened dirt is lifted away instead of smeared back onto the windshield.
This keeps the process efficient, controlled, and clear.
Control Cleaner Amount
A light mist applied to the microfiber cloth is usually sufficient to control product use and keep surrounding surfaces free of overspray. This method helps control cleaner amount with precision while keeping dashboards, vents, and trim dry.
A damp cloth generally performs better than a wet one, since excess moisture often causes streaks, residue, and slower drying.
To clean inside glass effectively, cleaner should be sprayed onto the cloth, not broadly across the windshield. Testing a small section first allows the ideal balance to be found without waste.
If stubborn film or marks remain, a slightly heavier application can be directed only at the affected spot rather than soaking the entire cloth. This targeted approach supports a clearer finish, less rework, and a more liberated, efficient cleaning routine for drivers.
Clean the Inside Windshield in Sections
Begin by dividing the inside windshield into manageable sections, working from the driver’s side toward the passenger side to maintain consistent coverage. This orderly approach helps keep the windshield clean without missed areas or uneven results.
A microfiber cloth should be used on each section separately, with glass cleaner applied to the cloth rather than the glass to limit overspray and improve control.
- Wipe each section in small circular motions first to loosen embedded grime.
- Follow with straight vertical or horizontal strokes to remove residue and prevent streaks.
- Check the cloth often, turning to a clean portion or replacing it when dirt builds up.
This structured method gives the process a sense of control and liberation, replacing random wiping with deliberate action.
Before moving to the next section, each area should be inspected in natural light. Any remaining smudges or streaks can then be corrected immediately, ensuring a uniformly clear finish throughout.
Remove Greasy Film With Alcohol
Tackle any greasy film on the inside windshield with rubbing alcohol, which cuts through oily buildup and restores clear visibility. This step helps free the surface from the hazy residue that can distort light and reduce confidence on the road.
The vehicle should be parked in a well-ventilated area before starting, since alcohol fumes should not collect inside the cabin.
For controlled application, rubbing alcohol should be placed on a clean microfiber cloth rather than sprayed directly onto the glass. This prevents overspray on dashboards and trim while keeping the process disciplined.
The cloth should then move in small circular motions across the affected section to lift grease evenly and clean the glass without spreading residue further. Each pass should be deliberate, covering the full area before moving on.
Once the oily film has been loosened and removed, a glass cleaner should follow to clear remaining traces and prepare the windshield for final finishing.
Buff the Inside Windshield Streak-Free
Buff the inside windshield with a clean, dry microfiber towel made specifically for glass to produce a clear, streak-free finish. This method gives the inside surface the clarity needed for confident, liberated driving. For controlled glass cleaning, cleaner should be applied to the towel, not sprayed onto the glass, reducing overspray and keeping product use precise.
Buff interior glass with a dry microfiber towel for streak-free clarity and precise cleaning that keeps every drive clear and distraction-free.
- Begin with circular motions to lift remaining grime and haze evenly.
- Follow with vertical strokes to erase streaks and reveal uniform clarity.
- Check the towel often and switch to a fresh section before dirt transfers back.
Shade and cooler conditions support better results because the cleaner remains workable longer instead of drying too fast on the surface. A deliberate pace matters: each pass should overlap slightly, covering the full windshield without missed bands.
When the towel stays clean and dry, the final buff leaves the glass transparent, distraction-free, and ready for the road ahead with durable visual precision daily.
Avoid Inside Windshield Cleaning Mistakes
Clear glass can be undermined quickly by a few common mistakes, so the inside windshield should be cleaned with controlled methods and the right materials.
Paper towels often leave lint and fine streaks, limiting visibility and wasting effort. Microfiber cloths are the better choice because they lift residue and trap debris without scattering it across the surface.
Before any cleaner is used, make sure loose dust and grit are removed. Particles dragged under pressure can scratch the glass and create permanent haze.
The cleaner should be sprayed onto the cloth, not directly onto the windshield, to avoid overspray on dashboards, trim, and electronics. Timing also matters. A cool, cloudy day gives the solution time to work evenly instead of flashing dry and leaving marks.
For vehicles with tinted glass, ammonia-based products should be avoided because they weaken tint over time. Careful choices keep the process efficient and the finish truly clear.
Frequently Asked Questions
What Is the Best Way to Wash the Inside of Your Car Windshield?
The best way uses microfiber cloths to remove dust first, then applies ammonia-free glass cleaner to the cloth, wiping horizontally. A fresh towel confirms a streak free technique, while rubbing alcohol handles grease and improves clarity.
What Is the Best Glass Cleaner to Use on the Inside of My Windshield?
The best choice is an ammonia-free streak free solution; like a pilot clearing fogged instruments, it preserves visibility and tint safety. A homemade cleaner works too, but applying product to microfiber cloths gives freer, cleaner control.
Should I Use Windex to Clean the Inside of My Windshield?
Yes, Windex is generally suitable for factory-tinted interiors, but caution applies with aftermarket tint. Sensible practice includes spot-testing, spraying a microfiber cloth, avoiding leather, and considering cleaning alternatives or DIY solutions for greater control.
How Do I Get the Haze off the Inside of My Windshield?
To remove interior windshield haze, one should apply ammonia-free glass cleaner, then rubbing alcohol with microfiber cloths. Effective cleaning techniques use circular then vertical strokes, while avoiding common mistakes like paper towels and infrequent maintenance.
Conclusion
Like a careful steward restoring a watch face, the driver who follows these seven steps clears every layer that dulls the view. Proper tools, cool shade, measured wiping, and final buffing work together with purpose. Grease yields, streaks disappear, and small mistakes are kept from returning. In the end, the inside windshield becomes clear and dependable again, allowing light, road, and distance to present themselves without distortion, distraction, or unnecessary effort each day.

