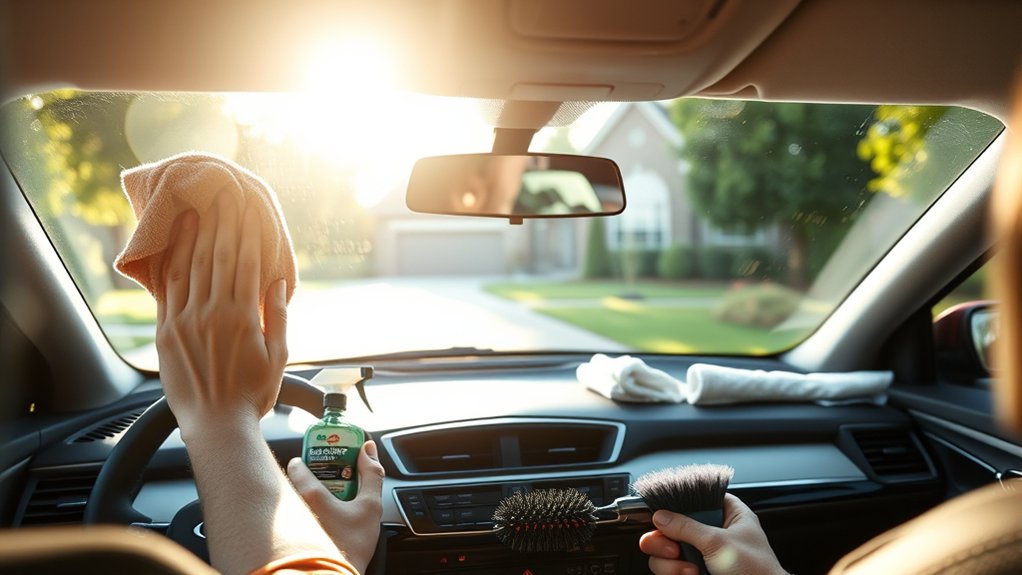
A windshield can look clean until sunlight or approaching headlights reveal greasy haze and streaks. To clean the inside windshield properly, you need the right cloths, a suitable glass cleaner, and a careful wiping method. The goal is to remove dust and oily residue without leaving new marks or damaging nearby surfaces.
Quick Answer
To clean the inside of a car windshield without streaks, park in the shade and remove loose dust with microfiber. Spray ammonia-free glass cleaner onto a separate cloth, wipe the glass in small sections, and buff dry with a fresh towel. Treat stubborn oily film carefully, then inspect the windshield from the driver’s seat.
At a Glance
| Difficulty | Easy DIY cleaning |
| Tools Needed | Clean microfiber cloths, ammonia-free automotive glass cleaner, and an optional reach tool, gloves, and rubbing alcohol for compatible surfaces |
Get Your Windshield Cleaning Tools Ready
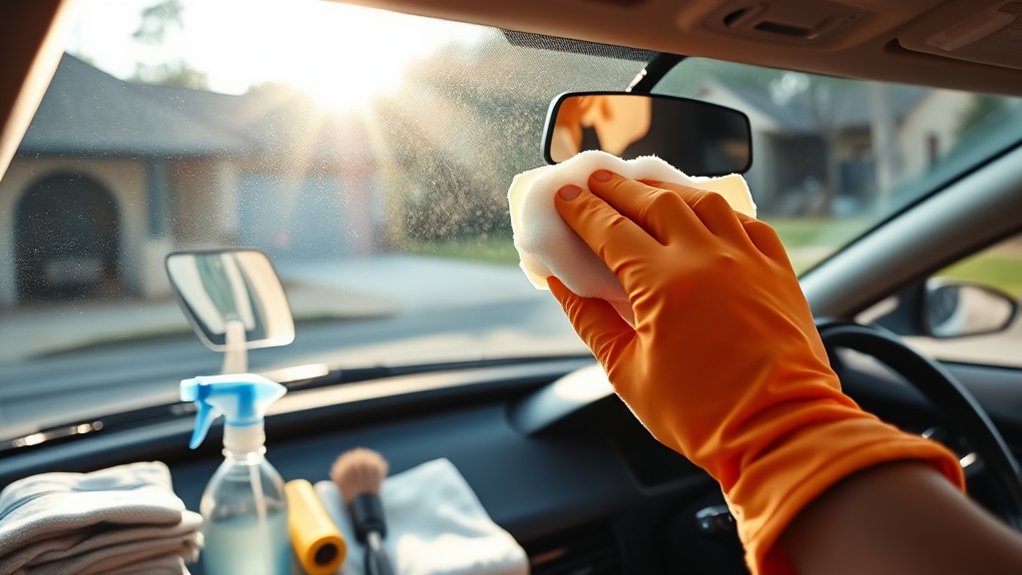
Start with clean, lint-free supplies. Dirty towels, unsuitable cleaners, and excess moisture are common reasons windshield cleaning leaves streaks behind.
Gather these items before starting:
- Two clean microfiber cloths: Use one for cleaning and the other for drying and buffing. Waffle-weave or glass-specific microfiber towels work well.
- Ammonia-free automotive glass cleaner: Choose a product labeled for vehicle glass, preferably one suitable for tinted windows.
- Reach-and-clean tool: A microfiber-covered cleaning wand helps reach the lower corners near the dashboard.
- Rubbing alcohol: Keep it available for stubborn oily residue, but check surface compatibility before using it.
- Protective gloves: These reduce direct contact with cleaning chemicals and help keep fingerprints off the glass.
AAA’s windshield cleaning guidance supports using separate microfiber towels for wiping and buffing. Clean towels lift residue instead of spreading it across the windshield.
Use one microfiber cloth to remove dirt and another clean, dry cloth to finish the glass. Keep the drying towel free from grease, moisture, and lint.
Avoid towels previously used with wax, polish, or dashboard dressing. Those products can transfer a new oily layer onto the glass.
Clean the Windshield in Cool Shade
Choose a cool, shaded location before cleaning. Hot glass causes cleaning solutions to evaporate quickly, which can leave streaks before you finish wiping.
Good lighting and calm conditions also make it easier to spot leftover film.
Choose a Shaded Spot
Park in a garage, under a carport, or in another shaded area. The windshield should feel cool rather than hot from direct sunlight.
A sheltered location also reduces dust blowing onto the glass while you clean. Open the doors or windows for ventilation, especially when using products with strong odors.
Place a clean towel over the dashboard if needed to catch accidental drips. This is particularly useful when cleaning close to vents or electronic controls.
Clean During Cool Hours
Early morning and late afternoon are usually better cleaning times than the hottest part of the day. However, the glass temperature matters more than the clock.
Allow a sun-heated windshield to cool naturally before applying cleaner. Do not rush the process by pouring cold water onto hot glass.
Cool conditions give you enough time to loosen grime and remove the solution before it dries. This also makes the final inspection easier because harsh reflections are reduced.
Dust Off the Inside Windshield
Remove loose dust before applying any liquid cleaner. Otherwise, particles can mix with the solution and spread across the windshield, creating smears or fine scratches.
Fold a clean microfiber cloth and gently wipe the glass. Use light circular motions to lift loose deposits without pressing grit against the surface.
| Area | Tool | Motion |
|---|---|---|
| Center | Microfiber cloth | Gentle circular passes |
| Edges | Reach-and-clean tool | Light, controlled passes |
Pay special attention to the lower edge, where dust often collects near the dashboard. A reach tool can clean this area without forcing your hand into a narrow gap.
If the cloth becomes dusty, fold it to expose a clean section. Replace it when necessary instead of pushing dirt back onto the windshield.
Do not use excessive pressure. Gentle, repeated passes are safer than rubbing a contaminated cloth aggressively across the glass.
Spray Cleaner on the Cloth
Apply glass cleaner to the microfiber cloth rather than spraying it directly onto the inside windshield. This gives you better control and helps prevent liquid from reaching interior trim and electronics.
Use a damp cloth, not a soaking-wet one.
Prevent Overspray
Hold the cloth away from the dashboard and apply a small amount of cleaner. Then place the damp cloth directly against the glass.
This approach keeps cleaner away from:
- Dashboard surfaces and leather trim
- Air vents and speaker openings
- Infotainment screens and electronic controls
- Nearby upholstery and decorative panels
According to The AA’s windscreen cleaning advice, applying cleaner to the cloth helps control its placement. Interior plastics can also release substances that leave an oily film on the glass.
Keep your movements controlled around the dashboard, where runoff is difficult to collect.
Control Cleaner Amount
A light mist is usually enough for normal dust and fingerprints. Excess cleaner can leave wet streaks and make drying more difficult.
Start with a small section to judge how much product you need. The microfiber should feel lightly damp without dripping when pressed against the glass.
If a mark remains, apply a little more cleaner to the affected part of the cloth rather than soaking the entire windshield.
Choose a product suitable for automotive glass. Windex’s official product FAQ recommends its ammonia-free glass cleaner for car windows, including tinted glass.
Clean the Inside Windshield in Sections
Divide the windshield into manageable areas and clean one section at a time. Work from the driver’s side toward the passenger side, covering the full surface without leaving gaps.
Follow these steps:
- Loosen the film: Wipe the first section with a lightly damp microfiber cloth. Use gentle circular motions to lift fingerprints and oily deposits.
- Remove the residue: Follow with overlapping horizontal or vertical strokes. Straight passes help you see which areas have been covered.
- Rotate the cloth: Turn to a clean surface as dirt builds up. Replace the cloth when it stops lifting residue effectively.
Continue across the windshield, paying attention to the top corners and lower edges. Use a reach tool with a clean microfiber cover where your hand cannot comfortably reach.
Do not allow the cleaning solution to dry on the glass between passes. Finish each section before moving to the next one.
Inspect the cleaned area under indirect light. If you find a smear, use a clean portion of the towel rather than spreading the same residue again.
Remove Greasy Film With Alcohol
Rubbing alcohol can help remove stubborn greasy haze from compatible interior glass. It works as a degreasing option when ordinary glass cleaner does not remove oily buildup.
However, check whether the windshield has aftermarket tint, protective film, or a special coating before applying alcohol. Follow the film or coating manufacturer’s instructions.
Warning: Rubbing alcohol is flammable. Turn the vehicle off, ventilate the cabin, and keep it away from cigarettes, flames, sparks, and hot surfaces. Avoid using it on aftermarket films or interior trim unless the manufacturer confirms compatibility. Never mix cleaning chemicals.
The CDC’s isopropyl alcohol safety information identifies the liquid as flammable and notes potential exposure risks.
For compatible, unfilmed glass, use this method:
- Apply a small amount of rubbing alcohol to a clean microfiber cloth, never directly to the windshield.
- Gently wipe the affected glass in small circular motions to loosen the oily film.
- Turn the cloth to a clean section to collect the dissolved residue.
- Follow with a suitable automotive glass cleaner and a fresh microfiber cloth to remove remaining traces.
Do not flood the glass or let alcohol run onto the dashboard. Keep the doors or windows open until the treated surface is dry and the fumes have cleared.
If the windshield has aftermarket film, review the manufacturer’s care instructions first. The 3M window tint care guide recommends soft, non-abrasive cleaning materials and compatible cleaning solutions. Requirements can differ by film product and installation condition.
Buff the Inside Windshield Streak-Free
Finish with a separate, completely dry microfiber towel. Buffing removes leftover moisture and fine residue that can otherwise become visible in sunlight or headlights.
Do not add more cleaning solution during this finishing step unless you discover a dirty patch that needs another cleaning pass.
For a clear finish, use a clean, dry microfiber towel and overlapping straight strokes. Inspect from the driver’s seat before considering the job complete.
- Fold the dry towel into a comfortable shape with several clean surfaces available.
- Use overlapping vertical or horizontal strokes to remove any remaining streaks.
- Rotate the towel frequently so a damp or dirty section does not touch the glass again.
- Inspect the full windshield from the driver’s seat and correct any missed areas.
A useful checking method is to wipe the inside horizontally and the outside vertically when cleaning both surfaces. The different directions make it easier to identify which side contains a remaining streak.
Check the glass under different lighting conditions while the car is safely parked. Low-angle daylight often reveals marks that are difficult to see in deep shade.
Once the glass is dry, it should appear clear without visible bands, smudges, or a cloudy coating.
Avoid Inside Windshield Cleaning Mistakes
Most streaks come from dirty cloths, unsuitable cleaning products, excess liquid, or wiping when the glass is too hot. Avoiding these mistakes reduces repeated cleaning.
- Using paper towels: Many paper towels shed lint or leave residue. Clean microfiber is generally more reliable for interior glass.
- Using fabric softener on microfiber: Laundry residue can transfer onto the windshield and create streaks.
- Applying too much cleaner: Heavy application increases dripping and makes the final buff harder.
- Ignoring loose grit: Wiping gritty glass with pressure can damage the surface or protective film.
- Using the wrong cleaner on tint: Ammonia-free glass cleaner is a sensible general choice. Follow the film manufacturer’s specific care requirements rather than assuming every tint has the same chemical resistance.
- Scrubbing with abrasive pads or sharp tools: These can scratch film, damage coatings, or mark surrounding surfaces.
Windex’s streak-prevention guidance also identifies hot glass, treated paper towels, and fabric softener residue as common causes of poor results.
Why Does the Inside Windshield Keep Getting Hazy?
Interior windshield haze often returns because plastics, vinyl, upholstery materials, smoke, and other contaminants release residue that settles on the glass.
AAA explains that a recurring oily coating can also be associated with a small leak in the vehicle’s heater system. See its guidance on recurring windshield haze.
If greasy haze returns quickly and you also notice a sweet coolant smell, falling coolant level, or damp carpeting, have a qualified mechanic inspect the heating and cooling system. Cleaning alone will not fix a mechanical leak.
Also distinguish greasy film from condensation. Condensation appears when moisture collects on the glass and may clear with the windshield defroster and air conditioning. Oily film usually needs physical cleaning.
If streaks remain after cleaning, check your microfiber towels first. Reclean the affected area with a fresh cloth and a small amount of cleaner, then buff it dry.
Frequently Asked Questions
What Is the Best Way to Wash the Inside of Your Car Windshield?
The best method is to remove dust with microfiber, then wipe the glass with an ammonia-free automotive cleaner applied to a cloth. Work in small sections and use a second dry towel to buff away streaks. Clean in the shade and inspect the glass from the driver’s seat before driving.
What Is the Best Glass Cleaner to Use on the Inside of My Windshield?
An ammonia-free automotive glass cleaner is a reliable general choice for interior windshields. Select a product suitable for the glass and any installed window film. Homemade solutions can also clean glass, but their compatibility and residue depend on the ingredients. Follow the product directions and finish with a dry microfiber cloth.
Should I Use Windex to Clean the Inside of My Windshield?
Yes, but choose the appropriate Windex formula. Windex Ammonia-Free Glass Cleaner is specifically recommended by its manufacturer for vehicle windows, including tinted glass. Windex Original contains ammonia, so it is not the preferred default for unknown aftermarket films. Test an inconspicuous area when recommended and keep the cleaner off sensitive interior surfaces.
How Do I Get the Haze off the Inside of My Windshield?
Remove interior haze by wiping the glass with a clean microfiber cloth and ammonia-free automotive glass cleaner. For stubborn greasy film, rubbing alcohol may help on compatible, unfilmed glass. Finish by buffing with a separate dry towel. If the oily haze quickly returns with a coolant smell, arrange a vehicle inspection.
Conclusion
Cleaning the inside windshield is straightforward when you use clean microfiber towels, a suitable glass cleaner, and controlled wiping motions. Remove dust first, treat oily film only with compatible products, and finish with a dry buff.
Before driving, inspect the windshield for streaks and glare. If haze returns unusually quickly, investigate the cause rather than repeatedly applying stronger cleaners.
Sources
- AAA — How to Clean Your Car Windshield: Microfiber supplies, cleaning technique, cool conditions, and streak prevention.
- The AA — How to Clean Your Windscreen: Interior glass cleaning, chemical residue, overspray prevention, and condensation.
- Windex — Frequently Asked Questions: Automotive glass cleaner recommendations and ammonia-free product compatibility.
- CDC/NIOSH — Isopropyl Alcohol: Alcohol flammability and exposure precautions.
- 3M — Window Tint Product Care: Film cleaning materials and compatible cleaner precautions.
- Windex — How to Get Streak-Free Glass: Fabric softener residue, cloth selection, and cleaning conditions.
- AAA Club Alliance — The Best Way to Wash Your Car’s Windshield: Oily haze, interior off-gassing, and possible heater-system leaks.