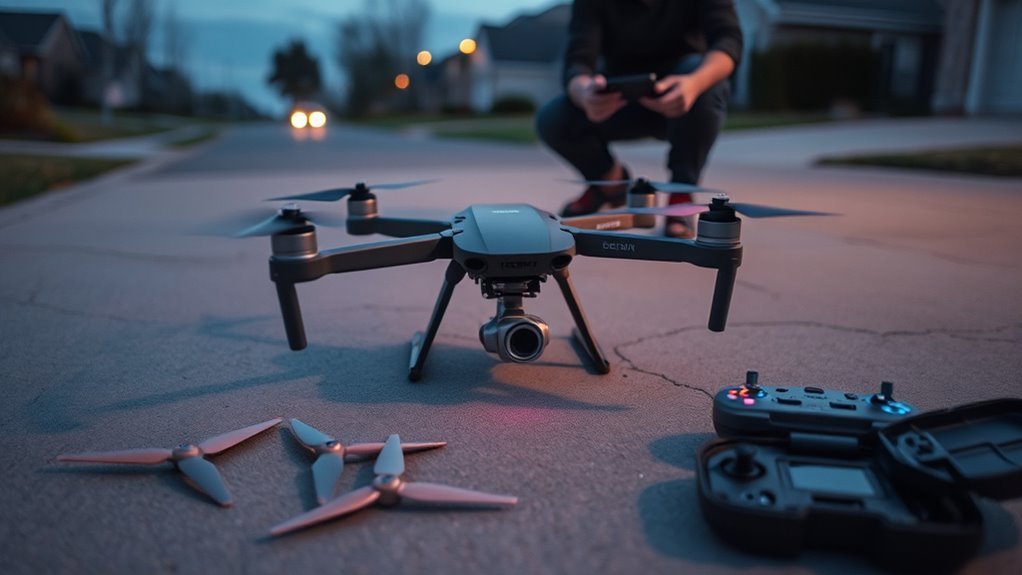
A drone that spins its motors but refuses to lift usually points to a fault in thrust balance, power delivery, or flight controller logic. Propeller orientation, motor direction, ESC wiring, and battery voltage all matter. If it will not arm, the issue may be a disable flag, receiver link failure, or gyro error. The next steps isolate each cause and show which one is actually stopping flight.
Why Your Drone Won’t Take Off
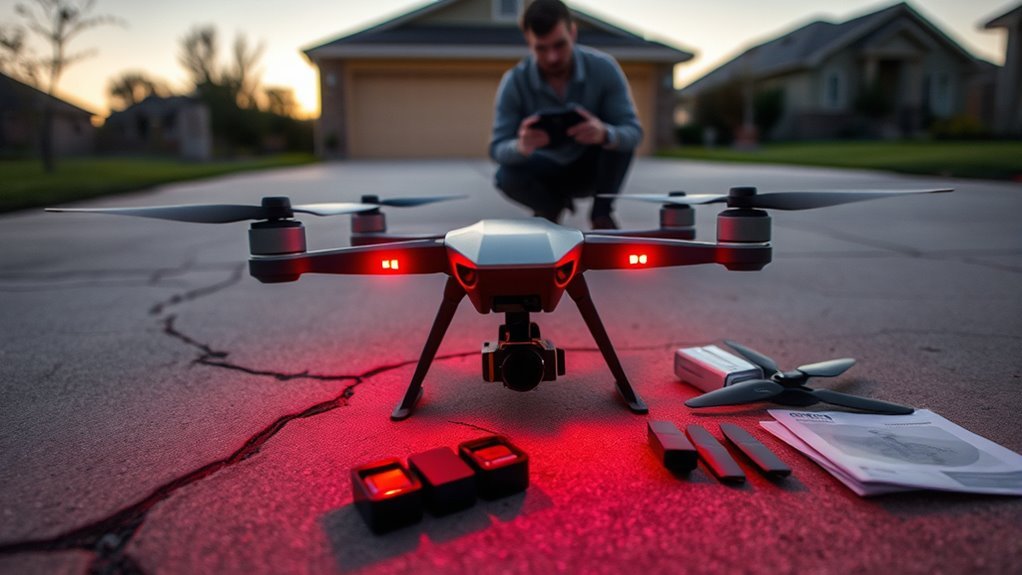
A drone that refuses to lift off is often suffering from a fault in one of a few critical systems. Diagnostic attention should begin with power delivery: a low battery charge can leave motors unable to produce thrust, even if they spin.
Next, the motors actually may be damaged from impact; they can turn without delivering usable torque, so visual inspection and multimeter testing are warranted.
Motors may spin after impact yet fail to deliver torque, so inspect them visually and test with a multimeter.
Gyro calibration also matters, because an unlevel setup or stale calibration can block stable arming and climb. Electronic speed controllers should be checked for loose connectors, heat damage, or cracked casings, since degraded ESC output can suppress motor response.
Each fault limits the machine’s ability to break free from the ground. The objective is not guesswork but methodical verification of the systems that decide whether the aircraft can rise under command.
Check Propellers and Spin Direction
Inspect the propellers first, because incorrect installation can prevent a drone from generating sufficient lift. Each pair of adjacent propellers must rotate in opposite directions, while diagonal propellers should match in size and pitch to preserve balanced lift and stable control.
Blade orientation must be verified against the manufacturer’s markings; even a single reversed propeller can produce thrust loss, erratic yaw, or complete refusal to rise. To inspect effectively, assess cleanliness, edge wear, and any cracks that could disrupt airflow and reduce efficiency.
After any crash, recheck configuration and integrity before flight, since subtle misalignment can keep a craft grounded.
- Verify clockwise and counterclockwise placement
- Compare diagonal propellers for identical size
- Confirm blade orientation against markings
- Inspect for dirt, chips, and cracks
- Reassess setup after every impact
Inspect Motors for Crash Damage
Crash damage to the motors should be examined next, since cracked housings, dents, or bent components can sharply reduce thrust and keep the drone from lifting off.
Technicians should inspect motors for visible signs of damage, including chipped bells, warped mounts, or shaft misalignment. Any defect that increases drag or changes rotor geometry can degrade performance and create uneven lift.
A multimeter can then verify winding resistance; values outside manufacturer specifications suggest internal damage that may not be obvious externally. If a motor remains suspect, swapping it with a known good unit helps isolate whether the fault follows the motor itself.
Small debris lodged in the shaft or bearing path should also be cleared, because even minor obstructions can impede rotation.
Routine cleaning and light lubrication reduce wear, preserve efficiency, and keep the airframe free to rise with dependable authority.
Test the ESC and Wiring
The ESC should be checked with a multimeter to verify proper voltage output and confirm that each controller is functioning after any impact.
All wiring and solder joints should then be inspected for looseness, corrosion, or physical damage that could interrupt current delivery.
Any defect in the ESC or its connections can prevent the motors from receiving adequate power for lift.
Check ESC With Multimeter
A multimeter can help isolate whether the ESC is delivering proper power to the motors by verifying its output voltage and checking the wiring path for faults.
Measure the ESC output at each motor lead, then compare readings against expected battery-fed behavior. Use continuity mode to confirm the ESC-to-motor path is intact, and check resistance across motor output pins for abnormal values that suggest internal damage.
Verify ESC parameters in the flight controller software, because incorrect arming or calibration settings can block lift and constrain control. Confirm the ESC is matched to the motors, since incompatible ratings can deny thrust.
- Voltage output test
- Continuity check
- Resistance scan
- Flight controller settings
- Motor-ESC compatibility
Inspect Wires And Soldering
Inspect all wires between the ESC, battery, and motors for fraying, cuts, loose connectors, or pinched sections that could interrupt power delivery and prevent motor startup.
A careful inspect wiring pass should extend to each harness and plug, with attention to abrasion points and strain relief. The solder joints on the ESC and motor leads should be examined for cold joints, cracks, or lifted pads; any defect can break current flow and silence a motor.
A multimeter can confirm continuity and verify that the ESC is receiving stable power. If readings drift, trace the fault to the damaged path.
Finally, confirm ESC settings match the motors and are properly calibrated, because incompatible parameters can block arming and suppress lift, undermining a pilot’s freedom aloft.
Fix Battery and Power Problems
Battery charge should be verified first, since low voltage can prevent motor startup and lift-off; LiPo cells should typically measure about 3.7V per cell, or 11.1V for a 3-cell pack.
Power connections should then be inspected for tightness, corrosion, and physical damage, as loose or frayed wiring can interrupt current delivery.
If the battery or connectors show swelling, wear, or abnormal voltage, the power system is likely compromised and requires correction before flight.
Check Battery Charge
Before any deeper troubleshooting, the drone’s battery charge should be verified, since low voltage can severely limit lift-off and degrade overall performance.
To check battery charge, make sure the pack is fully topped off and confirm the firmware version reports accurate status. A multimeter should be used to measure cell voltage; most LiPo systems need about 3.7V per cell or higher under load.
- Confirm full charge before flight
- Measure each cell with a multimeter
- Inspect for puffing or damage
- Calibrate battery monitoring in software
- Replace weak packs promptly
If voltage sags below spec, the flight controller may refuse arming or restrict output.
A compromised battery reduces autonomy and can prevent the aircraft from acting with the freedom its design intends.
Inspect Power Connections
A fully charged pack is not enough if the electrical path is compromised, so the next diagnostic step is to examine the drone’s power connections. Loose plugs, frayed leads, or oxidized contacts can block current to the motors and ESC, leaving lift unrealized. Use a multimeter to confirm battery voltage and compare it with nominal values; any discrepancy suggests a weak pack or a hidden break. Verify the power distribution board, since faults there can starve the system.
| Check | Normal | Fault |
|---|---|---|
| Battery | Fully charged | Low voltage |
| Leads | Secure | Loose or damaged |
| Contacts | Clean | Corroded |
| PDB | Stable output | Power loss |
| Motors | Receive current | No lift |
If “I’m not sure” persists, a generated by AI checklist for a new account can clarify the path.
Common Betaflight Arming Problems
Common Betaflight arming problems often trace back to configuration or safety conditions that deliberately block motor start-up.
Arming issues usually begin with throttle input above the minimum threshold, so the flight controller interprets the command as unsafe. Safety checks can also refuse arming when the craft is tilted beyond Maximum Arm Angle, making a level surface essential.
Arming can fail when throttle is too high or the craft exceeds the Maximum Arm Angle.
If the receiver is unbound or the gyro reports NOGYRO, the controller will remain locked out until hardware faults or Configuration adjustments are corrected.
The Setup tab in Betaflight Configurator helps identify the active inhibition and guides disciplined troubleshooting. Community reports often confirm that these limits protect both the frame and the pilot.
- Verify throttle reads near minimum.
- Level the drone before arming.
- Confirm radio binding and signal integrity.
- Inspect gyro status in the configurator.
- Review forum fixes for matching symptoms.
Check Arming Disable Flags
Arming disable flags in Betaflight identify the exact condition preventing motor start-up, whether the cause is a gyro fault, an invalid configuration, or another safety lockout. They provide a direct diagnostic path, reducing guesswork and helping the pilot reclaim control of the system.
To inspect them, the OSD should display the Warnings element, or the CLI command status can be used for a full report. A NOGYRO flag points to failed gyro detection and may indicate hardware damage or unstable initialization. If the flight controller reports other troubleshooting flags, the signal should be read as a precise constraint, not a vague complaint.
Verification of the arming switch setup in the Modes tab confirms that the transmitter command is mapped correctly. Community forums and Betaflight documentation remain useful references, especially when comparing gyro calibration tips and flag patterns.
Careful interpretation of these signals supports disciplined diagnostics and restores flight readiness.
Fix Betaflight Arming Settings
Betaflight arming settings should be verified once the disable flags have been read, since the arm command can still be blocked by configuration or input errors even when no obvious hardware fault is present.
The Modes tab must map the arm switch to the correct AUX channel, and the throttle stick must sit below the minimum throttle threshold, typically 1050, before arming is accepted.
If the frame is tilted beyond the Maximum Arm Angle limit, Betaflight will refuse lift-off; a level surface prevents that condition.
These Betaflight configuration tips belong in a disciplined arming procedure checklist and a throttle calibration guide.
- Confirm the arm switch range in Modes.
- Validate AUX channel movement in Receiver.
- Lower throttle fully before arming.
- Place the quad level before power-up.
- Update firmware and recalibrate the controller.
When settings remain correct yet arming fails, recheck firmware health, then test again.
Level the Quad and Calibrate the Gyro
The quadcopter should be placed on a flat, level surface before arming, since any tilt can prevent motor activation.
Gyro calibration must then be performed with the controller’s specified stick sequence, allowing the flight controller to register accurate baseline sensor data.
After calibration, arm behavior should be rechecked to confirm consistent motor response and proper startup.
Level Surface Check
A level setup is essential before takeoff, since an uneven drone position can trigger safety logic that blocks motor arming. The level surface check should be treated as a baseline diagnostic, not a convenience.
Drone stability factors begin here: the airframe must rest flat, with no roll, pitch, or twist bias. Surface material impact also matters; soft, warped, or sloped ground can distort the reading before calibration. Calibration importance is highest when the flight controller must learn a neutral attitude that supports clean lift and responsive control.
- Confirm flat contact points
- Avoid carpet, grass, or foam
- Inspect landing gear alignment
- Verify no propeller obstruction
- Recheck after moving the craft
Gyro Calibration Steps
With the quad resting on a flat, level surface, gyro calibration can be initiated to establish accurate baseline readings.
In Betaflight, the operator performs the required stick sequence, usually throttle low and yaw in the specified direction, to trigger calibration. During this interval, the frame must remain isolated from vibration, contact, and airflow; external movement corrupts sensor offsets.
The gyro calibration importance lies in restoring truthful attitude data so the flight controller can interpret orientation without bias.
Common calibration mistakes include uneven placement, touching the airframe, and rushing the process before sensors settle.
Calibration frequency recommendations call for recalibration after crashes, transport shocks, or notable temperature shifts.
Once complete, the sensor should be verified by tilting the quad and confirming responsive, coherent movement.
Recheck Arm Behavior
Rechecking arm behavior starts with placing the quadcopter on a perfectly level surface, since an out-of-level frame can interfere with proper motor spin-up during arming. This simple control step isolates motor initialization issues before deeper diagnostics begin.
The gyro should then be recalibrated through the specified throttle and yaw stick sequence while the craft remains powered on. If the flight controller shows unstable response, inspect gyro sensitivity adjustments in Betaflight Configurator and verify that recent firmware updates did not alter arming logic.
After any crash, repeat calibration to restore accurate sensor readings.
- Confirm level stance
- Execute stick sequence
- Check sensor drift
- Review configuration values
- Retest arming and lift
Swap Parts or Ask for Help
Swapping motors or ESCs can isolate a fault quickly, since each component can be tested independently to determine whether the takeoff failure traces to a specific part. This method should be used with verified part compatibility to avoid introducing new faults. Spare components enable rapid substitution, reducing downtime and tightening diagnosis.
If the problem follows the motor or controller, the defect is confirmed; if it stays with the frame, wiring, or flight stack, the search narrows. When local swaps do not resolve the issue, community resources become valuable. Experienced pilots in forums or meetups often recognize failure patterns that basic troubleshooting techniques miss.
Clear video evidence of arm attempts, spin behavior, and error states improves remote analysis and speeds advice. Shared observations can expose calibration, firmware, or power-distribution faults. Effective diagnosis depends on disciplined testing, documented results, and cooperative expertise.
In that process, the operator gains practical control over the machine instead of waiting passively for shipping or guesswork.
Frequently Asked Questions
My Drone Propellers Spin, but It Won’t Take Off. What Could Be Causing This?
Possible causes include drone battery issues, propeller damage, incorrect propeller orientation, motor debris, or a crash-damaged motor that spins without producing lift.
The craft may also refuse proper thrust if it is not level at arming, or if firmware updates are pending and flight control logic is misconfigured.
A diagnostic check should verify battery voltage, propeller rotation, motor integrity, and firmware status before further flight.
Why Is My Drone Unable to Take Off?
The drone is unable to take off because battery issues may be reducing voltage. Propellers may be installed incorrectly, motors may be damaged, or the frame may exceed weight limits.
Firmware updates can also affect arming behavior and flight control calibration. A level surface and correct gyro calibration should be confirmed before launch.
Diagnostic inspection should include battery charge, motor response, and propeller orientation to restore autonomous flight capability.
Why Is My Drone Not Lifting off the Ground?
Because thrust is betrayed by a single fault. The drone is not lifting off due to likely drone battery issues, calibration problems, or improper weight distribution.
A weak battery reduces motor output; miscalibrated sensors can keep the craft unstable; uneven loading prevents sufficient upward force.
Technicians should verify voltage, recalibrate the gyro, inspect propeller orientation, and confirm all connections.
Only then can the machine rise free and controlled.
Why Will My Drone Not Arm?
The drone will not arm when its safety checks fail, most often due to throttle above minimum, an excessive arm angle, receiver loss, gyro faults, or mismatched firmware updates.
Battery issues can also trigger voltage or sensor-related disarming.
A technician would inspect Betaflight arming disable flags, confirm radio binding, recalibrate sensors, and verify Drone safety settings.
Liberation here means removing these constraints methodically until the flight controller permits arming.
Conclusion
To summarize, a drone that spins its motors but fails to lift, or refuses to arm, typically indicates a fault in thrust direction, power delivery, or firmware-state logic rather than a single catastrophic failure. Diagnostic workflows should begin with propeller orientation, motor order, battery voltage, and ESC health, then proceed to arming flags and gyro calibration. Significantly, industry troubleshooting reports suggest that most “no takeoff” cases are resolved without replacing the flight controller.
