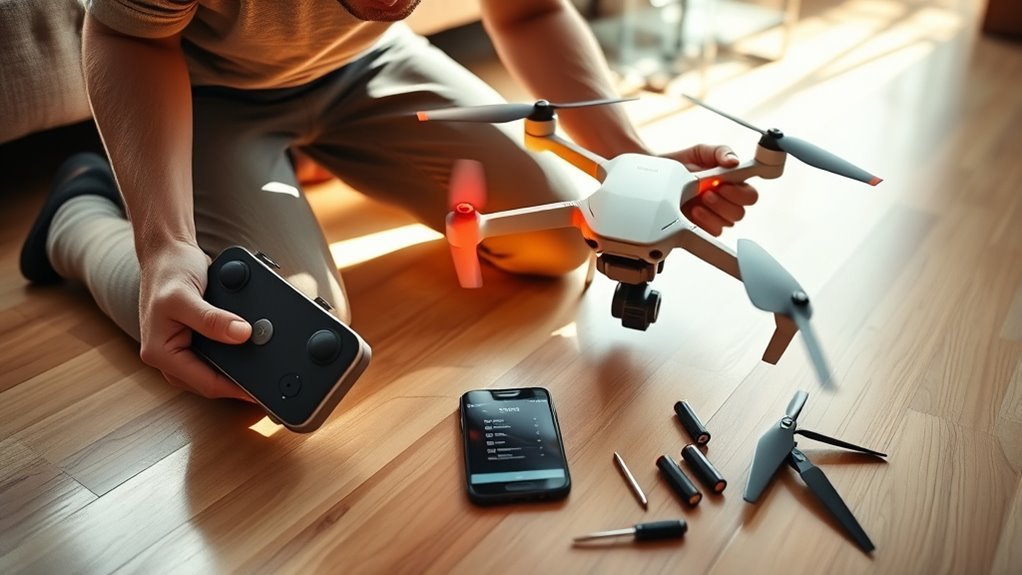
If your drone won’t connect to the controller, the cause is usually simple: a low battery, a bad USB cable, an app glitch, or a link that needs to be paired again. Work through the fixes below in order, from the quickest to the hardware faults that need support. The steps use DJI examples, and the same logic applies to most brands.
If Your Drone Won’t Connect to the Controller, Check Batteries First
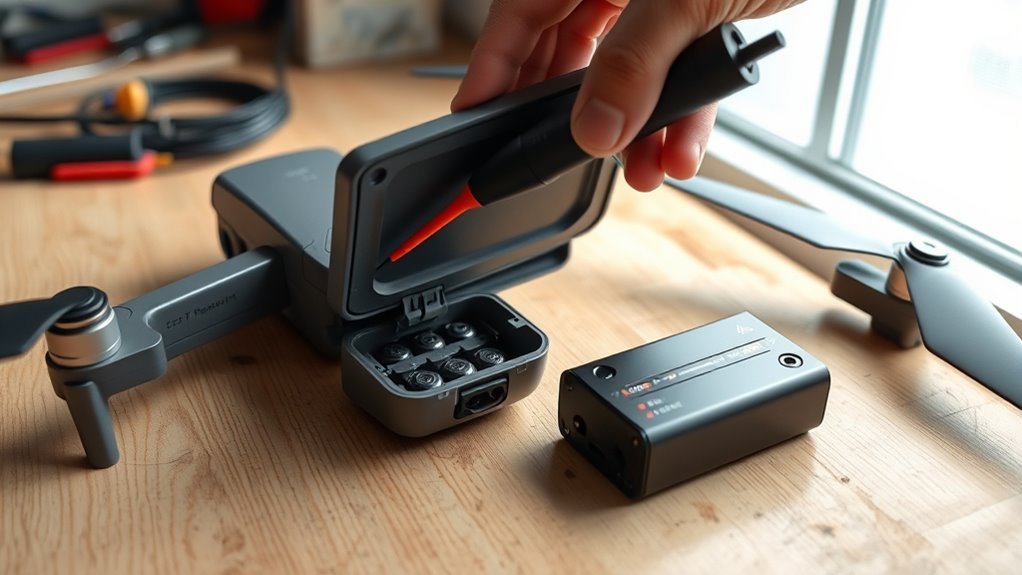
Charge the aircraft battery and the controller before you do anything else. A low battery on either one can stop the link or cause drop-outs. Make sure the battery is pushed in fully and the contacts are clean and dry. If you have a second battery, try it.
If a battery shows charge but the drone still shuts down or will not link, the pack may be worn out. Replace it.
Use the Right Power-On Sequence
DJI’s manuals say to power on the aircraft and the controller, then open DJI Fly. A full restart in that order clears many stuck links.
- Close the DJI Fly app.
- Turn off the aircraft and the controller.
- Turn on the controller and wait a few seconds.
- Turn on the aircraft.
- Connect your phone to the controller if you use one, then open DJI Fly.
Keep the aircraft close to the controller while they connect.
Rebind the Drone and Controller
If the restart did not help, link the aircraft and controller again. Combos usually come pre-linked, but the link can break if you pair the controller with another aircraft or replace a part.
Rebinding Steps
These steps work for most DJI Mini and Air models that use DJI Fly. Menu names can differ slightly by model and app version.
- Charge both devices and turn them on.
- Keep the controller within 0.5 m (about 20 inches) of the aircraft.
- Open DJI Fly. In the camera view, tap the menu icon, then Control, then Pair to Aircraft. Some versions say Re-pair to Aircraft.
- Press and hold the aircraft’s power button for more than four seconds. The aircraft beeps once and its battery LEDs flash when it is ready to link.
- Wait for the link to finish. You hear more beeps, and the controller’s battery LEDs stay solid.
You can also use the Connection Guide on the DJI Fly home screen, which walks you through linking for your model.
Rebinding When Needed
- You bought the aircraft and the controller separately.
- You linked a different controller to the aircraft. An aircraft keeps only one link, so the old controller is unlinked.
- The aircraft or controller was repaired, replaced, or updated, and the link was lost.
You do not need a factory reset to link again. If your drone is not a DJI, other brands use a bind button or a bind mode on the receiver. The steps differ by model, so follow your manual.
Fix Cable and Phone Connection Issues
If your controller connects to a phone, as the DJI RC-N1 series does, most link problems come from the cable or the phone.
Check USB Cable
- Use a cable that carries data. Charge-only cables power the phone but cannot talk to the controller.
- Replace a cable that is worn, frayed, or bent near the plug. Keep a spare in your bag.
- Unplug both ends, wait about 10 seconds, and plug them in firmly again. Some pilots fix the problem by flipping the plug over.
Inspect Phone Port
- Look into the phone and controller ports with a bright light. Remove lint with compressed air. Do not use metal tools.
- Take off the phone case if the plug does not sit fully.
- Check that the plug is seated with no wobble.
Reconnect App Settings
- On iPhone, accept the accessory prompt when it appears. Restarting the phone can bring the prompt back.
- On Android, if no prompt appears, turn on USB debugging. Open Settings, tap About phone, tap Build number seven times, then open Developer options and switch on USB debugging. Menu names vary by phone.
- Try a different phone or tablet to see whether the phone is the problem.
Reduce Wi‑Fi and Bluetooth Interference
Wi-Fi routers, Bluetooth devices, and other radio links share the 2.4 GHz and 5.8 GHz bands that drones use. Crowded areas can weaken the link. This matters most in flight, but it can also affect pairing in busy places.
- Move to open ground, away from buildings, crowds, and routers.
- Turn off Wi-Fi hotspots and Bluetooth devices you do not need.
- Keep the controller away from metal objects and vehicles.
- In DJI Fly, open the Transmission settings. Auto mode usually picks the cleanest channel. On models that allow it, try Manual and choose another channel or band. Change it on the ground, because you cannot switch bands in flight.
If the link improves after you move, interference was the cause.
Match Firmware on Drone and Controller
An aircraft and controller on different firmware versions can fail to link. Update both before you try again.
- Open DJI Fly. It shows a prompt when the aircraft or the controller has an update.
- Keep both fully charged and close together during the update, and do not turn them off.
- You can also update the controller from a computer with DJI Assistant 2. Choose the version for your drone series.
- After the update, restart both and link them again if needed.
US owners can still get updates. The FCC has said drones approved before 22 December 2025 can keep getting firmware updates until at least 1 January 2029. Read more in will your DJI drone still get firmware updates. Last checked: October 2026.
Check for Antenna or Hardware Damage
Bent or broken antennas weaken the link and cause drop-outs. Look at both the aircraft and the controller.
- Check antenna tips and joints for cracks or bends.
- Check that every connector is fully seated and does not wobble.
- Remove dirt from contacts with compressed air.
- Look at the battery contacts for wear or corrosion.
If you see damage, replace the part or send it for repair. If you see none, the fault may be inside the unit.
Try App and Controller Restart Steps
If the hardware looks fine, reset the software side:
- Force close DJI Fly and open it again.
- Update the app from your app store. An old app version can break the link.
- On Android, clear the app cache in Settings, Apps, DJI Fly, Storage.
- Reinstall DJI Fly if the problem stays. Sync your flight data first.
- Restart the phone, then try again with the controller restarted too.
When to Contact DJI Support
Contact support if you have tried a different cable and phone, linked the aircraft again, and updated the firmware, and the drone still will not connect. Do the same if the controller does not turn on, shows no lights, or the aircraft has been in a crash or exposed to water. If you are still under warranty, you can also go back to the seller.
Include these details in your ticket:
- Drone model and controller model
- Firmware versions of the aircraft, controller, and app
- Any error message or light pattern
- What you tried, and whether a different phone changed anything
Frequently Asked Questions
How Do I Pair My Drone to My Controller?
Turn on the aircraft and the controller, keep them within 0.5 m, and open DJI Fly. In the camera view, open the menu, then Control, then Pair to Aircraft. Hold the aircraft’s power button for more than four seconds until it beeps. The full steps are in the rebinding section above.
Why Is My DJI Drone Not Connecting?
The usual causes are a low battery, a charge-only or worn cable, an app glitch, firmware that does not match, interference, or a link that needs to be paired again. Start with the battery and a full restart, then work down the list above.
Do I Need to Reset My DJI Controller?
Usually not. Restarting, linking again, and updating the firmware fix most connection problems. If you decide to reset, the steps depend on the controller model, so follow the user manual for yours. Expect to link the controller to the aircraft again afterward.
Why Isn’t My DJI Mini 3 Connecting to My Controller?
Start with the same checks as for any DJI drone: charge both batteries, restart in order, and link again from the DJI Fly menu. If you use a phone with the controller, check the cable first, because charge-only cables are a common cause. If the Mini 3 still will not link, update the firmware and contact DJI Support.
Conclusion
Most connection problems come down to power, a restart, the cable, or a link that needs pairing again. Work through the fixes in order: battery, restart, relink, cable, interference, firmware, antennas, and the app. If none of them works, gather your details and contact support.

