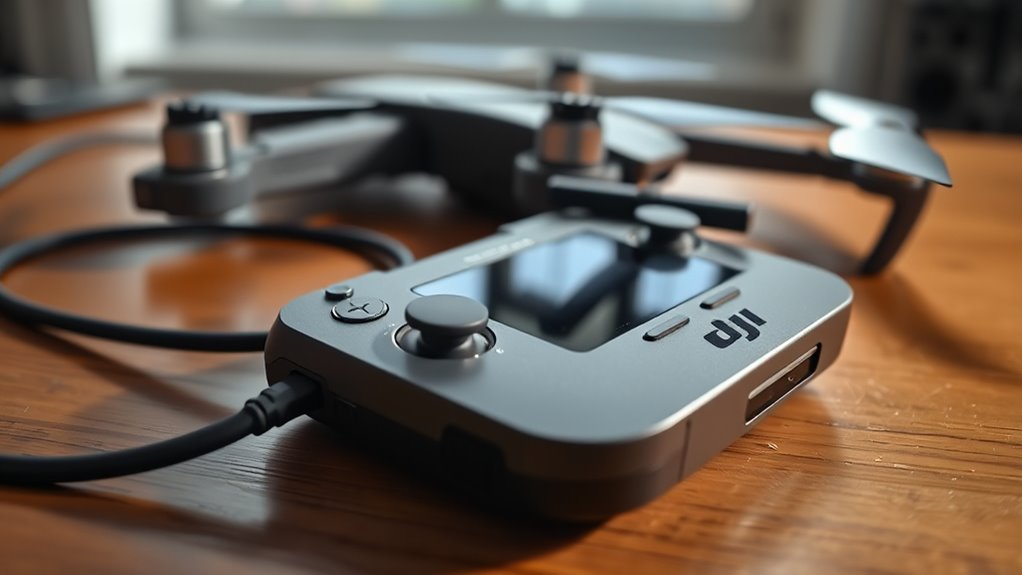
When a DJI RC or RC-N controller will not charge or power on, the cause is often simple but not always obvious. A damaged port, faulty cable, weak charger, or unusual LED pattern can point to the issue. In some cases, the battery appears dead when it is only deeply discharged. The next steps narrow down the fault quickly and show when the controller needs DJI support.
Why Your DJI RC Won’t Charge
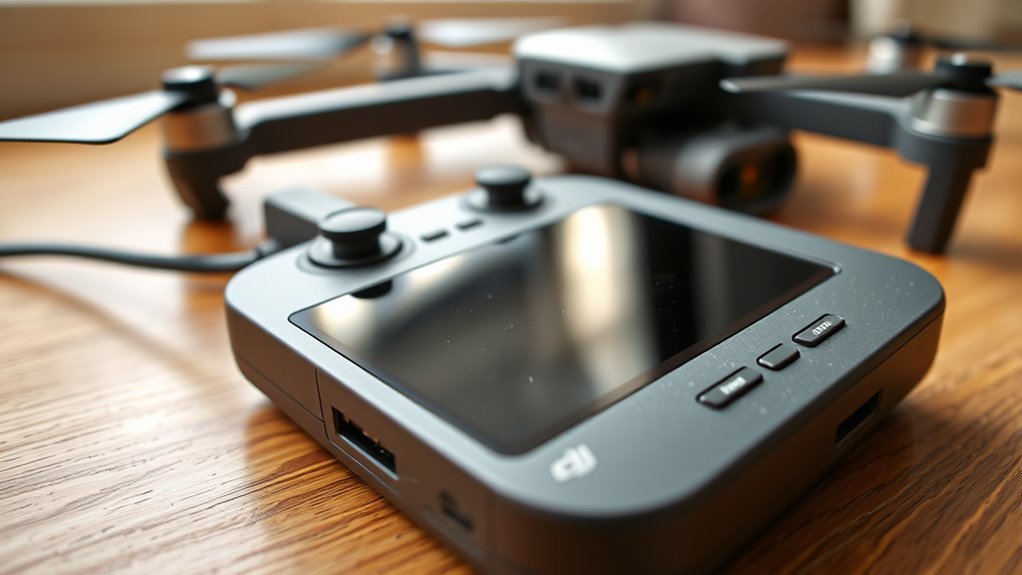
A DJI RC may fail to charge when the micro USB port is damaged, the charging cable is incompatible, or the connector’s internal tab is malfunctioning. In these cases, power transfer becomes unstable, and the controller may behave as if it is disconnected from the charger.
A brief charge followed by a stop can also indicate a partially charged battery rather than a full fault. LED indicators provide useful diagnostics: a blinking light often reflects a low battery level, while no lights usually suggest that power is not reaching the controller at all.
Users who want dependable operation should note that the original charger and firmware updates can reduce charging errors and improve detection.
Using the original charger and updated firmware can reduce charging errors and improve detection.
When charging remains unreliable, the problem is often rooted in hardware or compatibility rather than software settings, and the controller may require closer inspection before normal use can resume.
Check the Cable, Port, and Charger
The next step is to inspect the charging path itself, since cable, port, and charger faults are common causes of a DJI RC that will not charge.
The original charging cable should be used, because non-compatible leads can interrupt power flow and may harm the micro USB port. The port itself should be checked for dust, bent contacts, or damage; even a small tab of debris can block the connection.
The charger should then be tested with another device to confirm that it is delivering power correctly. If no charging status appears, the connection should be reseated firmly, and the LED indicators should be watched for signs of response.
Adapters should be avoided, as they can reduce compatibility and produce insufficient power delivery.
When each part of the path is sound, the controller is better positioned to reach a fully charged state and return to service without unnecessary delay.
How to Tell If Your DJI RC Is Fully Charged
The DJI RC’s power indicator lights provide the clearest charge status: a full bar and a solid green light indicate a fully charged battery, while red or flashing lights usually mean charging is still in progress.
Charging typically takes about 90 minutes, depending on the battery’s starting level.
Before use, the controller’s power level should be checked to confirm it is ready and capable of delivering its expected runtime.
Power Indicator Lights
Power indicator lights provide a quick read on the DJI RC’s charge status: four solid lights generally indicate a full battery, while fewer illuminated bars signal a lower charge level.
During charging, a left-to-right sweep usually means the controller is negotiating power. A flashing red light often points to no incoming charge, so the charger, cable, and ports should be checked immediately.
If no lights appear when powered on, the unit may be deeply discharged or facing a charging fault.
Monitoring these indicators supports battery maintenance tips, improves troubleshooting techniques, and helps challenge common charging myths.
Used consistently, the lights give a clear, technical signal that can prevent surprise shutdowns and preserve operational freedom in the field.
Charging Time Expectations
Typically, a DJI RC controller reaches a full charge in about 90 minutes, though actual charging time can vary with battery level and capacity. For users seeking reliable control and liberated flight planning, the key is verifying completion, not guessing.
- Watch the display indicators: a full power bar signals readiness.
- Check the charging light: it should change from red to green when fully charged.
- Review power before takeoff: this supports battery maintenance and stronger power management.
Practical charging tips include avoiding repeated partial charges when possible and confirming the controller is topped off before long sessions.
After a full charge, runtime may reach roughly 40 minutes for consumer controllers or up to 4 hours for smart remotes, depending on model and use.
Fix a DJI RC That Powers Off Fast
If a DJI RC powers off too quickly, the first step is to verify that the battery is sufficiently charged, since low battery levels can trigger an automatic shutdown. Clear troubleshooting sequence steps should follow: inspect the micro USB charging port for debris or bent contacts, then confirm the original charger and cable are being used. Third-party adapters may not supply stable voltage, limiting reliable power intake. Battery maintenance tips include keeping the pack within recommended charge ranges and avoiding deep discharge. Charging environment factors also matter; heat, cold, or poor ventilation can reduce charging performance and shorten runtime.
| Check | Action |
|---|---|
| Port condition | Remove dust or obstruction |
| Power source | Use DJI charger and cable |
| Shutdown behavior | Seek service if immediate |
If the controller switches off immediately after startup, a defective battery or internal hardware fault is likely. In that case, professional inspection is the most direct path to restored control and freedom.
What Weird Charging LEDs Mean
Weird charging LED patterns on a drone controller usually provide direct clues about battery state, charger connection, or a fault.
Flashing or single-blink codes often indicate low power input or an incomplete charge path, while four solid lights generally mean the battery is full.
If the lights sweep, turn off early, or behave inconsistently, the controller may not be properly connected to the charger or may have a charging malfunction.
Charging Light Patterns
Charging LEDs on a drone controller provide useful clues about battery and connection status. During charging, patterns reveal whether power is flowing normally or if intervention is needed. A first LED blinking usually signals a low battery charge, while four solid lights after pressing power indicate a full charge.
A sweeping left-to-right pattern can mean the controller is searching for the drone connection. If charging stops after a short time, the battery may already be full, or the connector tab may be damaged. Flashing red lights often point to a connection problem or an aging charger.
Monitoring these signals supports:
- charging safety tips
- battery maintenance strategies
- troubleshooting techniques
Careful observation helps users restore reliable charging, reduce dependency on guesswork, and keep control over the power system.
Blink Codes Explained
Blink codes on a drone controller serve as a compact status language for battery and connection problems. The LED indicator meanings are fairly direct: one blinking light usually signals a low charge, while rapid blinking suggests the controller is trying to link with a drone.
Four solid lights after power-on indicate a full battery, and no lights can imply the unit is not charging correctly. During charging, a sweeping pattern often shows the controller searching for a connection, which helps narrow faults.
Six blinks followed by faster flashes commonly point to battery health trouble. A practical troubleshooting checklist should include cable checks, power-source verification, and battery maintenance tips.
Reading these signals carefully supports informed repair, reduces guesswork, and keeps control in the user’s hands.
Low Power Signals
Those blink patterns become even more useful when the controller shows signs of low power rather than a simple pairing state. A single blinking LED usually means the battery is nearly empty and should be charged at once.
If the controller powers on, then shuts off quickly, the pack may be too depleted to sustain startup, especially when no LEDs light. Sweeping lights from left to right during charging can indicate the unit is still trying to establish a connection, which may point to a charging fault.
Quick checks help restore control:
- Confirm the charger and cable.
- Watch for solid lights, which indicate full charge.
- Review power management settings and apply battery optimization tips.
These troubleshooting techniques support freer, more reliable flight preparation.
How to Tell If the Micro USB Port Is Damaged
A damaged micro USB port can prevent a drone controller from charging properly, so it helps to inspect the port closely for bent pins, cracks, wear, or corrosion.
Careful micro USB maintenance begins with a bright light and, if needed, a magnifying glass to reveal damage that is easy to miss. Any debris or lint inside the port can block the connector, so port cleaning methods should be limited to gentle removal only, without forcing anything deeper.
Practical troubleshooting techniques include inserting a known working cable and checking whether the fit feels secure. If the plug sits loosely, wobbles, or charges only when held at an angle, the port may be failing.
Testing multiple known good cables can confirm whether the fault lies in the controller or the cable. Signs of discoloration, corrosion, or cracked housing usually indicate the port no longer provides reliable contact.
Last-Step Fixes for DJI RC Charging Problems
Verify the DJI RC controller is paired with the original charger and cable specified for the model, since mismatched power accessories can cause charging failures.
After that, apply focused troubleshooting techniques that preserve autonomy and prevent unnecessary part swaps. Inspect the micro USB port for bent pins or a broken tab; even slight damage can interrupt contact.
Watch the LED indicators while charging: blinking lights often suggest a weak battery or unstable connection, while solid lights usually confirm normal charging. If the controller powers briefly and then stops, the battery may already be full or may be degrading.
- Confirm charge time: a healthy unit typically reaches full power in about 90 minutes.
- Follow battery maintenance tips by avoiding repeated partial disconnects during charging.
- Practice charging safety practices by keeping the port clean, dry, and unobstructed.
These checks help isolate the fault without waiting on external intervention.
When to Contact DJI Support
If the controller still shows no charging or power response after completing the standard checks, contacting DJI Support is the next practical step.
The support team can review deeper fault patterns, confirm whether the issue points to a battery, port, or mainboard failure, and advise on repair or replacement options. For faster resolution, prepare the controller serial number, purchase details, and a brief description of the problem.
Support documentation essentials should also include the LED behavior, cable and charger combinations tested, and the exact charging attempts already made. These records help technicians separate user-side causes from hardware defects.
When the controller remains under warranty, controller warranty tips suggest opening the case promptly, since eligible units may qualify for no-cost service.
If the issue recurs despite proper care, DJI Support can help restore reliable control and keep the system ready for independent flight, using troubleshooting resource guides to move the case forward efficiently.
Frequently Asked Questions
Why Is My DJI Drone Controller Not Turning On?
The DJI drone controller is often not turning on because of controller power issues, usually a drained battery, a faulty cable, or a damaged charging port.
Practical battery maintenance tips include fully charging with the original charger and checking LED indicators.
Effective troubleshooting techniques require inspecting the micro USB connection for debris or wear.
If the unit still remains unresponsive, hardware failure may be present, and professional service is recommended immediately.
How to Get Drone Battery Out of Hibernation Mode?
Even if it seems the pack is dead, the fix is straightforward: connect the drone battery to its charger for at least 30 minutes to wake it from hibernation mode.
Proper seating in the drone or charger matters, because poor contact can block recovery. If needed, press the power button gently several times and watch LED indicators.
Good drone battery maintenance supports battery life optimization. Persistent failure suggests a faulty pack or service.
How to Fix a Controller When It’s Not Charging?
The controller should be checked with controller troubleshooting tips: verify the original micro USB cable and charger, inspect the port for damage, and confirm the LEDs signal charging.
Charging cable issues often cause failure, so test the charger on another device. If power stops after a minute, cycle the charger to reset the battery connection.
Proper battery maintenance practices and updated firmware help keep the system autonomous, reliable, and ready.
How to Hard Reset a Drone?
A hard reset of a drone controller begins by holding the power button for about 10 seconds until all LEDs shut off.
Before doing so, solid battery maintenance practices should guarantee a full charge.
Afterward, the controller is paired again using the manual’s procedure. This is among practical drone troubleshooting tips for restoring control and responsiveness.
Finally, controller software updates should be checked to improve stability, correct faults, and preserve operational autonomy.
Conclusion
To summarize, most DJI RC and RC-N charging or power issues can be traced to the cable, charger, port, or battery state. A careful inspection of the micro USB port, use of the original charging accessories, and attention to LED indicators often resolves the problem quickly. If the controller still will not charge or stay on, the issue may be hardware-related, like a stubborn lock; in that case, DJI Support should be contacted with the serial number.
