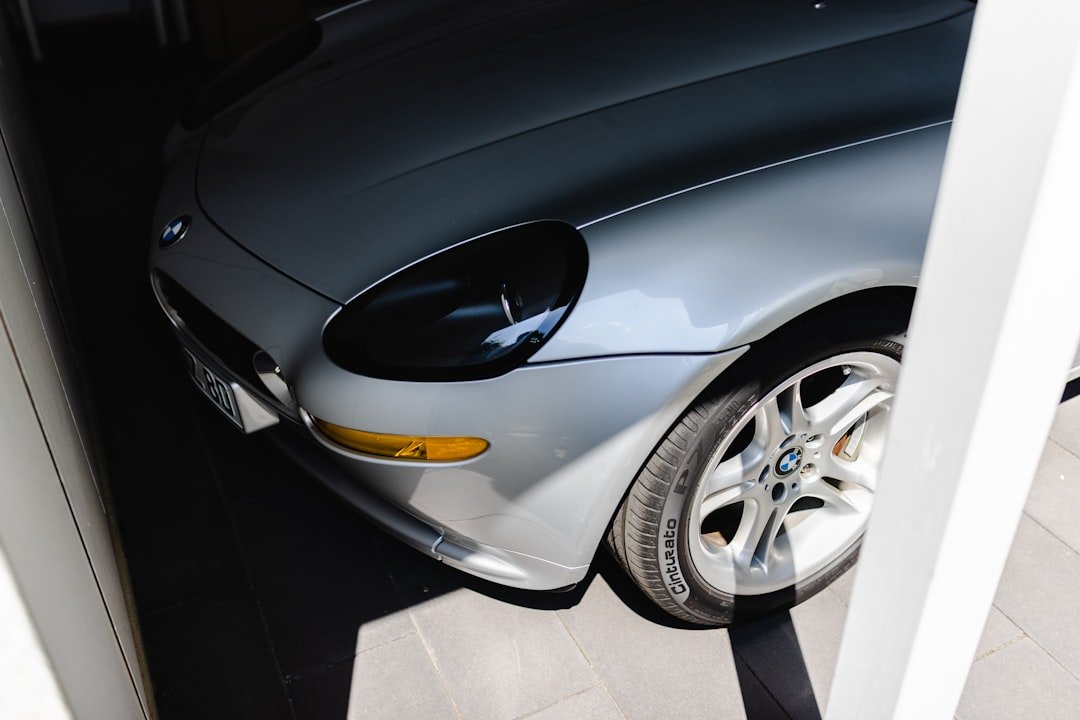
Scratches on a vehicle’s surface can vary significantly in depth, severity, and cause. Understanding the difference between a light clear coat scratch and a deep paint scratch helps you choose the right repair method before you make the damage worse. Most light scratches can be improved with careful washing, polishing compound, and a microfiber cloth. Deeper scratches may need touch-up paint, wet sanding, clear coat, or professional refinishing to prevent rust and long-term paint damage.
Quick Answer
To remove scratches from car paint, first clean and dry the area, then identify the scratch depth. Use scratch remover or polishing compound for clear coat scratches. Use matching touch-up paint for deeper scratches. Finish by buffing, polishing, and sealing the repaired area for protection.
Key Takeaways
- Clear coat scratches are the easiest to repair because they usually affect only the top protective layer.
- Primer, base coat, or metal-level scratches need more care because exposed metal can rust.
- Always wash and dry the area before using scratch remover, compound, sandpaper, or touch-up paint.
- Use light pressure when polishing or sanding because aggressive rubbing can damage nearby paint.
- Apply wax or paint sealant after repair to protect the finish from UV rays, moisture, and road grime.
At a Glance
| Time Required | 20 minutes to several hours, depending on scratch depth and drying time |
| Difficulty | Easy for light scratches; moderate to hard for deep scratches |
| Tools Needed | Car soap, microfiber towels, scratch remover, polishing compound, applicator pad, touch-up paint, masking tape, fine-grit sandpaper, wax or sealant |
| Cost | Low for DIY clear coat repair; higher for touch-up paint or professional refinishing |
Understanding the Different Types of Car Paint Scratches
Before you start repairing the paint, inspect the scratch carefully. A scratch that looks minor at first may go deeper than the clear coat. The easiest way to check is to clean the area, dry it, and gently run a fingernail across the scratch. If your nail barely catches, the scratch may be in the clear coat. If your nail drops into the scratch, the damage may reach the color coat, primer, or metal.
Superficial scratches, often called clear coat scratches, affect only the outermost protective layer of the paint. These scratches are usually caused by minor contact, such as brushing against a bush, wiping the paint with a dirty towel, or using an automatic car wash with worn brushes. They can often be improved with polishing compound or a scratch removal product made for automotive finishes.
Deeper scratches penetrate through the clear coat and into the base paint layer. In more serious cases, the scratch may reach the primer or bare metal beneath the paint. These scratches are often caused by shopping carts, keys, road debris, tools, or light collisions. Deep scratches need more intensive repair, including touch-up paint or professional refinishing, because exposed metal can rust if left untreated.
Warning: Do not sand or use heavy compound on a scratch until you know how deep it is. Aggressive sanding can remove clear coat, dull the paint, or create a larger repair area.
Gathering the Necessary Materials
Before you begin the scratch repair process, gather all the materials you need. This makes the repair smoother and reduces the chance of contaminating the paint halfway through the job. Start with a quality scratch removal product. Many scratch repair kits include polishing compound, applicator pads, and a microfiber cloth for buffing.
In addition to the scratch removal product, having a few other tools on hand can make the process easier. A clean microfiber cloth is crucial for applying products and buffing the surface without causing extra scratches. You should also use clean car soap, water, and a drying towel before you apply any repair product.
If you are dealing with deeper scratches, you may also need touch-up paint that matches your vehicle’s color code. You can usually find this code in the owner’s manual, on a sticker in the driver’s side door jamb, or through the vehicle manufacturer. Other helpful materials include masking tape to protect surrounding areas, a small brush for precise paint application, fine-grit sandpaper for careful leveling, and a protective wax or sealant for the final finish.
[Amazon Products Picked for You]

CLEAR COAT SAFE: Meguiar's Quik scratch remover for vehicles that is safe on all glossy paints and clear coats; this innovative car paint scratch repair kit works without damaging your paint, making it the ideal solution for DIY car care

BUFF OUT IMPERFECTIONS: Meguiar's Ultimate Compound removes scratches, swirls & oxidation for a clear, perfect finish

EASY SCRATCH and SWIRL REPAIR - If your car has light scratches, swirls, or other marks - you can easily fix that with our Scratch & Swirl Remover Kit! Using the included buffer pad, our specially formulated compound will allow you to easily remove and "erase" years of wear and tear from your vehicles paint and overall appearance!
Preparing the Surface for Repair
Proper preparation of the scratched area is vital for achieving the best possible repair. Start by thoroughly washing the affected area with car soap and water to remove dirt, grime, wax residue, and loose debris. Any dirt left on the surface can create new scratches while you polish or buff.
After washing, dry the area completely with a clean microfiber towel. Make sure no moisture remains around the scratch, especially if you plan to apply touch-up paint. Paint and clear coat products need a clean, dry surface to bond correctly.
Once the surface is clean and dry, inspect the scratch closely to determine its depth and severity. For superficial scratches, you may only need to polish the area lightly. However, if you are dealing with deeper scratches, it may be helpful to lightly sand the area using fine-grit sandpaper, such as 2000 grit, to smooth rough edges and prepare it for touch-up paint.
Be cautious during this step. Excessive sanding can cause further damage to the surrounding paint. After sanding, wipe the area again with a microfiber cloth to remove dust before applying any repair product.
Pro Tip: Work in shade on a cool surface. Direct sunlight can make compounds dry too fast and can make touch-up paint harder to level smoothly.
Using a Scratch Removal Product
| Product Name | Scratch Removal Effectiveness | Ease of Use | Cost |
|---|---|---|---|
| Product A | High | Easy | Affordable |
| Product B | Medium | Moderate | Expensive |
| Product C | Low | Difficult | Affordable |
When selecting a scratch removal product, choose one that matches your specific type of scratch. For light scratches that only affect the clear coat, a polishing compound or scratch remover designed for automotive finishes will usually be enough. These products use fine abrasives to level the surface of the clear coat and blend the scratch into the surrounding finish.
To use these products effectively, apply a small amount to an applicator pad or microfiber cloth. Work it into the scratched area using gentle circular motions. Avoid heavy pressure because the product should polish the surface, not grind through the clear coat.
Depending on the product’s instructions, you may need to let it sit for a short time before buffing it off with a clean cloth. For deeper scratches that require touch-up paint, follow the manufacturer’s directions carefully for application technique, drying time, and layering.
[Amazon Products Picked for You]

VSS ONE-STEP COMPOUND & POLISH (COM_129_16SW) – This Chemical Guys scratch remover combines cutting power and finishing polish in one formula to remove light to moderate scratches, swirls, oxidation, and holograms
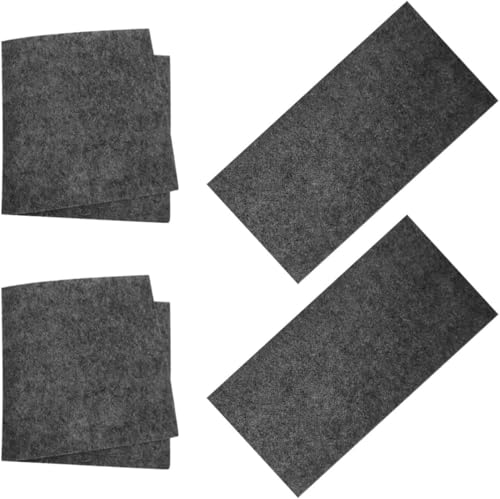

SEE CLEARLY: Renew your plastic without replacement with Meguiar's PlastX Plastic Cleaner. This clear plastic scratch remover quickly improves long-term wear and tear on a variety of uncoated plastics, leaving behind water-resistant polymers
Applying the Product to the Scratched Area
Once you have selected the right product for your scratch type, apply it directly to the scratched area. For light scratches treated with polishing compound, place a small amount on your applicator pad or cloth. Gently rub it into the scratch using circular motions. This helps spread the product evenly and allows the fine abrasives to work across the damaged clear coat.
For deeper scratches requiring touch-up paint, shake the paint bottle well to ensure an even mixture. Use a small brush, paint pen, or applicator tool to apply a thin layer of paint directly into the scratch. It is crucial to avoid overfilling; instead, aim for a level application that matches the surrounding surface as closely as possible.
Allow the first layer to dry completely before deciding whether another coat is needed. In many cases, two or three thin coats look better than one thick coat. Thin layers are easier to control, dry more evenly, and reduce the risk of raised paint edges.
Note: If the scratch exposes bare metal, repair it as soon as possible. Bare metal can develop rust, especially in wet, salty, or humid conditions.
Buffing and Polishing the Surface
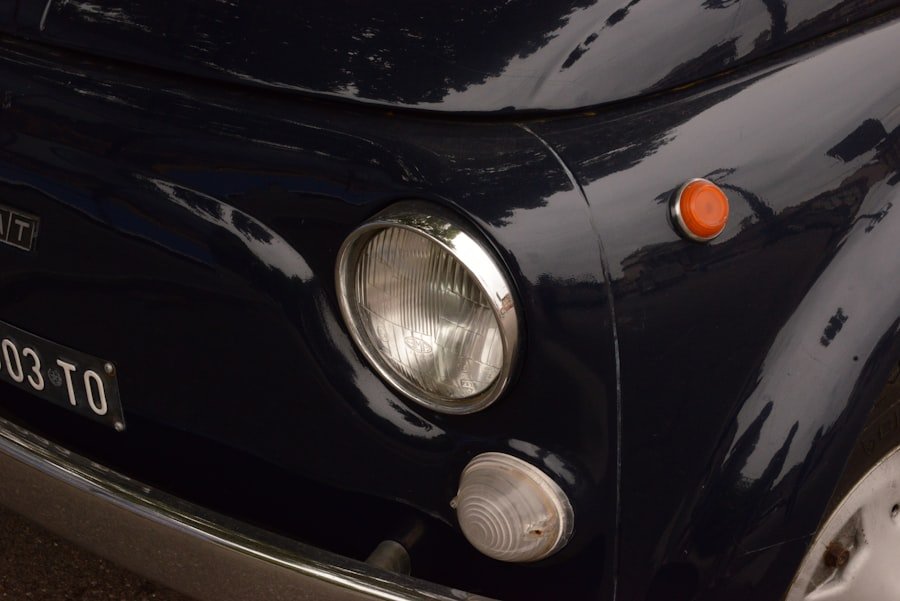
After allowing any applied product to dry fully, buffing and polishing help create a smoother finish that blends with the vehicle’s existing paintwork. For light scratches treated with polishing compound, use a clean microfiber cloth or buffing pad to polish the area in circular motions. This removes residue and improves shine and clarity.
If you applied touch-up paint for a deeper scratch, wait until it has dried completely before buffing or leveling. Once dry, you can use fine-grit sandpaper very lightly over the repaired area to smooth uneven paint. Keep the area wet if the product instructions call for wet sanding, and stop often to check your progress.
After sanding, buff again with a microfiber cloth and polishing compound to restore gloss. This step is important because sanding can leave the repaired area dull until it is polished. If done carefully, buffing and polishing can make many repairs much less noticeable.
Checking for Remaining Scratches
Once you have completed buffing and polishing, inspect the repaired area closely. Check the paint under different lighting conditions, including direct sunlight, shade, and bright artificial light. View the surface from several angles because scratches can disappear from one angle and show clearly from another.
If you notice lingering imperfections or certain areas still look scratched, repeat the earlier steps as needed. For light scratches, this may involve another careful application of polishing compound followed by buffing. For deeper scratches that still show through after touch-up paint, consider applying another thin layer of paint, allowing it to dry, then lightly leveling and polishing again.
Do not rush this stage. Most DIY paint repairs improve gradually through careful cleaning, thin layers, gentle leveling, and patient polishing. Rushing can leave uneven paint, cloudy clear coat, or visible sanding marks.
Applying a Protective Sealant
After successfully repairing scratches on your vehicle’s surface, applying a protective sealant is an important final step. Sealants create a barrier that helps protect the repaired area from UV rays, dirt, moisture, and road contaminants. This can help preserve your repair and reduce the chance of future paint damage.
Choose a wax or sealant made for automotive finishes and follow the manufacturer’s instructions. In most cases, you will apply a small amount to an applicator pad and work it into the surface using light circular motions. Allow it to cure as directed, then buff off any excess product with a clean microfiber cloth.
This added layer of protection not only improves shine but also helps extend the life of your vehicle’s paint job. For best results, reapply wax or sealant regularly based on the product instructions and your driving conditions.
[Amazon Products Picked for You]
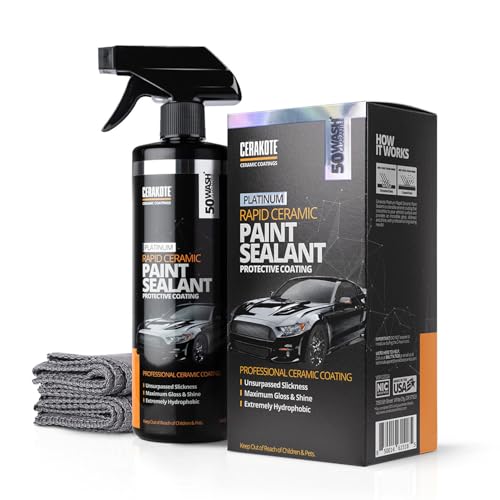
CERAMIC COATING FOR CARS: Delivers an extremely glossy, mirror-like finish on clean paint. Use as a standalone paint sealant or as a quick ceramic topper that deepens color and adds slickness. Not a one-step miracle coating and not a paint corrector

LONG-LASTING PROTECTION: Ceramic wax polymers form a durable shield for your paint, protecting against UV rays, dirt and road contamintants, keeping your car cleaner for longer in between washes

The Superior Shine of Carnauba: Formula 1 carnauba car wax contains #1 grade Brazilian carnauba, the world’s hardest wax. This natural polishing compound gives your car a glossy brand-new finish and water-beading protection that lasts.
Preventing Future Scratches
While repairing existing scratches is important, preventing future scratches is just as valuable. Park your vehicle in well-lit areas away from tight spaces, shopping cart zones, and high-traffic walkways when possible. Leave enough room around the vehicle so doors, bags, and carts are less likely to contact the paint.
Wash your car using safe washing habits. Use clean microfiber towels, a dedicated car wash mitt, and pH-balanced car soap. Avoid wiping dry dust from the paint because dry rubbing can drag grit across the clear coat and create swirl marks.
Consider protective films or coatings designed for automotive surfaces if your vehicle is often exposed to road debris, gravel, tree branches, or harsh weather. These products can add an extra layer of defense against minor abrasions. Regular washing and waxing also help maintain the protective barrier while improving the vehicle’s appearance.
Seeking Professional Help for Deep Scratches
In some cases, DIY methods may not be enough for scratches that penetrate beyond the clear coat into the base coat, primer, or metal. If the damage is wide, deep, rusted, or located across multiple panels, professional help may be the safer choice.
Professional auto body shops have access to specialized tools and techniques that can address deep scratches while restoring your vehicle’s original appearance.
A body shop can assess the damage, match the paint color, blend the repair area, and apply clear coat correctly. This is especially useful for metallic paint, pearl paint, large scratches, or scratches on curved panels where blending can be difficult for a DIY repair.
Professional repair may cost more than a DIY kit, but it can prevent a poor finish, mismatched color, or further clear coat damage. If the vehicle is new, leased, valuable, or heavily scratched, a professional repair may be worth the extra cost.
Maintaining the Paint Job
Once you have repaired scratches and applied protection, ongoing maintenance helps preserve your vehicle’s paint job. Wash the vehicle regularly with pH-balanced car soap to remove dirt and contaminants without stripping protective waxes or sealants too quickly.
Use soft microfiber towels and avoid household cleaners, rough sponges, or dirty rags. These can dull the clear coat or create new fine scratches. Dry the vehicle after washing to reduce water spots, especially if you live in an area with hard water.
In addition to routine cleaning, consider periodic detailing. A professional detailer can deep clean, polish, and protect the paint with fresh wax, sealant, or coating as needed. This proactive approach keeps your car looking better and helps protect against environmental wear that can lead to bigger paint problems over time.
By understanding how to identify, repair, protect, and maintain scratched paint, you can keep your vehicle in better condition for years. Light scratches often respond well to careful DIY repair, while deep scratches should be handled with patience or professional support.
If you’re looking to give your car a fresh new look, you may also be interested in learning about affordable dining chair slipcovers to update the interior of your home. Additionally, if you’re someone who likes to keep things organized, you might want to check out tips on organizing your fridge to make the most of your kitchen space. And for those who enjoy spending time outdoors, consider reading about selecting the perfect outdoor kitchen for your home to enhance your outdoor living experience.
Related Guides
Frequently Asked Questions
What causes scratches on car paint?
Scratches on car paint can be caused by contact with abrasive materials, improper washing techniques, road debris, vandalism, keys, shopping carts, tree branches, and small accidents. Dirty towels and automatic car washes can also leave fine swirl marks in the clear coat.
Can scratches be removed from car paint?
Yes, minor scratches can often be removed or reduced with scratch removal products, polishing compound, and careful buffing. Deep scratches may not disappear completely without touch-up paint, clear coat, sanding, or professional refinishing.
What are some methods for removing scratches from car paint?
Common methods include using scratch removal compounds, polishing compounds, touch-up paint, fine-grit sanding, buffing, and professional detailing services. The best method depends on whether the scratch affects the clear coat, color coat, primer, or metal.
Are there any DIY methods for removing scratches from car paint?
Yes, DIY methods include using scratch removal kits, polishing compound, touch-up paint, and careful buffing. Some people mention toothpaste, baking soda, or vinegar, but these methods are unpredictable and may dull the finish. Automotive products are usually safer for car paint.
How do I know if a scratch is too deep to polish out?
A scratch may be too deep to polish out if your fingernail catches in it, if you can see primer or bare metal, or if the color looks missing instead of just dull. Polishing only improves the clear coat, so deeper scratches usually need touch-up paint or professional repair.
When should I seek professional help for removing scratches from car paint?
Seek professional help if the scratches are deep, extensive, rusted, spread across multiple panels, or if DIY methods have not worked. A car detailing shop or auto body shop can repair deeper paint damage with better color matching, blending, and refinishing tools.
Sources
- Popular Mechanics — touch-up paint and scratch repair process.
- 3M Collision Repair — automotive surface preparation and refinishing product guidance.
- I-CAR — collision repair education and refinishing standards.
