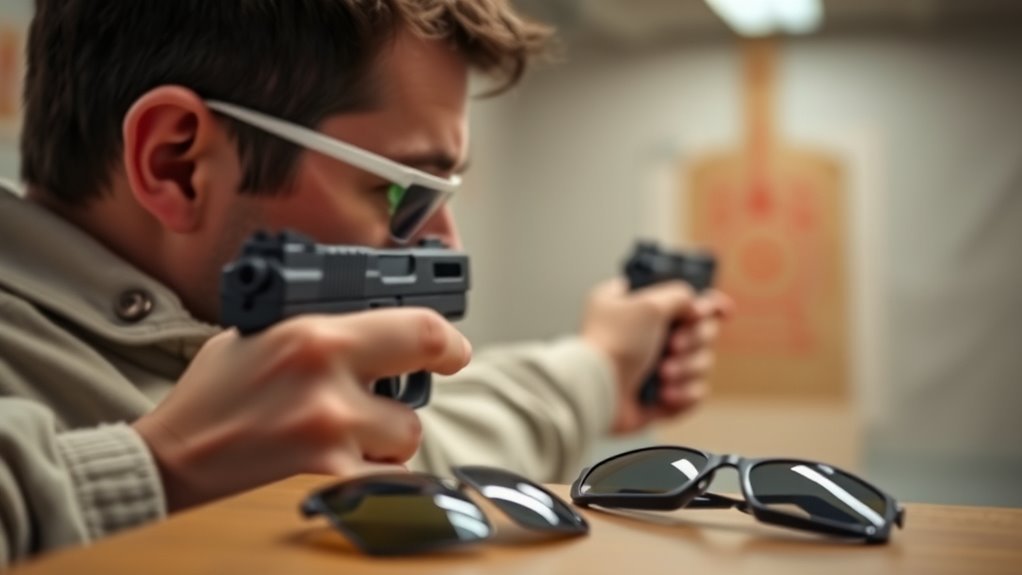
Choosing the right top focal magnification starts with understanding your vision, lens strength, and the distance at which you need clear focus. SSP Top Focal glasses place a reading-power segment near the top of the lens rather than at the bottom. This design addresses the difficulty some people experience when trying to see nearby objects through conventional bifocals.
Quick Answer
SSP Top Focal lenses are available in strengths from +1.00 to +3.00. These numbers describe reading-lens power, not telescopic magnification. The appropriate correction depends on your eyesight and working distance. An arm’s-length pencil check can help identify a usable range, while an optometrist can determine whether prescription correction is needed.
Key Takeaways
- Top focal glasses place the reading segment above the main lens rather than below it.
- Reading-glass power and riflescope magnification are different optical measurements.
- A stronger lens is not automatically a better choice; your eyesight and working distance determine the correction required.
- SSP offers interchangeable lens configurations for different visual needs.
- Ordinary drugstore reading glasses are not a substitute for impact-rated protective eyewear.
How Top Focal Magnification Works
)
Top focal eyewear uses a reading-power segment positioned near the upper part of a protective lens. The placement differs from conventional bifocals, which normally have their reading segment at the bottom.
The upper segment provides additional focusing power for nearby objects viewed through that part of the lens. The remaining lens area provides a different view, depending on its prescription and design.
This arrangement can help people who otherwise need to tilt their heads to see nearby details through conventional reading glasses.
SSP Eyewear offers several interchangeable configurations. Its manufacturer lens-selection guide describes the available strengths and explains how working distance affects the correction required.
What Do the Magnification Numbers Mean?
Reading-glass strengths such as +1.00 and +2.00 refer to optical power measured in diopters. A diopter describes how strongly a lens bends light.
A +2.00 reading lens does not make everything appear twice as large. Likewise, a +3.00 lens is not equivalent to a 3x riflescope.
SSP commonly describes these strengths as magnification powers, but the distinction matters when comparing protective glasses with telescopic optics.
Pick Magnification for Your Shooting Distance
The distance from your eyes to the object you need to see determines the relevant near-vision correction. Target distance alone does not establish the appropriate power for top focal glasses.
Reading material is usually held closer to the eyes than an object viewed at full arm’s length. Consequently, the same lens may not provide equally comfortable focus at both distances.
A person who needs reading glasses for a book may prefer different correction for an intermediate-distance task.
Choose optical correction for the distance at which you need clear vision, rather than treating lens strength as a measure of target distance.
The original recommendation to use +1.00 to +1.50 below 25 yards and +2.00 to +3.00 at longer distances should not be treated as a general prescription.
Someone with different eyesight could require a different strength at the same working distance.
Higher positive lens power also does not automatically provide better distance vision. It changes the range at which the lens helps the eye focus.
Match the Lens to Your Front Sight
Top focal glasses are intended to address near-vision clarity while preserving a separate viewing area for other distances.
The upper segment should provide comfortable vision for its intended task. The rest of the lens should also meet your distance-vision needs.
Standard reading-power lenses are not designed to correct every possible vision problem. They may be unsuitable if you require different prescriptions for each eye or correction for astigmatism.
People who already wear prescription glasses should consider how their existing correction interacts with the reading segment.
A stronger reading lens cannot replace an appropriate distance prescription.
Why the Viewing Position Matters
Top focal lenses place the near-vision segment above the ordinary viewing area. Conventional bottom bifocals place it below.
This changes which part of the lens provides near focus when your head and eyes move.
The segment must also sit in a suitable position within the frame. Poor alignment, uncomfortable frames, or an unsuitable prescription can make otherwise appropriate lenses difficult to use.
Test Reading Power at Arm’s Length
An arm’s-length pencil check is a simple way to compare how different reading lenses handle intermediate-distance detail.
It is a preliminary vision check, not a substitute for an eye examination or a prescription.
You only need a pencil and access to several reading-glass strengths.
Arm’s Length Test
SSP describes a pencil test in its lens-selection guidance. The test provides a consistent object at a familiar working distance.
- Hold a pencil at a comfortable arm’s-length distance.
- Look at its tip through a pair of reading glasses.
- Compare how clearly the tip appears with different lens strengths.
- Notice whether either lens produces uncomfortable blur, distortion, or eye strain.
- Record the strength that provides comfortable focus at that distance.
This method can identify a possible starting point for discussing intermediate-distance eyewear with an eye-care professional.
It does not establish whether a person needs correction for astigmatism, distance vision, or differences between the eyes.
Pencil Clarity Check
The pencil tip provides a small visual detail that is easy to compare across lenses.
Check whether the point remains clear without forcing your eyes to focus or changing your normal viewing posture.
If clarity changes significantly when you move the pencil closer or farther away, that is a reminder that reading-lens power depends on working distance.
A comfortable result at one distance does not guarantee equally clear vision at every distance.
Adjust Until Sharp
Lens comparison should focus on comfortable, stable vision rather than selecting the highest available strength.
If no ordinary reading-glass strength provides satisfactory clarity, further self-testing may not resolve the problem.
Over-the-counter readers generally use identical powers for both eyes. They do not provide individualized correction for every visual condition.
The Cleveland Clinic’s reading-glasses guidance explains these limitations and recommends professional evaluation when vision remains unclear or glasses cause discomfort.
Note: If you have persistent blurry vision, headaches, double vision, or difficulty seeing through either eye, consult an optometrist or ophthalmologist. A simple reading-glass test cannot diagnose the underlying cause.
Choose the Right SSP Top Focal Kit
SSP’s Top Focal configurations differ mainly in the position and combination of their reading segments.
The Assorted, Premiere, and Ultra arrangements address different visual preferences. They should not be treated as interchangeable descriptions of the same lens design.
Top Focal Assorted Kit
The Assorted configuration uses upper reading-power segments in both lenses.
SSP’s current AST Kit includes interchangeable upper-focal lenses in clear, smoked, and amber versions.
The manufacturer describes these lenses as impact-rated protective eyewear with upper magnification segments.
Its AST Kit specifications identify the included lens types and available powers.
Top Focal Premiere Configuration
SSP’s published guidance describes the Premiere arrangement as a combination of one upper-focal lens and one Chelan lens without magnification.
The uncorrected lens is described as plano, meaning it provides no refractive correction.
This configuration differs from wearing identical upper reading segments in both eyes.
The historical configuration is documented, but current availability as a separate kit should be confirmed before publication.
Top Focal Ultra Kit
The Ultra Kit combines upper-focal lenses with conventional bottom-focal lenses.
According to SSP, the kit contains three upper-focal lenses and three bottom-focal lenses in different tint options.
This provides more configuration choices than a kit containing only upper-focal lenses.
The manufacturer’s Ultra Kit specifications describe its components, interchangeable design, and protective features.
Remember that an interchangeable reading segment is not necessarily equivalent to a customized prescription lens.
Why Dominant Eye Correction Matters
Eye dominance and prescription strength describe different aspects of vision. The dominant eye is the eye your visual system tends to favor for directional information.
That eye does not necessarily have better visual acuity or require less correction.
SSP’s interchangeable system accommodates different lens combinations, including configurations with an upper reading segment in one eye and a plano or bottom-focal lens in the other.
However, the appropriate arrangement depends on individual vision needs.
Some people adapt comfortably to different corrections between their eyes. Others experience blur, imbalance, or difficulty combining the two images.
If your eyes require substantially different prescriptions, an optometrist can assess whether an individualized solution is appropriate.
Top Focal Magnification Levels to Try
SSP Top Focal lenses cover a range of positive reading powers from +1.00 to +3.00.
The numbers indicate increasing optical strength. They do not represent universal performance levels or prescribe a particular power for a shooting distance.
| Level | Optical characteristic | Selection consideration |
|---|---|---|
| +1.00–+1.50 | Lower positive lens power | Whether mild near-vision correction meets your needs |
| +1.75–+2.00 | Intermediate options within SSP’s range | Comfort and clarity at your normal working distance |
| +2.25–+3.00 | Higher positive lens power | Whether stronger near correction is appropriate for your eyesight |
SSP’s stated lens options include +1.00, +1.25, +1.50, +1.75, +2.00, +2.25, +2.50, and +3.00.
These strengths provide several options within the same general design. The correct value still depends on your prescription and the distance at which you need clear vision.
Reading Strength Versus Scope Magnification
A reading lens and a telescopic optic serve different purposes.
Reading lenses change the eye’s focusing ability. Telescopic optics enlarge the apparent image of distant objects.
Therefore, the numbers cannot be compared directly.
| Measurement | What it describes |
|---|---|
| +1.00 diopter | Positive optical power in a corrective lens |
| +2.00 diopters | Stronger positive optical power |
| 3x telescopic magnification | A threefold increase in apparent angular image size |
Confusing these measurements can lead to choosing eyewear for the wrong purpose.
Common Magnification Mistakes
Most problems begin with confusing different optical measurements or assuming that one reading strength works for everyone.
Several common misunderstandings are worth checking before selecting corrective eyewear.
- Choosing the strongest available lens: More positive power is not automatically appropriate for your working distance.
- Using ordinary reading glasses as safety glasses: Reading correction does not establish impact protection.
- Assuming both eyes need identical correction: Over-the-counter readers cannot address every prescription difference.
- Ignoring frame fit: Segment position, frame alignment, and comfort affect whether the intended viewing area is usable.
- Confusing diopters with optical zoom: A +3.00 lens is not a 3x scope.
- Ignoring persistent symptoms: Continued blur or eye strain may require an examination rather than another pair of readers.
Another mistake is assuming that changing glasses will correct every visual problem.
Age-related changes in near focus, astigmatism, and distance-vision errors may require different types of correction.
Get Clearer Front Sights Fast
Appropriate corrective eyewear should provide the intended visual clarity while meeting the protective requirements of the environment.
For shooting-range use, impact protection and fit are separate considerations from reading-lens strength.
The ANSI/ISEA Z87.1-2025 standard addresses protective eyewear requirements, including impact testing and product markings.
SSP identifies its Top Focal products as ANSI Z87.1-rated protective eyewear. Buyers should still check the specific product’s markings and documentation.
Warning: Drugstore reading glasses are not automatically suitable for use as protective shooting glasses. Use appropriate impact-rated eyewear, and follow the safety requirements of your range.
Check Compatibility With Hearing Protection
Protective glasses must also fit properly with other equipment.
Thick or poorly positioned eyeglass temples can interfere with the seal of earmuff-style hearing protection.
The CDC’s National Institute for Occupational Safety and Health addresses this issue in its indoor firing-range protection guidance.
Ensure that your protective eyewear remains comfortable and does not interfere with the fit of required hearing protection.
Frequently Asked Questions
Is 3x Magnification Enough for 300 Yards?
A 3x telescopic optic and a +3.00 top focal lens are different products. The former enlarges the apparent image of distant objects, while the latter provides positive focusing power. A reading-lens strength cannot be used to determine the appropriate scope magnification for a particular distance.
What Is a Good Magnification for Shooting 1000 Yards?
Top focal reading-glass strength does not determine telescopic magnification for 1,000 yards. The original article’s 4–16x and 6–24x figures refer to scope magnification, not corrective eyewear. Those measurements should be evaluated separately from the diopter ratings used for reading lenses.
How Do I Know What Magnification Glasses I Need?
The appropriate reading-glass strength depends on your eyesight and working distance. A pencil test can help compare intermediate-distance clarity, but a comprehensive eye examination is more reliable. Professional assessment is especially useful if you need different prescriptions for each eye or have persistent blurry vision.
What Magnification Should I Use for Shooting 100 Yards?
A target distance of 100 yards does not establish the reading-lens power you need. Top focal glasses provide corrective focusing power rather than telescopic magnification. Lens strength should be assessed according to individual vision requirements, while scope magnification is a separate optical consideration.
Conclusion
Choosing top focal magnification means matching corrective lens power to your eyesight and working distance, not selecting a strength based on target distance alone.
Understand the differences between SSP’s lens configurations, distinguish diopters from telescopic magnification, and use appropriate protective eyewear. If ordinary reading lenses do not provide comfortable clarity, seek an individualized assessment from an eye-care professional.
Sources
- SSP Eyewear: Choosing the Correct Top Focal Magnification: Manufacturer guidance on lens powers, working distance, and interchangeable configurations.
- SSP Eyewear: Top Focal AST Kit: Available lens strengths, included lenses, and protective features.
- SSP Eyewear: Top Focal Ultra Kit: Upper- and lower-focal lens configurations and kit contents.
- Cleveland Clinic: Are Cheater Glasses Right for You?: Limitations of over-the-counter readers and when professional evaluation is appropriate.
- ANSI: ANSI/ISEA Z87.1-2025 Eye Protection: Protective eyewear standards and markings.
- CDC/NIOSH: Control of Lead and Noise in Indoor Firing Ranges: Protective equipment and compatibility between safety glasses and hearing protection.
