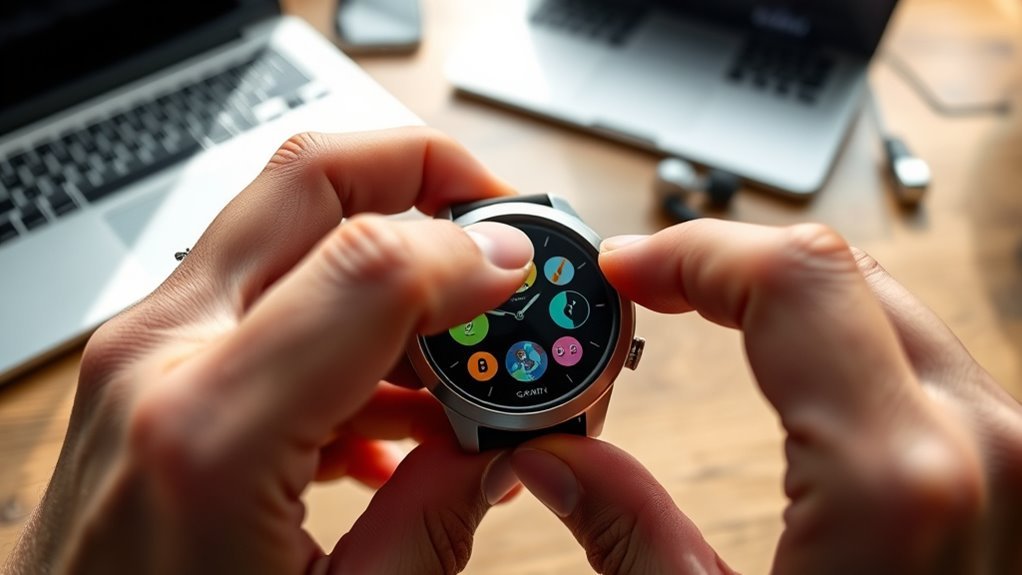
Changing a Garmin watch face takes less than a minute once you know where the menu lives — but the exact button or gesture depends on which Garmin model is on your wrist. This guide covers every watch type, from five-button models like the Fēnix and Forerunner to two-button touchscreen models like the Venu, plus how to customize colors, data fields, and download new designs.
Quick Answer
To change a Garmin watch face, open the watch face menu (the button or gesture varies by model), swipe to browse the available designs, tap one to preview it, then select Apply. You can also edit colors and data fields, or download new faces from the Connect IQ store.
Key Takeaways
- The menu button varies by model: Up/Menu on five-button watches, the lower-right (B) button on two-button touchscreen watches, or a tap-based menu on touchscreen-only watches.
- Swipe left or right (or up/down on some models) to browse preloaded or downloaded watch faces.
- Tap a face to preview it, then choose Apply to set it.
- Many newer watches also let you customize or switch watch faces from the Garmin Connect phone app.
- Use the Connect IQ store to find more faces if none of the built-in options fit.
At a Glance
| Time Required | About 1–2 minutes to switch faces; a few extra minutes to customize colors and data fields |
| Difficulty | Beginner |
| Tools Needed | Just the watch; the Garmin Connect app is optional for newer models and for downloading Connect IQ faces |
| Cost | Free — most Connect IQ watch faces are free, though some are paid |
Change the Garmin Watch Face
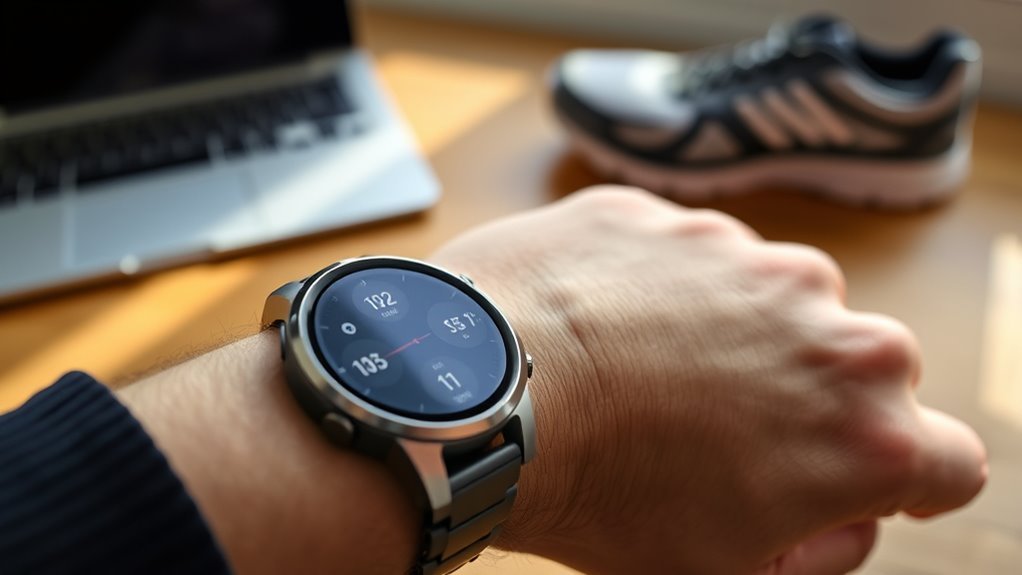
The button or gesture that opens the watch face menu depends on which Garmin model you own:
Note: On five-button watches (such as the Fēnix, Forerunner, and Instinct series), hold the upper-left Up/Menu button. On two-button touchscreen watches (such as the Venu and some Vívoactive models), hold the lower-right button, labeled B in Garmin’s manuals. On single-button or touchscreen-only watches (such as the Vívosmart and Lily), tap the menu icon on the screen instead.
Once the menu is open, select Watch Face. From there, scroll through the available options by swiping left or right (or up/down, depending on the model), then tap the screen to choose a preferred design. Garmin includes several preloaded faces, and the Connect IQ Store offers additional choices for those who want more control over how the device looks.
After a selection is made, tapping Apply confirms the choice and updates the display immediately.
If your watch supports it, you can also switch or customize watch faces from the Garmin Connect app on your phone — open the app, go to your watch’s device settings, and select Watch Face. This is often the easier route on newer touchscreen models like the Forerunner 265/965 and Venu series.
Customize Garmin Watch Face Colors and Data
After selecting a Garmin watch face, you can refine its look and layout by opening the same Watch Face menu again and choosing the specific design to edit. Hold the appropriate menu button for your model, tap Watch Face, then open the chosen face. From there, select Accent Color to change highlight hues, or Bkgd. Color to change the background color. Data lets you decide which metrics stay visible on the face.
| Option | Purpose | Effect |
|---|---|---|
| Accent Color | Choose highlight tones | Updates style |
| Bkgd. Color | Change the background color | Alters backdrop |
| Data Fields | Pick which metrics display | Changes information shown |
| Layout | Choose how data is arranged | Changes screen layout |
| Apply | Confirm changes | Saves and activates immediately |
Each watch face may offer different settings — designs with fewer graphic elements typically expose fewer customization options — so it’s worth scrolling through every menu to see what’s available before settling on a look.
Pro Tip: Trimming down the number of active data fields on a busy watch face can slightly help battery life on always-on color displays, since fewer elements need to redraw as data updates.
Edit Installed Garmin Watch Faces
To edit a watch face that’s already installed, open the same watch face menu and select it from the list rather than replacing it entirely. This gives you more control over the display without starting from scratch.
Scrolling through the available faces lets you choose the one to customize. Once selected, editing options may include layout, colors, and data fields. Some designs offer fewer choices than others, so review each setting before confirming.
Tapping the screen or pressing Apply saves the changes and updates the watch face immediately. Revisiting these settings occasionally helps keep the display matched to your current routine — for example, switching in a running-focused data field during a training block.
Browse Garmin Watch Face Options
Opening the Watch Face menu lets you browse everything currently available on the device. From there, swipe right or left (or up/down, depending on the model) to move through preloaded faces and any downloaded Connect IQ™ designs.
How good a face looks depends heavily on the screen behind it. An AMOLED panel renders colour and depth that a memory-in-pixel display simply cannot, which is worth knowing before you spend hours customising — see our Venu comparison.
When a preferred face appears, tap the screen to select it.
For more variety, choose Add New or open the Connect IQ Store app on your phone to browse additional faces. Availability varies by model — older watches such as the original Instinct don’t support Connect IQ at all — so check compatibility before downloading.
Add or Remove Garmin Watch Faces
To add or remove Garmin watch faces, open the watch face menu, browse available designs, and tap the screen to select one.
New watch faces can be added through the Connect IQ store (either on the watch itself, if supported, or via the Connect IQ app on your phone), provided the device is compatible and connected for installation.
To remove an unwanted face, return to the watch face menu, select the design, choose Delete, and confirm to complete the removal.
Warning: If a newly downloaded watch face doesn’t appear on the watch, make sure the watch has finished syncing with the Garmin Connect app over Bluetooth (or with Garmin Express over USB) before trying to select it again.
Regular review of installed watch faces helps keep the selection useful and uncluttered. Many designs also allow changes to data fields, colors, and layouts, making it easier to refine both appearance and function.
Frequently Asked Questions
How do I change the display screen on my Garmin watch?
Open the watch face menu using the button or gesture appropriate to your model, choose Watch Face, then swipe through the available designs and tap Apply. Some options depend on whether the watch has synced with the Garmin Connect app and which apps you’ve installed.
How can I customize my Garmin watch face?
Start with one of the preloaded designs, then use the Customize option to adjust accent color, background color, data fields, and layout. If you want more variety, browse the Connect IQ store for downloadable designs, including some that let you set a personal photo as the background.
How do I change the clock display on my Garmin watch?
Open device settings, choose Watch Face, then browse the options and select one matching your preferences. The change applies immediately; further customization can adjust colors, layout, and data fields afterward.
How do I change my watch face display?
Hold the menu button (or tap the menu icon on touchscreen-only models), select Watch Face, then swipe through the styles. Tap one, adjust display settings and personalization options if you like, and apply it to change the watch face display.
Conclusion
In the end, changing a Garmin watch face is a simple step that can spark a real style shift — the trick is just knowing which button or gesture applies to your specific model. With a few quick taps, you can swap screens, adjust settings, and shape the display to suit your daily routine. From bold colors to useful data fields, each face offers a fresh fit for daily demands. By browsing, editing, and adding or removing options, the watch becomes a more personal, polished, and practical companion.
Sources
- Garmin Venu Owner’s Manual — Changing the Watch Face — confirms the hold-and-select steps and the B-button labeling on two-button touchscreen models
- Garmin Approach S50 Owner’s Manual — Changing the Watch Face — confirms the swipe-and-tap browsing steps used across models
- Garmin Fēnix 6 Owner’s Manual — Customizing the Watch — confirms the MENU-button process used on five-button watches
- Garmin Newsroom — Introducing Face-It — background on Garmin’s photo watch face app and its original supported device list
