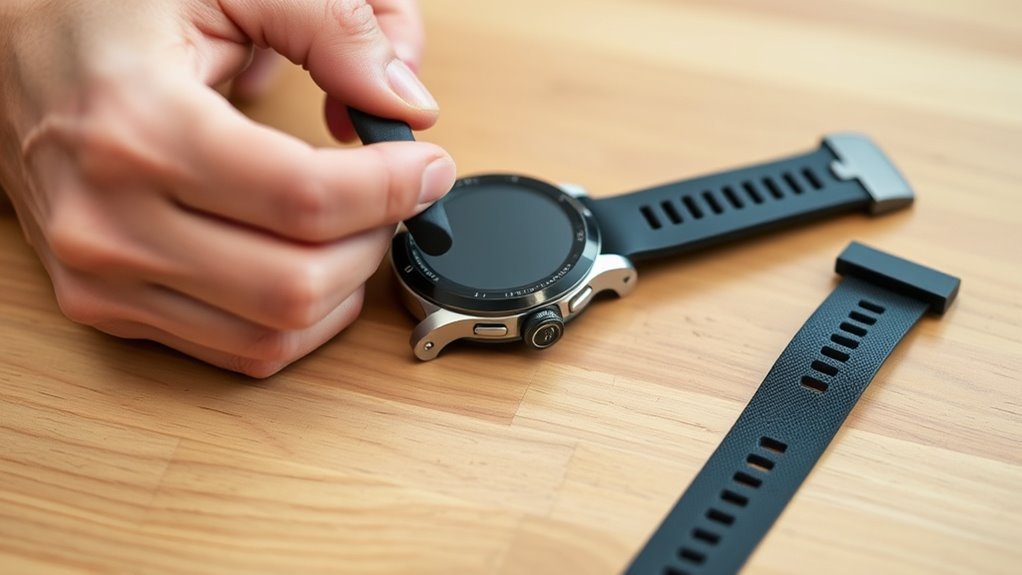
A Garmin QuickFit band can usually be changed in a few minutes without tools when the watch already has the correct QuickFit watch pins installed. Slide the latch on the current band to release it, align the replacement with the exposed watch pin, and press the band into place. Repeat on the other side, then check that each latch has closed fully over its watch pin before wearing the watch.
Quick Answer
To change a Garmin QuickFit band, slide the latch on the existing band and pull the band away from the watch pin. Align the replacement QuickFit band with that pin and press it on until the latch closes securely. Repeat on the other side and gently tug both bands before wearing the watch.
Key Takeaways
- Confirm that your watch uses Garmin QuickFit rather than a standard Quick Release band.
- QuickFit bands are available in 20 mm, 22 mm, and 26 mm sizes, so match the replacement to your exact watch model.
- A normal QuickFit-to-QuickFit swap is tool-free because the band clips over the watch pin.
- The QuickFit latch must close completely over the watch pin before the watch is worn.
- Do not force a band that is misaligned, the wrong size, or unable to latch securely.
At a Glance
| Time Required | Usually a few minutes |
| Difficulty | Easy for an existing QuickFit setup |
| Tools Needed | None for a normal QuickFit swap; some band-system conversions or pin replacements may require model-specific tools |
| Cost | No cost for the swap itself; replacement-band cost varies by material and model |
What Is a QuickFit Garmin Band?
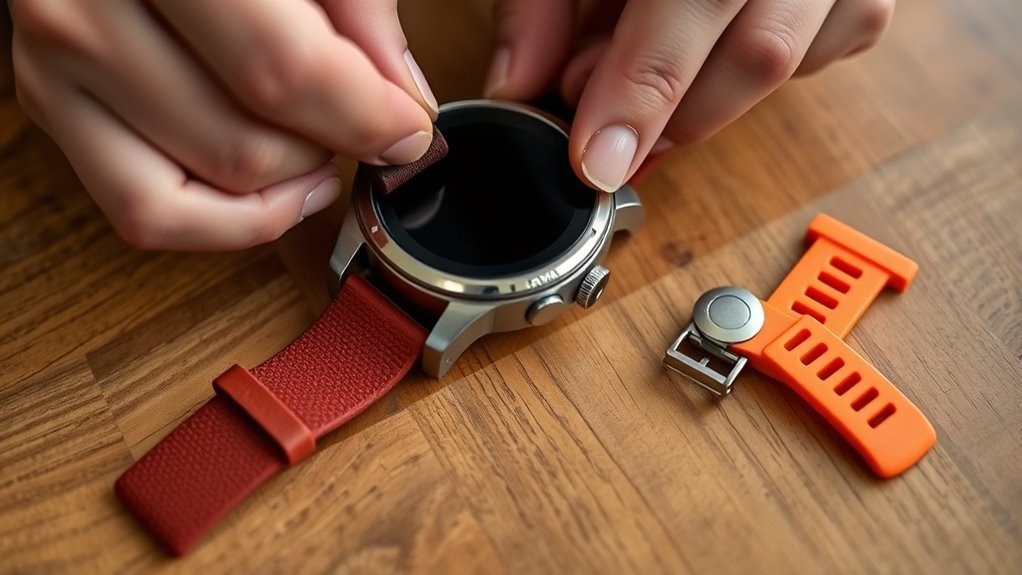
A Garmin QuickFit band is a proprietary watch-band system designed to attach to compatible Garmin watch pins with a built-in latch. It lets you remove and install a compatible band without manipulating a conventional spring-bar lever during a routine band swap.
Garmin offers QuickFit bands in 20 mm, 22 mm, and 26 mm sizes. The correct width depends on the exact watch, so do not buy a replacement based only on the appearance of the case or the width of another Garmin model.
QuickFit bands are available in different materials, including silicone, leather, nylon, and metal options depending on the model and band range. This makes it easy to change between training, everyday, outdoor, and dress-oriented straps while keeping the same compatible watch.
The important feature is the QuickFit latch. When correctly installed, that latch closes over the watch pin and keeps the band secured to the watch.
Garmin QuickFit and standard Quick Release bands are different systems. Always identify the band type before attempting removal.
QuickFit vs. Quick Release: Check Before You Start
Garmin uses both QuickFit and Quick Release bands, and the names are easy to confuse. They do not use the same attachment mechanism.
| Band Type | How It Releases | Common Sizes |
| QuickFit | Slide the latch built into the band, then lift the band from the watch pin | 20 mm, 22 mm, 26 mm |
| Quick Release | Slide the small lever or pin on the spring bar inward | 18 mm, 20 mm, 22 mm, 24 mm depending on the watch |
If your strap has a small spring-bar lever that moves sideways inside the lug opening, follow the instructions for a Quick Release band instead. If it has Garmin’s clip-style latch that closes around an exposed watch pin, continue with the QuickFit procedure below.
What You Need to Change a QuickFit Band
For a normal QuickFit-to-QuickFit replacement, you need the Garmin watch, a replacement QuickFit band in the correct size, and a clean soft cloth or microfiber towel to protect the watch while you work.
Knowing your size is the whole job, since QuickFit comes in 20, 22 and 26 mm and they are not interchangeable. Our guide to Garmin watch bands by QuickFit size lists which size each model takes.
No tool is normally required when the watch already has its compatible QuickFit pins installed. The band itself clips onto those pins.
Note: Changing from another type of band to QuickFit can be different. Some Garmin models require watch pins to be removed, installed, or repositioned with a pin tool or screwdrivers. Check the owner’s manual for your exact watch before altering its pins.
Before removing anything, inspect the replacement band’s latch. It should move smoothly and return to its closed position without sticking. Also inspect the watch pins for obvious bending, looseness, corrosion, or damage.
Identify the locking tab mechanism first, since secure engagement depends on correct handling.
Correct alignment matters. A QuickFit band should sit squarely against the watch and clip over the pin without being forced.
How to Remove a QuickFit Garmin Band
Removing a Garmin QuickFit band is straightforward because the release mechanism is built into the band.
- Place the watch on a clean, soft surface.
- Find the QuickFit latch on the underside of one band section.
- Slide the latch fully to its release position.
- While holding the latch open, pull the band away from the watch pin with gentle, controlled pressure.
- Release the latch after the band is clear of the pin.
You should not need to pry the band away with a screwdriver or force it sideways. If it does not release, confirm that the latch is moving through its full travel before trying again.
Once removed, place the old band somewhere clean so its latch and contact surfaces are not damaged.
Warning: Do not force a stuck band or wear the watch with a latch that does not close completely. A damaged latch or watch pin can allow the band to detach and the watch to fall.
How to Line Up the New Band
With the old band removed, hold the replacement so its QuickFit opening lines up directly with the exposed watch pin.
The band should face the correct direction and sit square to the watch case. Do not try to install it at a steep angle or twist it around the pin.
Check that the QuickFit width matches the watch. A 20 mm, 22 mm, or 26 mm band should only be used on a watch designed for that size.
If the connector looks crooked or does not line up naturally, stop and reposition it. A compatible QuickFit band should not require heavy pressure to line up with the pin.
Pro Tip: Before pressing the band onto the watch, wipe dirt or grit from the watch pin and the inside of the QuickFit connector. Debris can prevent the latch from closing completely.
How to Attach a QuickFit Garmin Band
Once the replacement band is aligned, attach it directly to the existing watch pin.
- Hold the watch steady and keep the band square to the watch pin.
- Align the opening in the QuickFit connector with the pin.
- Press the band onto the pin until the latch moves over it and returns to its closed position.
- Look at the latch and confirm that it has closed fully over the watch pin.
- Gently tug the band away from the watch to confirm that it does not release.
A visible gap, partly open latch, crooked connector, or band that pulls free indicates that the attachment is incomplete.
Do not confuse this process with installing a standard Quick Release band. A normal QuickFit installation does not require you to insert one end of a loose spring bar into a lug and compress the other end.
How to Replace the Other Band
After the first replacement band is secure, repeat the same QuickFit procedure on the opposite side of the watch.
Slide the latch on the remaining old band, lift that band away from its watch pin, align the replacement, and press it onto the exposed pin until the latch closes.
Remove Second Band
Turn or reposition the watch on the soft surface so you can comfortably reach the latch on the second band.
- Keep the watch stable.
- Slide the QuickFit latch fully open.
- Pull the band gently away from the watch pin.
- Release the latch after the band is removed.
- Store the old band somewhere clean and dry.
Handle the latch and watch pin gently. Excess force is unnecessary during a normal QuickFit removal.
Align Replacement Band
Align the second replacement band with its watch pin in the same way as the first side. Confirm the direction, width, and connector position before pressing it into place.
| Check | Result |
|---|---|
| Band orientation | Correct |
| Watch pin position | Centered in connector |
| Fit at body | Even and snug |
| Latch state | Closed over pin |
| Alignment | Even |
Press the band onto the watch pin and inspect the connector from both sides. If it sits crooked, release it and try again rather than forcing it farther onto the pin.
Secure Final Attachment
After both replacement sections are installed, verify the final attachment before putting the watch on your wrist.
- Confirm each latch has returned to its closed position.
- Check that each latch sits over its watch pin.
- Inspect both connectors for gaps or obvious misalignment.
- Gently tug each band section away from the watch.
Neither side should detach or move unexpectedly under light tension.
Common QuickFit Band Mistakes
The most common problems come from using the wrong band system, choosing the wrong QuickFit width, poor alignment, or failing to confirm that the latch has closed.
Using Quick Release instructions on a QuickFit band is one common mistake. Quick Release uses a spring-bar lever; QuickFit uses the latch built into the connector.
Buying by width alone can also cause trouble. Even if a band appears to be the correct width, confirm compatibility with the exact Garmin model before purchasing.
Forcing the connector is another mistake. A compatible band should align with the watch pin and attach with controlled pressure.
Forcing the connector is a common mistake; correct the alignment or compatibility problem instead of applying more pressure.
Finally, never assume that hearing or feeling movement means the band is secure. Visually inspect the latch and perform a gentle tug test on both ends.
How to Check the Fit and Security
A correctly installed QuickFit band should sit evenly against the watch, with the latch fully closed over the watch pin and no unexpected looseness at the connector.
Some QuickFit connectors may produce a noticeable snap or click as they seat, but the visual latch position and a gentle tug test are more important than relying on sound alone.
Check Alignment
Examine each band-to-watch connection from both sides.
- Verify that the band sits level with the watch.
- Inspect for unusual gaps between the connector and case.
- Confirm the watch pin sits correctly inside the QuickFit connector.
- Check that the latch is fully closed.
- Gently tug the band and confirm that it remains attached.
If one side is visibly offset or unstable, remove that band and reinstall it before wearing the watch.
Listen For Click
A QuickFit connector may make a distinct click or snap as its latch closes over the watch pin. That can be a useful confirmation, but do not use sound as the only test.
Look directly at the latch after installation. It should have returned to its closed position over the pin. Then tug the band lightly.
If the connection feels loose, remove and reinstall the band. If it still will not secure, inspect the latch, watch pin, and compatibility rather than continuing to wear it.
Inspect For Gaps
Inspect the QuickFit connection under good light after installing both sides.
- View both connectors from several angles.
- Check that neither latch is partly open.
- Look for a bent or displaced watch pin.
- Gently tug each band section.
- Reinstall any side that appears crooked or loose.
A properly attached band should remain secure during this light test. If a latch is damaged or cannot stay closed, stop using that band until the faulty part is replaced.
Troubleshooting a Garmin QuickFit Band That Will Not Attach
If a QuickFit band will not clip onto the watch, do not immediately assume the connector needs more force. Check the following causes first.
Wrong QuickFit Size
Confirm that the replacement is the correct 20 mm, 22 mm, or 26 mm QuickFit size for the watch. A wrong-width band may not line up with the watch pins correctly.
Band Is Not Square to the Watch Pin
Remove pressure, straighten the connector, and align it directly over the watch pin before pressing again.
Dirt Around the Latch or Pin
Inspect the connector and watch pin for dirt, dried sweat, or grit. Clean away visible debris before reinstalling the band.
Latch Does Not Return to the Closed Position
Move the latch by hand while the band is off the watch. If it sticks, feels damaged, or will not return normally, do not rely on that band for secure wear.
Watch Pin Is Bent, Loose, or Damaged
A damaged watch pin can prevent proper engagement. Use the replacement procedure specified for your exact Garmin model rather than improvising with an unrelated spring bar.
Which Garmin Watches Use QuickFit Bands?
Garmin QuickFit compatibility covers multiple Garmin watch and outdoor-device families, but there is no single band width that fits every QuickFit-compatible model.
Garmin introduced the QuickFit system with the fēnix 5 family, and QuickFit has since been used across numerous compatible watches and devices. Depending on the model, the required band may be 20 mm, 22 mm, or 26 mm.
The safest approach is to look up the exact watch in its Garmin owner’s manual or Garmin’s compatible-device information before ordering a band.
The distinction is especially important with Forerunner models. The Forerunner 245 uses standard 20 mm Quick Release bands, so it should not be treated as a normal QuickFit watch.
The Forerunner 945, by contrast, can use compatible QuickFit bands, but its Garmin instructions describe handling the watch pins when changing between its regular Forerunner bands and QuickFit bands. That setup can require tools even though subsequent QuickFit attachment is a press-on operation.
Note: Do not assume that two Garmin watches with similar case diameters use the same band system. Check both the attachment type and the required band width.
Frequently Asked Questions
What Is the Difference Between Garmin QuickFit and Quick Release Bands?
QuickFit is Garmin’s proprietary clip-style system. You slide a latch on the band to remove it and press the replacement onto the watch pin. Quick Release bands use a small lever on a conventional spring bar. Garmin lists QuickFit in 20, 22, and 26 mm sizes, while its Quick Release options include several different widths depending on the watch.
How Do I Change the Band on My Garmin Watch?
First identify whether the watch uses QuickFit, Quick Release, or another attachment. For QuickFit, slide the band’s latch, remove the band from the watch pin, align the replacement, and press it onto the pin until the latch closes securely. Repeat on the other side and perform a gentle tug test.
How Do I Replace the Strap on My Garmin Watch?
Use the replacement procedure specified for your exact Garmin model. If it uses QuickFit, match the correct 20, 22, or 26 mm size, release the existing band’s latch, remove it from the watch pin, and press the compatible replacement into place until the latch closes over the pin.
How to Get Garmin Wristband Off?
For a QuickFit band, slide and hold the latch on the underside of the band, then pull the connector gently away from the watch pin. For a standard Quick Release band, use the small spring-bar lever instead. Do not force either mechanism.
Are All Garmin QuickFit Bands 20 mm?
No. Garmin QuickFit bands are available in 20 mm, 22 mm, and 26 mm sizes. Check the owner’s manual or Garmin compatibility information for your exact watch before buying a replacement.
What Should I Do If My QuickFit Band Will Not Click Into Place?
Stop pressing and check the band size, alignment, watch pin, latch movement, and any dirt around the connector. Reposition the band and try again with controlled pressure. Do not wear the watch if the latch cannot close securely over the pin.
Conclusion
Changing a Garmin QuickFit band is simple once you identify the correct band system and size. Slide the QuickFit latch to remove the old band, align the replacement with the existing watch pin, press it into place, and confirm that the latch closes fully over the pin.
The most important checks are compatibility and security. Garmin QuickFit bands come in 20, 22, and 26 mm sizes, and QuickFit should not be confused with standard Quick Release hardware. After changing both sides, inspect the latches and gently tug each band before putting the watch back on your wrist.
Sources
- Garmin Support — QuickFit and Quick Release Watch Band Difference — QuickFit sizes and the mechanical difference between QuickFit and Quick Release.
- Garmin fēnix 7 Series Owner’s Manual — Changing the QuickFit Bands — official QuickFit removal, alignment, installation, and latch-security procedure.
- Garmin Support — Compatibility of the QuickFit Bands — QuickFit compatibility background.
- Garmin Forerunner 245/245 Music Owner’s Manual — confirms the Forerunner 245 uses 20 mm standard Quick Release bands.
- Garmin Forerunner 945 Owner’s Manual — Changing the Bands — explains compatible QuickFit use and watch-pin/tool requirements.
