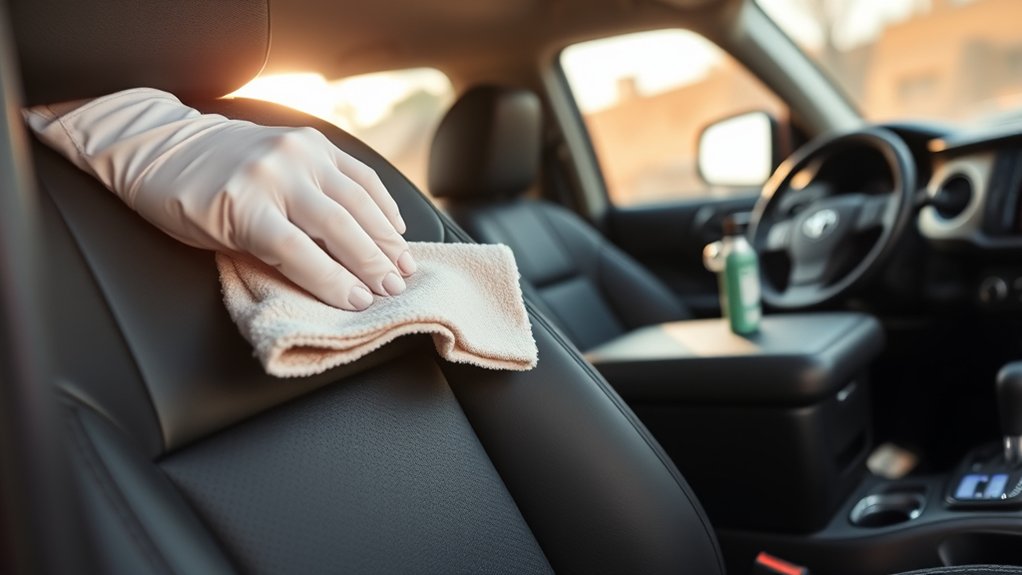
Cleaning your Toyota Tacoma’s leather-looking seats starts with identifying what the seat is actually made from. Tacoma upholstery changes by model year, trim, package, and market: some earlier Tacomas used leather-trimmed seating, while current 2026 Limited, Trailhunter, and TRD Pro models use SofTex-trimmed seating. Once you confirm whether you have leather, synthetic upholstery, vinyl, or mixed material, you can choose the correct cleaning method without staining the finish, leaving residue, or flooding perforations.
Last updated: September 19, 2026
Quick Answer
To clean Toyota Tacoma leather or leather-look seats safely, vacuum first and confirm whether the upholstery is genuine leather, leather-trimmed, SofTex, vinyl, or another synthetic material. Apply the correct cleaner to a microfiber cloth rather than directly to the seat, work in small sections, keep liquid out of seams and perforations, remove all residue, and dry the seat in a shaded, ventilated area. Do not apply traditional leather conditioner to SofTex or another synthetic material unless the product specifically approves it.
Key Takeaways
- Check your model year, trim, window sticker, or owner’s manual before treating the seats as genuine leather.
- Current 2026 Limited, Trailhunter, and TRD Pro models use SofTex-trimmed seating rather than conventional leather seating.
- Vacuum loose grit before using a damp cloth or cleaner.
- Use the least moisture needed and never saturate perforations, seams, switches, or seat edges.
- Avoid alcohol, bleach, strong degreasers, abrasive pads, and unapproved household stain remedies.
- Apply conditioner only when it is suitable for the confirmed upholstery material.
Tacoma Seat-Material Shortcut
| Tacoma Example | Verified Seat Material Example | Cleaning Direction |
|---|---|---|
| 2017 Limited / TRD Pro | Toyota described these trims with leather-trimmed seating. | Follow the leather-care section of the exact model-year manual. |
| 2026 Limited / Trailhunter / TRD Pro | Toyota specifies SofTex-trimmed seating. | Treat it as synthetic upholstery and follow the current manual rather than assuming it needs leather conditioner. |
| Any other year, trim, or package | Material can differ, and individual seats may combine more than one upholstery type. | Confirm with the window sticker, build sheet, owner’s manual, or VIN before choosing a cleaner. |
Important: These are verified examples, not a complete year-by-year upholstery list.
At a Glance
| Time Required | About 25 to 40 minutes, plus drying time |
| Difficulty | Easy, provided you use a compatible product |
| Tools Needed | Vacuum with soft attachments, microfiber cloths, soft brush, compatible cleaner, clean water, and an optional approved conditioner |
| Cost | Low if you already own microfiber cloths and a suitable cleaner |
Identify Your Tacoma’s Seat Material First
Do not assume every smooth or leather-looking Tacoma seat is natural leather. Upholstery can differ between model years and trims, and one seat may also combine different materials across its center panels, bolsters, sides, and back.
For example, Toyota described the 2017 Tacoma Limited and TRD Pro with leather seating, while Toyota identifies the 2026 Limited, Trailhunter, and TRD Pro with SofTex-trimmed seating. That generational change is why the model year matters as much as the trim name.
Check the vehicle’s window sticker, build sheet, sales brochure, or exact model-year owner’s manual. Toyota provides model-specific documentation through its Tacoma Manuals and Warranties page. You can also ask a Toyota dealer to confirm the upholstery using your VIN.
- Genuine or leather-trimmed upholstery: Follow the leather-care instructions in the exact model-year manual. Use a compatible automotive leather cleaner only when it does not conflict with Toyota’s procedure.
- SofTex, synthetic leather, or vinyl: Follow the synthetic-upholstery instructions in the manual. Traditional leather conditioner may leave an oily film or attract dirt unless the product specifically approves that material.
- Mixed-material seats: Treat each section according to its material instead of applying one product across the entire seat.
Warning: Test every cleaner on a hidden section before treating the visible seat. Stop if the test area becomes lighter, darker, sticky, glossy, rough, or discolored.
How Do You Clean Toyota Tacoma SofTex Seats?
For SofTex or another synthetic Tacoma upholstery, start by vacuuming away loose dirt. Toyota Tacoma manuals direct owners to use a soft cloth dampened with a mild or neutral detergent solution for synthetic leather and to remove remaining detergent and moisture afterward. Recent Tacoma manual guidance uses neutral detergent diluted to approximately 1% for synthetic leather. Confirm the exact instructions in your model-year manual before mixing a solution.
Wring the cloth out thoroughly so the seat becomes only lightly damp. Wipe gently, remove all residue with a clean cloth when required, and let the surface dry before using the seat. Do not assume SofTex needs traditional leather conditioner.
Essential Tools for Cleaning Leather Seats
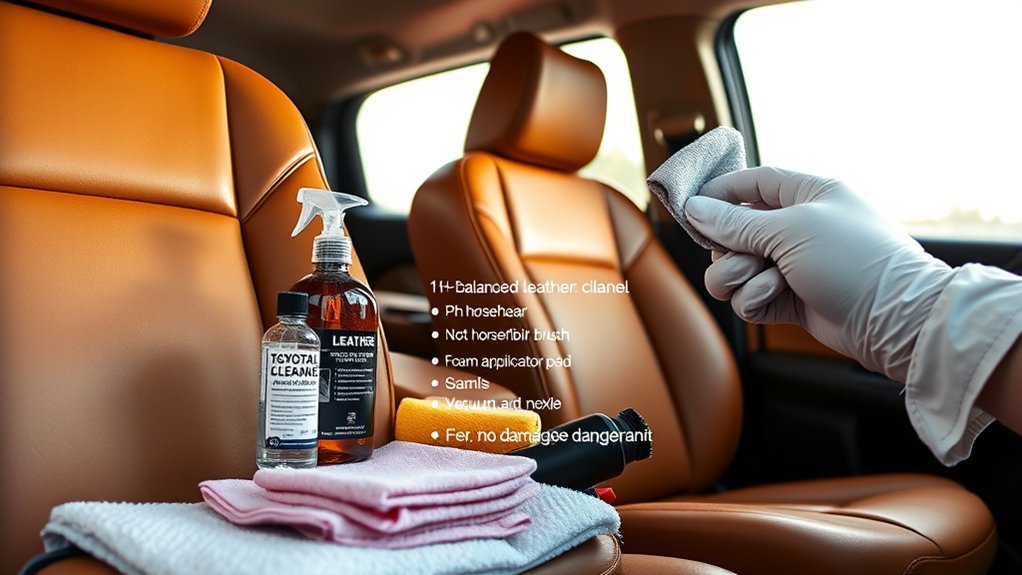
Gather your supplies before you begin so you do not leave cleaner drying on the seat while searching for another cloth.
- Vacuum cleaner: Use a soft upholstery attachment and a crevice tool with smooth edges.
- Several clean microfiber cloths: Keep separate cloths for cleaning, residue removal, and drying.
- Soft detailing brush: Choose flexible bristles that will not scratch the coating.
- Material-compatible cleaner: Use an automotive product or Toyota-approved cleaning method suitable for the upholstery you identified.
- Clean water: Use a small amount to dampen a rinsing cloth when the cleaner or owner’s manual requires residue removal.
- Approved conditioner or protectant: Use this only if the confirmed upholstery and product instructions call for it.
Avoid paper towels, stiff brushes, melamine sponges, scouring pads, bleach, ammonia, glass cleaner, strong degreasers, furniture polish, alcohol-based stain remedies, and solvent-based spot removers. These products can scratch the surface, remove dye, change the sheen, or damage the protective coating.
Step-by-Step Guide to Vacuuming Your Seats
Vacuuming first removes sand, crumbs, and grit that could scratch the upholstery when you begin wiping.
- Park in a shaded, ventilated location. Let hot seats cool before applying any liquid.
- Remove loose items. Take out child-seat protectors, towels, cables, and removable accessories.
- Slide and recline the seats. Expose the seams, rear edges, and areas beside the center console.
- Vacuum the broad surfaces. Use the soft upholstery attachment with light pressure.
- Clean seams and folds. Gently open the seam with one hand while guiding the crevice tool nearby.
- Inspect perforations. Lift loose debris with the vacuum or a soft dry brush. Do not push dirt deeper into the holes.
Pro Tip: Wrap a clean microfiber cloth around the end of a hard crevice tool if its edges could touch the seat. This reduces the chance of scratching side bolsters and piping.
How to Clean Toyota Tacoma Leather Seats Step by Step
Your exact Tacoma owner’s manual should take priority over generic cleaning advice. Multiple Tacoma manuals specify approximately a 5% neutral wool-detergent solution for leather and approximately a 1% neutral-detergent solution for synthetic leather. Because procedures can change by model year and material, confirm the concentration in your own manual before mixing anything.
Toyota method in brief: Vacuum first, use a soft cloth with the specified diluted detergent, wring out excess liquid, remove all detergent residue, wipe away remaining moisture, and let leather dry in a shaded, ventilated area.
- Read the manual and product label. Confirm whether you are cleaning genuine leather, coated leather, SofTex, vinyl, synthetic leather, or mixed material.
- Perform a spot test. Apply a small amount to a hidden area and let it dry completely.
- Apply cleaner to the cloth. Lightly dampen a microfiber cloth rather than spraying the seat directly.
- Work on one small section. Clean an area about the size of one seat panel.
- Wipe gently. Use straight overlapping passes or small circles without heavy pressure.
- Use a brush only when needed. Agitate textured areas lightly, then stop as soon as the dirt releases.
- Remove residue. Use a second cloth lightly dampened with clean water when the manual or product instructions require it.
- Dry the section. Wipe it with a dry microfiber cloth before moving to the next panel.
Do not flood the surface. Excess cleaner can collect in seams, enter perforations, reach heating or ventilation components, and leave a stiff or sticky finish.
How to Clean Perforated or Ventilated Seats
Perforated seats need less liquid than solid seat panels. Apply cleaner to a cloth or brush away from the vehicle, then work the lightly dampened tool over the surface. Keep foam and liquid from pooling over the holes.
If cleaner enters the perforations, blot the area immediately with a dry microfiber cloth. Do not use a heat gun, hair dryer, steam cleaner, or seat heater to force the moisture out. Leave the doors open in a secure shaded location and allow normal airflow to finish drying.
Protecting Seams, Controls, and Seat Edges
Use minimal moisture around power-seat controls, heating or ventilation switches, seat-belt buckles, side seams, and plastic trim. Apply cleaner to your cloth instead of spraying near electrical parts.
Clean side bolsters with light pressure. These areas receive frequent contact as you enter and leave the truck, so aggressive scrubbing can worsen existing wear.
Effective Methods for Removing Stains From Leather
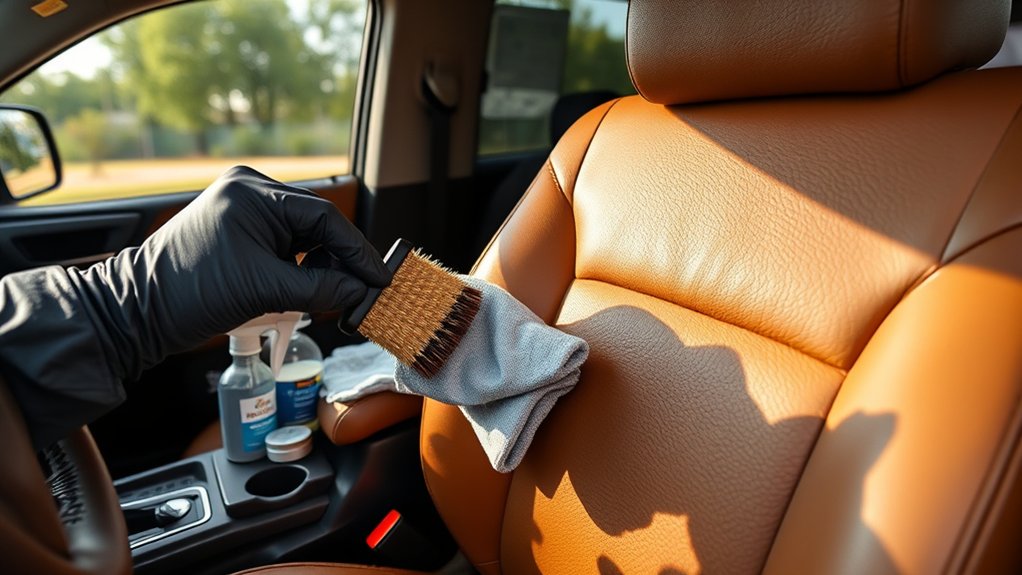
Treat a spill as soon as it is safe to do so, but avoid experimenting with household solvents. The correct response depends on the upholstery material, stain type, and condition of the surface coating.
Common Leather Stains Explained
| Stain | Safe First Response | What to Avoid |
|---|---|---|
| Water, coffee, or soft drink | Blot with a clean absorbent cloth. Follow with the approved upholstery cleaner if residue remains. | Hard rubbing, flooding the seat, or allowing sugary liquid to dry in perforations. |
| Food residue | Lift solid material with a spoon or dull plastic edge, then clean the remaining mark gently. | Scraping with metal or grinding crumbs into the grain. |
| Grease or oily residue | Blot without spreading it and use a cleaner approved for oily soil on that material. | Strong degreasers, dishwashing concentrate, or unapproved powders. |
| Ink or permanent marker | Blot fresh ink and contact a professional if an approved cleaner does not lift it. | Rubbing alcohol, acetone, hairspray, or repeated aggressive scrubbing. |
| Blue-jean dye transfer | Use a product specifically approved for dye transfer on the confirmed upholstery. | Bleach, solvents, or abrasive sponges that can remove the seat’s finish. |
| Body oil or sunscreen | Clean several light passes instead of trying to remove the buildup in one aggressive pass. | Heavy saturation or stiff-bristle brushes. |
Recommended Cleaning Techniques
Always blot a liquid spill before wiping it. Wiping immediately can spread the stain across a larger area. For dried residue, soften it with a small amount of approved cleaner on a cloth, then lift it gradually.
Do not chase a stain after the surface starts changing color or texture. A professional automotive leather technician or detailer can often treat ink, dye transfer, coating wear, and deep discoloration more safely than repeated home treatments.
Why Proper Drying Is Essential for Clean Leather Seats
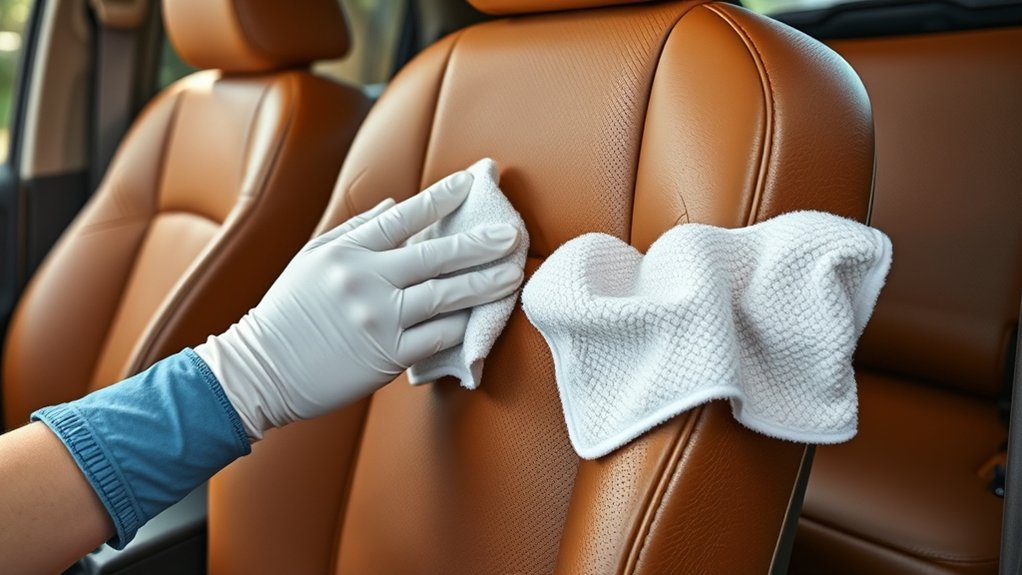
Proper drying helps prevent streaks, water marks, trapped residue, and moisture collecting in seams or perforations. After cleaning each section, wipe it with a dry microfiber cloth until the surface no longer feels damp.
Allow the remaining moisture to evaporate in a shaded, ventilated area. Avoid direct midday sunlight, heat guns, hair dryers, steam, and prolonged use of seat heaters. High heat can dry the surface unevenly and may affect adhesives, coatings, or nearby trim.
Do not place a child seat, seat cover, towel, or heavy object on the upholstery until it has dried completely.
When to Condition Your Leather Seats
Conditioner is not a required final step for every Tacoma seat. First confirm that the upholstery is genuine or leather-trimmed and that the chosen product is suitable for that surface and does not conflict with the model-year owner’s manual.
Note: Do not apply traditional leather conditioner to SofTex or other synthetic upholstery unless the product label specifically lists that material. An incompatible conditioner can leave a glossy, slippery, or sticky film.
Frequency of Conditioning
Do not rely on a fixed two-month, four-month, or six-month conditioning schedule. Follow the conditioner label and your exact Tacoma owner’s manual. Climate, sunlight exposure, seat coating, vehicle age, and cleaning frequency all affect whether treatment is useful.
For routine cleaning, several Tacoma owner’s manuals have recommended cleaning the vehicle interior at least twice a year, with more frequent attention when dirt, spills, sunscreen, body oils, pets, or work use create visible buildup.
When conditioning is approved, apply a thin layer to a microfiber applicator rather than pouring it onto the seat. Spread it evenly, keep it out of perforations, allow the stated dwell time, and buff away all remaining residue.
Signs Your Leather May Need Attention
- The surface feels unusually dry or rough after normal cleaning.
- Light creases are becoming more visible on the side bolsters.
- The leather has lost flexibility but the coating remains intact.
- The owner’s manual or conditioner instructions recommend periodic treatment.
Conditioner cannot repair peeling coatings, deep cracks, torn seams, exposed backing, or color loss. Those problems require professional repair rather than additional product.
How to Choose a Cleaner or Conditioner for Tacoma Seats
Choose products by compatibility rather than brand reputation alone. Formulas and labels can change, and a product marketed for “leather seats” is not automatically suitable for SofTex, vinyl, coated leather, or every Tacoma model year.
- Match the material: The label should explicitly list the type of upholstery you confirmed.
- Check the owner’s manual first: Do not substitute a commercial product for Toyota’s stated cleaning method when the manual gives a specific procedure.
- Avoid aggressive chemistry: Skip products containing solvents, strong alkaline or acidic cleaners, bleach, or unapproved alcohol-based stain removers.
- Prefer controlled application: A product that can be applied to a cloth or applicator gives you better control around seams and perforations.
- Spot-test separately: Test the cleaner and any conditioner as separate products in hidden areas.
- Watch the finish after drying: Stop using a product that leaves the surface unusually glossy, sticky, slippery, lighter, darker, or rougher.
You do not need a premium or heavily fragranced product to clean the seats safely. Correct material identification, minimal moisture, complete residue removal, and gentle technique matter more than the logo on the bottle.
Tips for Preventing Damage to Leather Seats
- Vacuum high-contact areas regularly so grit does not collect in the seams.
- Blot spills promptly instead of allowing them to dry.
- Use a windshield sunshade when the truck is parked in strong sunlight.
- Keep sharp tools, metal clips, and abrasive cargo away from the seats.
- Check clothing rivets, pocket tools, and belt hardware before sliding across the bolster.
- Use only seat covers confirmed to be compatible with seat-mounted airbags and other seat features.
- Remove residue fully so the surface does not become slick or attract additional dirt.
Frequent light cleaning is usually safer than waiting for heavy buildup and then scrubbing aggressively.
How to Maintain Leather Seats in Extreme Weather
Hot and Sunny Weather
Park in shade when practical and use a windshield sunshade. Let extremely hot seats cool before cleaning. Cleaner can evaporate too quickly on a hot surface, leaving streaks or concentrated residue.
Do not apply heavy layers of oily protectant in an attempt to stop UV damage. Use only a compatible product and buff away the excess.
Cold Weather
Let the cabin warm gradually before cleaning stiff, cold upholstery. Do not use the seat heater as a drying tool. Cleaner may spread poorly or dry unevenly when the seat surface is very cold.
Humid or Wet Weather
Use less liquid and allow more drying time. Improve airflow by opening the doors in a secure covered location or using the vehicle’s ventilation system. Do not cover the seat until it is fully dry.
Top Mistakes to Avoid While Cleaning Leather Seats
| Mistake | Possible Result | Better Approach |
|---|---|---|
| Assuming the seat is genuine leather | Using the wrong cleaner or conditioner | Confirm the material by model year, trim, documentation, or VIN. |
| Spraying cleaner directly on the seat | Pooling in seams and perforations | Apply the cleaner to a microfiber cloth or brush. |
| Using harsh chemicals or solvents | Discoloration, coating damage, dryness, or stickiness | Use the owner’s-manual procedure or a material-approved automotive cleaner and perform a spot test. |
| Scrubbing with paper towels or abrasive pads | Fine scratches and uneven sheen | Use clean microfiber cloths and a soft brush. |
| Saturating perforated seats | Trapped liquid, residue, odor, or component exposure | Use minimal moisture and dry each section immediately. |
| Applying too much conditioner | Greasy, glossy, or slippery seats | Condition only compatible leather and apply a thin approved layer. |
| Using direct heat to dry the seat | Uneven drying or material damage | Use a dry cloth, shade, and normal airflow. |
Troubleshooting Problems After Cleaning
The Seat Looks Streaky
Wipe the panel evenly with a clean microfiber cloth lightly dampened with water, provided the manual or cleaner instructions allow rinsing. Dry the entire panel rather than treating only the streak.
The Seat Feels Sticky
Sticky upholstery usually has excess cleaner, conditioner, or protectant on the surface. Stop adding product. Remove the residue according to the product directions or owner’s-manual cleaning method and buff with a clean dry cloth.
The Surface Became Too Glossy
A sudden shine may indicate residue or over-conditioning. Buff the surface thoroughly. If the shine remains, use an approved cleaner to remove the excess, but do not repeat the process aggressively.
Color Transferred to the Cloth
Stop immediately. A small amount of soil may resemble color, but obvious dye transfer or a lighter test area can signal coating damage. Let the area dry and consult a professional before continuing.
The Stain Did Not Improve
Do not keep increasing pressure or switching to stronger household chemicals. Permanent ink, dye transfer, worn coatings, and deeply absorbed oils may need professional treatment or color repair.
Related Guides
Frequently Asked Questions
How do you clean Toyota Tacoma leather seats safely?
Confirm the upholstery material, vacuum loose debris, check the model-year manual, test the cleaning method in a hidden area, and clean one small section at a time with minimal moisture. Remove residue and dry each panel fully. Use conditioner only when it is approved for the confirmed material.
How do you clean Toyota Tacoma SofTex seats?
Vacuum the SofTex first, then follow the synthetic-leather procedure in your exact Tacoma owner’s manual. Recent Tacoma manual guidance uses a soft cloth dampened with neutral detergent diluted to approximately 1%, followed by removal of detergent and moisture. Wring the cloth out well and do not saturate seams or perforations.
How do you clean leather car seats without damaging them?
Use the least aggressive method that works. Vacuum first, avoid solvents and abrasive tools, test the cleaner in a hidden area, use minimal moisture, and stop if the surface changes color, texture, or sheen.
Does every Toyota Tacoma have real leather seats?
No. Upholstery varies by model year, trim, package, and market. Earlier Tacomas offered leather-trimmed seating on certain trims, while Toyota specifies SofTex-trimmed seating on several current 2026 trims. Check the window sticker, build sheet, owner’s manual, or VIN information before selecting a cleaner.
Is Dawn dish soap safe for Tacoma leather seats?
Do not use concentrated dish soap as your default leather cleaner. Follow the exact cleaning method in your Tacoma owner’s manual or use a cleaner specifically approved for the identified upholstery. Toyota manuals provide material-specific detergent guidance, so a generic household formula is unnecessary.
Can you use rubbing alcohol to remove ink from leather seats?
Do not use rubbing alcohol unless the upholstery manufacturer or an approved repair procedure specifically allows it. Toyota Tacoma manuals warn against alcohol and other unsuitable chemical solutions on interior seating surfaces because they can affect the finish. Blot fresh ink, try the approved cleaning method, and seek professional help if the mark remains.
Should you condition Toyota SofTex or synthetic seats?
Do not apply a traditional leather conditioner unless its label specifically approves the synthetic material in your Tacoma. SofTex and other synthetic surfaces should be cleaned according to the model-year owner’s manual rather than treated automatically like natural leather.
How often should Tacoma seats be cleaned?
Vacuum whenever visible grit collects and clean spills promptly. Several Tacoma manuals recommend cleaning the interior at least twice a year, but heavy use, pets, sunscreen, work clothes, mud, or frequent spills can justify more frequent cleaning. Condition-based care is more useful than waiting for a rigid calendar date.
Conclusion
You can clean Toyota Tacoma leather or leather-look seats safely when you begin with the correct material identification. Earlier Tacomas may have genuine leather-trimmed seating, while several current Tacoma trims use SofTex, so do not choose a cleaner or conditioner based on appearance alone.
Vacuum first, follow the material-specific procedure in the exact model-year owner’s manual, use minimal moisture, protect perforations and seams, remove all residue, and let the seat dry in shade with normal airflow. If ink, dye transfer, peeling, cracks, or color loss remain after gentle cleaning, stop and contact an automotive upholstery professional rather than escalating to stronger chemicals.
Sources
- Toyota Tacoma Manuals and Warranties — provides access to model-specific Toyota owner information and manuals.
- The 2026 Toyota Tacoma: Adventure Awaits — Toyota’s current model information identifying SofTex-trimmed seating on Limited, Trailhunter, and TRD Pro.
- 2017 Tacoma Welcomes All-New TRD Pro — Toyota model information documenting leather-trimmed seating on earlier Tacoma Limited and TRD Pro grades.
- 2026 Toyota Tacoma — Toyota’s current Tacoma model page.
- Toyota Technical Information System — Toyota’s official North American source for owner, service, and repair information.