
Measuring flour correctly is one of the easiest ways to improve your baking. Too much flour can make cookies dry, cakes dense, and bread dough stiff. Too little flour can leave batter loose or dough too sticky to handle. The best method is to weigh flour with a digital scale. If you use cups, fluff the flour first, spoon it into a dry measuring cup, and level it with a straight edge.
Use this guide when a recipe lists flour in grams, ounces, or cups. You will learn the most accurate method, the best cup-measuring backup, common mistakes to avoid, and how different flours can change your results.
Quick Answer
To measure flour correctly, use a digital scale whenever possible. For 1 cup of all-purpose flour, weigh about 120 grams or 4 1/4 ounces. If you do not have a scale, fluff the flour, spoon it into a dry measuring cup, and level the top without shaking, tapping, or packing it.
Key Takeaways
- A digital scale gives the most consistent flour measurement for baking.
- One common standard for 1 cup of all-purpose flour is 120 grams or 4 1/4 ounces.
- If you use cups, use the spoon-and-level method instead of scooping from the bag.
- Use dry measuring cups for flour, not liquid measuring cups.
- Sift flour only when the recipe tells you to, and pay attention to the wording.
At a Glance
| Time Required | 1 to 3 minutes |
| Difficulty | Easy |
| Tools Needed | Digital kitchen scale, bowl, dry measuring cups, spoon, and straight edge |
| Cost | $0 if you already have basic measuring tools; a digital scale is optional but helpful |
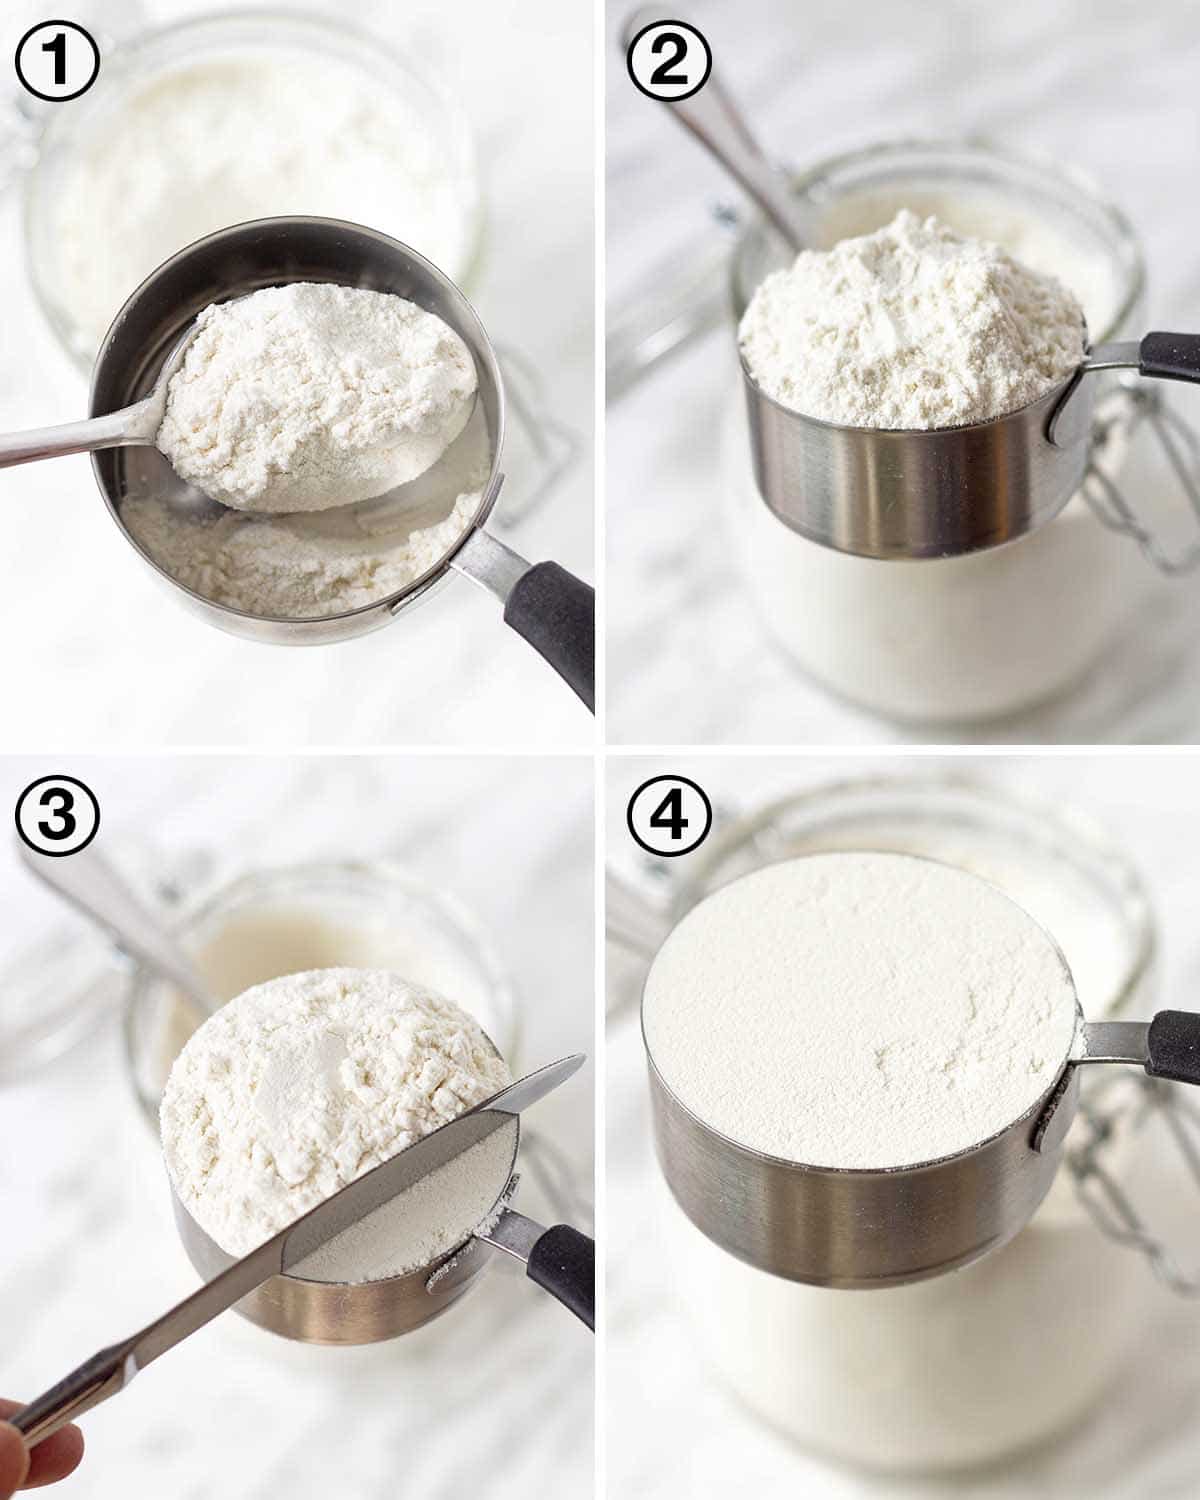
Credit: delightfuladventures.com
Why Accurate Flour Measurement Matters
Flour gives structure to bread, cookies, cakes, muffins, and many other baked goods. Small changes in the amount of flour can change how much moisture the dough absorbs and how tender the final bake feels.
King Arthur Baking explains that flour measured by volume can vary a lot depending on how tightly it sits in the cup. A loosely filled cup and a packed cup do not weigh the same, even when both look like “1 cup.”
Baking Consistency
Consistent measuring helps your recipes turn out the same way each time. If your cookies were soft last week but dry today, flour measurement may be part of the reason.
For repeatable results, use the same method every time. Weighing flour is best. If you use cups, fluff, spoon, and level the flour instead of dipping the cup into the bag.
Recipe Success
Many baking recipes depend on the balance between flour, liquid, fat, sugar, and leavening. Extra flour can make dough firm, dry, or crumbly. Too little flour can make dough spread too much or batter bake up weak.
Note: If a recipe gives both cups and grams, use the gram measurement. It tells you exactly what the recipe developer intended.
Tools You Need
You do not need fancy equipment to measure flour well. You only need tools that match the method you plan to use.
[Amazon Products Picked for You]

[Multiple Sizes]: Including 5 Measuring cups ( 1/8, 1/4, 1/3, 1/2, 1 cup), 5 Measuring spoons ( 1/4, 1/2 , 1 tsp, 1/2, 1 tbsp). Meet All Your Needs On Cooking And Baking
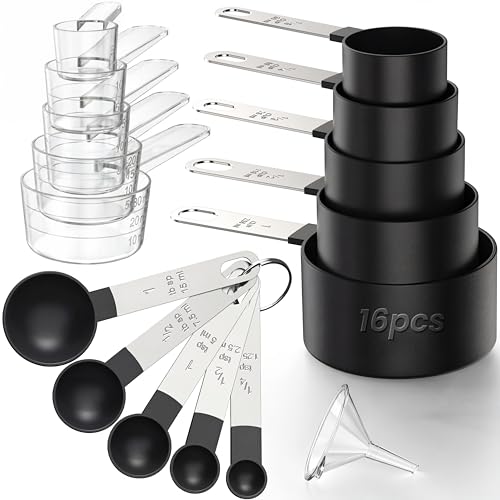
16PCS SET: Including multiple sizes, including 1cup, 1/2cup, 1/3cup, 1/4cup, 1/8cup, 30ml, 20ml, 15ml, 10ml, 5ml, 1tbsp, 1/2tbsp, 1tsp, 1/2tsp, 1/4tsp, and 1 funnel

Set includes: 1/4 cup, 1/3 cup, 1/2 cup and 1 cup
Digital Scale
A digital kitchen scale is the most accurate tool for measuring flour. Place your bowl on the scale, press the tare button to set the display back to zero, then add flour until you reach the recipe’s weight.
For many all-purpose flour recipes, 1 cup equals about 120 grams or 4 1/4 ounces. Always follow the weight listed in your specific recipe when it provides one.
Dry Measuring Cups
Use dry measuring cups for flour. These cups are designed to be filled to the top and leveled flat. A liquid measuring cup is harder to level, so it can lead you to tap or pack the flour without noticing.
Spoon And Straight Edge
A spoon helps you move flour into the cup without compressing it. A straight edge, such as the back of a butter knife or a flat spatula, levels off the excess flour cleanly.
Preparing The Flour
Flour settles during shipping and storage. Before you measure by volume, loosen it so the cup does not hold more flour than the recipe needs.
Fluffing
Fluffing is the first step when you measure flour with cups. Stir the flour gently in its container with a spoon or fork. This breaks up compacted areas and adds air back into the flour.
After fluffing, spoon the flour into the measuring cup. Do not press it down, shake the cup, or tap the cup on the counter.
Sifting
Sifting breaks up lumps and makes flour lighter. Use a fine-mesh sieve or flour sifter when the recipe specifically asks for sifted flour.
Pay attention to recipe wording. “1 cup sifted flour” usually means sift first, then measure. “1 cup flour, sifted” usually means measure first, then sift. If your recipe does not mention sifting, fluffing is usually enough for everyday baking.
How To Measure Flour With Measuring Cups
Measuring cups work well when you use the right technique. The goal is to fill the cup without compressing the flour.
[Amazon Products Picked for You]
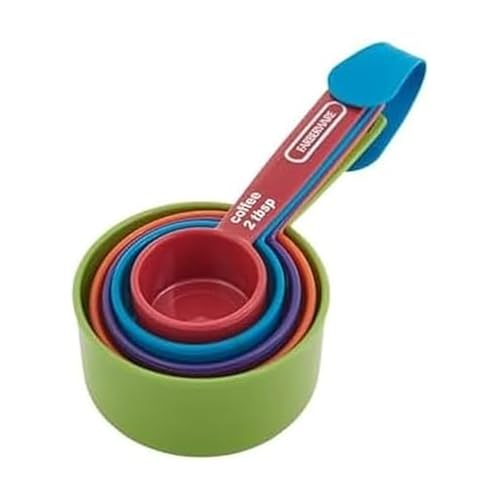
COMPLETE MEASURING SET: Includes 1/4 cup, 1/3 cup, 1/2 cup, and 1 cup measurements plus bonus coffee scoop (2 tablespoons). Perfect for both wet and dry ingredients. Clearly marked measurements for precise cooking

PERFECT DESIGNED TO LAST A LIFETIME: Our measuring cups and spoons are all made out of one piece of metal so the handles will never bend or break off. We upgraded the material to rust resistant & durable 18/0 stainless steel and thickened the cup body to avoid cracking, easy to clean and dishwasher safe.

[Multiple Sizes]: Including 5 Measuring cups (1/8, 1/4, 1/3 , 1/2 , 1 cup), 5 Measuring spoons (1/4, 1/2 , 1 tsp, 1/2, 1 tbsp). Meet All Your Needs On Cooking And Baking
Spoon-And-Level Method
- Fluff the flour in its bag or container with a spoon.
- Spoon the flour into a dry measuring cup until it overflows slightly.
- Keep the cup still. Do not shake, tap, or press the flour.
- Sweep a straight edge across the top to remove the excess.
- Add the leveled flour to your recipe.
Warning: Do not dip the measuring cup straight into the flour bag. That packs flour into the cup and can add more flour than the recipe needs.
Leveling Off
Leveling removes extra flour without compacting what is inside the cup. Use a flat edge and sweep once across the top. Avoid using your finger because it can push flour down unevenly.

Credit: www.loveandlemons.com
How To Measure Flour With A Digital Scale
A digital scale removes most of the guesswork. This is the best method for bread, pastries, macarons, cakes, and any recipe where texture matters.
[Amazon Products Picked for You]

𝗘𝗳𝗳𝗼𝗿𝘁𝗹𝗲𝘀𝘀 𝗪𝗲𝗶𝗴𝗵𝗶𝗻𝗴: Supports 5 units (oz/lb:oz/fl'oz/g/mL), tare function, and includes 2 AAA batteries for hassle-free operation

Contemporary Slim Design: Made of Stainless Steel Material; It is easy to use and clean; Provides accurate weight data with a user-friendly control panel and system; With high precision sensors to ensure correct performance and readouts
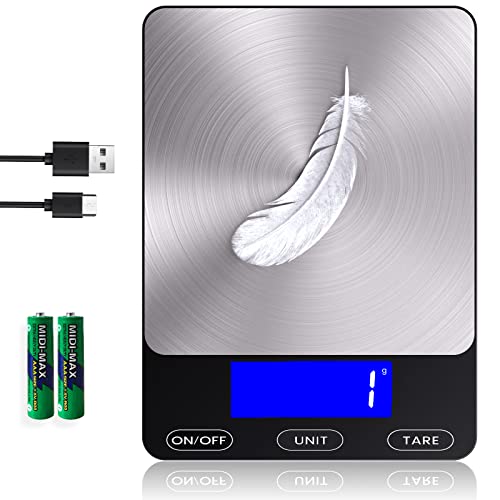
【Precise Weight Food Scale】Our Food Kitchen Scale equips four high-precision load sensors, waterproof Anti-collision glass weighing panel. Large measuring capacity with 1g precise graduation from 0.1oz/3g to 33 lbs/15kg.
Taring The Scale
Place your bowl on the scale and press “tare” or “zero.” The display should return to 0 grams or 0 ounces. This step makes sure you measure only the flour, not the bowl.
Measuring By Weight
Add flour slowly until the scale reaches the amount listed in the recipe. If you add too much, scoop a little out and check again.
For example, if the recipe calls for 240 grams of all-purpose flour, add flour until the scale reads 240 grams. This is more reliable than trying to measure two perfectly equal cups by volume.
Pro Tip: Keep your scale set to grams for baking. Grams are smaller units than ounces, so they make small adjustments easier.
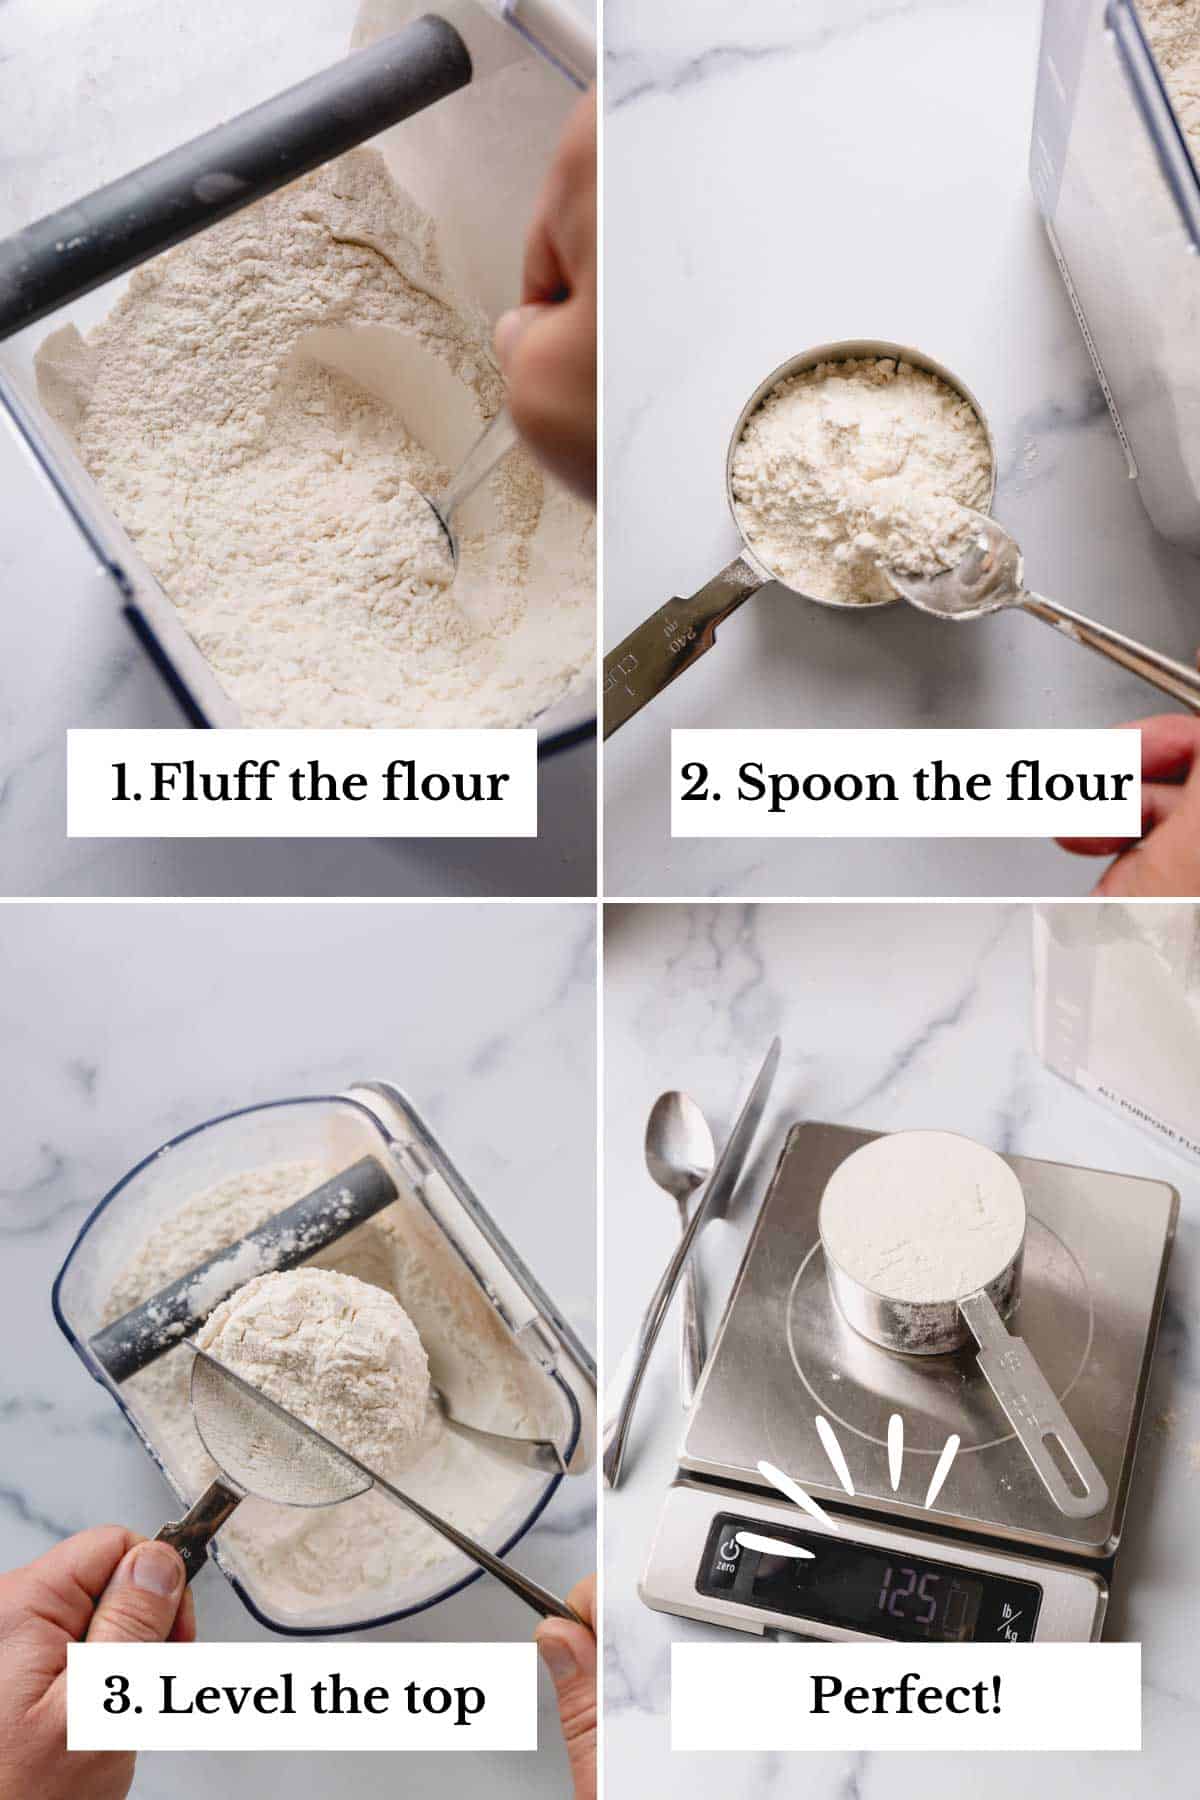
Credit: www.sweetandsavorybyshinee.com
Common Mistakes
Most flour-measuring problems come from compressing the flour or using the wrong tool. These mistakes are easy to fix once you know what to avoid.
Packing Flour
Packing flour means pressing it tightly into the cup. This often happens when you scoop directly from the bag or tap the measuring cup to “settle” the flour.
Instead, fluff the flour, spoon it into the cup, and level it gently. This gives you a lighter and more consistent cup.
Using The Wrong Tools
Do not measure flour in a liquid measuring cup unless you have no other option. It is difficult to level flour properly in a liquid cup, and the high sides can encourage tapping or shaking.
Use nested dry measuring cups for cup measurements. Use a digital scale when the recipe gives a weight.
Ignoring The Recipe’s Measurement Style
Some recipes are written around a specific flour weight. Others are developed with a cup method. When a recipe gives grams, follow the grams. When it gives cups only, use spoon-and-level for the most consistent result.
Tips For Accuracy
Once you know the basic method, a few extra habits can help you avoid dry, dense, or uneven bakes.
Use The Flour Your Recipe Calls For
Different flours absorb liquid differently. Bread flour, cake flour, whole wheat flour, gluten-free flour blends, and all-purpose flour do not behave the same way.
Use the flour listed in the recipe whenever possible. If you substitute, expect changes in texture and moisture.
Check Freshness Before Measuring
Flour can lose freshness over time, especially whole-grain flours. Store flour in an airtight container in a cool, dry place. Before using it, check for a stale or musty smell, discoloration, clumps, mold, or pests.
If the flour smells off, discard it. Fresh flour should smell neutral or lightly grain-like.
Keep A Simple Flour Weight Chart Nearby
| Flour Type | Common 1-Cup Weight | Best Use |
| All-purpose flour | About 120g | Cookies, cakes, muffins, quick breads |
| Bread flour | About 120g | Yeast breads, pizza dough, chewy rolls |
| Whole wheat flour | Varies by recipe and brand | Heartier breads, muffins, pancakes |
| Gluten-free flour blend | Varies by blend | Use the recipe or package weight |
Use this chart as a starting point, not a replacement for your recipe. If your recipe lists a specific gram weight, follow that number.
Adjusting For Different Flours
Different flours can measure the same by volume but act differently in a recipe. Protein, bran, germ, starch, and blend ingredients all affect how flour absorbs liquid.
All-Purpose Flour
All-purpose flour is the most common flour for everyday baking. For best results, weigh it if your recipe gives grams. If your recipe uses cups, fluff, spoon, and level.
A common standard is 120 grams per cup, but some recipes and brands use slightly different cup weights. That is why the recipe’s own weight measurement always wins.
Whole Wheat Flour
Whole wheat flour contains the bran and germ, which gives it a stronger flavor and heartier texture. It can also make baked goods denser if you swap it for all-purpose flour without adjusting the recipe.
Measure whole wheat flour with the same careful method: weigh it when possible, or fluff, spoon, and level. For substitutions, start with a small partial swap, such as one-third to one-half of the all-purpose flour, unless your recipe is designed for whole wheat.
Gluten-Free Flour Blends
Gluten-free flour blends vary widely. Some contain rice flour, starches, xanthan gum, or other binders. Use the recipe’s listed weight or the package guidance instead of assuming it matches all-purpose flour cup-for-cup by weight.
Troubleshooting Flour Measurement Problems
If your baked goods keep turning out differently from the recipe photos, flour measurement may be one of the first places to check.
Cookies Turn Out Dry Or Crumbly
You may be adding too much flour. Use a scale next time, or switch to the spoon-and-level method. Also avoid baking cookies longer than the recipe recommends.
Cake Turns Out Dense
Dense cake can come from packed flour, overmixing, or the wrong flour type. Measure carefully, use the flour the recipe lists, and mix only until the batter comes together.
Dough Feels Too Sticky
Sticky dough does not always mean you measured wrong. Some doughs need rest time so the flour can absorb moisture. Before adding extra flour, wait a few minutes if the recipe allows it.
You Added Too Much Flour
If you catch the mistake before mixing, remove the extra flour. If you already mixed the dough, add liquid only if the recipe gives you a safe range. Otherwise, expect a firmer texture and measure more carefully next time.
Related Guides
Frequently Asked Questions
What is the proper way to measure flour accurately?
The most accurate way is to weigh flour with a digital scale. If you use cups, fluff the flour, spoon it into a dry measuring cup, and level it with a straight edge. Do not pack, shake, or tap the cup.
How do you measure the amount of flour with cups?
Use a dry measuring cup. Stir the flour to loosen it, spoon it into the cup until it overflows, then sweep off the extra flour with the back of a knife or another flat edge.
How much is 1 cup of flour?
One common standard for 1 cup of all-purpose flour is about 120 grams or 4 1/4 ounces. Your recipe may use a different standard, so follow the recipe’s gram amount when it provides one.
What should you not do when measuring flour?
Do not scoop flour directly from the bag with the measuring cup. Do not pack it down, shake the cup, tap the cup, use a wet measuring cup, or level the flour with your finger.
Should flour be sifted before or after measuring?
Follow the recipe wording. “1 cup sifted flour” usually means sift first, then measure. “1 cup flour, sifted” usually means measure first, then sift. If the recipe does not mention sifting, fluffing is usually enough.
Is weighing flour better than using measuring cups?
Yes. Weighing flour is more consistent because it avoids the problem of packed or loosely filled cups. A scale is especially helpful for bread, cakes, pastries, and recipes you want to repeat exactly.
Conclusion
Accurate flour measurement starts with the right method. Use a digital scale when you can. If you measure by cups, fluff the flour first, spoon it into a dry measuring cup, and level it without packing.
This small habit can improve cookies, cakes, muffins, and bread because your recipe gets the amount of flour it was designed to use. Measure carefully, use the flour your recipe calls for, and check freshness before you bake.
Sources
- King Arthur Baking: How to measure flour the right way — supports scale-first measuring and the fluff, spoon, and level method.
- King Arthur Baking: Ingredient Weight Chart — supports the 120g / 4 1/4 oz standard for 1 cup of all-purpose flour.
- Better Homes & Gardens: How to Measure Ingredients the Correct Way — supports dry measuring cups, spooning, and leveling dry ingredients.
- Better Homes & Gardens: How to Substitute Whole Wheat Flour for All-Purpose Flour — supports gradual whole-wheat substitution guidance.
- Better Homes & Gardens: How to Store Flour — supports airtight storage and freshness guidance for different flours.
